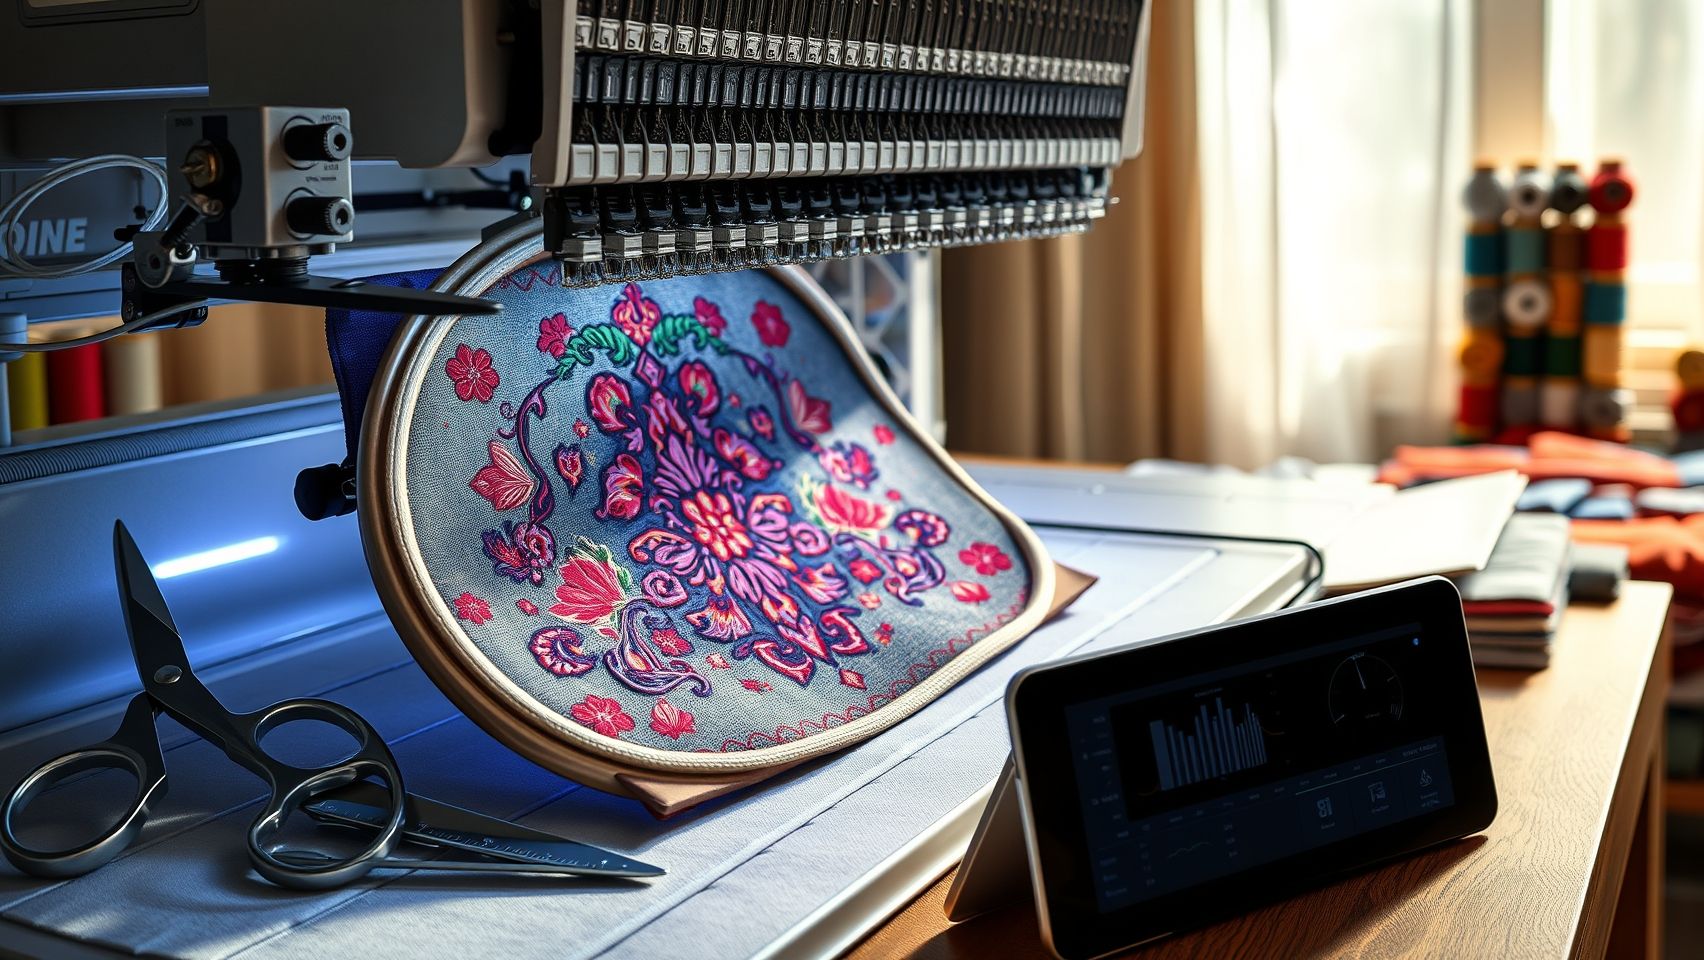
How to Measure Embroidery Machine Productivity for Better Output
This post contains affiliate links. As an Amazon Associate, Latest Embroidery earns from qualifying
purchases, at no extra cost to you. Learn more.
Struggling to optimize your embroidery workflow and improve efficiency? It’s a common challenge, machines break down, projects pile up, and before you know it, those stitches aren’t looking as smooth as they could. Ever wonder if there’s a way to actually *measure* what’s happening under the hoop? Turns out, there are practical tools and methods that can help you analyze and boost your embroidery productivity, making those long hours more rewarding and profitable.
From detailed time studies to output analysis and bottleneck identification, understanding how your machines are performing is crucial. After all, knowing where the delays or inconsistencies happen allows you to make targeted adjustments, whether that’s tweaking tension settings with a tension gauge or fine-tuning stitch paths. This article will walk you through key measurement techniques and tools tailored for both hobbyists and seasoned professionals who want to elevate their craft. So, if you’ve ever felt stuck in a cycle of slow production and unclear ROI, stick around. The next few steps could be your game-changer.
Step-by-Step Guide to Tracking Embroidery Machine Output
Short on time? If you only take one thing from this guide: Brother SE700 — the machine we point most beginners to — touchscreen, wireless transfer, and it sews as well as embroiders.
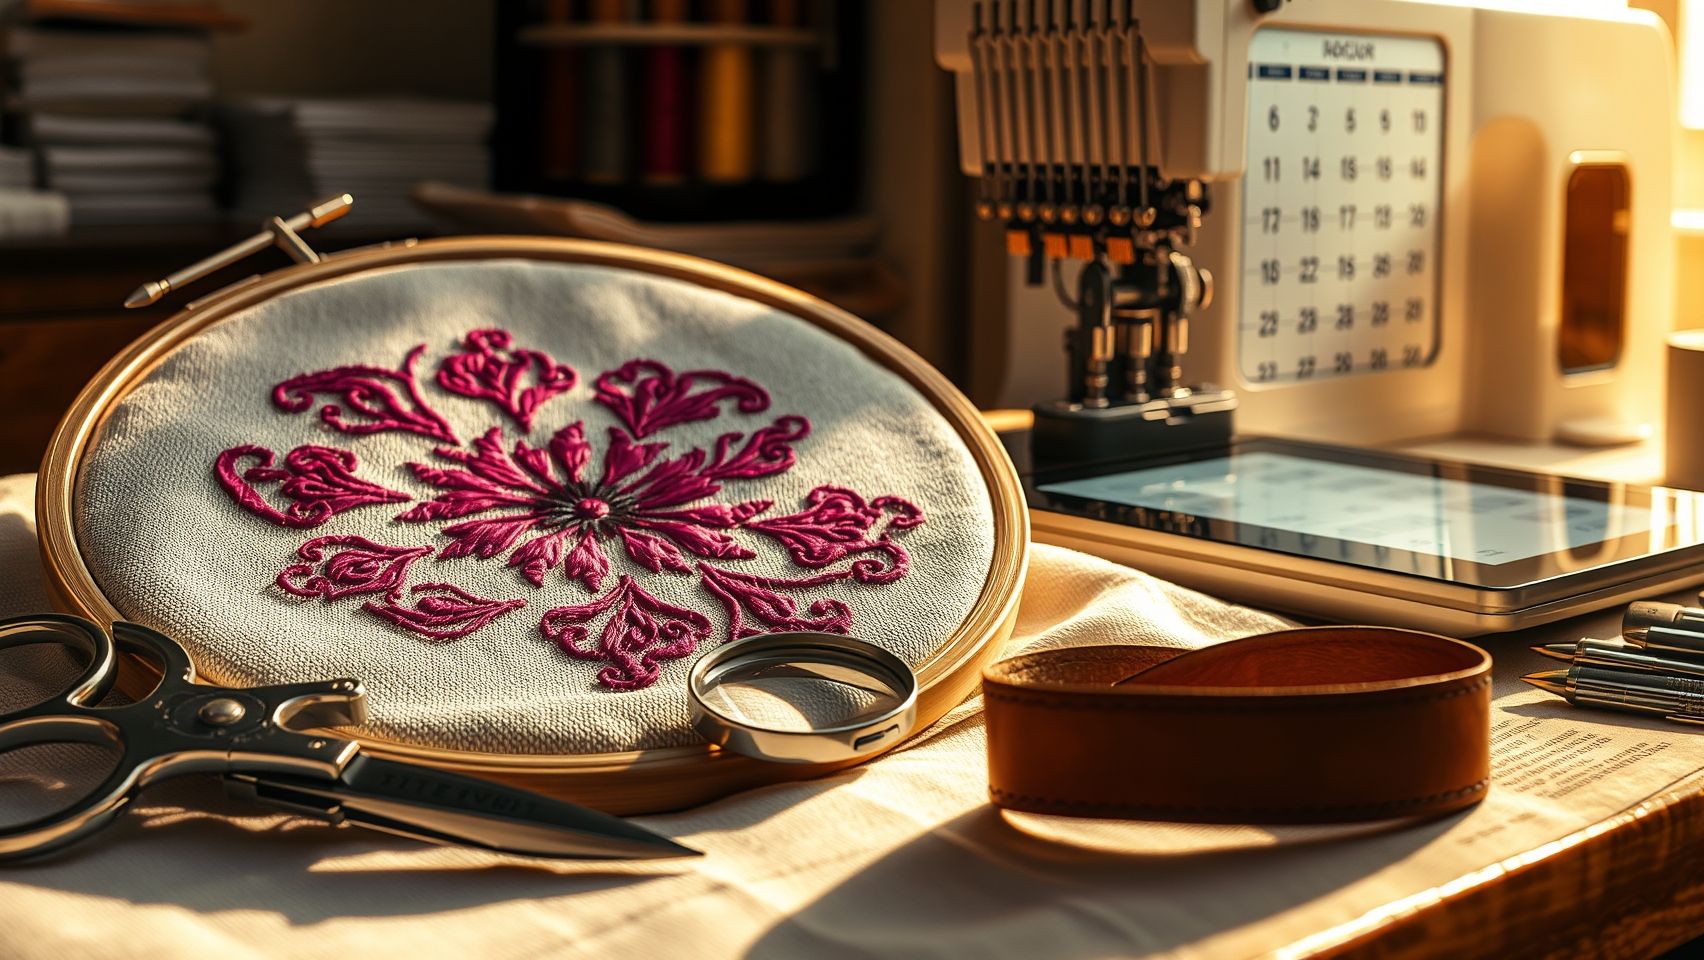
Embroidery machine productivity might sound like a technical topic, but it’s really about understanding the flow of your workflow and making small adjustments that lead to big gains. Think of it as keeping a journal of your embroidery sessions, recording what works and what doesn’t. It starts with setting up a simple, consistent logging system that fits smoothly into your routine.
Many seasoned embroiderers swear by using basic tools like Excel or Google Sheets because they’re accessible and customizable. You can create templates to log start and stop times for each project, as well as the materials used. For example, jotting down the number of stitches, thread changes, and stabilizer swaps helps you see patterns, are certain types of designs taking longer? Do you consistently change threads mid-project? Recognizing these habits early allows you to streamline your process.
How to Set Up Your Logging System
Let’s start with the basics. Open your preferred spreadsheet and set columns for date, project name, start time, end time, total stitching time, materials used, and notes. For instance, if your machine like the Janome Skyline S9 records up to 10, 000 stitches per project, you can input the stitch count along with the duration to see how efficiency varies between projects. Over time, this data helps you identify slow points, maybe adjusting stitch density or hoop placement reduces unnecessary time drains.
Some embroidery machines include built-in features like stitch counters or production logs. When available, these can save you the hassle of manual entry. For example, if your machine tracks stitch count automatically, it can be a quick reference when reviewing your logs. Combining these metrics with manual notes about fabric type or thread brand gives you a comprehensive picture of what influences your productivity.
Analyzing Your Production Data
Once you’ve gathered some data, it’s time to analyze. Look for recurring bottlenecks, maybe thread breaks increase during certain designs, or stabilizer adjustments slow things down. Setting aside time weekly or bi-weekly for review sessions lets you spot trends and pinpoint inefficiencies. For example, if you notice that hoop setup takes up a significant portion of your time, experimenting with different hoop sizes or mounting techniques might help.
Practical tips include comparing your actual project times against your initial estimates. Are you consistently underestimating how long certain projects take? Adjusting your expectations and setting realistic goals prevents frustration. A weekly review meeting, even if solo, can keep you motivated and focused on incremental improvement. This is also when you can plan targeted tweaks, like reducing thread change times by organizing your spools more logically or pre-threading certain colors.
Ultimately, consistency is key. By tracking, analyzing, and adjusting your workflow, you’ll find that your productivity not only increases but also becomes more predictable. Embroidery, after all, is a craft of patience and practice, and these steps help transform it into a more rewarding, less frustrating endeavor.
Tools and Equipment to Boost Embroidery Productivity Measurement
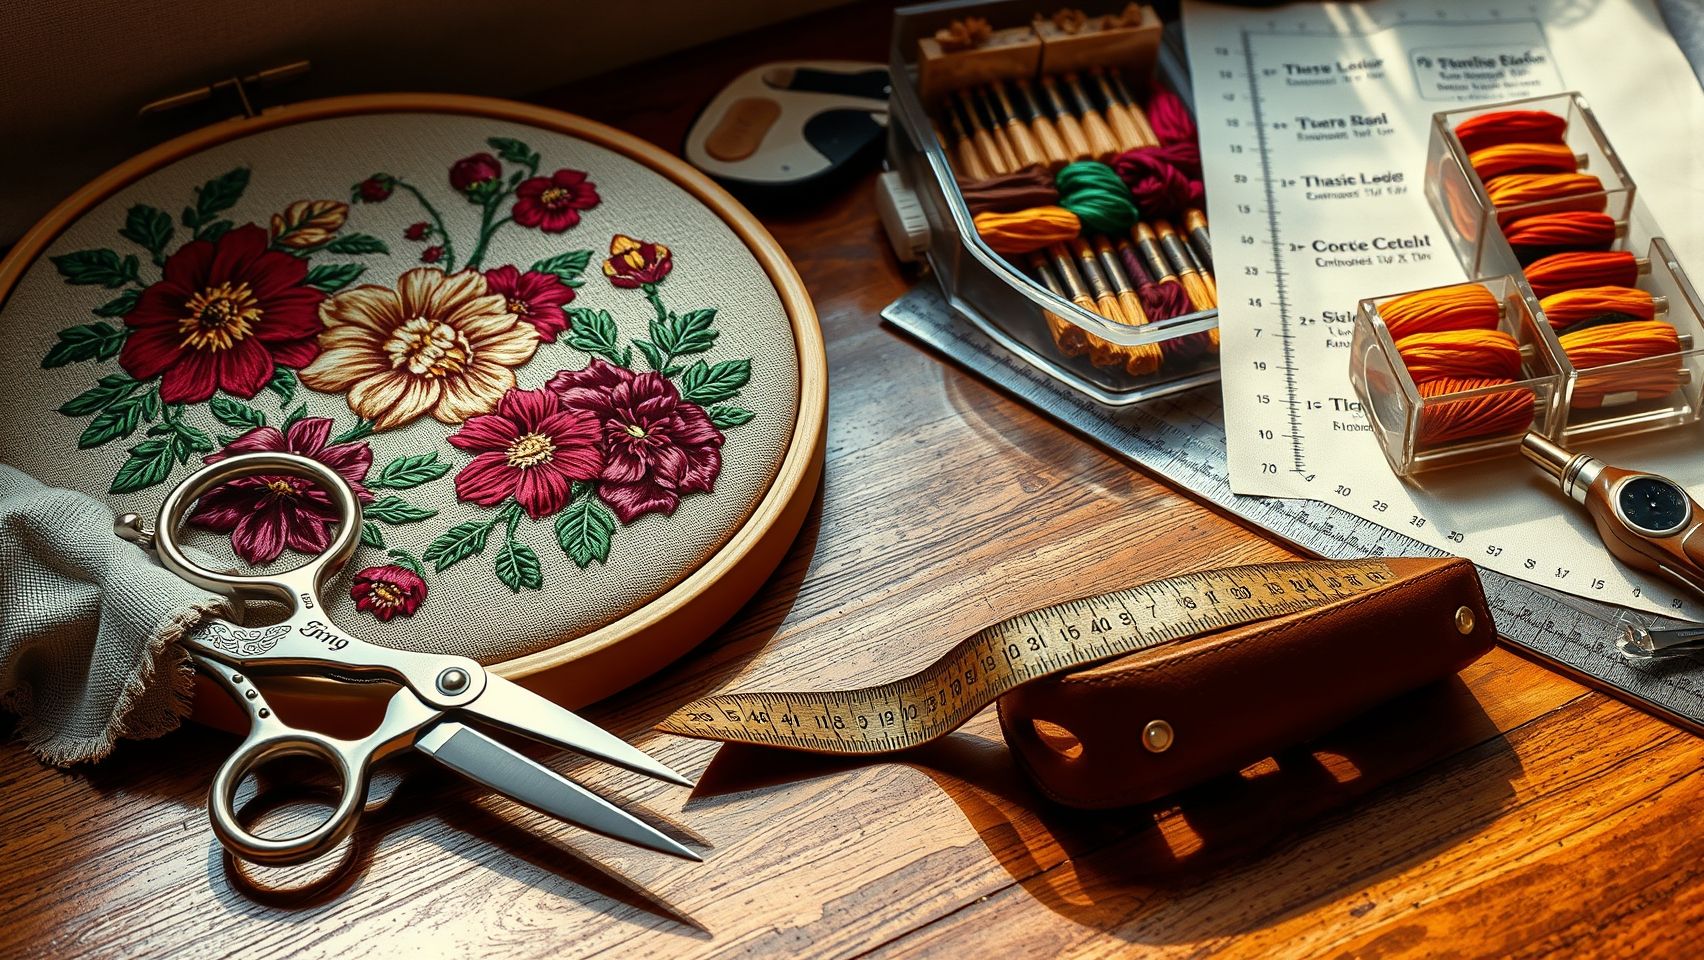
Tracking and improving embroidery machine productivity isn’t just about feeling your way through. It’s about equipping yourself with the right machines, software, and accessories that provide accurate data and streamline workflows. Today’s market offers sophisticated options that blend high-tech features with practical usability, making it easier than ever to monitor, analyze, and boost your output.
High-Quality Embroidery Machines with Productivity Features
Beginning with the core, your embroidery machine, investing in models like the Janome Skyline S9 or Brother Luminaire Innov-ís XP2 can significantly impact your efficiency. The Janome Skyline S9, for example, handles complex designs at a speedy 220 stitches per minute and costs around $3, 199. It’s equipped with features like an independent bobbin winder and broad stitching fields, ideal for large-scale projects. Likewise, the Brother Luminaire Innov-ís XP2 has advanced embroidery capabilities with intuitive productivity enhancements that save time during setup and stitching.
For those just starting out or working with a tighter budget, the Brother PE770 offers excellent value at approximately $1, 200. It includes built-in stitch counters and pattern editing, providing a good foundation for tracking productivity without a hefty investment.
Digitizing and Editing Software for Faster Workflow
Digitizing software like Embird, Wilcom Embroidery Studio, or Hatch is essential for quick, precise design creation and editing. These programs seamlessly integrate with compatible embroidery machines, allowing you to convert artwork into stitch files efficiently. For instance, Wilcom Embroidery Studio is renowned for its comprehensive tools that speed up digitization, directly translating to increased output. Embird, at about $400, offers a full suite of features suitable for mid-level users, but it requires a Windows PC. Hatch software is user-friendly and highly regarded for its intuitive interface and advanced automation, making it a favorite among hobbyists and professionals alike.
Hardware Accessories for Precise and Efficient Operation
To maximize machine uptime, accessories like multi-needle hoops, stabilizer rollers, and thread tension gauges are game-changers. Multi-needle hoops facilitate simultaneous stitching of multiple colors, reducing changes and speeding up production. LED lighting improves visibility, minimizing errors, especially in tight or detailed areas. Dedicated controllers allow for precise adjustments during operation, meaning fewer mistakes and less rework, saving both time and materials.
These accessories, combined with proper setup, significantly cut down on downtime and help maintain consistent quality, which ultimately boosts your overall productivity.
Data Collection and Real-Time Monitoring Tools
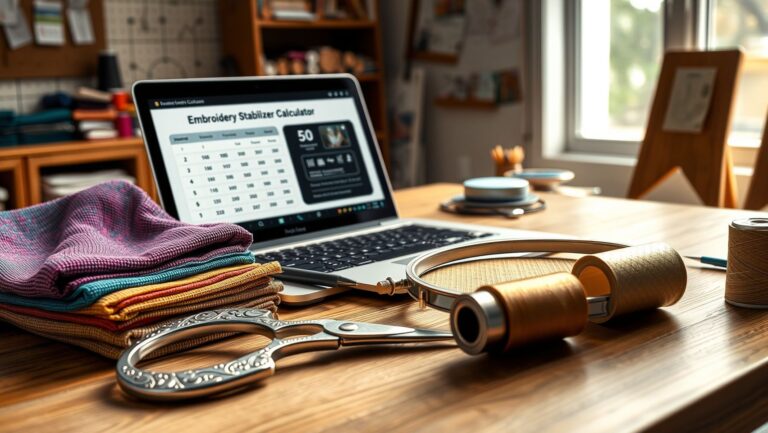
Keeping track of stitch counts and time spent on each project is easier with portable timers, digital stitch counters, or mobile apps designed for real-time logging. These tools help you identify bottlenecks and monitor progress more accurately. Some advanced embroidery software even offers built-in analytics, giving you a clear picture of your workflow efficiency over time. The key is to choose tools compatible with your machines and software platform, ensuring seamless data synchronization.
Learning to use these tools effectively takes some initial setup, but it pays off in enhanced insight and consistent productivity improvements. This way, your workflow not only becomes more efficient but also more predictable, making planning and scaling easier.
Analyzing Bottlenecks and Improving Embroidery Workflow
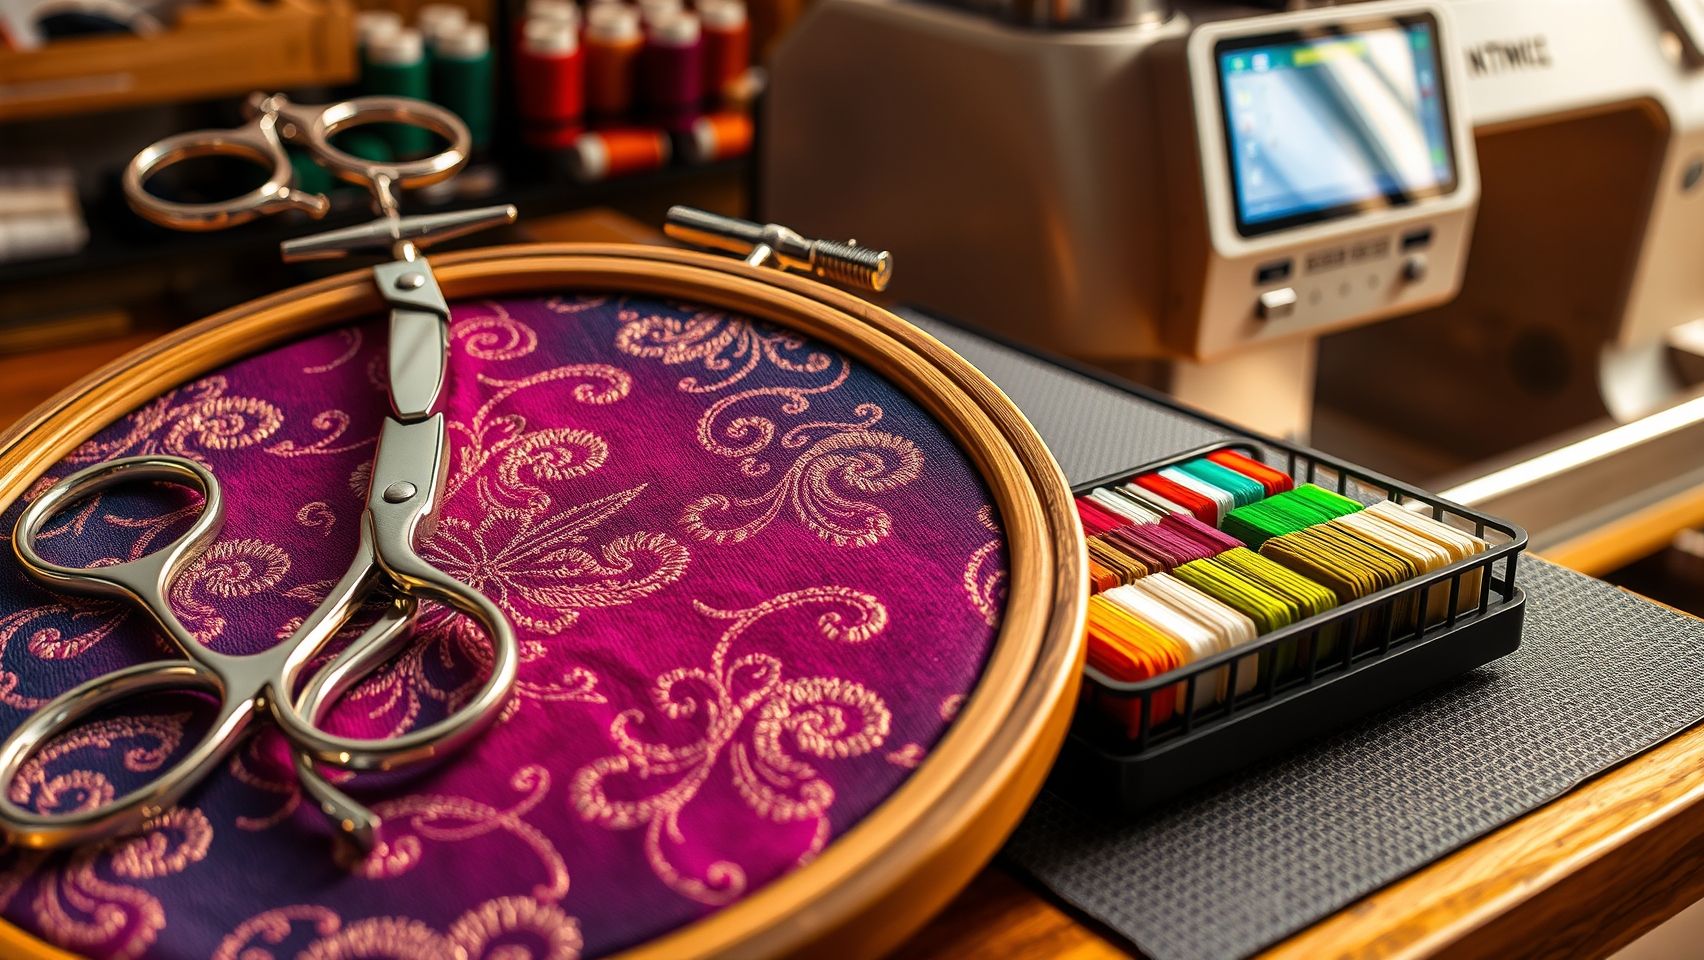
When you’re deep into a busy embroidery project, it’s easy to get caught up in the satisfaction of perfect stitches and vibrant colors. But if you want to truly boost your production efficiency, taking a step back to analyze bottlenecks can make a huge difference. Common snags like thread changes, stabilizer adjustments, or machine maintenance delays often quietly drain your time without you noticing. Recognizing these issues early lets you implement practical solutions that streamline your workflow and give you more time to focus on creating beautiful embroidery.
From personal experience, I’ve found that small tweaks, like organizing thread colors beforehand or routine machine checks, can shave hours off a project. Let’s explore some targeted strategies to identify these hurdles and keep your embroidery machine humming smoothly.
Identifying Common Bottlenecks in Your Workflow
First, it’s vital to pinpoint where delays most frequently occur. A good starting point is analyzing your project timelines and noting specific tasks that tend to slow down the process. Studies indicate that thread color changes, if not optimized, can account for up to 25% of total project time. This is because switching threads involves stopping the machine, re-threading, and sometimes recalibrating, which adds up quickly. Regularly pre-threading multiple bobbins or switching to one-needle embroidery modes can significantly reduce these pauses.
Stabilizer adjustments are another common bottleneck. Ensuring that stabilizers are correctly chosen and precisely applied minimizes the need for re-hooping or corrections mid-project. Additionally, overlooked maintenance, like cleaning lint from the bobbin case or lubricating moving parts, can cause mechanical delays or even machine breakdowns, which manufacturer data shows can be reduced by about 40% with a routine schedule.
Using workflow analysis tools, some embroidery pros track each station’s performance to identify the slowest points, whether it’s hooping, thread switching, or unforeseen technical issues. Once identified, targeted adjustments can expedite these stages, lifting overall productivity.
Implementing Practical Solutions for a Smoother Workflow
Standardizing setup procedures is a simple yet effective way to avoid bottlenecks. For example, establishing a consistent hooping method paired with quick-release frames can save around 15% per project, according to workflow studies. Training operators on quick-change techniques and troubleshooting common issues also pays off, reducing downtime and increasing confidence with complex designs.
Alongside process tweaks, regular maintenance is crucial. Following your machine manufacturer’s recommended schedules, cleaning components, and using quality thread and stabilizer materials prevent unexpected breakdowns. Interestingly, some embroidery shops have adopted digital diagnostic tools and AI-driven workflow analysis to predict and prevent issues before they occur, these innovations have proven to be game-changers in cutting down delays and boosting output.
All these practical steps, combined with a mindful approach to process management, turn a cumbersome embroidery operation into a smoothly flowing creation station, leaving you more time to craft, experiment, and ultimately, enjoy your embroidery journey.
Calculating Return on Investment (ROI) for Embroidery Productivity Tools
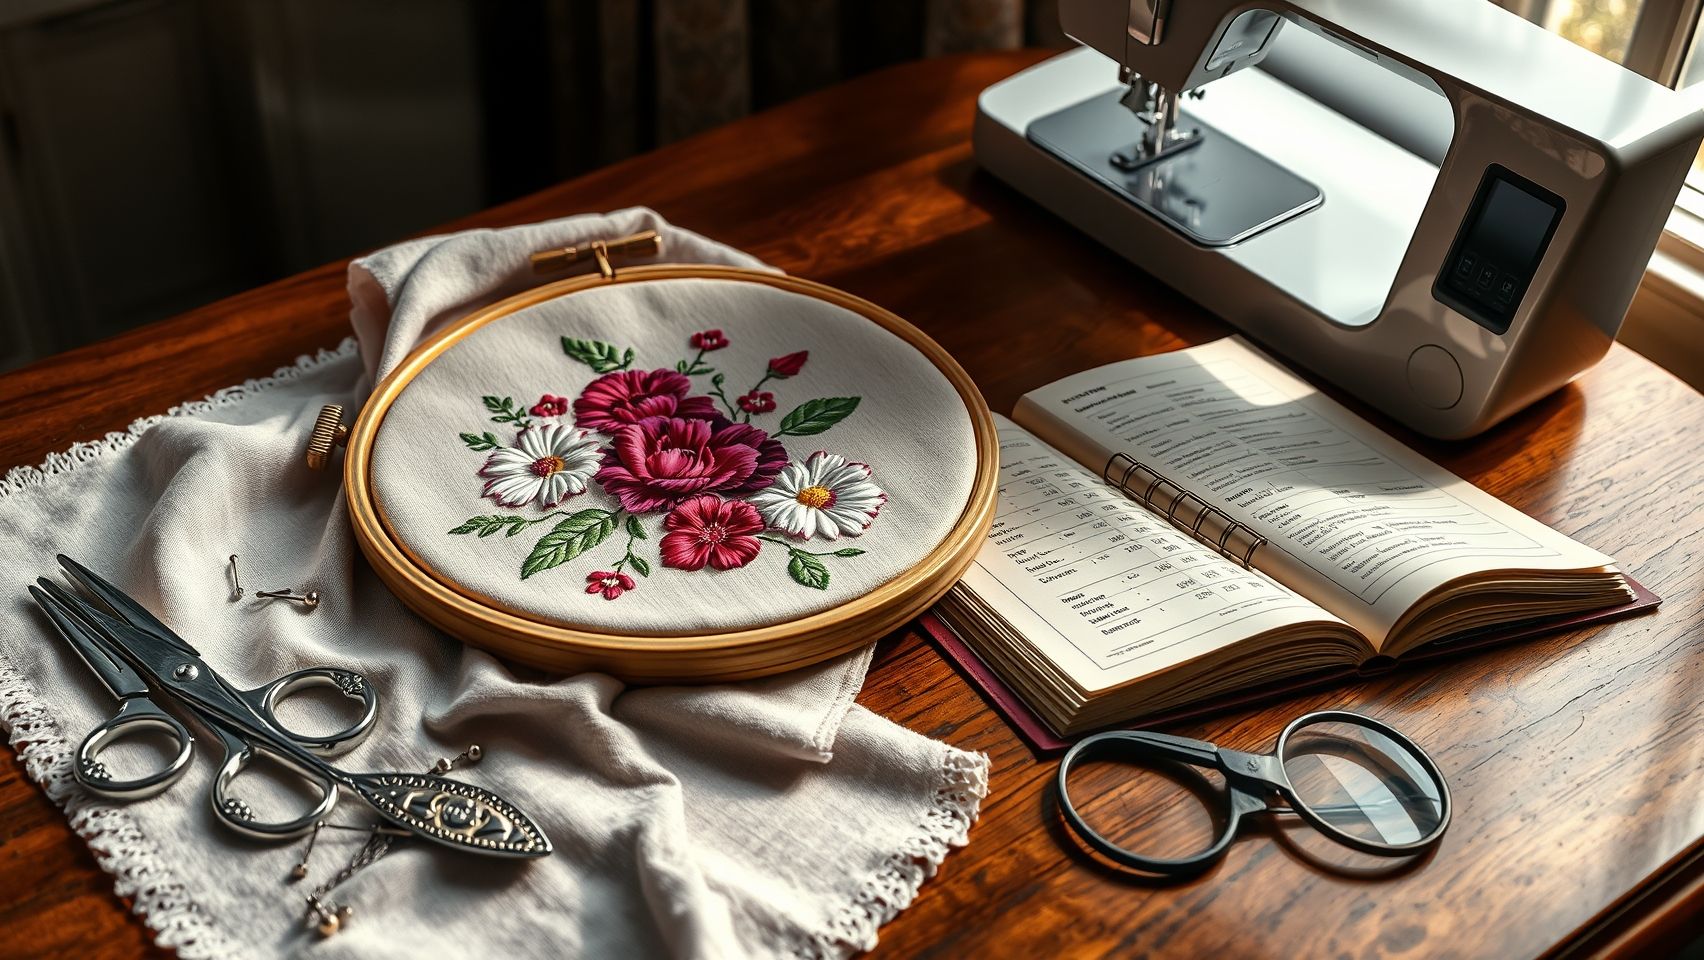
Investing in the right embroidery machine and efficiency measurement tools can significantly boost your productivity and profitability. But how do you determine whether a specific upgrade or new software is truly worth it? The key lies in a detailed cost-benefit analysis, focusing on tangible financial gains against initial investment costs. Let’s walk through the essential steps to evaluate your ROI, supported by real-world examples and practical insights.
Assessing Initial Investment Costs
Begin by listing all upfront expenses, these include the purchase price of new machines, software licenses, and accessories like digitizing tablets or embroidery attachments. For example, a small embroidery workshop might invest around $8, 000 for a high-end computerized machine such as the Brother Luminaire, paired with specialized digitizing software like Wilcom, which could cost an additional $2, 000. Keep in mind, these figures are rapidly evolving; recent data indicates that market prices for advanced embroidery equipment have stabilized, making quality investments more accessible than ever.
Estimating Productivity Gains
Next, evaluate how much these new tools can improve your output. Industry studies show that upgrading to a computerized embroidery machine combined with advanced digitizing software can boost throughput by approximately 25%. In real terms, a small workshop generating $15, 000 in monthly revenue might see an increase of $3, 750 monthly, an impressive gain that quickly offsets the initial expenditure. Over a year, this can translate into an additional $45, 000 in revenue, significantly enhancing your ROI.
Calculating Payback Periods
To determine how soon the investment pays off, divide the total initial costs by the monthly net gains. Using our example, a $10, 000 investment leading to an extra $3, 750 monthly income results in a payback period of just under three months. For larger setups, such as upgrading to a more efficient machine costing around $20, 000, and achieving similar gains, the payback time usually falls within 6-8 months, as supported by recent market data.
Additional Tangible Benefits
Beyond increased sales, improvements in efficiency also reduce costs associated with material waste, machine downtime, and labor. For instance, utilizing upgraded software can optimize stitch paths, minimizing thread consumption by approximately 10%, and significantly reducing fabric wastage. Similarly, real-time monitoring tools decrease unexpected machine halts, saving hours annually, leading to smoother operations and better resource utilization.
Comparing Tools and Methods
When selecting among various productivity measurement tools, focus on their cost-effectiveness and compatibility with your workflow. For example, some platforms offer comprehensive analytics that track every aspect of your production, enabling you to pinpoint bottlenecks and optimize accordingly. Others might provide simpler, more affordable options that still deliver valuable insights with less complexity. Evaluating these trade-offs ensures you choose a setup tailored to your specific needs.
Conclusion
Embroidery machine productivity measurement tools are transforming the way professionals approach their craft. By tracking workflows, analyzing bottlenecks, and adopting innovative solutions like automation and IoT capabilities, you can unlock new levels of efficiency and quality in your work. The key takeaway is that small, consistent adjustments, such as implementing a basic time tracking system or reviewing your processes regularly, can lead to substantial improvements over time.
Remember, patience and practice are essential as you integrate these tools into your routine. Your expertise grows with each step, turning data into actionable insights that refine your craft. Embroidery excellence is a journey, one that blends tradition with innovation, elevating your artistry and business alike.
Start today: set up a simple tracking system, review your workflow for bottlenecks, and plan your investment in productivity tools. These steps will not only boost your output in the coming months but also reinforce your position as a dedicated and skilled embroiderer. Keep your passion alive and let your creativity flourish, your potential is limitless, and the art of embroidery continues to evolve with you.
As you embrace these changes, remember that every stitch you master brings you closer to the mastery you aspire to attain. Happy stitching!