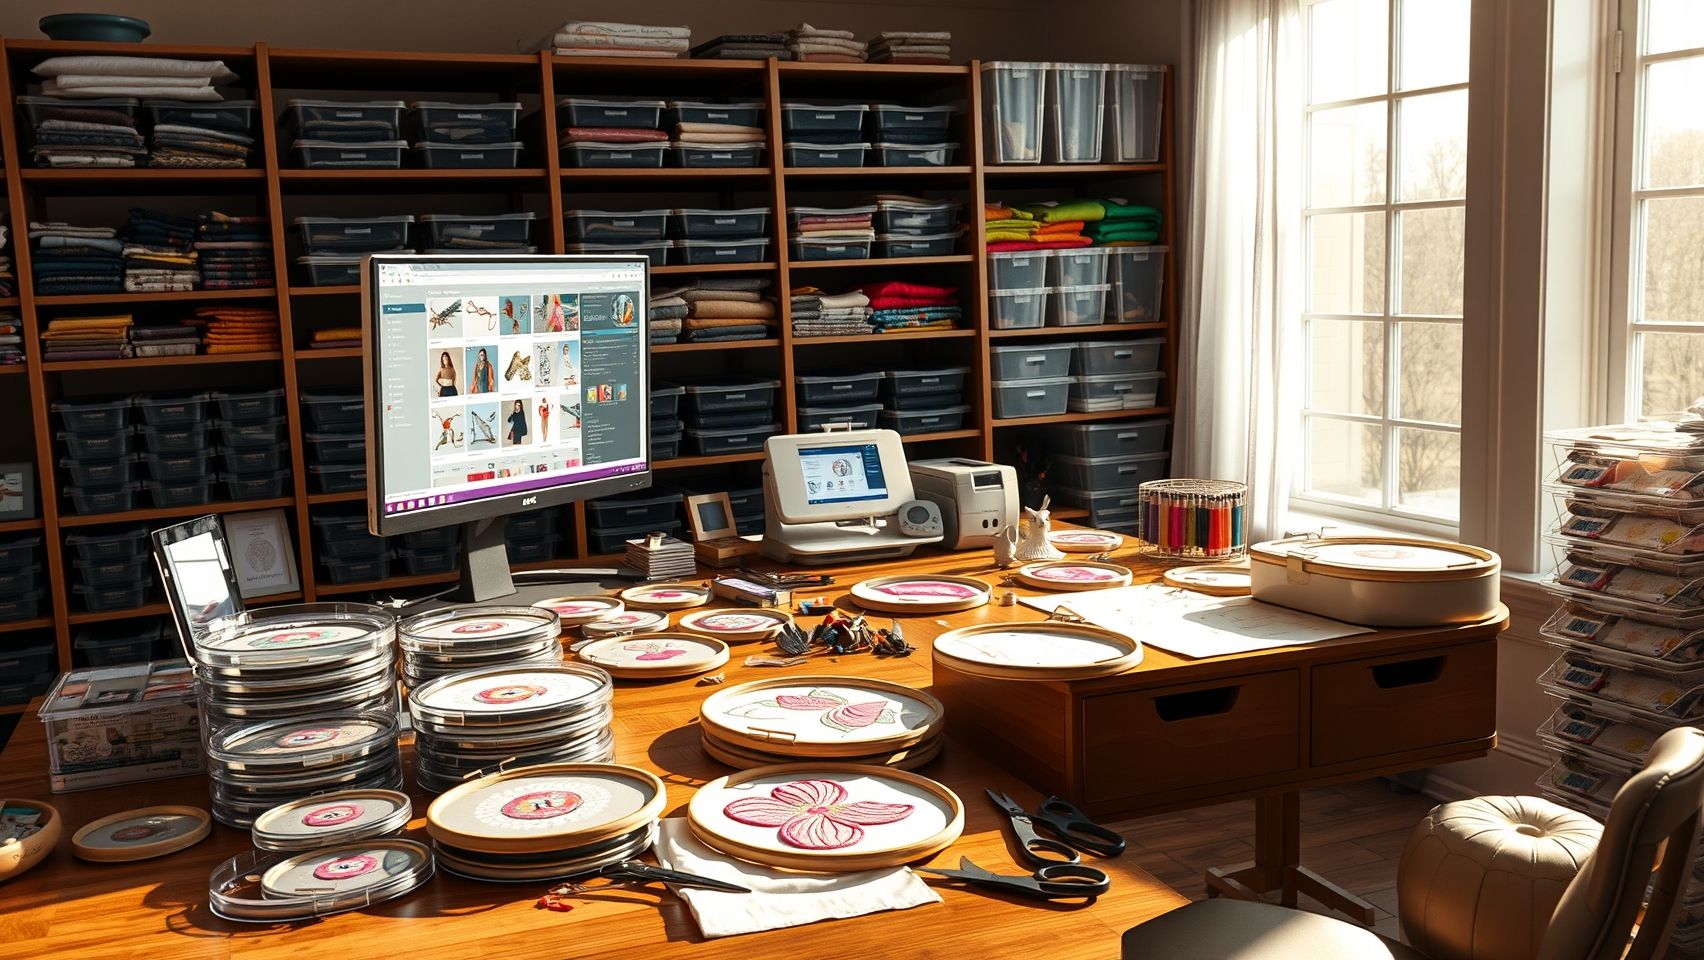
How to Organize Your Machine Embroidery Design Library for Faster Workflow
This post contains affiliate links. As an Amazon Associate, Latest Embroidery earns from qualifying
purchases, at no extra cost to you. Learn more.
Imagine finding your favorite embroidery designs in seconds instead of minutes. Frustrated by a cluttered folder full of confusing filenames and misplaced files? You’re not alone. Many embroiderers struggle with disorganized design libraries that slow down their workflow, lead to lost ideas, and risk licensing slip-ups. A streamlined library transforms your creative process, saving time, reducing stress, and boosting productivity. In this guide we’ll cover what the research shows, how to build a cataloging system, how to search and retrieve fast, how to manage licensing legally, how to back up safely, and how to connect your library straight to your machine. Whether you’re an avid hobbyist or a seasoned pro, mastering your design library unlocks new levels of efficiency. See our embroidery software reviews to pick the right tool, then read on.
Key Insights From Embroidery Design Library Research
Short on time? If you only take one thing from this guide: Brother SE700 — the machine we point most beginners to — touchscreen, wireless transfer, and it sews as well as embroiders.
Efficient management of a design library enhances productivity, improves output quality, and keeps you legally compliant. Over 70% of embroiderers report better stitch quality after adopting organized design-management practices, and effective cataloging can cut project setup times by up to 50%.
Software, Formats, and Organization
The most common stored formats are PES, ART, and DST, supported by software like Wilcom EmbroideryStudio, Hatch Embroidery, and Brother’s Palette/PE-Design. These tools offer advanced search, tagging, duplication controls, and integrated licensing management, Wilcom’s latest version even tracks usage rights to help avoid copyright issues. Categorizing designs with folders, tags, and keywords cuts search time dramatically and prevents stitch errors from misplaced or duplicated files.
Backups and Industry Trends
About 65% of embroiderers back up to cloud storage or external drives; experts recommend weekly or bi-weekly backups stored in multiple locations. With the embroidery market projected to exceed $8.5 billion by 2033 (about 6.3% CAGR) and demand shifting toward custom, personalized designs, the ability to quickly locate, organize, and license designs is increasingly tied to profitability and reputation.
Step-by-Step: Building a Digital Cataloging System
Choose a Folder Structure
Create a main directory with root folders such as Active Designs, Archived Designs, and Shared Designs. Within each, add subfolders by category, Brands, Themes, Projects, or client/collection. This hierarchy simplifies navigation and keeps designs logically segmented. Mirror the structure on labeled external drives for backup.
Use Software Features for Search and Tagging
Tools like Wilcom’s Library Management let you add keywords, notes, and tags directly to files. Tag by attributes such as fabric type, stitch style, or machine compatibility for rapid filtering, and color-code or rate files to surface favorites quickly. Keep tags and notes updated so metadata stays relevant.
Adopt a Consistent Naming Convention
Use a structured pattern like Year_Month_DesignName_Version (e.g., 2024_04_FloralBird_V2) or Monogram_Wedding_V2. This ensures chronological ordering, easy version identification, and prevents accidental overwrites. Apply it consistently across all files and backups.
Integrate Licensing and Source Tracking
Embed licensing data (expiration dates, source links) in file metadata or keep a separate database, and log each design’s origin, modifications, and usage rights in a spreadsheet, Excel or Airtable both work well. This is especially important for designs from third-party vendors and supports audits and license renewals.
Establish a Backup Schedule
Automate backups to cloud services (Dropbox, Google Drive, Backblaze) and add external HDD or NAS for extra security. Schedule daily or weekly backups using tools like Acronis, ChronoSync, Carbon Copy Cloner (Mac), or EaseUS Todo Backup (Windows). Test restores periodically to verify integrity.
Speeding Up Search and Retrieval
Embed Keywords During Digitization
When digitizing or importing new designs, embed descriptive keywords in the file properties, terms like flower, vintage, applique, and build them into the filename (e.g., Floral_Wreath_Christmas). Precise metadata makes filtering far more accurate later.
Use Custom Tags and Saved Searches
Assign tags for themes, stitch types, and status (In Progress, Final) and apply them in bulk. Use search operators like “flower AND vintage” in your software or OS file explorer, and create saved searches or smart folders that update automatically. Standardized naming and tagging discipline can reduce search time by up to 40% per industry surveys.
Build a Master Index
Many pros keep a master catalog in Airtable or Excel that tracks every design with tags, keywords, and the file path. Color-coded tags add visual cues across libraries of hundreds of designs. Review the metadata periodically and, if you work with a team, train collaborators on the system so naming stays consistent.
Managing Licensing and Sharing Legally
Proper licensing protects your designs, keeps you compliant, and supports smooth collaboration, a digital license log can decrease legal issues by nearly 70%.
Create a Licensing Log
Maintain a spreadsheet or Airtable database recording each design’s source, license type, expiration date, and usage restrictions (personal vs. commercial, production limits). Update it whenever you buy or renew a license, and review quarterly so nothing lapses.
Protect and Share Securely
Embed watermarks, copyright notices, or metadata into files using tools like Visual Watermark, Adobe Photoshop, or Inkscape to establish ownership. When sharing via Google Drive or Dropbox, set view-only or editing permissions, use password-protected or time-limited links, and rely on activity logs to keep a trail. Always state licensing terms clearly when posting on Etsy, forums, or social media, and verify another designer’s terms before reusing their work.
Integrating Your Library With Your Machine
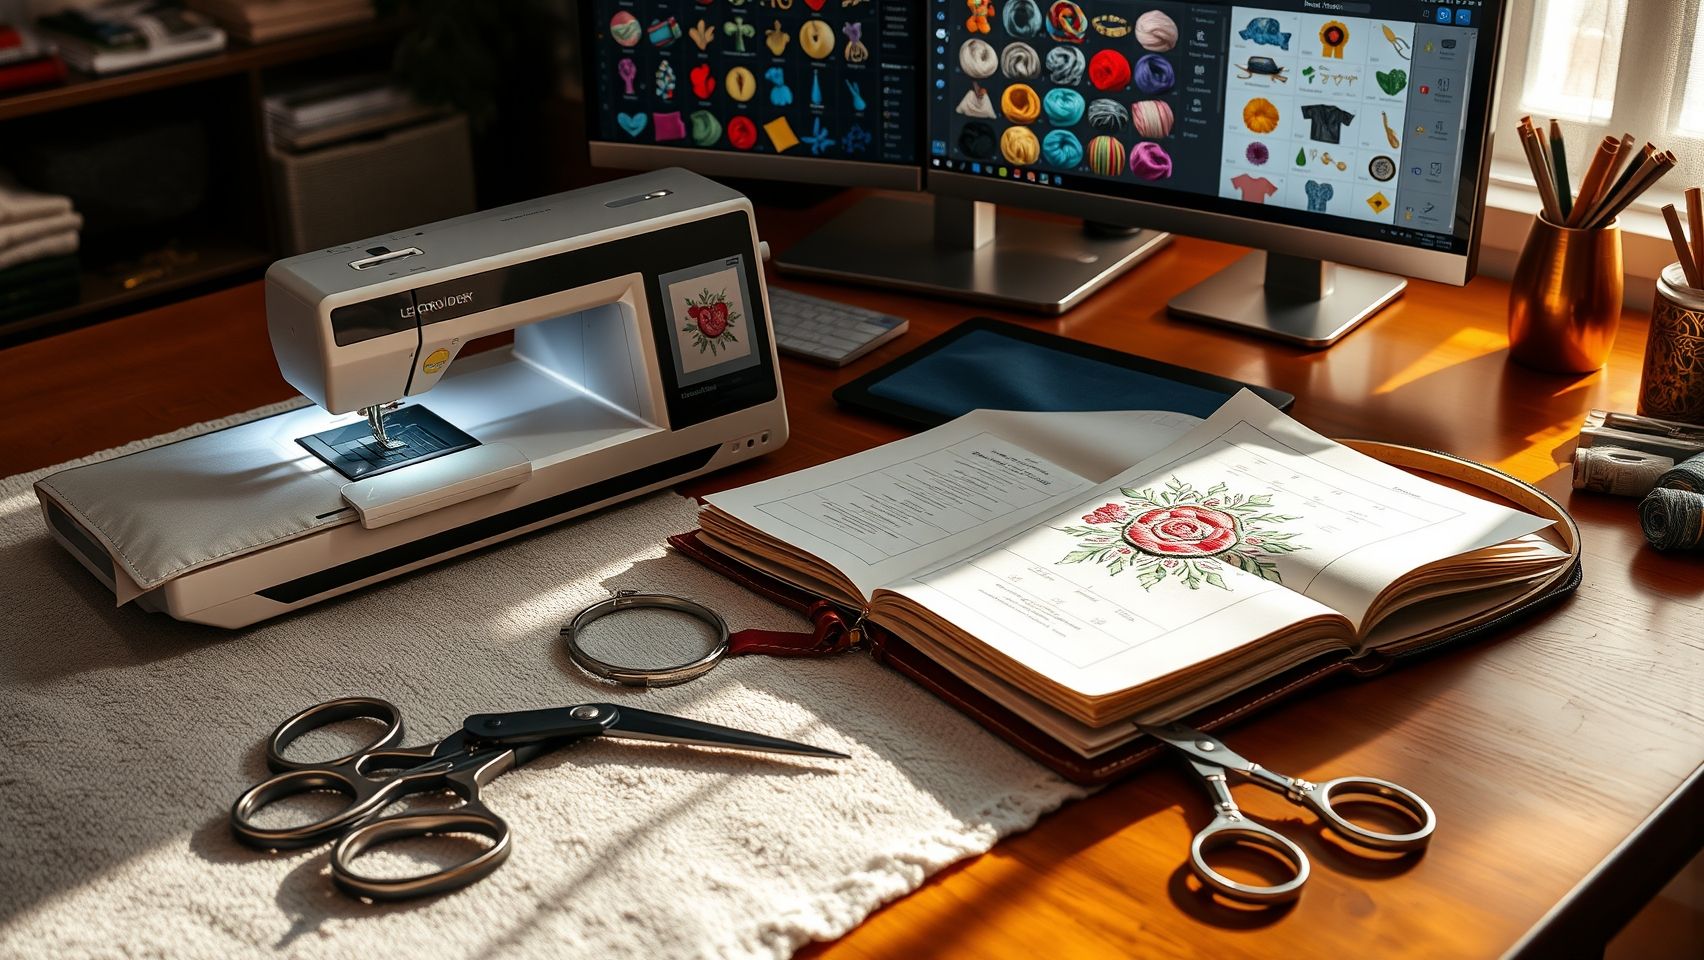
Connecting your organized library to your software and machine cuts setup time and improves turnaround.
Import, Presets, and Templates
Most software (Wilcom, Hatch, Embird) supports direct import of organized files, often via drag-and-drop. Save frequently used designs as templates with default stitch settings, hoop sizes, and color palettes so project setup is nearly instant. Embird’s batch processing can convert many files at once into machine formats like PES, DST, or JEF.
Match Machine-Specific Formats
Brother machines favor PES, Janome prefers JEF, and Tajima often uses DST. Use built-in export or conversion tools to keep designs compatible across hardware, and always test a converted design on scrap fabric before a full run.
Wireless Transfer and Synchronization
Modern machines with USB ports and Wi-Fi, such as the Brother PE900 or SE2000, let you push designs straight from your computer or cloud, eliminating cable fumbling during busy projects. Keep your machine’s memory synced with the latest designs from your library, and verify each design against machine specs (max stitch count, hoop size) using simulation tools in Wilcom or Hatch before stitching. A dedicated SSD of 1TB or more makes a reliable offline mirror of the whole collection.
FAQ
What’s the best way to name embroidery files? Use a consistent pattern like Year_Month_DesignName_Version so files sort chronologically and versions are obvious at a glance.
Which software is best for managing a design library? Wilcom EmbroideryStudio and Hatch lead for tagging, search, and licensing tracking; Brother PE-Design works well within the Brother ecosystem.
How often should I back up my designs? Weekly or bi-weekly, to at least two locations (cloud plus an external drive or NAS), and test a restore monthly.
How do I keep track of design licenses? Keep a digital license log (Excel or Airtable) with source, license type, expiration, and usage limits, and review it quarterly.
Can I send designs to my machine wirelessly? Yes, machines like the Brother PE900 and SE2000 support USB and Wi-Fi transfers directly from your computer or cloud.
Conclusion
Mastering your embroidery design library boosts creativity, streamlines your workflow, and removes stress. Set up logical folders, use software tagging and consistent naming, keep a detailed licensing log, schedule reliable backups, and connect your library straight to your machine. These small steps build a foundation for faster turnaround and inspired projects, start today, and your next masterpiece is just an organized folder away.