How to Correct Embroidery Distortion with Push Pull Compensation Techniques
Are your embroidered designs twisting, pulling out of shape, or gapping unexpectedly? If you’ve ever been frustrated by distorted motifs when stitching on different fabrics, you’re not alone. Many embroiderers, both at home and professionally, face this challenge, especially when working with tricky textiles or complex designs. What if I told you there’s a practical way to significantly reduce or even eliminate this kind of distortion? Enter push pull compensation, a technique that smartly adjusts your design before it even hits the fabric.
This method isn’t just guesswork; it’s grounded in understanding how fabric stretches and how embroidery software can help you anticipate and correct distortions. The key lies in choosing the right stabilizer, mastering your machine’s settings, and applying precise adjustments, sometimes using software tools that make the process straightforward, even for beginners. Whether you’re embellishing garments for a boutique or creating custom items for clients, knowing how to use push pull compensation can elevate your results and save you time in the long run.
So, if you’re tired of ruining those perfect designs with preventable distortion, keep reading. We’ll explore step-by-step techniques and insider tips that will help you produce consistently professional embroidery, no matter the fabric or design complexity.
Understanding Embroidery Distortion and Its Causes
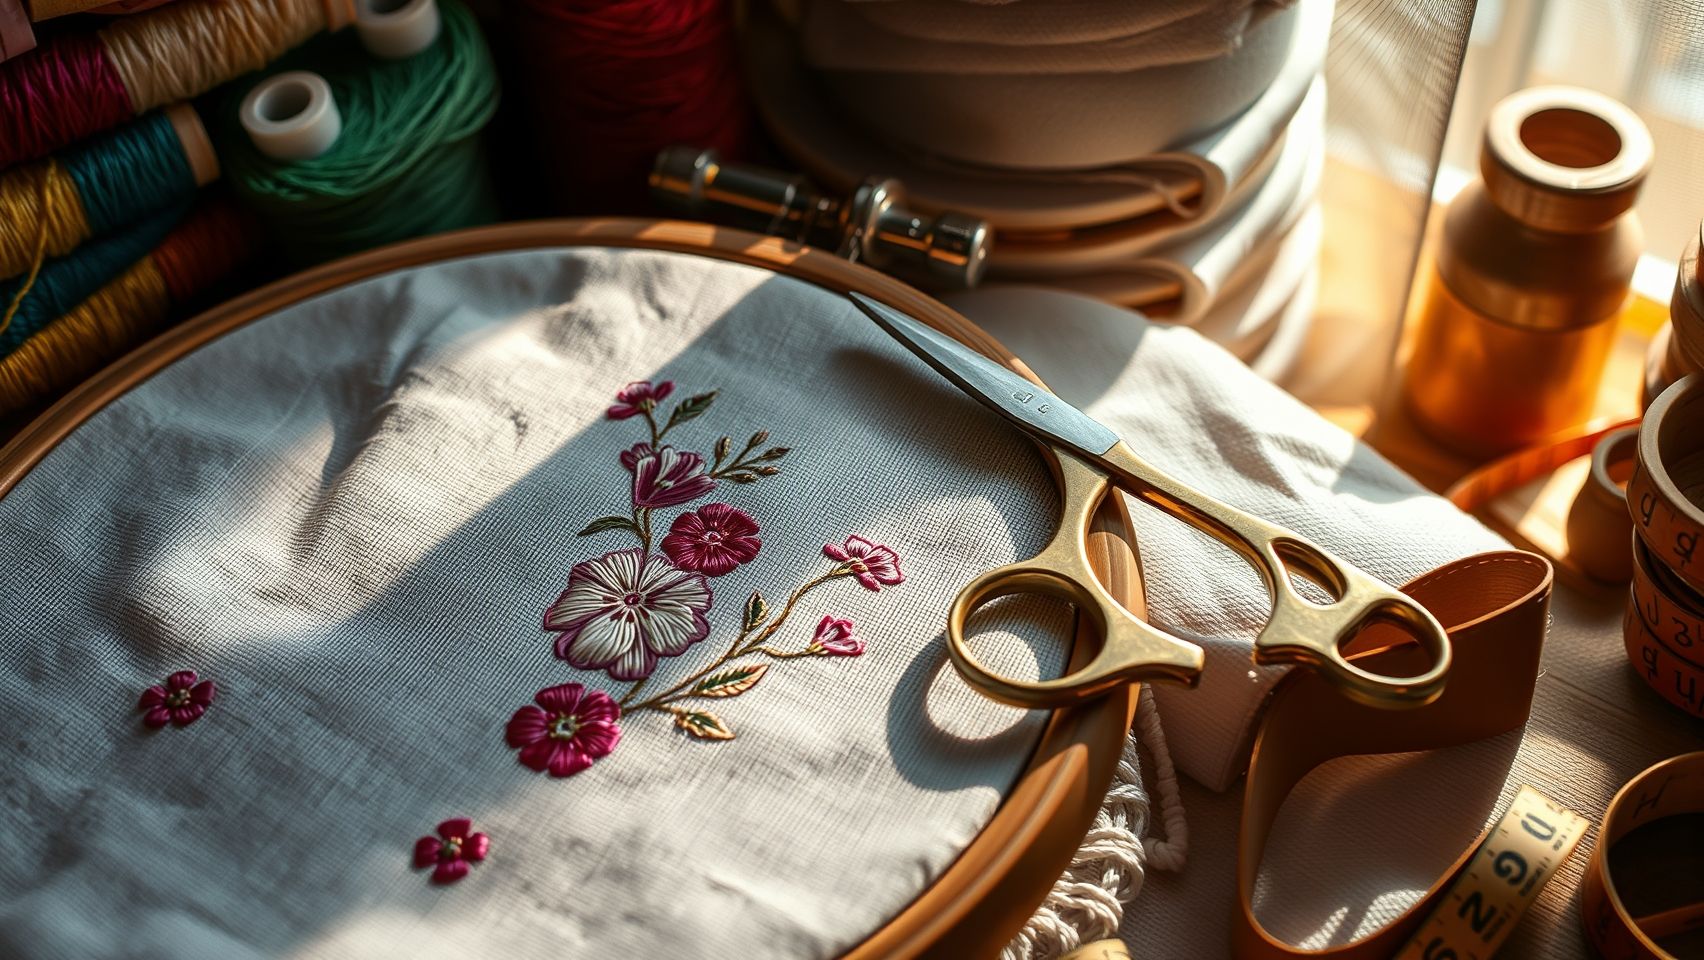
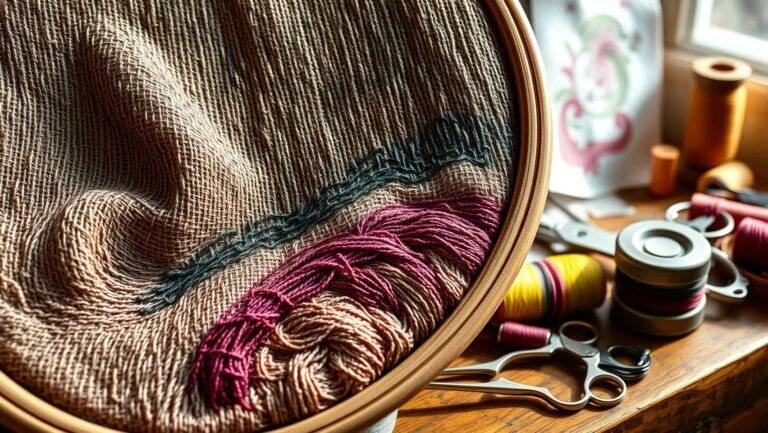
Embroidery distortion is one of the most common frustrations for both beginners and seasoned pros. It can turn a perfectly digitized design into a wavy, misaligned mess, and understanding its root causes is key to fixing and preventing it. At the heart of the issue lies fabric tension, type, and the use of stabilizers, these are the foundational factors that influence how much a design will distort during stitching.
Many embroiderers unknowingly make simple mistakes like improper hooping or setting stitch density too high. These errors can cause fabric to shift, puckering, or stretching, especially on delicate or stretchy fabrics. Research highlights that about 25% of users experience pattern misalignment and thread breakage, often linked to incorrect tension settings or fabric choice. Before starting, it’s critical to analyze your fabric’s stretch and weave, fabrics with significant elasticity tend to deform more under needle pressure and hoop tension, leading to distortion.
In addition, machine settings like speed and tension adjustments can inadvertently worsen these issues. For example, sewing too fast on lightweight fabrics without proper stabilization often results in puckered designs. Using the right stabilizer, whether cut-away, tear-away, or sticky back, supports your fabric during embroidery, reducing the chances of distortion. Yet, even the best stabilizer can’t fully compensate if tension settings aren’t dialed in correctly or if hooping is sloppy.
Understanding these interconnected factors provides the essential groundwork for mastering push-pull compensation techniques later. By paying close attention to fabric characteristics, tension, and stabilizer selection, you set the stage for smooth, flawless embroidery outcomes, paving the way for more advanced adjustments like push and pull compensation.
Step-by-Step Guide to Apply Push Pull Compensation in Your Embroidery
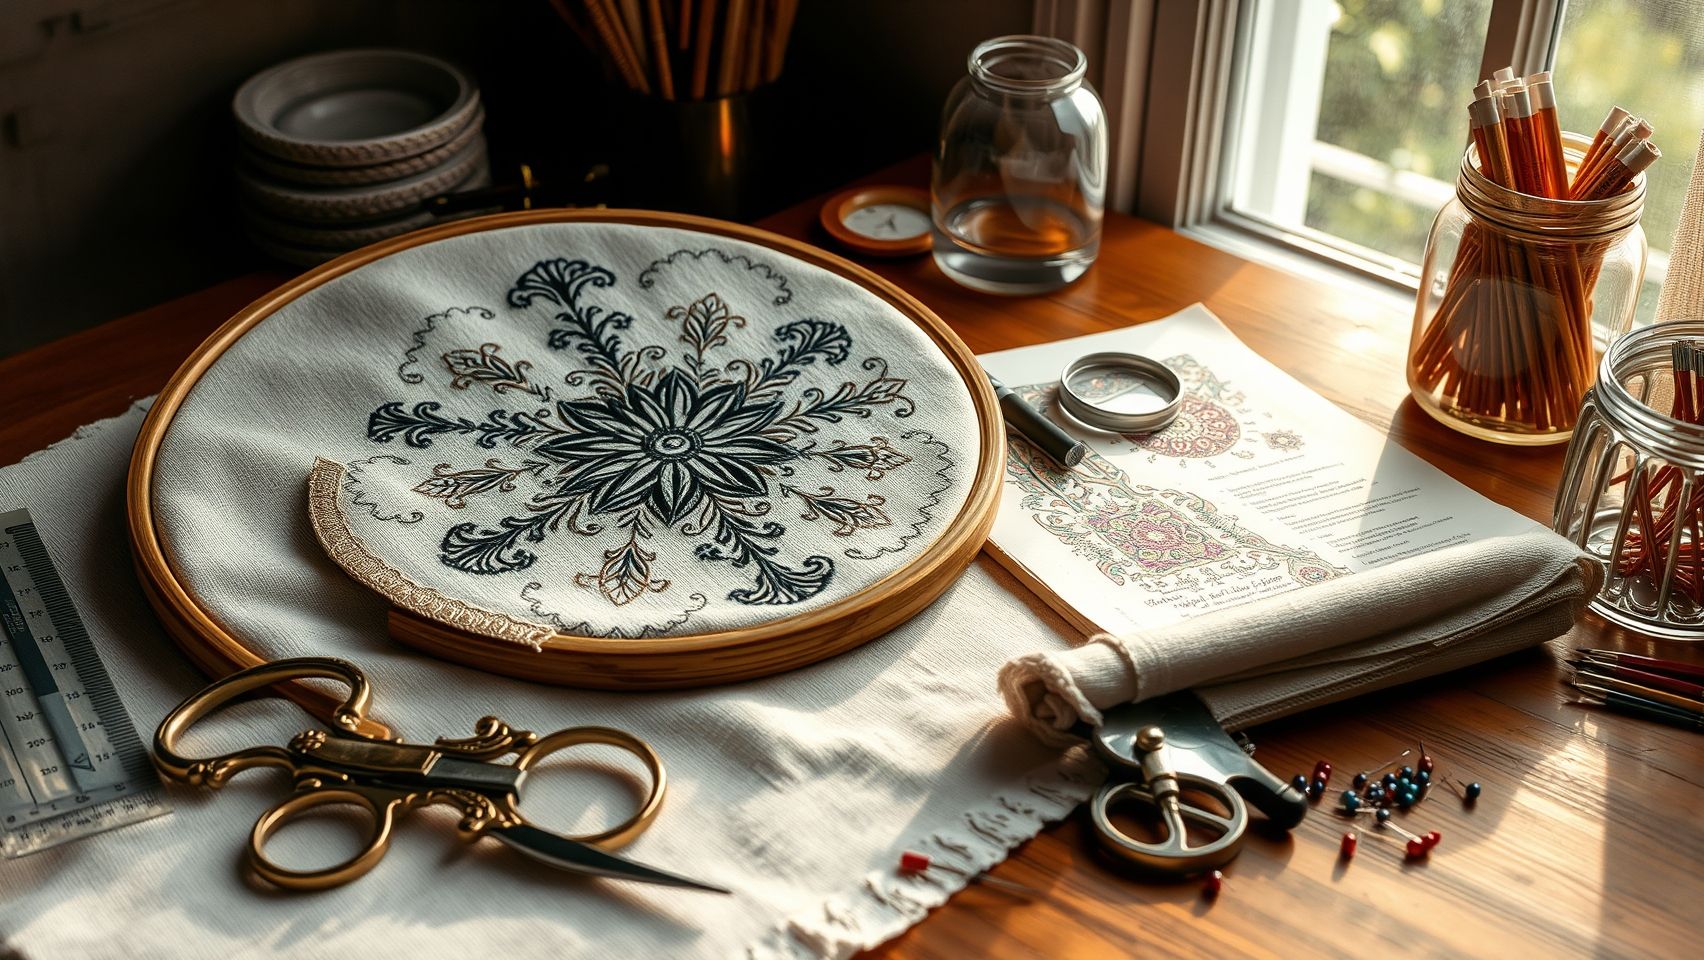
If you’ve ever stitched out a design only to find that curves look distorted or letters are uneven, you’re not alone. Push pull compensation is a game-changer for precision embroidery, especially on fabrics prone to distortion. The process might seem daunting at first, but once you get the hang of it, you’ll appreciate how much smoother your finished projects turn out. Let’s walk through the practical steps to implement this technique seamlessly using embroidery software and machine adjustments.
Selecting Your Embroidery Software
First things first, you need compatible software that supports push pull adjustments. Popular choices like Hatch 3.0, Wilcom Embroidery Studio 7, and Brother PE-Design all have tools that let you manually tweak stitch placement. For example, Hatch’s push pull feature allows you to adjust the position of individual stitches with precise control, which is critical when dealing with complex designs or delicate fabrics. Make sure your software is updated to the latest version to access the newest features and bug fixes, recent updates often enhance the accuracy and usability of push pull tools.
Loading and Analyzing Your Design
Load your design into the software and zoom into problem areas, these are usually curves, text, or intricate details that tend to distort. A good tip from seasoned embroiderers is to look at the design on-screen and imagine how the fabric might stretch or pull during hooping. By pinpointing these zones, you’ll know where your adjustments need to happen. Look for the push pull adjustment tool, often a slider or direct stitch editing feature, and get ready to make some precise edits.
Applying Push Pull Adjustments
Start with small adjustments, around +0.5 mm for pulling stitches outward and -0.3 mm for pushing them inward, then perform a test stitch on a scrap piece of similar fabric. Observe how the design deforms and refine your push pull values accordingly. It’s a bit of trial and error, but many embroiderers find that iterative testing reduces distortion by up to 30-40%. Remember, sometimes a slight tweak makes all the difference in achieving sharp, clean lines. When you’re satisfied, save these settings as a template for future projects to save time down the line.
Synchronizing Hardware Adjustments
The software tweaks work best when paired with proper hooping tension and stabilizer placement. For instance, increasing hoop tension slightly helps keep the fabric taut, minimizing distortion. Using high-quality stabilizers like tear-away or 3D can also reinforce the fabric, especially when working with stretchy or lightweight materials. Adjust these mechanical factors in tandem with software corrections, and you’ll notice a significant improvement in stitch accuracy and overall finish.
Documenting Your Settings
Once you’ve nailed the perfect push pull adjustments, document the specific values and stitch settings used. Keep a dedicated notebook or digital file handy, this can save hours on future projects. Consistency is key, and having a go-to set of parameters helps streamline your workflow. Over time, you might develop different profiles for various fabrics and designs, making each subsequent embroidery smoother and more predictable.
Choosing the Right Fabric and Stabilizer to Minimize Distortion
Embroidery isn’t just about beautiful stitches and vibrant threads; the fabric you choose plays a pivotal role in achieving a flawless design. For those just starting out or aiming for precision, selecting a stable, tightly woven fabric can significantly reduce the need for aggressive push-pull corrections. Fabrics like twill, denim, or poplin are excellent choices, they’re durable, less stretchy, and hold stitches well, meaning you won’t have to fight against a lot of fabric movement during operation.
When selecting stabilizers, quality makes all the difference. High-quality cut-away or steel-insert stabilizers provide a strong foundation, especially for complex designs or projects that will be handled a lot, like wall art or in-the-hoop creations. Brands such as Sulky, Madeira, or OESD offer reliable options that accommodate different fabric types and project demands. For quick, less intricate projects, tear-away stabilizers, costing roughly $10 per roll, can save time with easy removal, making them a favorite among hobbyists.
Impact of Fabric Stretch and Fiber Content
The stretchiness of your fabric can make or break push-pull efficiency. Woven fabrics like linen, canvas, or even hefty cotton are much more predictable, they resist stretching and distortion, maintaining their shape through repeated stitches. Knit fabrics, on the other hand, tend to be more elastic, which can cause your design to shift or distort, even with stabilizers. This is especially true with slippery or stretchy nylon fabrics, where embroidery can cause unexpected puckering or deformation.
For in-the-hoop projects and wall art, the choice of fabric combined with appropriate stabilizer greatly enhances the finished look. Heavyweight stabilizers like cut-away combined with stable fabrics ensure your design stays crisp and aligned. Conversely, lightweight stabilizers on stretchy fabrics often require more careful hooping and additional framing techniques to prevent skewing.
Brand and Material Considerations
When shopping for stabilizers, consider what aligns best with your project needs and budget. Sulky’s stabilizers are known for their durability and ease of use, making them excellent for detailed work. Madeira offers high-quality, smooth options that work well with delicate fabrics. OESD’s stabilizers often come with innovative features like extra stretch resistance or tear-away convenience, ideal for various applications.
Implementing Design Adjustments for Better Alignment
When working with embroidery designs, understanding how fabric and stitches behave is key to achieving perfect alignment. Often, even the most meticulous digitizing can result in slight distortions, especially on stretch fabrics or intricate lettering. The trick is to anticipate these changes during the design phase, applying small, incremental adjustments to compensate for potential stretch or pull. This approach saves time and frustration compared to endless trial-and-error sewing.
One of the most common methods is to pre-distort your design using embroidery software, so that the finished product looks just right after stitching. Many digitizing programs, like Wilcom, Pulse, or Hatch, include features to modify your design with built-in correction capabilities. For example, you can apply a reverse warp to tighten curves or reduce the size of lettering by a specific percentage to counteract expected stretch. These modifications are best done in small steps, think 5-10%, and then tested with a sample stitch-out.
How to Modify Designs for Optimal Fit
Begin by opening your design in the digitizing software. For instance, if you’re working in Wilcom or Hatch, locate the “Transform” or “Warp” tools. Applying a slight shrinkage, say, 10%, to your text or detailed areas can significantly improve final alignment. For curves, tightening them with a reverse warp can prevent them from spreading or becoming distorted. It’s like giving your design a little “pre-shaping” so it adapts to fabric behavior during sewing.
In real-world terms, I’ve found that adjusting the size of a letter by about 10% often yields near-perfect results, especially on stretchy knit fabrics. The key is to test, evaluate, and fine-tune. Run a small sample, then compare the stitched design to the original. If the letters still look a bit stretched or wonky, refine your pre-distortion. It’s a bit of a dance, but with practice, it becomes second nature.
Additionally, combining these design modifications with push-pull compensation techniques, where you physically stretch or pull the fabric slightly during stitching, can maximize accuracy. The synergy of software corrections and on-bitch adjustments leads to cleaner, more professional-looking embroidery, saving you time and material waste in the long run.
Recommended Tools, Machines, and Software for Precision Embroidery
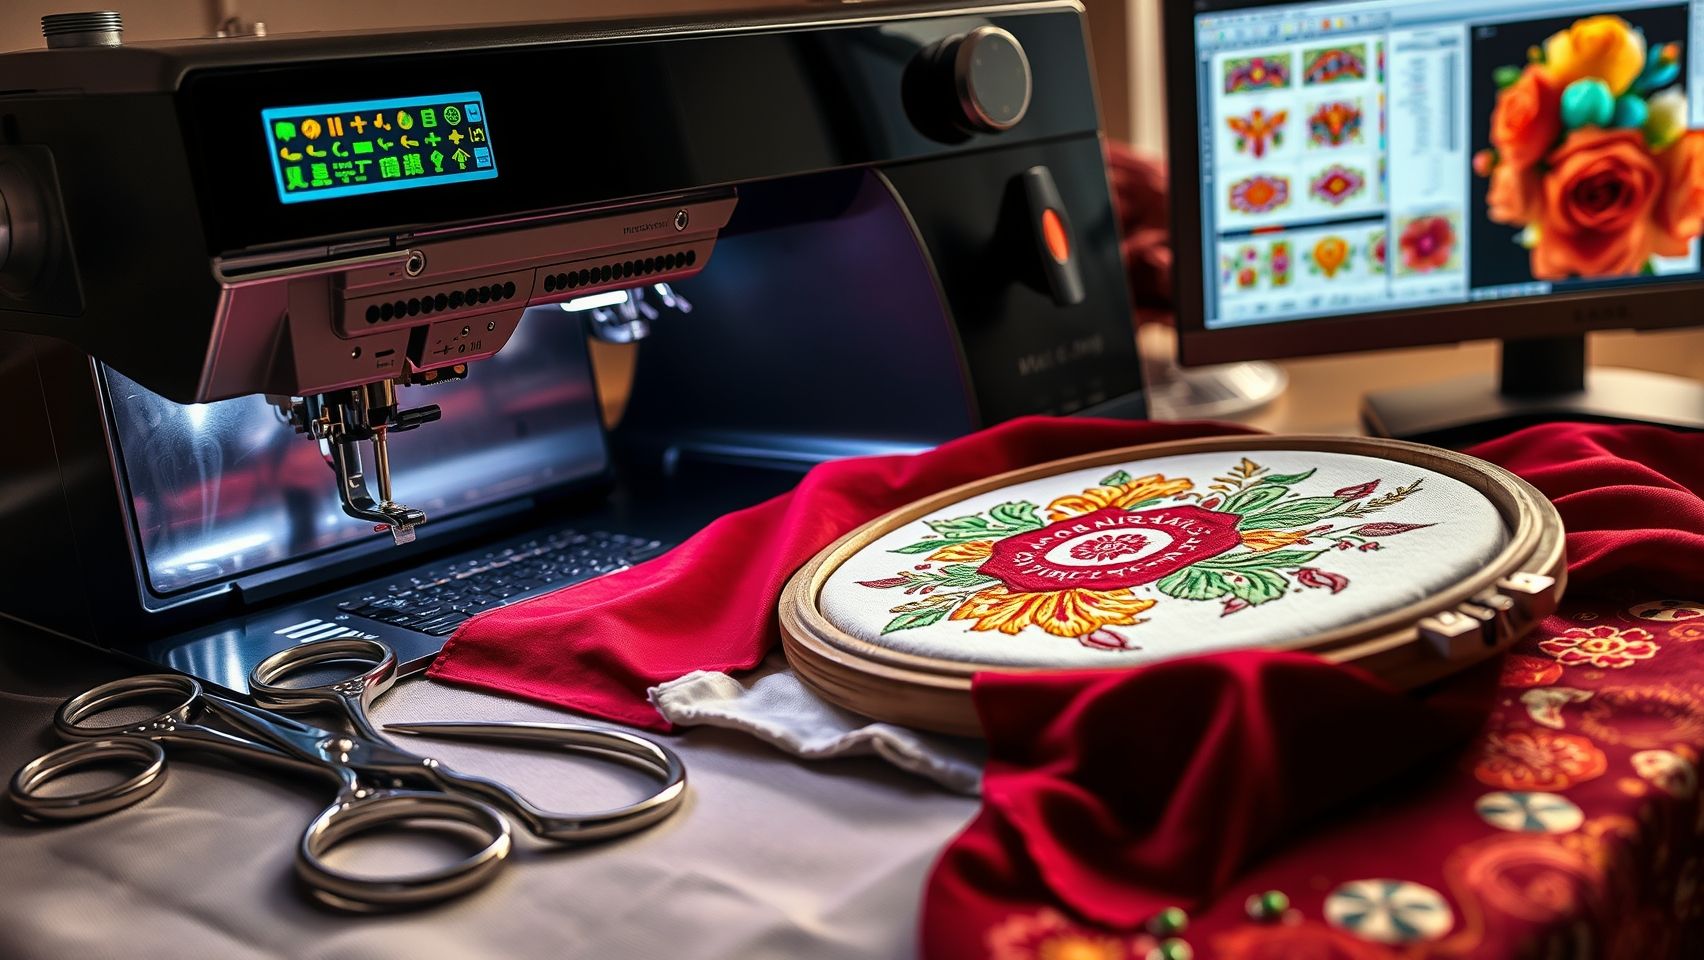
Embroidery precision, especially when working with push pull compensation, relies heavily on having the right combination of equipment and software. Whether you’re a hobbyist or running a small business, investing in quality tools can make all the difference in achieving perfectly aligned, distortion-free designs. From dependable embroidery machines to advanced design software, each component plays a pivotal role in correcting and fine-tuning stitch distortions.
Let’s explore the essential tools that every embroiderer should consider to master push pull compensation and ensure flawless results.
Embroidery Machines for Stability and Precision
When it comes to embroidery machines, choosing models with stable tension and precise stitching capabilities is crucial. For instance, the Brother SE1900, priced around $1, 200, offers reliable stitching and user-friendly features, making it a great starter machine. For those seeking more automation, the Bernina 780 stands out with its automatic tension control and high-speed performance, though it comes at a premium of approximately $8, 500.
Janome’s Memory Craft 14000 provides excellent stability and advanced stitch selection, making it ideal for detailed work and correction techniques. These machines often incorporate features like multi-point sensors and adjustable tension systems that facilitate push pull adjustments directly, reducing distortions at the source.
Design Software Supporting Push Pull Adjustments
Software plays an indispensable role in applying and fine-tuning push pull compensation. Programs like Hatch 3.0, Wilcom Embroidery Studio, and Brother PE-Design are renowned for their robust editing tools. Hatch 3.0, for example, supports detailed stitch-level adjustments, enabling users to correct distortion by manipulating push and pull parameters directly in the digitizing process.
Recent updates and industry insights reveal that these software options continue to evolve, offering more intuitive workflows and better control over stitch density and placement. For example, Hatch’s user-friendly interface and extensive support resources have made it a favorite among both beginners and seasoned professionals.
Stabilizers and Additional Tools
High-quality stabilizers, such as those from Sulky, Madeira, and OESD, are vital for maintaining fabric tension during embroidery. Tear-away and cut-away stabilizers protect against stretching and distortion, especially when working with delicate fabrics or complex designs. Additionally, tools like hooping aids, fabric stabilizers, and digital calipers significantly reduce errors and save time by ensuring accurate stitch placement and measurement.
For instance, using a digital caliper to measure stitch adjustments can prevent overcompensation, leading to smoother corrections and less trial-and-error in your projects.
Cost Analysis and Practical Selection
Overall, combining the right machine, software, and stabilizers will significantly improve your ability to execute push pull compensation accurately. Remember, the investment in quality tools pays off in reduced frustration and higher-quality results, especially when tackling complex distortion correction techniques. With consistent practice, these tools become an extension of your creative process, turning technical corrections into seamless embroidery artistry.
Troubleshooting Common Distortion Problems
Embroidery distortion can be a tricky obstacle, especially when you’re eager to see your design turn out flawless. It’s frustrating to spend hours on a piece only to find that it misaligns, puckers, or threads break unexpectedly. Fortunately, many of these issues stem from simple adjustments or best practices that can be easily implemented once you know what to look for.
Most problems, like pattern misalignment or puckering, often come down to hoop tension, stabilizer choice, or software settings. A lot of experienced embroiderers have discovered that balancing tension and stabilizer placement is like cooking, small tweaks can make a big difference. Plus, applying push-pull compensation digitally can save you tons of time and headaches by correcting persistent distortions early on.
Check Hoop Tension and Fabric Tautness
The most common cause of pattern misalignment is improper hooping. The fabric should be taut but not overstretched, think of a drumhead that’s firm enough to produce a clear sound. Too tight, and you risk puckering or fabric deformation; too loose, and the design can shift during stitching. Using a high-quality hoop with adjustable tension settings helps maintain consistent results. Remember, a quick test stitch on scrap fabric can save your project from unnecessary hassle.
Adjust Machine Tension for Fabric Type
Every fabric reacts differently to embroidery tension. Lightweight cottons might need looser tensions, while heavier materials or denim often require tighter settings. Consult your machine manual or experiment with small adjustments to find the sweet spot. Incorrect tension settings, either too high or too low, often cause thread breakages or uneven stitching, especially in detailed designs. Fine-tuning tension regularly, especially when switching fabrics, is a smart habit.
Use the Right Stabilizer and Proper Placement
Choosing the appropriate stabilizer is crucial. For delicate fabrics prone to puckering, a cut-away stabilizer provides durable support, while tear-away stabilizers work well for more stable fabrics. Make sure the stabilizer is firmly secured and covers the entire area beneath the design. The right stabilizer can reduce distortion by up to 40%, according to recent craft industry research, making your designs look much cleaner and more professional.
Apply Push-Pull Corrections in Software
If you frequently encounter pattern distortion, digital push-pull adjustments can be a game-changer. Modern embroidery software allows you to modify X and Y axes to counteract anticipated fabric movement or design stretching. A little patience testing adjustments on scrap fabric can help calibrate your push-pull values, ensuring the final product lines up perfectly on your main project. This method can significantly reduce corrections needed post-stitching.
Perform Test Stitches Before Finalizing
Always do a test run on scrap fabric similar to your project material. This simple step uncovers tension issues, stabilizer problems, or software miscalculations early, saving time and material. It’s amazing how a quick test stitch reveals subtle distortions and allows you to make precise adjustments before committing to your main fabric. Think of it as the embroidery equivalent of a trial run, you’ll thank yourself later.
Conclusion
As we’ve explored, effectively managing push and pull compensation is essential for achieving precise and professional-looking embroidery results. Understanding the causes of distortions and applying targeted adjustments can transform a good design into a truly flawless piece. Remember, practice and patience are your best allies, these techniques become second nature with consistent application.
By integrating smart fabric choices, thoughtful design modifications, and software refinements, you can significantly reduce errors and speed up your project workflow. Start testing these push-pull adjustments on your next project today using the recommended tools and techniques. Don’t hesitate to share your results and seek feedback in embroidery communities, continuous learning is part of the craft.
The journey toward mastery in embroidery is ongoing, and each project brings new opportunities to refine your skills. Keep experimenting, stay curious, and enjoy the process of creating beautiful, distortion-free embroidery. After all, the artistry you develop today helps preserve this timeless craft for future generations.