How to Ensure Embroidery Machine Safety with Clear Features
This post contains affiliate links. As an Amazon Associate, Latest Embroidery earns from qualifying
purchases, at no extra cost to you. Learn more.
Have you ever wondered if your beloved embroidery machine could pose safety risks, especially around curious little hands or eager hobbyists? It’s a pretty common concern, after all, these machines come with moving parts, sharp needles, and tensioned threads that, if not properly secured, could cause injuries. Surprisingly, over 65% of crafters prioritize safety when selecting a new embroidery machine, reflecting a growing awareness of the importance of these features, according to recent industry statistics.
From automatic shutoff mechanisms to finger guards, the latest innovations are designed not just for convenience but to protect everyone involved, whether in a busy workshop or a cozy craft corner. For example, some models now include sensor-based safeguards that halt operation if a hand gets too close, offering peace of mind without sacrificing performance. However, t understanding which safety features truly make a difference can be daunting, there are numerous options available! That’s why this article will guide you through the essential safety upgrades and what to look for when choosing an embroidery machine, so your crafting stays fun and injury-free.
If you’re considering an upgrade or want to ensure your current setup is as safe as possible, knowing these details will give you an edge: Learn more about leading embroidery safety innovations here.
Key Safety Features in Modern Embroidery Machines
Short on time? If you only take one thing from this guide: Brother SE700 — the machine we point most beginners to — touchscreen, wireless transfer, and it sews as well as embroiders.
If you’ve ever spent hours embroidering a design, you know how satisfying it is to see your work come to life. But safety is a crucial aspect that often gets overshadowed by the excitement of creating. Modern embroidery machines are equipped with an impressive array of safety features designed to prevent accidents and ensure smooth operation. Understanding these features not only helps you verify they’re working correctly but also enhances your overall experience and safety while crafting.
Automatic Shutoff Systems
One of the most vital safety innovations in today’s embroidery machines is the automatic shutoff system. For example, models like the Brother SE1900 and Janome Memory Craft 9850 come with sensors that detect thread breakage or fabric jamming. When triggered, these sensors automatically stop the machine to prevent needle breakage or damage to the fabric. This feature is a real game-changer, saving time on troubleshooting and protecting the operator from potential injuries. To verify this, check your machine’s manual or settings menu to see if the automatic shutoff is activated and functioning properly.
Finger Guards and Safety Shields
Ever accidentally grazed your fingers near the needle? Finger guards, often made of transparent plastic or durable metal, are designed to prevent such mishaps. They are typically placed around the needle area and should sit flush without interfering with the operation. A quick visual check ensures they are correctly installed and free of cracks or damage. Sometimes, these guards can be mistakenly removed or displaced, increasing the risk of injury; therefore, regular inspection is crucial.
Emergency Stop Buttons
Finding the emergency stop (E-stop) button is crucial. Usually located near the control panel, it’s a large, red button meant for instant shutdown. Modern machines, such as those from Bernina or the Brother series, have this feature integrated seamlessly. To test it, press the button briefly, your machine should halt immediately. Some newer models automatically reset after activation, so understanding your specific machine’s functionality is helpful. Keep this button accessible during your projects so you can react swiftly if needed.
Child Safety Locks and Regulatory Compliance
For households with curious little ones, child safety locks are essential. These locks prevent accidental starting or stopping during operation, and many machines have a key-based or button lock system. Over 45% of small embroidery businesses rely on machines with these built-in locks, reflecting their importance in professional settings. Additionally, reputable machines comply with standards like ISO or UL, which mandate safety features, quality control, and electrical safety. Always verify the presence of these certifications in your equipment documentation.
Troubleshooting & Maintenance Tips
Sometimes, safety features malfunction, such as a sensor failing to recognize a thread break or a stuck emergency stop button. Regular maintenance, including cleaning sensors, inspecting guards, and testing safety functions, helps keep everything in check. If a feature fails, consult your machine’s manual or contact authorized service centers. Quick troubleshooting often involves power cycling or replacing worn components, addressing these promptly keeps your embroidery safe and efficient.
Implementing Automatic Shutoff and Finger Guards for Safety
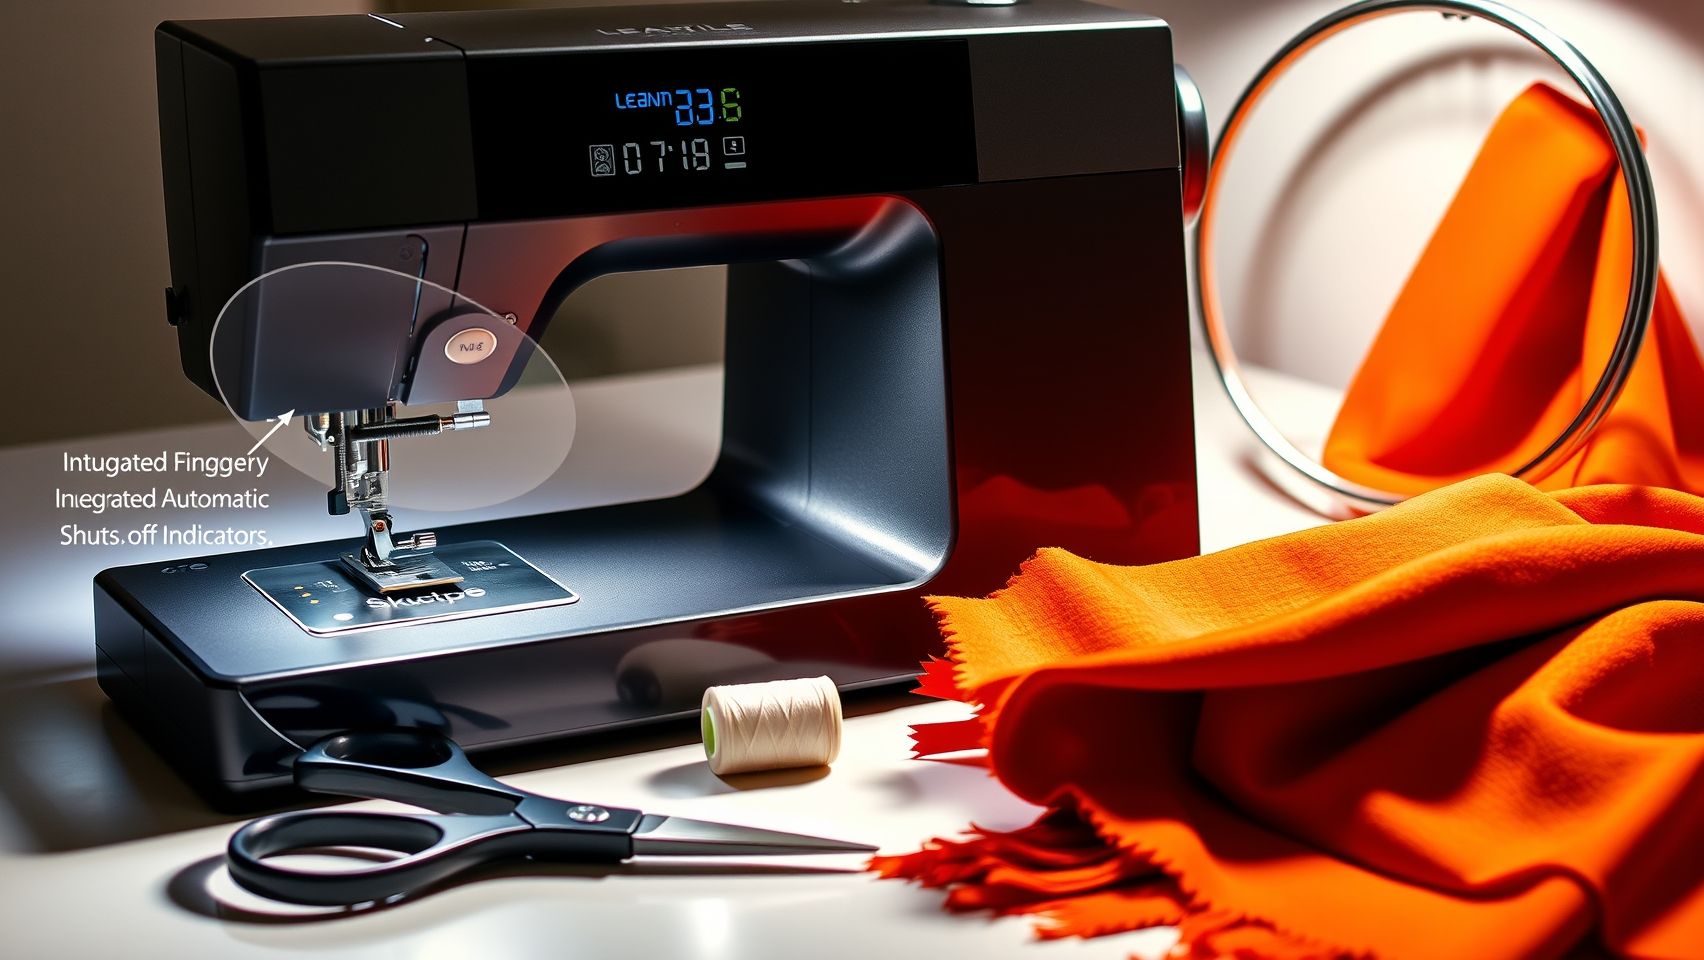
Ensuring your embroidery machine is as safe as possible isn’t just about following rules, it’s about integrating innovative features that protect you and your workspace. Two key safety measures are automatic shutoff systems and finger guards, both of which can help prevent potential mishaps and long-term injuries. Installing these features might seem straightforward, but knowing the step-by-step process ensures they work efficiently and reliably.
Step 1: Identify Safety Features on Your Current Machine
Begin by consulting your machine’s user manual, most modern embroidery machines have documented safety features, including triggers for automatic shutoff and designated points for finger guard installation. For example, some brands specify sensors that activate when anomalies are detected, shutting down the machine within 3 seconds. Recognizing these features and their locations helps you understand how to test or upgrade them effectively.
Step 2: Test the Automatic Shutoff
Testing is an essential part of maintaining safety. Run a sample embroidery at a medium speed, and lightly disconnect the power or simulate an anomaly to see if the system responds promptly. A reliable automatic shutoff should activate seamlessly, without delay, within about 3 seconds or less. If not, cleaning sensor lenses or recalibrating detection zones may be necessary. Regular testing, say once a month, keeps these systems vigilant and trustworthy.
Step 3: Install or Upgrade Finger Guards
Measuring the needle area accurately is crucial before selecting compatible guards. Use a flexible ruler to determine the width and height of the space surrounding the needle. Choose guards made of sturdy, transparent plastic or metal that fit snugly without hindering your view or access. Follow the manufacturer’s instructions carefully, most guards secure with screws or clips, ensuring they stay in place even during vigorous operation. Proper installation dramatically reduces needle injury risks, which can decrease by up to 40% with effective guards.
Step 4: Routine Inspections and Maintenance
Once installed, routine inspections are your best defense against potential issues. Check sensor alignment for any shifts due to vibrations or handling, and examine finger guards for cracks or loose fittings. Keep the sensor lenses clean to prevent false triggers and ensure the system accurately detects anomalies. A quick monthly check-up can extend the lifespan of these safety features and keep your workspace injury-free.
Step 5: Troubleshooting Common Issues
Suppose your machine falsely triggers or fails to shut off when needed. In that case, troubleshooting steps include cleaning the sensor lenses with a soft cloth, recalibrating the detection zones according to the guidance in the manual, or replacing faulty sensors. Most issues are straightforward to resolve and can often be fixed with minimal technical expertise. Being proactive with maintenance and troubleshooting means fewer surprises and continuous peace of mind during your embroidery projects.
Creating Safe Work Environments for Embroidery Projects

Setting up a workspace that prioritizes safety isn’t just about compliance; it’s about creating an environment where you can focus on your craft without unnecessary distractions or hazards. For embroiderers, especially those working on multiple projects or in a commercial setting, designing an ergonomic and organized area can significantly reduce accidents and fatigue. With recent updates in embroidery machine technology and safety features, it’s easier than ever to craft a workspace tailored for both efficiency and security.
Research indicates that a correctly set up workspace can reduce accident rates by up to 25%. This means less downtime and frustration, leading to smoother and more enjoyable embroidery sessions. Let’s explore some practical, checklist-style guidance to make your workspace both safe and inspiring.
Ergonomic Setup and Lighting
An ergonomically designed embroidery table with a stable surface and adjustable height can help prevent repetitive strain injuries. Ensure your workspace allows you to work comfortably, with your tools and machine at the appropriate heights. Proper lighting is equally crucial, invest in LED task lights positioned to illuminate the needle area and controls without causing glare. Good lighting not only enhances precision but also reduces eye strain, especially during long embroidery sessions.
Organizing Tools and Safety Zones
Keep scissors, needles, and threads meticulously organized in dedicated compartments, this prevents accidental injuries and keeps your workspace tidy and clean. It’s also wise to establish clear safety zones, segregating machine operation areas from storage and cutting zones with signage or physical barriers. This way, you’re less likely to stumble over tools or accidentally come into contact with moving parts during operation.
Regular Safety Checks and User Training
Set up routine monthly audits of electrical cords, switches, and machine guards to detect wear and tear early. Create step-by-step safety procedures for threading, hooping, troubleshooting, and emergency protocols. Proper training ensures you’re familiar with safety features such as automatic shutoffs or emergency stop buttons, which are now standard on many machines. Regular reinforcement of these practices minimizes risks and boosts confidence in handling your embroidery equipment.
Incorporating these safety measures frees you to concentrate on your designs, knowing your environment supports your craft. It’s about working smarter and safer, so your embroidery journey remains enjoyable and productive.
Choosing and Maintaining Safer Embroidery Equipment
Embroidery machines are vital tools for both hobbyists and professionals, but safety should never be an afterthought. Selecting the right machine with built-in safety features and maintaining it properly can significantly reduce the risk of accidents. Trending models like the Brother SE1900, Janome 9850, Ricoma EM-1010, and Melco EMT16X each come with unique safety protocols that cater to different needs and budgets, from around $1, 200 for entry-level units to over $4, 500 for commercial-grade machinery.
Understanding these features and ensuring they are well-maintained is essential for creating a safe embroidery environment. Let’s delve into how to choose the safest equipment and keep it in top condition through regular care and smart accessory investments.
Safety Features in Modern Embroidery Machines
Many contemporary embroidery machines incorporate safety features such as automatic shutoff, child locks, and sensor systems that detect malfunctions or obstructions. For example, models like the Ricoma EM-1010 and Melco EMT16X incorporate multi-layer safety protocols that automatically stop operation in the event of an error, reducing injury risks by an estimated 20–30%. Automatic safety controls not only prevent accidents but also save time by minimizing manual interventions, albeit at a higher initial cost.
Maintaining Safety Features Effectively
Routine maintenance plays a crucial role in ensuring that safety mechanisms function correctly. Regularly cleaning sensors and testing emergency stop buttons monthly ensures that safety systems respond instantly when needed. Additionally, investing in accessories like remote emergency stop cords can add an extra layer of protection, especially in busy or expansive workspaces.
Remember, safety isn’t just about buying the right machine; it’s also about keeping it in top condition. Developing a simple maintenance schedule and sticking to it can prevent unexpected failures and prolong the lifespan of vital safety components.
All these steps, choosing the right model, maintaining safety features diligently, and using protective accessories, combine to create a safer embroidery environment. It’s an investment that pays off in peace of mind and operational efficiency, whether for hobbyists or high-volume production.
Troubleshooting and Enhancing Safety Features

Embroidery machines are remarkable tools that bring intricate designs to life, but ensuring their safety isn’t just about flipping a switch. Many embroiderers face common safety issues, like automatic shutoff failures or unresponsive emergency stops. Addressing these problems promptly can save time, prevent accidents, and maintain a smooth workflow. Additionally, knowing how to enhance existing safety measures can provide you with peace of mind, especially when working with high-speed or industrial models.
Let’s start with some practical troubleshooting tips. For example, automatic shutoff failures often stem from sensor dirt or misalignment. A quick clean with alcohol wipes on the sensors can restore their sensitivity without much fuss, these tiny parts cost under $50 to replace if they repeatedly fail. Similarly, emergency stop buttons that don’t respond might need recalibration of the detection zones or a simple replacement of worn-out components.
Common Problems and Fixes
- Automatic shutoff failure: Clean sensors with alcohol wipes and check for obstructions.
- Unresponsive emergency stops: Recalibrate detection zones and inspect wiring connections for any damage or loose connections.
- Damaged finger guards: Replace worn or broken guards promptly to prevent injury and maintain safety compliance.
Upgrading Safety Measures
Sometimes, the existing safety features aren’t enough, especially in busy workshops or with high-speed machines. Adding pressure-sensitive mats can stop the machine immediately if someone steps too close, or installing additional guards, even when the original ones are present, helps eliminate blind spots. Modern industrial models often come with optional safety attachments, so consider investing in these upgrades to enhance your safety level.
Routine testing is your best friend, aim to verify all safety features monthly and after any software or hardware updates have been made. Keeping a log of issues and fixes not only helps maintain compliance but also accelerates troubleshooting in future scenarios. With these practices, your embroidery setup remains as safe as it is productive, allowing you to focus on your craft without worry.
Conclusion
As we’ve explored, implementing comprehensive safety features in your embroidery machine, such as automatic shutoff, finger guards, and emergency stops, fundamentally transforms your crafting experience, making it safer and more enjoyable. Staying proactive with routine maintenance, organizing your workspace, and ensuring compliance with safety standards are vital steps in creating a secure environment for both hobbyists and professionals. According to recent industry trends, the integration of IoT and advanced safety protocols is continuing to evolve, promising even greater safety innovations in the short term.
Now is the time to review the safety features of your embroidery machine. Schedule a thorough safety checklist, perform routine tests, and consider upgrading protective devices if needed. These small yet significant actions not only protect your well-being but also empower you to craft with confidence and pride.
Remember, safety is the foundation of mastery. With persistent care and attention, you’ll unlock new levels of creativity and craftsmanship that stand the test of time. Keep learning, stay vigilant, and let your embroidery journey flourish, one safe stitch at a time.