Hand Embroidery vs Machine Embroidery: Which Saves Time and Costs?
This post contains affiliate links. As an Amazon Associate, Latest Embroidery earns from qualifying
purchases, at no extra cost to you. Learn more.
Are you unsure whether hand or machine embroidery is the right choice for your project? Many crafters face this dilemma, especially when considering costs, time investment, and quality outcomes. With embroidery machines now reaching a market value expected to surpass USD 7.88 billion by 2034, the decision becomes even more crucial. The industry continues to evolve, offering faster, more affordable options beyond traditional hand stitching. But is switching to machine embroidery always the better choice? This article aims to provide a clear, practical comparison, exploring real tools, techniques, and industry insights to help you weigh your options effectively. Whether you’re a hobbyist or a small business owner, understanding the pros and cons of each method will empower you to optimize your projects, saving valuable time and costs without sacrificing quality. Let’s dive into the specifics, so you can make an informed decision and enhance your embroidery experience.
Step-by-Step Guide to Starting Hand Embroidery
Short on time? If you only take one thing from this guide: Brother SE700 — the machine we point most beginners to — touchscreen, wireless transfer, and it sews as well as embroiders.
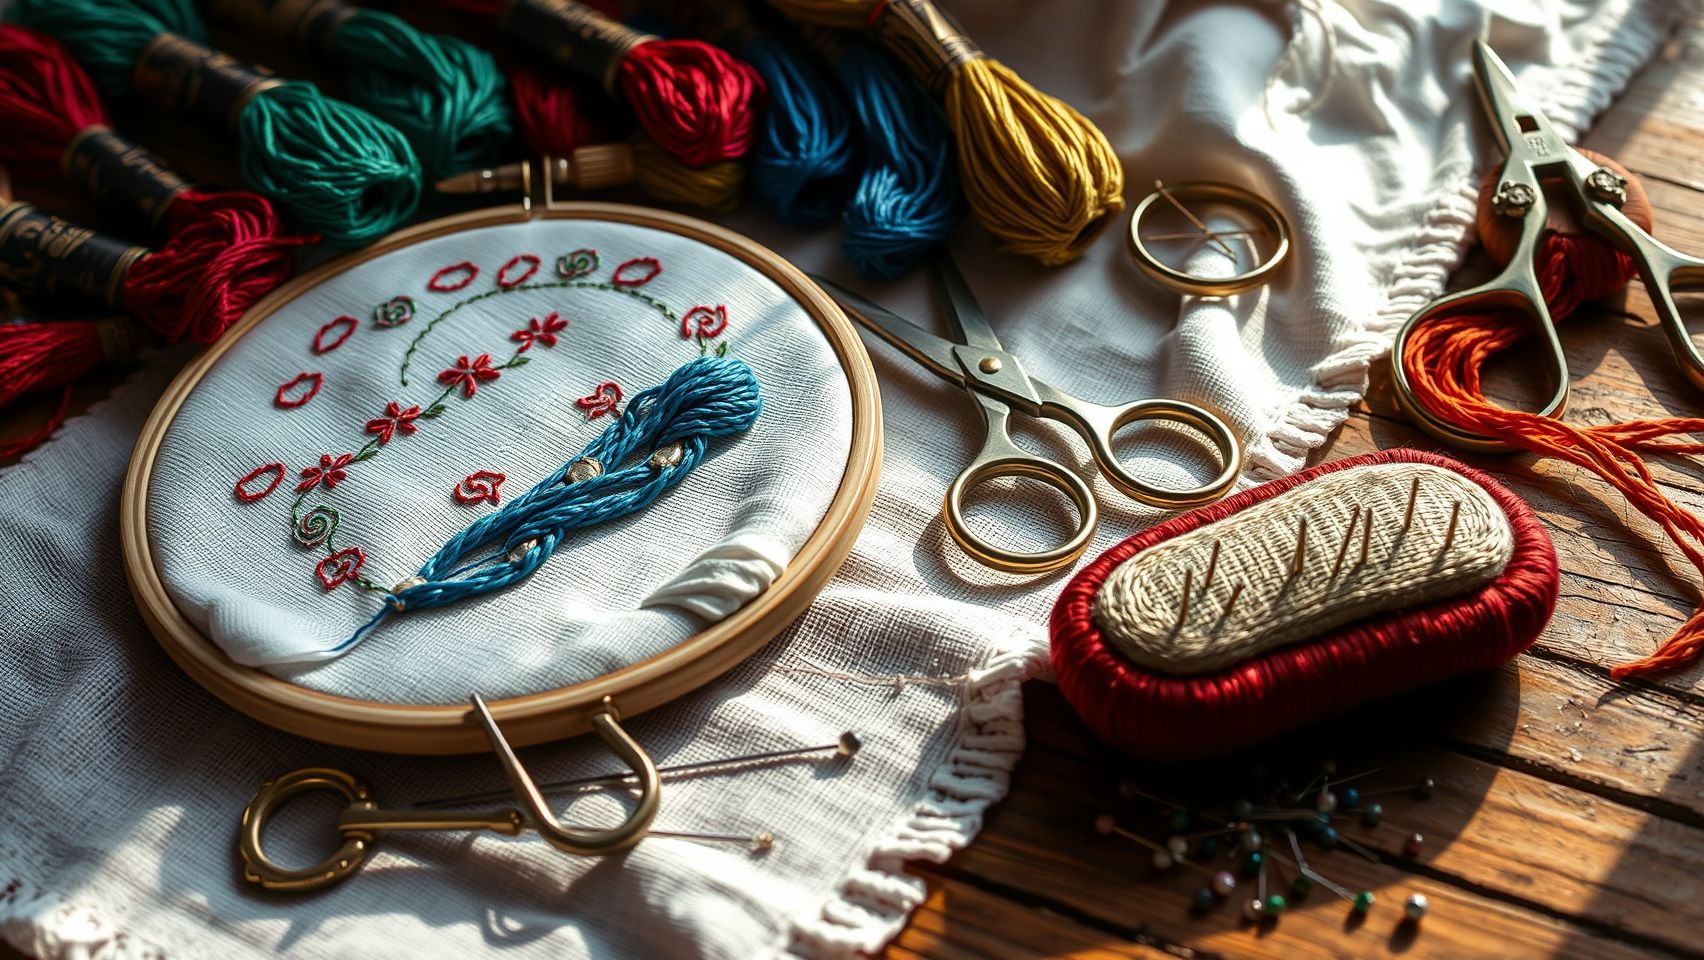
Embarking on your hand embroidery journey can be both exciting and rewarding. With the right techniques, tools, and workflow, beginners can quickly develop their skills and create beautiful, personalized textiles. Below is a practical, step-by-step guide to help you get started with hand embroidery efficiently and confidently.
Select the Right Fabric
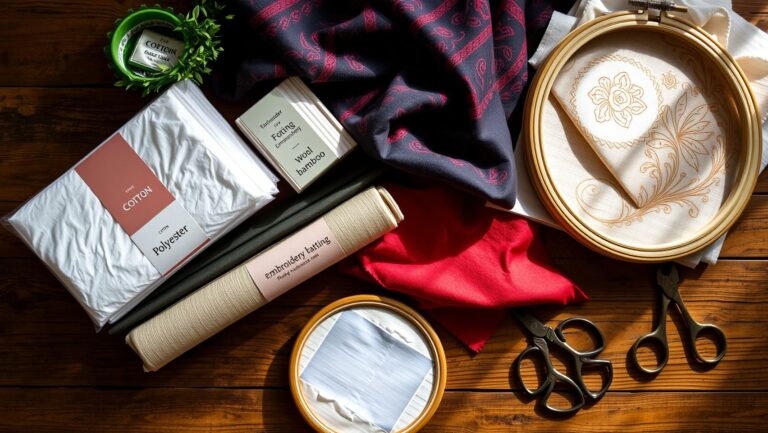
Begin by choosing natural fabrics like linen or cotton, preferably with 72-74 threads per inch. These tightly woven fabrics offer excellent control for detailed work and ensure your stitches stay even and precise. Opting for a fabric with a smooth surface also makes transferring patterns and stitching easier for beginners.
Gather Essential Tools
Collect the basic tools needed for hand embroidery, including embroidery or crewel needles, embroidery hoops (10-12 inches ideal for most projects), high-quality threads such as DMC or Aurifil, and sharp scissors. Additionally, a lighted magnifier can be useful for intricate details, especially if your eyesight needs a boost or you’re working on fine fabrics.
Learn Basic Stitches
Start with fundamental stitches like running, backstitch, satin, and fill stitches. These form the foundation for more complex patterns later. Numerous online tutorials and digitized pattern sheets are available, making it easy to learn each stitch step-by-step. Practice each one on scrap fabric until you feel comfortable before moving onto more detailed projects.
Prepare Your Work
Hoop your fabric tightly to keep it stable and smooth. Thread your needle correctly, use a length of thread no longer than 18 inches to prevent tangling. Maintain consistent tension as you stitch, which helps prevent thread breakages and results in even stitches. Practice controlling your tension through small test runs before your main project.
Follow Pattern Guides
Transfer your embroidery patterns using tracing paper, water-soluble pens, or pattern templates from embroidery model books. Accurate transfer ensures your design aligns perfectly and maintains symmetry. Always double-check your pattern before starting the stitching process to avoid mistakes that could be difficult to correct later.
Practice Consistent Stitch Length
Aim for a stitch length of approximately 1/8 to 1/4 inch to achieve a professional appearance. Consistency in stitch size adds neatness and harmony to your finished piece. Use a ruler or stitch guide if necessary, especially when working on repeating patterns or borders, to maintain uniformity across your embroidery.
Step-by-Step Guide to Using Machine Embroidery Effectively
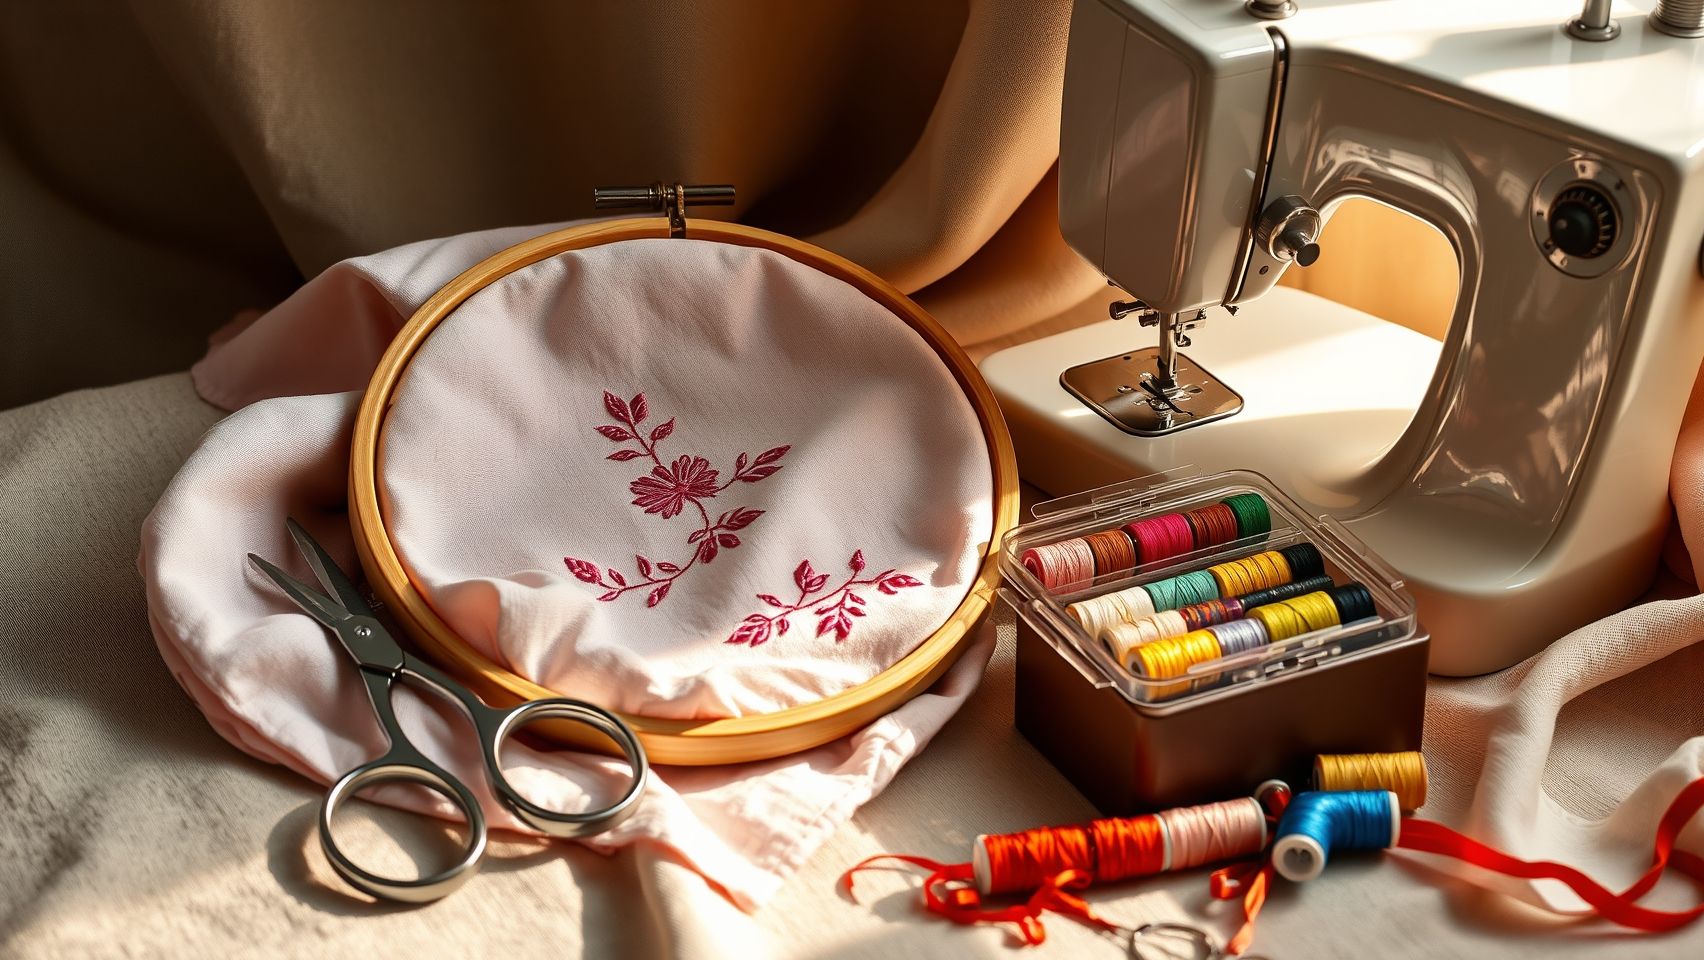
Machine embroidery offers a fast and cost-effective way to create intricate designs on textiles, but success depends on proper setup and execution. Following a structured process ensures high-quality results and minimizes common issues like thread breakage or uneven tension. Here’s a comprehensive guide to help you master machine embroidery, from choosing the right equipment to troubleshooting typical problems.
Choosing the Right Machine
Selecting an appropriate embroidery machine is the first step. Consider models like the Brother PE770 or Janome Memory Craft 15000 V2, which are priced between $700 and $2, 500 depending on features. The Brother PE770, for example, includes automatic thread trimming, 136 built-in designs, and USB ports for importing custom patterns, making it suitable for various projects. The Janome Memory Craft 15000 V2 offers advanced digital tools and high stitch counts, ideal for complex embroidery tasks. Recent market data indicates a growing trend toward multifunctional machines that combine sewing and embroidery capabilities to enhance efficiency.
Design Selection and Preparation
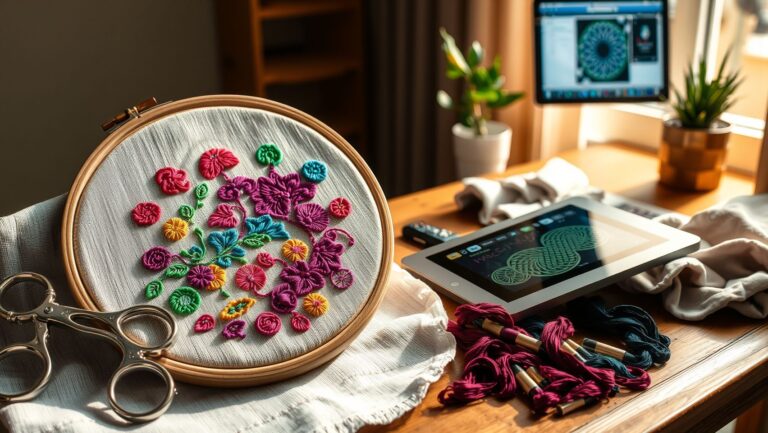
Use digitizing software like Hatch, Wilcom, or Embird to convert your ideas into machine-compatible patterns. Pay close attention to stitch types, density, and size, these factors significantly influence the final appearance. Detailed digitizing ensures your design maintains clarity and avoids issues like puckering or thread loops. Professional advice recommends creating test designs on scrap fabric to fine-tune your settings before executing on your main piece.
Machine Setup and Configuration
Properly hoop stabilized fabric, ensuring it’s taut but not stretched, to prevent distortion. Load matching thread colors and thread your machine following the manufacturer’s instructions, making sure each thread is correctly threaded to prevent breakage. Adjust tension settings based on fabric type; for instance, lighter fabrics require lighter tension, while thicker textiles need more tension. Configuring stitch settings, such as satin or fill stitches, and setting stitch density are crucial for detailed and clean embroidery.
Testing and Troubleshooting
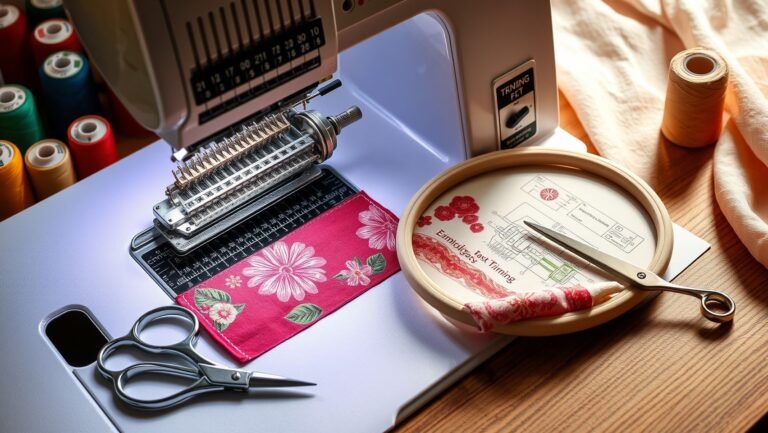
Run test stitches on sample fabric to assess tension and stitch density. Adjust as needed to achieve smooth, even stitches. Common issues like thread jams, skipped stitches, or uneven tension can often be resolved by cleaning the bobbin area, tightening tension settings, or re-threading the machine. Regular maintenance and correct hooping are essential for maintaining quality and prolonging your machine’s lifespan.
Tools, Equipment, and Techniques for Best Results
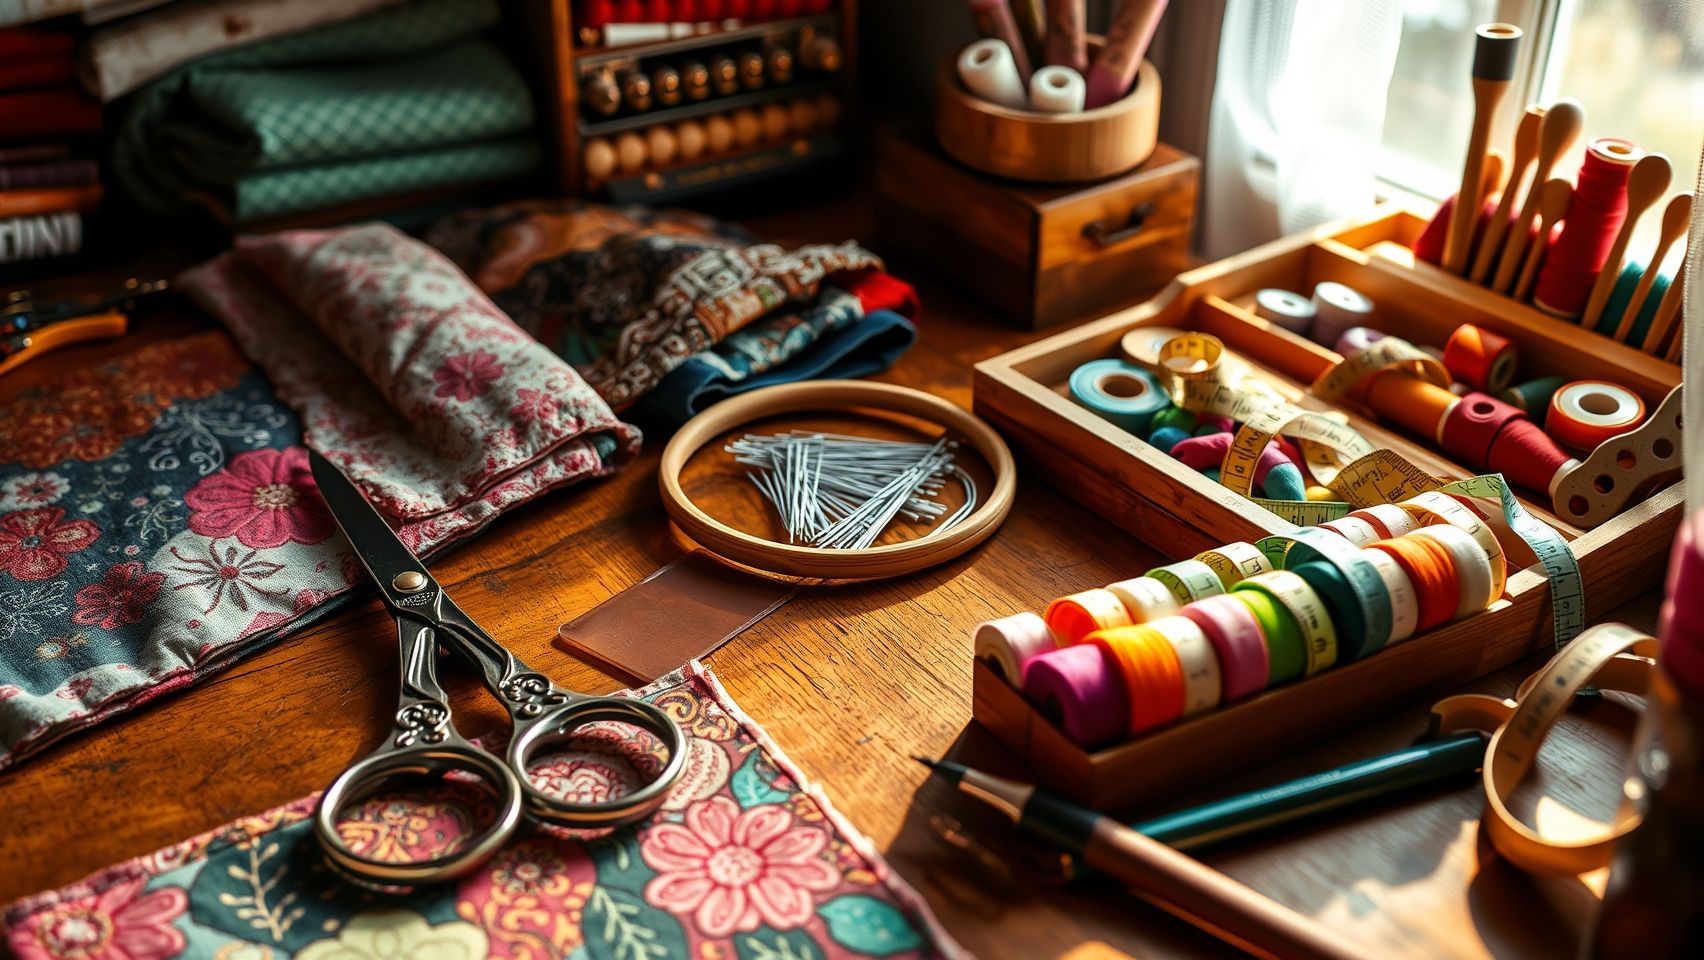
Achieving professional-quality embroidery, whether by hand or machine, depends heavily on the right tools, proper setup, and effective techniques. Investing in high-quality equipment and understanding maintenance routines can significantly enhance your embroidery projects, improve efficiency, and ensure longevity of your tools.
Both methods require specific tools tailored to their processes, along with maintenance routines to keep everything functioning smoothly. Mastery of techniques like layering, tension adjustment, and stabilization further ensures that each piece turns out flawless, regardless of complexity.
Essential Tools and Equipment
For hand embroidery, a variety of hoops is fundamental, small 6-8 inch hoops are ideal for delicate or detailed projects, while larger 12-inch hoops accommodate bigger designs. Use sturdy, smooth wooden or plastic hoops to ensure even tension and prevent fabric damage. High-quality threads, such as DMC or Aurifil, are recommended for durability and color vibrancy. Metallic or variegated threads can add decorative accents for a more dynamic finish.
Choosing the correct needles is crucial; embroidery needles with sharp points or ballpoints suit different fabrics and designs. Eye sizes range from 7 to 9 for detailed handwork. Incorporate stabilizers, such as cut-away, tear-away, or wash-away variants, based on fabric type and design complexity, to prevent distortion during embroidery.
For machine embroidery, automated features like thread trimming, multiple design storage, and precision tension control streamline workflow. Regular maintenance, cleaning machine parts, lubricating moving components, and replacing needles every 8-10 hours, ensures consistent quality and minimizes breakdowns.
Techniques for Optimal Results
Layering threads for complex designs adds depth and texture, while color blending with variegated threads creates seamless transitions and vibrant effects. Proper tension adjustment on the machine is critical for consistent stitch quality; understanding your machine’s tension system prevents puckering or loose stitches. Practice stabilizer application to stabilize fabric during stitching, reducing risk of shifting or stretching.
Both hand and machine embroidery benefit from meticulous setup and technique refinement. Incorporating these practices results in durable, visually appealing embroidery suitable for a wide range of projects, from delicate personal keepsakes to large commercial pieces.
Conclusion
As you weigh the options between hand embroidery and machine embroidery, it’s clear that each approach offers distinct advantages tailored to different project needs. Hand embroidery provides unmatched detail and cultural authenticity, making it ideal for personalized, heirloom-quality pieces, though it does require more time and effort. Conversely, machine embroidery excels in speed and consistency, making it a smart choice for bulk production and projects where efficiency saves costs.
Given the rapid growth of the embroidery market and evolving trends, such as hybrid techniques combining both methods, understanding your tools and skills is essential. Start by assessing your project scope and budget, then experiment with beginner techniques using recommended tools. Practice on scrap fabrics to improve your tension, stitch uniformity, and design transfer techniques. If automation aligns with your goals, investing in a suitable machine can greatly enhance your productivity. Alternatively, honing your hand skills will enable you to create detailed, personalized designs that stand out.
Explore tutorials and digitizing software to further expand your capabilities, turning every project into a masterpiece. Remember, the key to success is consistent practice and ongoing learning, so don’t hesitate to take those first steps today. With the right approach, you’ll find a satisfying balance between time, costs, and creativity, empowering you to craft beautiful embroidery that truly reflects your vision. Start now and transform your embroidery journey into a rewarding experience!