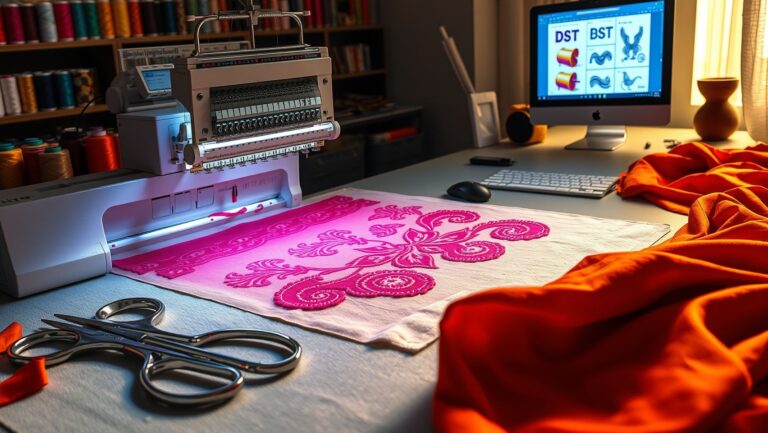
How to Set Embroidery Machine Speed for Perfect Stitch Quality
This post contains affiliate links. As an Amazon Associate, Latest Embroidery earns from qualifying
purchases, at no extra cost to you. Learn more.
Are you struggling with uneven stitches or slow progress in your embroidery projects? You’re not alone. Many needlework enthusiasts face issues like thread breakage, pattern misalignment, and even machine wear when the speed isn’t dialed in correctly. But here’s the good news: achieving optimal speed is a game-changer that balances quality and efficiency.
It all boils down to understanding how different fabrics, thread types, and designs influence the best speed settings. For instance, stitching too fast on delicate fabric can cause puckering, while going too slow might be inefficient and frustrating. Learn how machine speed impacts embroidery results and how to find that perfect middle ground. Proper speed settings can significantly improve stitch quality, reduce machine wear, and even save time.
This article will provide practical, step-by-step guides along with useful tools to help you master your embroidery machine’s speed. Whether you’re a beginner or an experienced crafter, understanding and adjusting your machine’s speed makes a real difference. Ready to elevate your embroidery projects? Keep reading to discover how to set your machine for the most professional finish possible.
Step-by-Step: How to Adjust Your Embroidery Machine Speed
Short on time? If you only take one thing from this guide: Machine oil & cleaning kit — most “faulty machine” problems are lint and a dry hook race.
Setting the correct speed on your embroidery machine is crucial for achieving perfect stitch quality and avoiding common issues like thread breakage or puckering. This guide provides a clear, step-by-step process tailored to different machine models and project needs, ensuring you can optimize your settings for each embroidery task.
Start with Pre-Stitch Setup
Before beginning any project, consult your embroidery machine manual to identify the recommended baseline speed settings. For example, many machines like the Brother PE770 have default speeds around 600-700 stitches per minute. Choose a scrap fabric similar to your final material and load your design. Run a test stitch to observe stitch consistency, tension, and thread behavior. This initial run helps you determine if your machine is performing optimally or needs adjustments.
Perform Live Testing and Make Incremental Adjustments
Start the actual stitching process on your scrap fabric, keeping a close eye on thread breakage, irregular stitches, and fabric puckering. Use small adjustments, decrease speed in increments of about 100 stitches per minute, especially when working with delicate or detailed areas. For machine models like Bernina that offer digital speed controls, change the setting via the touchscreen; for Janome models, adjust manually using the dial. Continuous testing allows you to find the ideal balance between speed and stitch quality.
Monitor and Fine-Tune for Best Results
If you notice issues during testing, fine-tune the speed accordingly. Slower speeds often yield more precise stitches on complex designs or delicate fabrics, while higher speeds efficiently handle bulkier or simpler projects. Record the optimal settings for different fabric types and design complexities to build a personalized reference guide. Many machines also feature a speed lock function, which helps maintain consistent speeds during production, minimizing human error.
Remember, regular testing and incremental adjustments ensure your embroidery machine produces flawless stitches tailored for each project, ultimately saving time and materials while enhancing quality.
Tools and Techniques to Achieve Optimal Speed and Quality
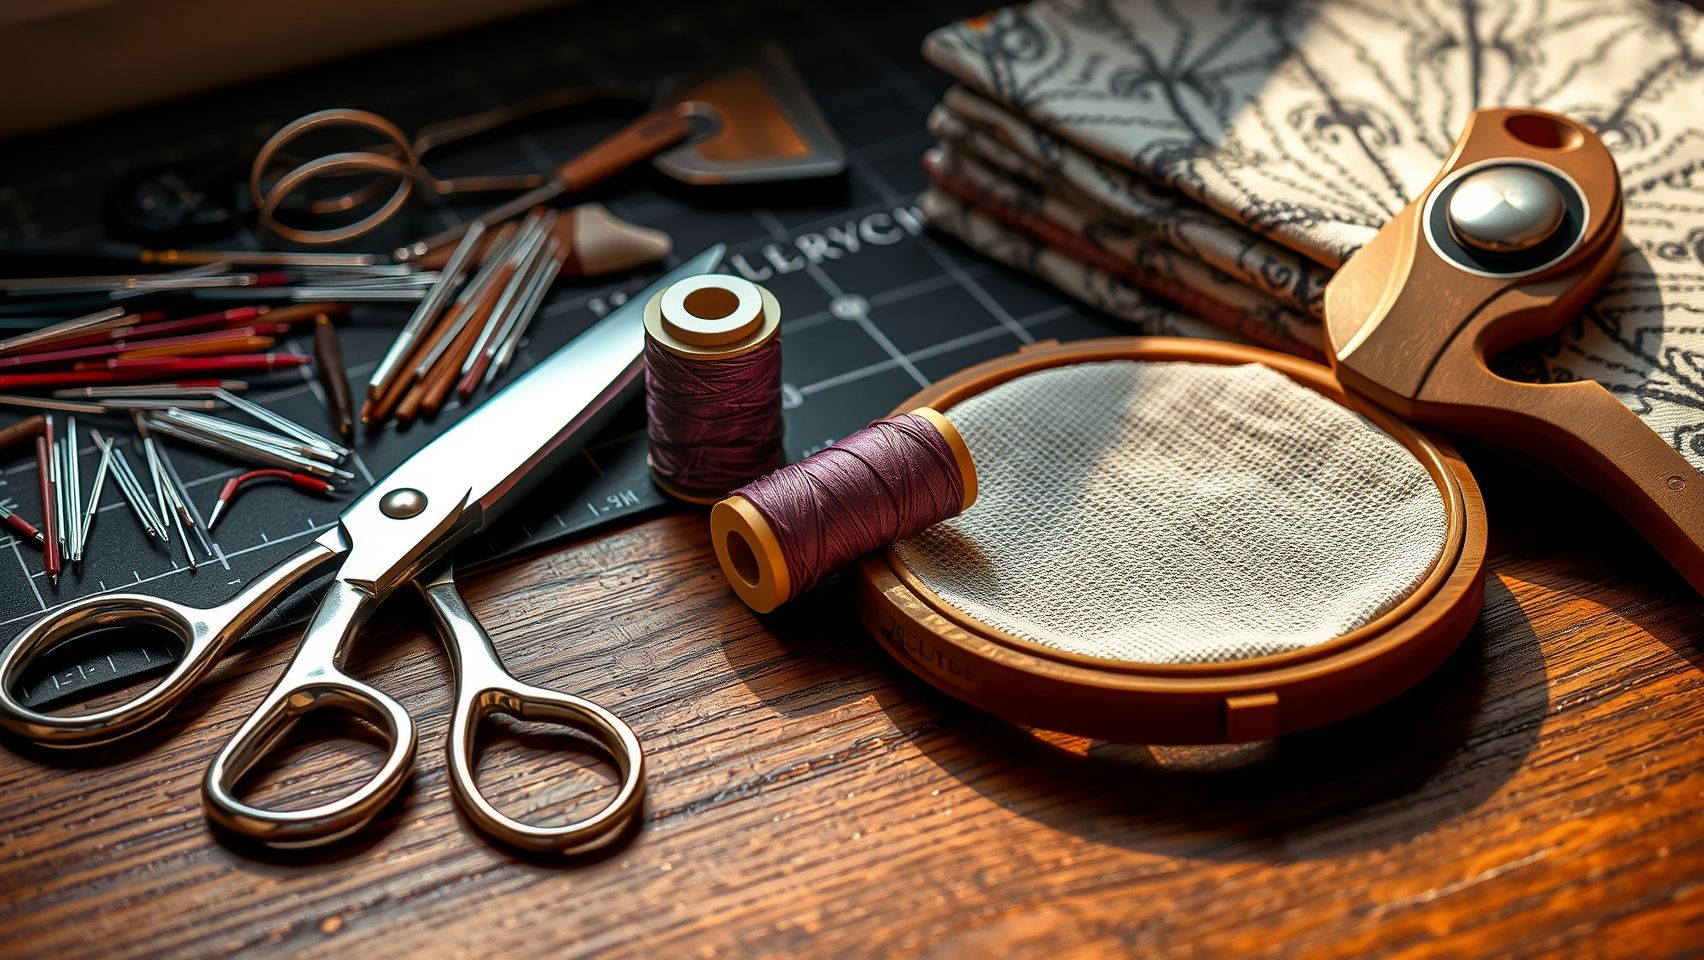
Setting the right embroidery machine speed is crucial for achieving perfect stitch quality while maintaining productivity. To do this effectively, various tools and techniques can be employed to ensure high-quality results even at faster speeds. These include selecting appropriate stabilizers, mastering hooping techniques, and utilizing advanced software features designed for detailed design control.
High-quality stabilizers such as cut-away or tear-away are essential; use tear-away stabilizers for lightweight fabrics and cut-away for heavy or unstable textiles to prevent puckering at higher speeds. Proper hooping technique is also vital, fabric should be taut but not stretched, as loose or overly tight hooping can cause shifting or distortion during rapid stitching. Many embroidery machines now come with digital controls that allow you to plan designated speed zones, slowing down in intricate sections while allowing faster stitching in simpler areas, optimizing both quality and efficiency.
Equipment setup plays a pivotal role: functionally, select the correct needle types, microtex or ballpoint, to handle high-speed stitching without thread breakage. Utilizing software like Wilcom or Hatch can help plan these zones within a design, effectively managing speed, and reducing errors in complex motifs. Additionally, accessories like pounce powders, washable markers, and stabilizers ensure precise pattern transfer, decreasing the need for speed adjustments caused by misaligned patterns. Regular machine maintenance, including cleaning and lubrication, also supports consistent high-speed operation without compromising stitch quality.
Stabilizers, Hooping Techniques, and Software Features
Recent advancements highlight the importance of choosing the right stabilizer and perfecting hooping techniques. For example, using tear-away stabilizers can save time and reduce puckering in lightweight fabrics. Proper hoop tension, combined with snug hooping, ensures fabric stability at higher speeds. Digital embroidery software like Embird and BERNINA DesignerPlus now include features for multi-hooping and speed zone planning, enabling embroiderers to customize stitch speeds within different parts of a design, ultimately leading to cleaner and more precise results.
Optimizing Speed for Different Fabric Types and Design Details
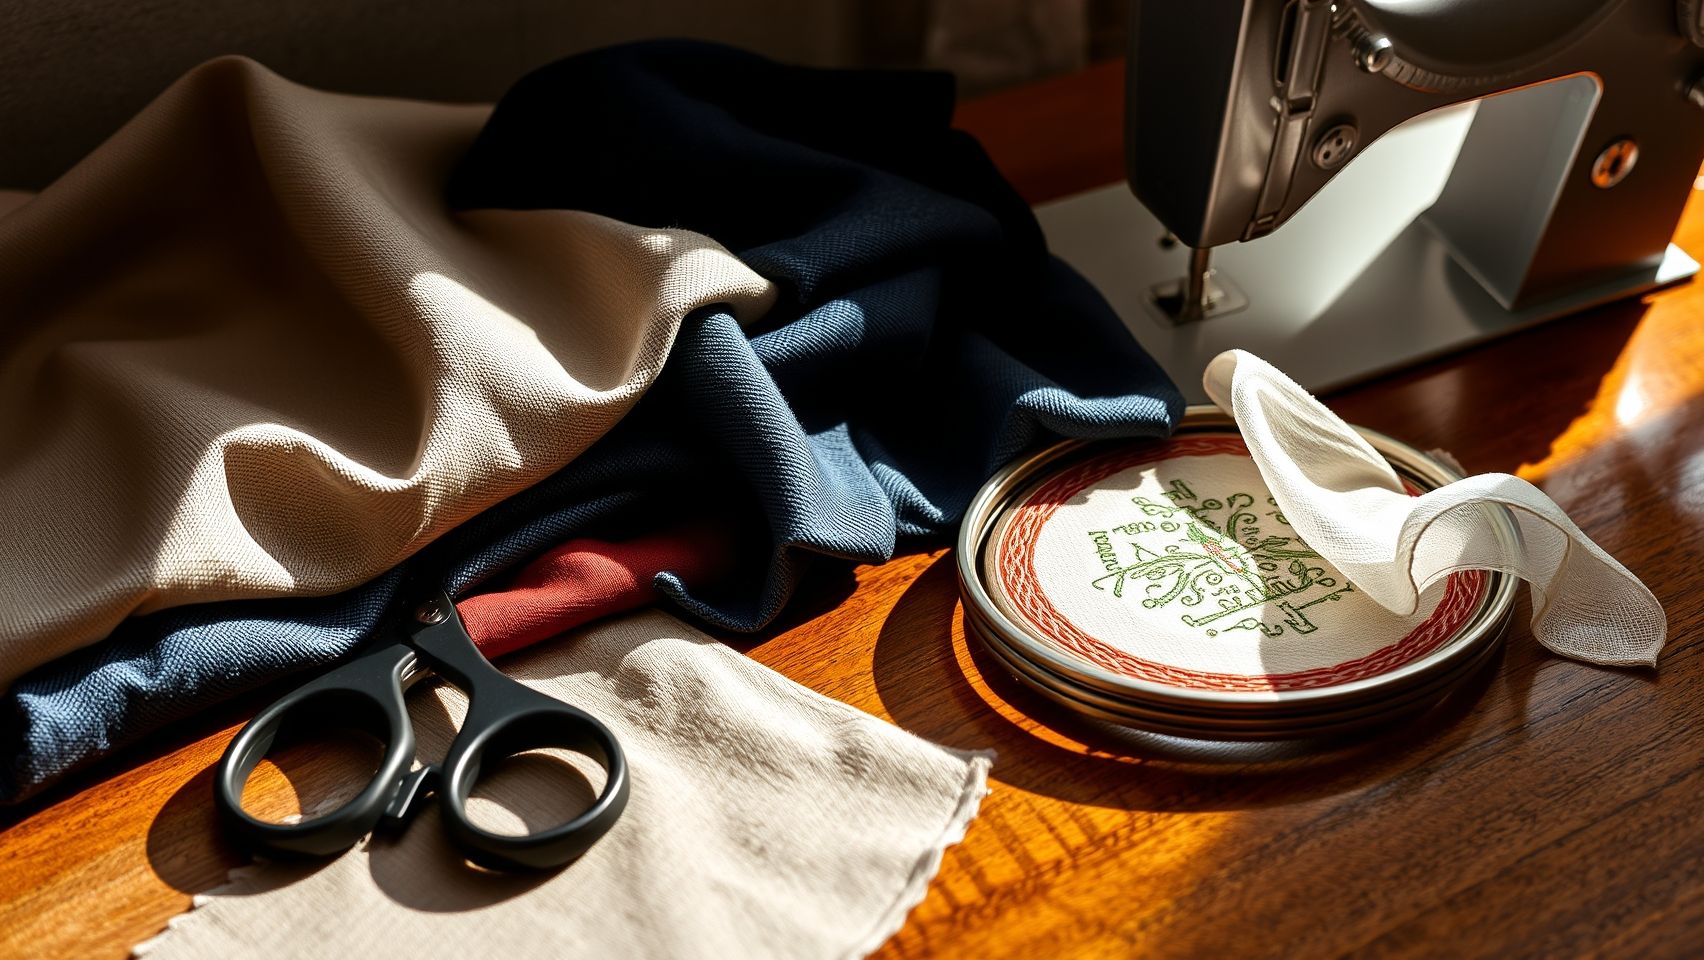
Adjusting the embroidery machine speed based on fabric type and design complexity is crucial for achieving flawless stitch quality. Proper speed settings help prevent issues like puckering, thread breakage, or distorted patterns, ensuring professional results every time. Mastering these adjustments enhances efficiency and fabric care, especially when working with a variety of materials and intricate designs.
Guidelines for Fabric Types and Design Complexity
For delicate fabrics such as Anne Cloth or lightweight linen, it is advisable to reduce the stitching speed to approximately 300-400 stitches per minute. This slower pace minimizes tension and prevents puckering, which is common on such sensitive textiles. Conversely, when working with stiffer fabrics like denim or canvas for solid fills or less intricate patterns, increasing the speed to around 500-600 stitches per minute can significantly improve productivity without compromising quality.
Dense, detailed designs such as complex motifs or elaborate embroidery require precise adjustments. For these, setting the machine to around 400-600 stitches per minute strikes the right balance between maintaining detail and efficiency. Additionally, utilizing features like slow-start and slow-stop can prevent pattern distortion at the beginning and end of stitching, especially on delicate fabrics.
Applying Multi-Zone Speed Adjustments and Real-Time Monitoring
Many modern embroidery software tools support multi-zone speed adjustments, allowing slower stitching speeds in highly detailed or intricate areas and faster speeds in fill sections. This targeted approach ensures optimal stitch quality and time management. During the stitching process, continuously observe stitch quality, pausing to make re-adjustments if irregularities such as skipped stitches or puckering appear. Recording effective speed settings for various fabric and design combinations can streamline future projects, saving time and improving results consistently.
Studies indicate that maintaining a speed of 300-400 stitches/min on sensitive fabrics like Anne Cloth effectively prevents puckering, while speeds up to 600 stitches/min are suitable for simple fills on stiffer textiles. Understanding these parameters allows embroiderers to customize their approach, achieving a perfect balance between speed and quality tailored to each project.
Maintaining Embroidery Machine Longevity While Sticking to Speed Goals
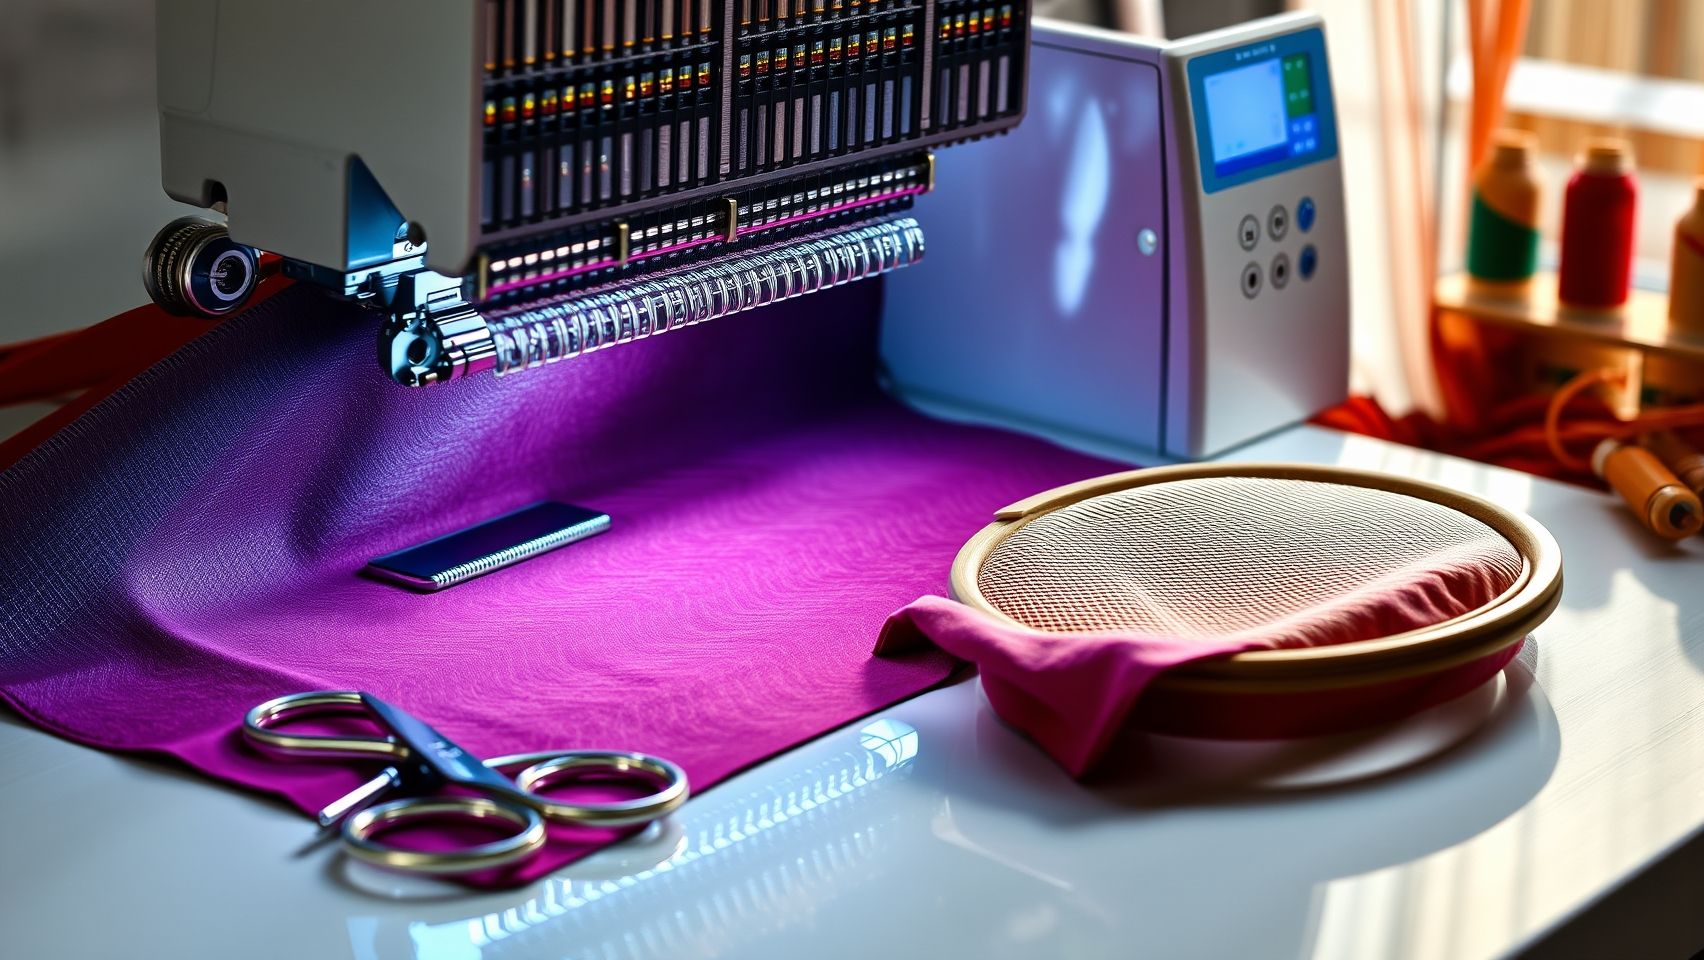
Balancing high-speed embroidery with machine health is essential for producing flawless stitches without sacrificing the longevity of your equipment. Proper maintenance routines, mindful operation during extended sessions, and recognizing signs of wear can significantly extend your machine’s lifespan. Implementing these practical tips ensures your investment remains productive and reliable, even when frequently working at higher speeds.
Regular Maintenance and Preventative Care
Weekly cleaning of key areas such as the bobbin case, hook area, and needle plate helps prevent lint buildup that can cause irregular stitches at high speeds. Keeping these components free of debris ensures smooth operation and reduces mechanical stress. Additionally, lubricate all moving parts according to manufacturer instructions, models like Bernina 780 and Janome Memory Craft 9900 benefit from regular oiling, which minimizes friction and prevents premature wear.
Operational Best Practices During Long Sessions
Limit continuous high-speed stitching sessions to prevent motor overheating; taking breaks every 30-45 minutes helps reduce strain on the internal components. Monitoring the motor temperature indicators is crucial, overheating signals that it’s time to slow down or pause. Using correct thread tensions is also vital, as overly tight or loose tensions at elevated speeds can cause damage or irregular stitches. Furthermore, investing in high-quality machine parts, such as nickel-plated needles and industrial-grade belts, ensures they can withstand extended operation at higher speeds without failure.
Signs of Wear and When to Take Action
Recognizing early signs of stress, such as increased noise, abnormal vibrations, or inconsistent stitch quality, allows for timely intervention. Addressing issues proactively prevents costly repairs and major downtimes. Combining regular maintenance with mindful operation not only preserves your machine’s performance but can extend its operational life by an estimated 20-30%, especially important for those frequently embroidering intricate designs or large projects.
Conclusion
In mastering the art of embroidery, adjusting machine speed plays a pivotal role in achieving perfect stitch quality while maintaining efficiency. Understanding the fabric and design requirements, performing test stitches, and utilizing the right tools are essential steps to fine-tune your settings. As recent trends highlight, finding the optimal speed balance not only results in superior embroidery outcomes but also extends the lifespan of your equipment. By regularly maintaining your machine and making precise adjustments, you set yourself up for consistent success. Start experimenting with test runs today, document your optimal settings for different fabrics and designs to consistently elevate your embroidery results. Remember, the key to perfection lies in persistent practice and continual refinement. Dive in now, and watch your embroidery craft flourish!