How to Maintain and Troubleshoot Your Embroidery Machine Motor Effectively
This post contains affiliate links. As an Amazon Associate, Latest Embroidery earns from qualifying
purchases, at no extra cost to you. Learn more.
Have you ever noticed your embroidery machine’s motor starting to sound a bit off, or perhaps struggling to keep up with your latest project? If so, you’re not alone. Many embroidery enthusiasts face the frustrating reality of motor issues that can suddenly disrupt the flow of a perfect design. Interestingly, according to recent industry data, a well-maintained motor can extend the lifespan of your machine and ensure consistently high-quality stitching, saving you both time and money. But what exactly causes these problems? Overheating, dust buildup, or improper lubrication are common culprits that, if left unchecked, can lead to jittering or even motor failure.
Fortunately, a few simple maintenance steps, like cleaning the motor area regularly, checking the brushes, and ensuring proper tension, can go a long way in preventing headaches down the line. For those ready to get hands-on, understanding the nuances of motor care is essential. Still, troubleshooting can sometimes be tricky, especially when the machine’s behavior seems unpredictable. Luckily, with a bit of know-how, you can identify issues early and keep your embroidery machine running smoothly for years to come.
If you’re also exploring new tools or considering an upgrade, there are some excellent embroidery machines that come with user-friendly motors designed for durability. Want to dive deeper into repair tips or industry insights? You’ll find helpful resources from organizations like the American Embroidery Association that offer detailed guides and expert advice.
Ready to learn how to extend your machine’s life and troubleshoot like a pro? Let’s explore the essential maintenance tips and common fixes that every embroiderer should know.
Understanding What Your Embroidery Machine Motor Needs
Short on time? If you only take one thing from this guide: Machine oil & cleaning kit — most “faulty machine” problems are lint and a dry hook race.
Taking care of your embroidery machine motor might seem technical at first glance, but once you get familiar with the signs of wear and upkeep essentials, it becomes second nature. After all, the motor is the heart of your machine, powering every stitch and movement. If it starts acting up, your whole project can come to a halt, which is why early diagnosis is key. Think of it like maintaining a car, being attentive to unusual noises, overheating, or inconsistent performance can save you time and money.
Let’s explore some clues from seasoned embroidery enthusiasts and experts on what to watch for so you can keep your machine humming smoothly for years to come. Regular cleaning, paying attention to environmental factors, and understanding the lifespan of your motor are all part of a practical maintenance routine that anyone can adopt.
Recognizing Signs of Motor Wear and Troubleshooting
One of the most obvious indicators that your motor might be nearing the end of its life is the presence of unusual noises, clunking, squeaking, or grinding sounds often mean something’s off. Overheating is another red flag, especially if your machine’s motor feels hot to touch or if it frequently stalls during operation. Inconsistent stitching, jittering, or a noticeable drop in speed can also point to internal motor issues. These signs are common in machines that have clocked over 2, 000–3, 000 hours of use, but even newer models can show early symptoms if dust or lint gets trapped inside.
To diagnose early, simply listen carefully and observe your machine’s behavior. Using a digital tachometer can help measure the motor’s RPM to detect subtle performance drops. Many embroiderers swear by routine checks, like inspecting the motor vents and cleaning out dust with a can of compressed air, to prevent dust buildup that can cause overheating and wear.
The Importance of Regular Cleaning and Environmental Control
Dust, lint, and fabric fibers can accumulate quickly inside your embroidery machine, especially around the motor vents. Without regular cleaning, this buildup acts like a blanket of insulation, causing unnecessary heat and stress on the motor. A study even found that 43% of embroiderers experience overheating issues primarily due to dust not being cleared regularly. For best results, a simple routine of opening the vents and giving a gentle blast of compressed air every few projects can extend your motor’s lifespan considerably.
Equally important is controlling the ambient environment. High humidity can cause condensation inside the motor, leading to corrosion or electrical issues. Conversely, very dry environments can cause static buildup. Ideally, keep your workspace at a stable temperature and humidity level, and avoid placing your machine in drafty or overly humid areas.
Brand-Specific Maintenance Tips and Lifespan Expectations
Different brands have distinct motor features and recommended maintenance routines. For example, Brother and Janome machines often incorporate accessible motor vents and self-lubricating components, which simplify routine checks. Bernina models may require more specific cleaning protocols outlined in their manuals, but the underlying principles are similar, keep it clean, cool, and well-maintained.
As for lifespan, industry data suggests that most embroidery machine motors should reliably operate between 2, 000 to 3, 000 hours. Beyond this, signs like a decrease in power, frequent stalls, or jittering often signal that a motor replacement might be necessary. Monitoring your machine’s stitching quality and performance regularly is the best way to catch these issues early, saving you both frustration and repair costs.
Step-by-Step: Cleaning Your Embroidery Machine Motor
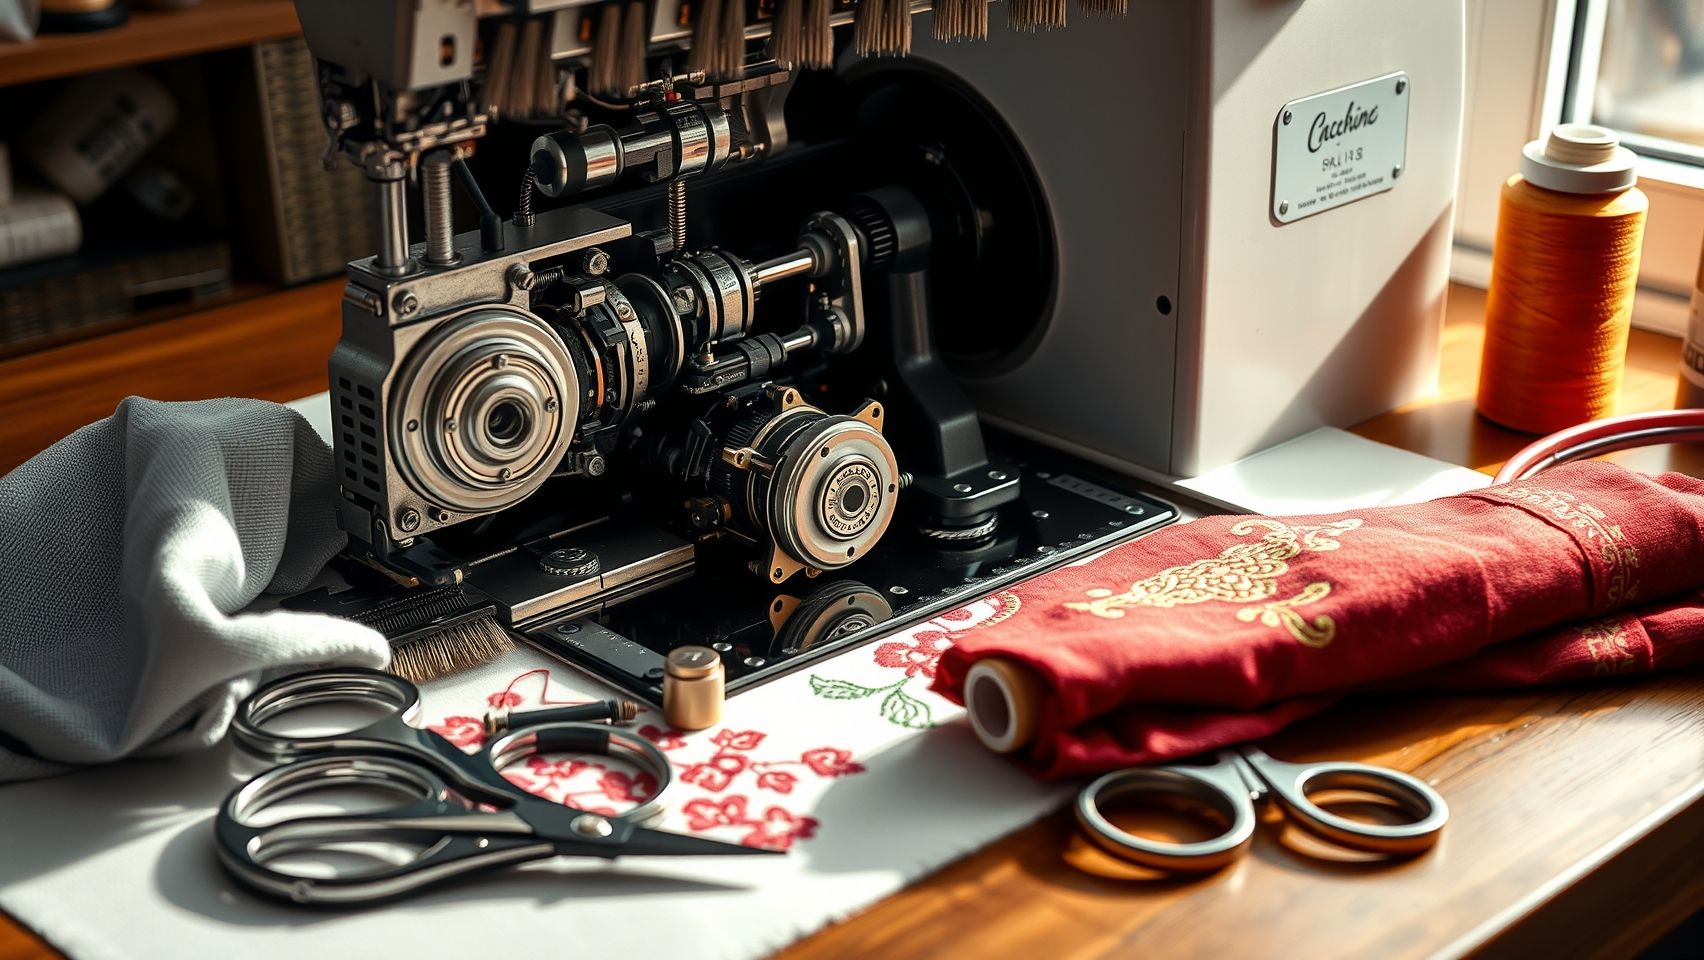
Maintaining the motor of your embroidery machine might sound intimidating at first, but with a few simple steps, you can keep it running smoothly and extend its lifespan. Regular cleaning is key to preventing overheating caused by dust buildup, something seasoned embroiderers know all too well. Plus, a well-maintained motor ensures your projects come out perfect every time.
Start by making safety your top priority: always turn off and unplug your machine before opening any access panels. This simple habit can save you from surprises or accidents. Once unplugged, carefully remove the housing or casing panel as per your manufacturer’s instructions, which often involve unscrewing a few screws or clips. Keep track of all parts in case you need to reassemble quickly.
Cleaning the Motor and Surrounding Areas
Now, take a soft brush, one dedicated to cleaning electronics or delicate parts, and gently loosen any dust from the motor vents and nearby areas. Those vents, especially on the motor casing, tend to trap lint and dust quickly, leading to overheating if neglected. Follow this up with a can of compressed air, using brief bursts to blow dust out of the vents. Never shake or tilt the can too much, and avoid directly spraying on electrical components, aim for the vents and outer surfaces.
Lubrication and Final Checks
If your manual specifies lubrication points, like the bearings of the motor, apply a tiny amount of light sewing machine oil. Many machines require oiling approximately every 100 hours of use, so keep a maintenance log. Be cautious not to over-oil, as excess grease can attract dust and cause more harm than good.
After cleaning and lubricating, carefully reassemble the casing, ensuring all screws and clips are secure. Double-check that no parts are left loose or misaligned. Once you reconnect your machine to power and test it, you’ll notice how much more responsive and quieter it becomes, a satisfying reward for a bit of regular TLC.
Lubrication: When and How to Care for Your Motor’s Moving Parts
Keeping your embroidery machine’s motor well-lubricated isn’t just about smooth operation; it’s a key factor in prolonging its lifespan. Think of your motor’s bearings and brushes as the joints in your body, regular care ensures they move efficiently and don’t wear out prematurely. A common mistake among embroiderers is over-lubricating, which can attract lint and dust, leading to more issues over time. So, finding that perfect balance is crucial.
Typically, the best practice is to lubricate the motor bearings every 100 to 200 hours of use or when you notice signs of trouble like increased noise, overheating, or slowed response. Always use manufacturer-approved lubricants, usually a few drops of light sewing machine oil, applied precisely to the designated points. For example, Janome recommends applying oil to the motor bearings at regular intervals, which has been endorsed across the industry for maintaining smooth operation. Just remember: moderation is your best friend here. Too much oil can cause more harm than good, trapping lint and causing unnecessary wear.
Step-by-step Lubrication Tips
- Turn off and unplug your machine before applying any lubricant to ensure safe handling.
- Identify the lubrication points, mainly the motor bearings and brushes.
- Use a fine no-drip oil applicator or a small brush to place just a few drops of oil at each point.
- Wipe away any excess oil to prevent dirt buildup.
- Regularly check for signs like heat build-up or jittering, which might indicate a lubrication issue.
Performing this simple maintenance task at the right intervals not only keeps your machine humming but also saves time and money on repairs down the line. It’s a small step that makes a remarkable difference in your embroidery experience, turning a potentially frustrating issue into a quick fix, an actual ‘aha’ moment for many seasoned embroiderers. So, keep an eye on your machine’s behavior, and don’t neglect this vital aspect of motor care.
Monitoring Motor Performance for Early Problem Detection
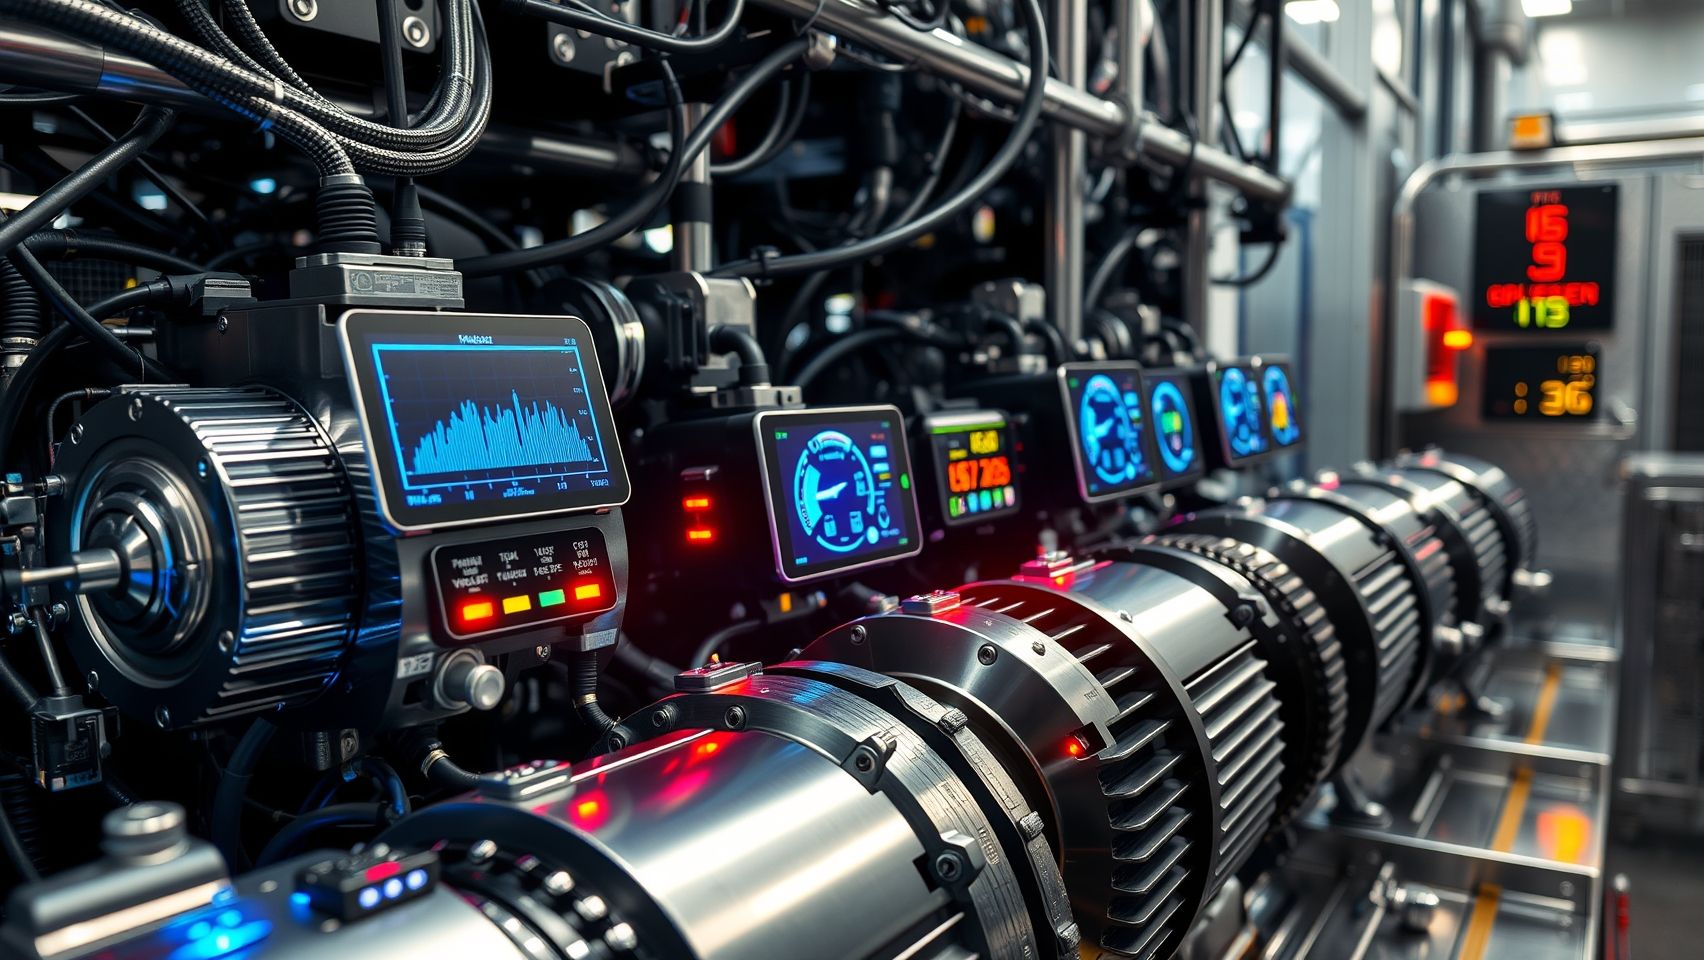
If you’re working regularly with your embroidery machine, keeping a close eye on the motor’s health can save you time, frustration, and even costly repairs down the line. Think of your machine’s motor as the heartbeat of your embroidery setup, when it’s healthy, everything runs smoothly; when it’s not, you’ll notice it in the stitch quality or through some warning signs.
Simple Methods to Keep an Eye on Your Motor
First off, start with sound. During operation, listen carefully for any unusual noises like grinding, squealing, or clicking, these often signal that something’s misaligned or the bearings are wearing out. Vibrations are another telltale sign; if your machine starts to shake or jitter unexpectedly, it could indicate motor issues that need checking.
Next, feel and record the motor’s temperature regularly. A healthy motor typically stays below 40°C (104°F), but if you notice it’s overheating frequently or the temperature climbs higher, it might be nearing failure. A quick infrared thermometer or even an old-fashioned touch can help you track these changes without interrupting your work.
Additionally, observe your stitch quality. Inconsistent tension, skipped stitches, or uneven designs often point back to motor problems or power supply issues. Tracking these signs over time allows you to identify patterns before they become serious problems.
For a more precise monitor, a digital tachometer can measure the motor’s RPM (revolutions per minute). Consistent RPM readings confirm your motor is performing correctly, while deviations, like sudden slowdowns, are clear indicators that service or inspection might be needed. Regularly maintaining a detailed performance log can make spotting these early signs much easier, and it helps when discussing troubleshooting with technicians.
Remember, proactive monitoring doesn’t just extend your machine’s lifespan; it also ensures your embroidery remains flawless, saving you time and materials. A few minutes spent checking these indicators weekly can prevent bigger headaches later, making the craft more enjoyable and less stressful.
When to Replace Your Embroidery Machine Motor
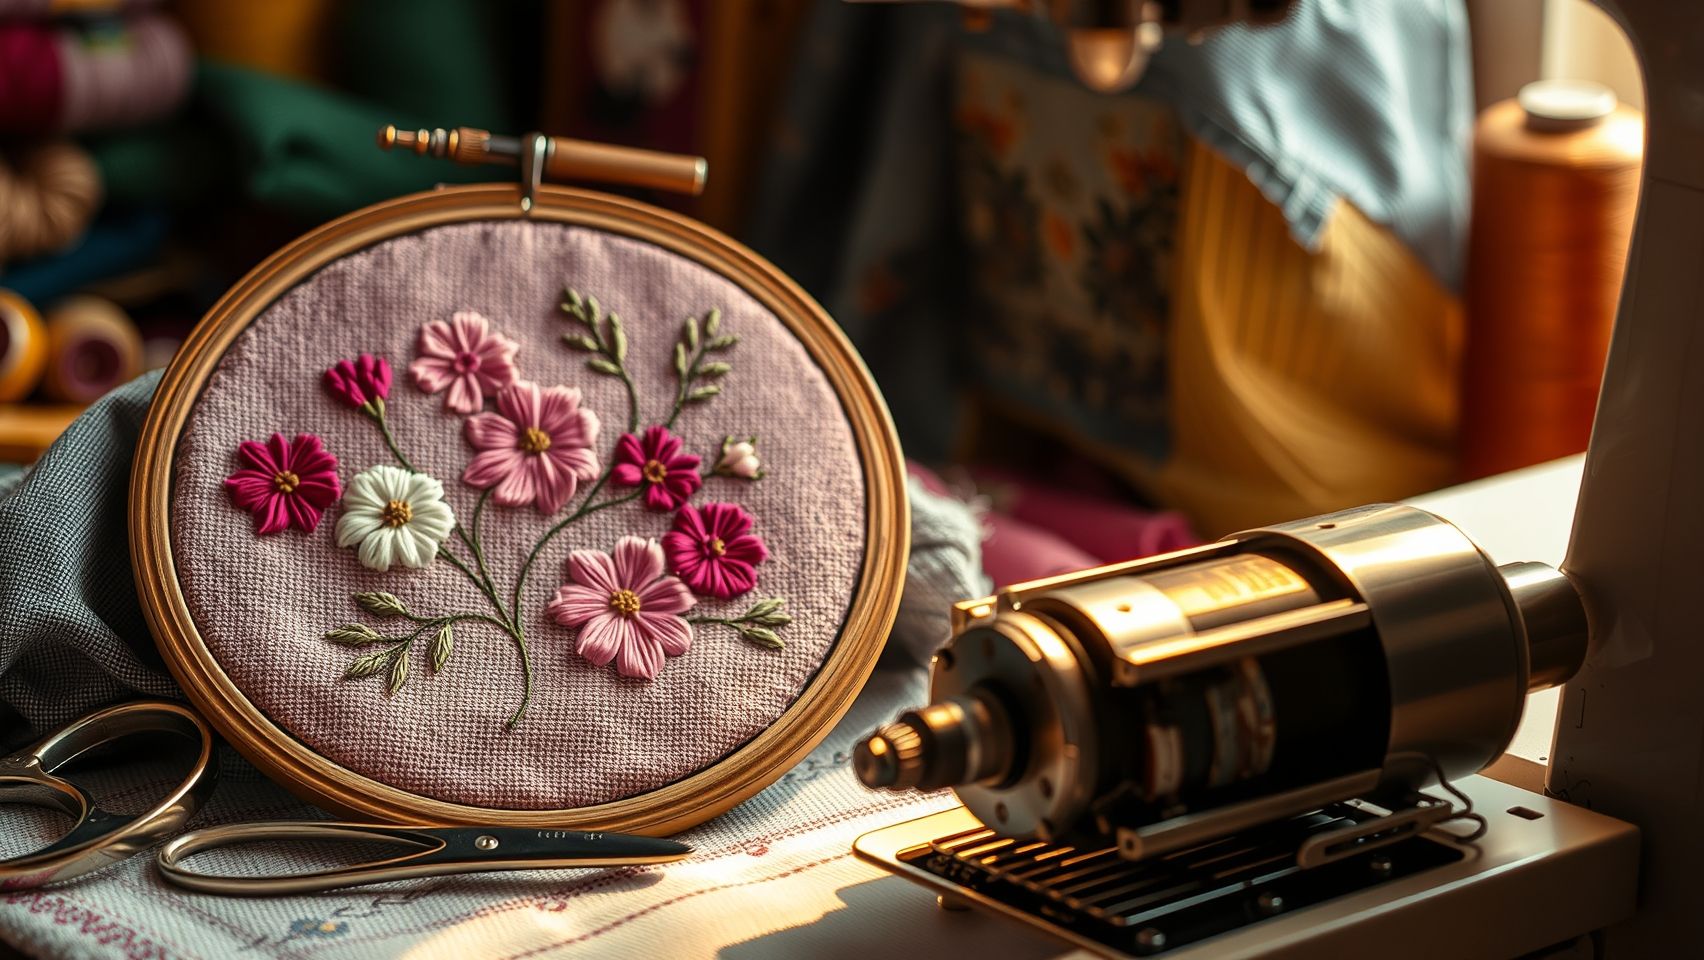
Knowing when your embroidery machine needs a new motor can feel like deciphering a secret code. For many experienced embroiderers, certain signs are unmistakable indicators that it’s time for a replacement. Persistent overheating, for instance, isn’t just a minor inconvenience; it often points to motor fatigue or electrical issues that might not respond to routine maintenance. Similarly, increased noise levels, those grinding or squealing sounds, can suggest internal wear or bearing failure. If your machine’s speed diminishes despite thorough cleaning and lubrication, the motor could be losing its mojo.
Frequent stalls or abrupt resets are clear warnings of motor failure as well. When your machine freezes or shuts down unexpectedly during detailed work, it’s usually the motor struggling to keep up. On the financial side, replacement motors for brands like Brother and Janome typically range between $100 and $300, making it a significant decision point. Often, evaluating whether a full professional repair is more cost-effective than DIY replacement hinges on the extent of damage and your comfort with electrical components.
Signs That Indicate Motor Replacement Is Needed
- Overheating after extended use or even during light operations
- Unusual noises such as grinding or squealing coming from the motor area
- Reduced stitching speed despite proper cleaning and maintenance
- Frequent stalls or resets during embroidery tasks
- Electrical irregularities like sparks or burnt smell
Choosing the Right Replacement Parts and Professional Services
When it’s clear that the motor needs replacing, always consider genuine parts over aftermarket options. Authentic motors from your machine’s brand often come with warranties and are designed for specific models, reducing compatibility issues. If DIY installation feels daunting or if troubleshooting hasn’t resolved the issue, seeking professional repair is wise, especially if major electrical faults are involved.
Research suggests that professional repair services tend to cost between $150 and $300, aligning closely with the price of genuine replacement motors. Consulting authorized service centers not only ensures quality repair but can also help determine if a full motor replacement is warranted versus repairing existing components, saving you money in the long run.
Remember, regular maintenance isn’t just about prolonging your machine’s life; recognizing the early signs of motor failure can save you time, frustration, and unexpected expenses. When in doubt, don’t hesitate to consult an expert, your embroidery projects (and nerves) will thank you.
Professional Maintenance and Troubleshooting: Know When to Call an Expert
Keeping your embroidery machine in tip-top shape goes beyond quick cleaning and routine adjustments. As any seasoned embroiderer knows, persistent issues despite diligent maintenance are often a sign that it’s time to bring in a professional. Many small business owners and hobbyists have learned this lesson the hard way, realizing that some problems, especially electrical faults or motor rewinding, require specialized skills and tools.
Professionals are trained to thoroughly check for hidden faults, recalibrate critical components, or replace motors with genuine parts to ensure longevity and optimal performance. For instance, if your machine’s motor exhibits unusual noises, overheating, or inconsistent stitching, a qualified technician can perform detailed diagnostics that might uncover issues you can’t detect at home. Regular inspections can prevent costly breakdowns, saving both time and money in the long run. Ultimately, balancing DIY upkeep with timely expert service is the secret to reliable machine operation.
When Recurring Issues Persist Despite Routine Maintenance
If you’ve already cleaned, oiled, and adjusted your machine but problems keep resurfacing, such as skipped stitches, thread breakage, or motor overheating, professional intervention becomes essential. Often, these are signs of underlying electrical issues or mechanical wear that only a technician can address properly. Some embroidery shops offer comprehensive diagnostics that reveal hidden faults, which could involve motor rewinding, bearing replacements, or circuit repairs. Addressing these issues promptly not only ensures quality results but also extends your machine’s lifespan.
Specialized Electrical Faults or Motor Rewinding Needs
Electrical faults or motor rewinding might sound intimidating, but they are relatively common in older or heavily used embroidery machines. Rewinding involves repairing the motor’s coil to restore its original efficiency, and it requires specialized equipment and expertise. Many technicians have the necessary skills and access to genuine parts, guaranteeing the repair’s durability. If your machine frequently stalls or the motor is running irregularly, seeking a professional rewinding service can be a cost-effective way to revive your equipment without having to buy a new one.
Finding Reputable Service Centers for Your Brand
When searching for qualified technicians, it’s crucial to look for brand-specific expertise. For high-end brands like Bernina or Husqvarna, authorized service centers can provide genuine parts and trained staff familiar with each model’s nuances. Checking online reviews, industry forums, or recommendations from fellow embroiderers can help you identify reliable local or national service providers. Ensuring your technician is authorized or experienced with your machine’s brand will safeguard your investment and ensure high-quality repairs.
DIY vs. Professional Repairs: A Cost-Benefit Analysis
While a DIY approach might seem tempting to save money, it often leads to more damage or overlooked issues. Minor cleaning or oiling can be easily handled, but electrical faults or motor problems demand professional skills. Experts often offer warranty-backed repairs with genuine parts, which guarantee durability and performance. In the end, investing in professional service may cost more upfront but provides peace of mind and reduces downtime, especially essential for those running a small business or relying on embroidery for income.
Preparing Your Machine for Service
Proper preparation can streamline the repair process. Before taking your machine to a technician, back up any stored designs or software settings, and give your machine a thorough cleaning, removing lint, dust, and thread debris. This not only protects your designs but also helps the technician conduct an efficient inspection. Additionally, noting any recurring issues or unusual noises can assist the expert in diagnosing problems more swiftly. Remember, a little prep work goes a long way toward getting your embroidery machine back in action quickly and smoothly.
Conclusion
Maintaining your embroidery machine motor might seem like a small detail, but it plays an essential role in ensuring the quality and longevity of your projects. As we’ve explored, consistent cleaning, proper lubrication, and vigilant monitoring are the cornerstones of keeping your machine running smoothly. Recognizing early signs of wear and knowing when to seek professional help can prevent costly repairs and downtime, ultimately saving you time and money. With the embroidery market projecting steady growth and technological advancements enhancing efficiency, proactive care becomes even more critical.
Start incorporating monthly motor check routines today and schedule professional inspections annually to keep your embroidery machine performing at its best. Remember, patience and attentiveness in maintenance not only extend your machine’s lifespan but also elevate the quality of your work. Think of this care as an investment in your craft, one that pays off through flawless stitches and creative freedom.
This journey toward mastery involves continuous learning and mindful upkeep. Trust your experience, stay proactive, and let your passion for embroidery inspire your ongoing pursuit of excellence. After all, every stitch you make connects you to a timeless tradition, one worth preserving with care and dedication.