How to Use Color Blending Techniques in Machine Embroidery for Stunning Gradients
This post contains affiliate links. As an Amazon Associate, Latest Embroidery earns from qualifying
purchases, at no extra cost to you. Learn more.
Ever wonder how some embroidered designs seem to effortlessly melt from one color into another, creating gorgeous gradients that look almost painted? It’s not magic, it’s the mastery of color blending techniques in machine embroidery. But here’s the thing: many embroiderers hit a wall when trying to achieve smooth transitions. They wrestle with thread choices, confusing software options, or just plain struggle to get a seamless gradient that looks professional. Sound familiar?
Well, the good news is that mastering these practical techniques can turn your projects from good to jaw-dropping. Whether you’re a hobbyist aiming to add a sophisticated touch to home décor or a seasoned pro working on client commissions, understanding how to blend colors effectively is a game-changer. In this article, I’ll guide you through step-by-step methods that make creating stunning gradient effects surprisingly straightforward, no fancy skills required. Embroidery software advancements now offer more tools than ever to help achieve this, and I’ll show you how to harness their potential. So, why settle for flat, uninspiring colors when you can turn your embroidery into a true work of art? Let’s dive in and discover how to turn thread into a masterpiece.
Step-by-Step: Creating Seamless Gradients in Machine Embroidery
Short on time? If you only take one thing from this guide: Brother SE700 — the machine we point most beginners to — touchscreen, wireless transfer, and it sews as well as embroiders.
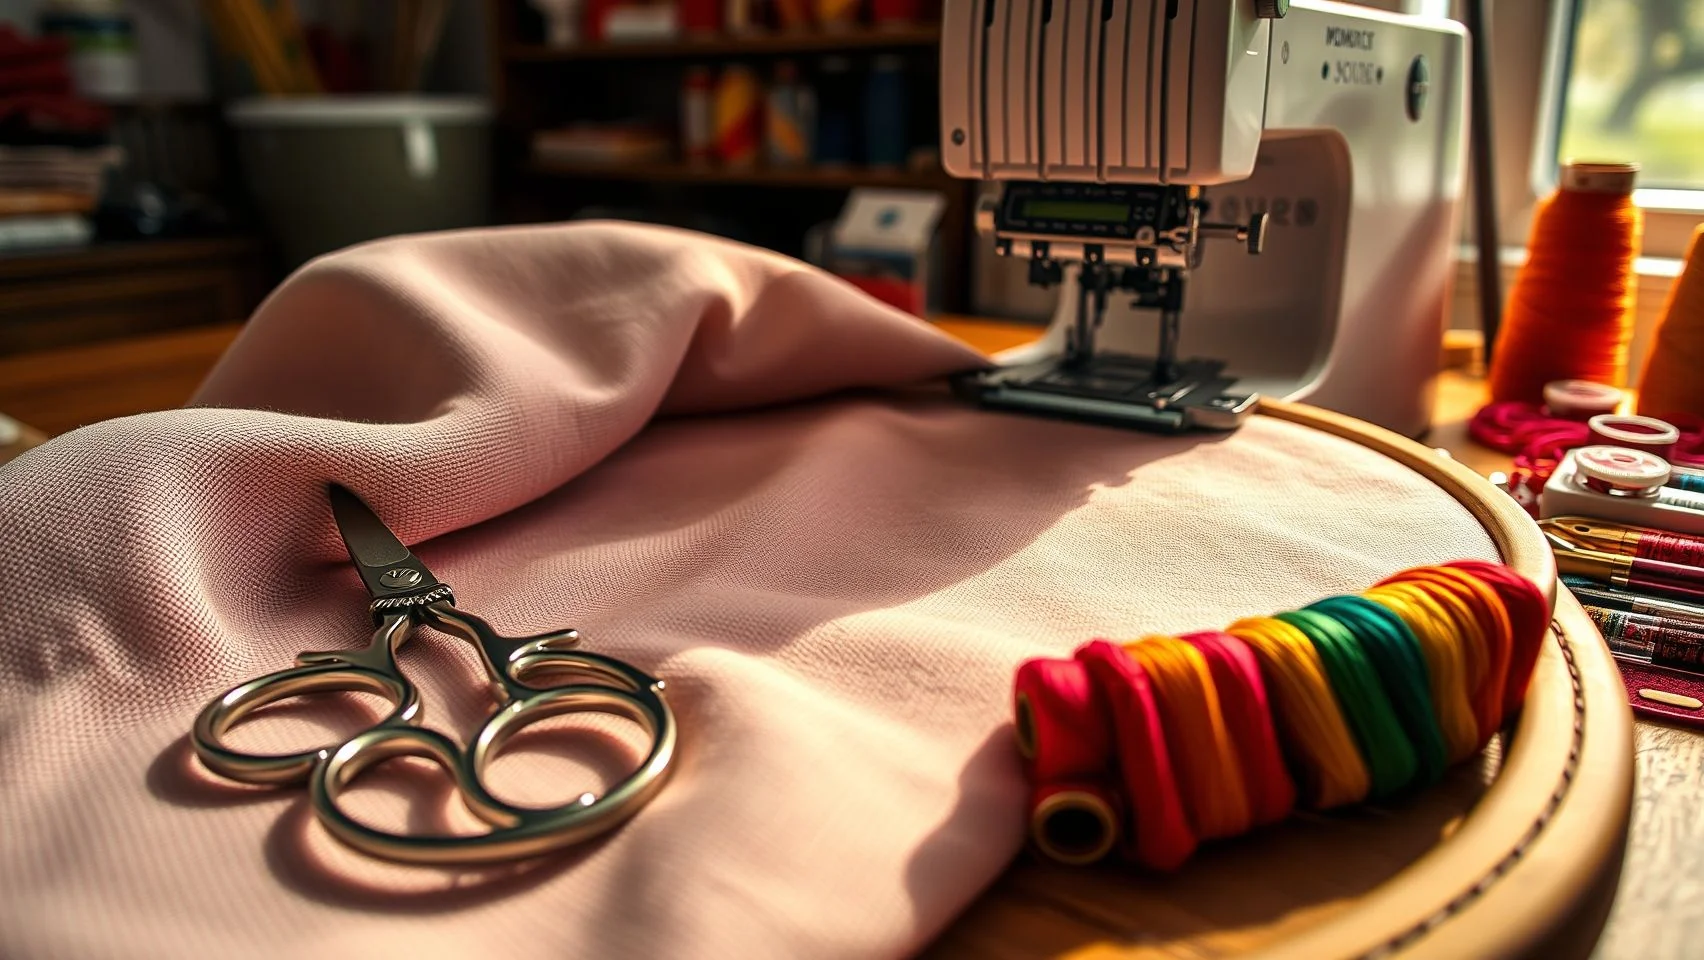
Embroidery enthusiasts often dream of achieving those beautiful, buttery smooth gradients that look almost painterly on fabric. But let’s be honest, producing seamless color blends in machine embroidery can seem daunting at first glance. The secret lies in a combination of choosing the right threads, careful software prep, and meticulous machine settings. Once you get the hang of it, you’ll find that creating stunning gradients becomes a rewarding part of your embroidery journey.
Think of it like blending watercolor paints, the transition should be soft and natural, with no harsh lines interrupting the flow. To start, selecting high-quality threads that are designed for gradient work is essential. Brands like Madeira Rayon are favored because their consistent sheen and color depth help produce those delicate shifts in tone. Now, onto the software, modern programs like Wilcom or Embird Studio have dedicated gradient tools that allow you to generate those beautiful transitions digitally before you even begin stitching.
1. Picking Your Threads and Preparing Your Design
Begin with high-quality, gradient-compatible threads, Madeira Rayon or Argyle threads are excellent choices because of their smooth gradation and consistent sheen. When designing your project, use embroidery software to create or import your gradient fill. Modern versions, like Wilcom’s latest updates, offer intuitive tools to generate smooth color transitions, so take advantage of those features. Always preview your design to ensure the color changes look naturally blended, adjusting if necessary.
2. Setting Your Machine Parameters for Success
Once your design is ready, the next step involves fine-tuning your machine settings. Lower the stitch density, around 15-20 stitches per inch, to allow the threads to blend naturally without puckering or stiffening. This spacing creates a more fluid transition and results in a softer, more painterly effect. Also, add a layer of lightweight interfacing or stabilizer to prevent puckering, which can ruin those smooth gradients, especially on delicate fabrics.
3. Programming Your Machine and Thread Changes
Edit your design to program in gradient segments, what I like to do is set the machine to change thread colors gradually, according to the software instructions. Many embroidery programs will let you assign specific color stops, making the transition seamless. When running the project, always test on a scrap piece of fabric first. This helps you fine-tune tension and ensure the thread compatibility, so those transitions are as flawless as possible on your actual project.
Sometimes those subtle nuances make all the difference, so don’t rush the process. Expect some trial and error, but the payoff is worth it when you see your fabric fade from one color to the next with perfect harmony. With a bit of practice, you’ll master creating gorgeous, professional-looking gradients that add real depth and sophistication to your embroidery pieces.
Tools and Equipment for Effective Color Blending
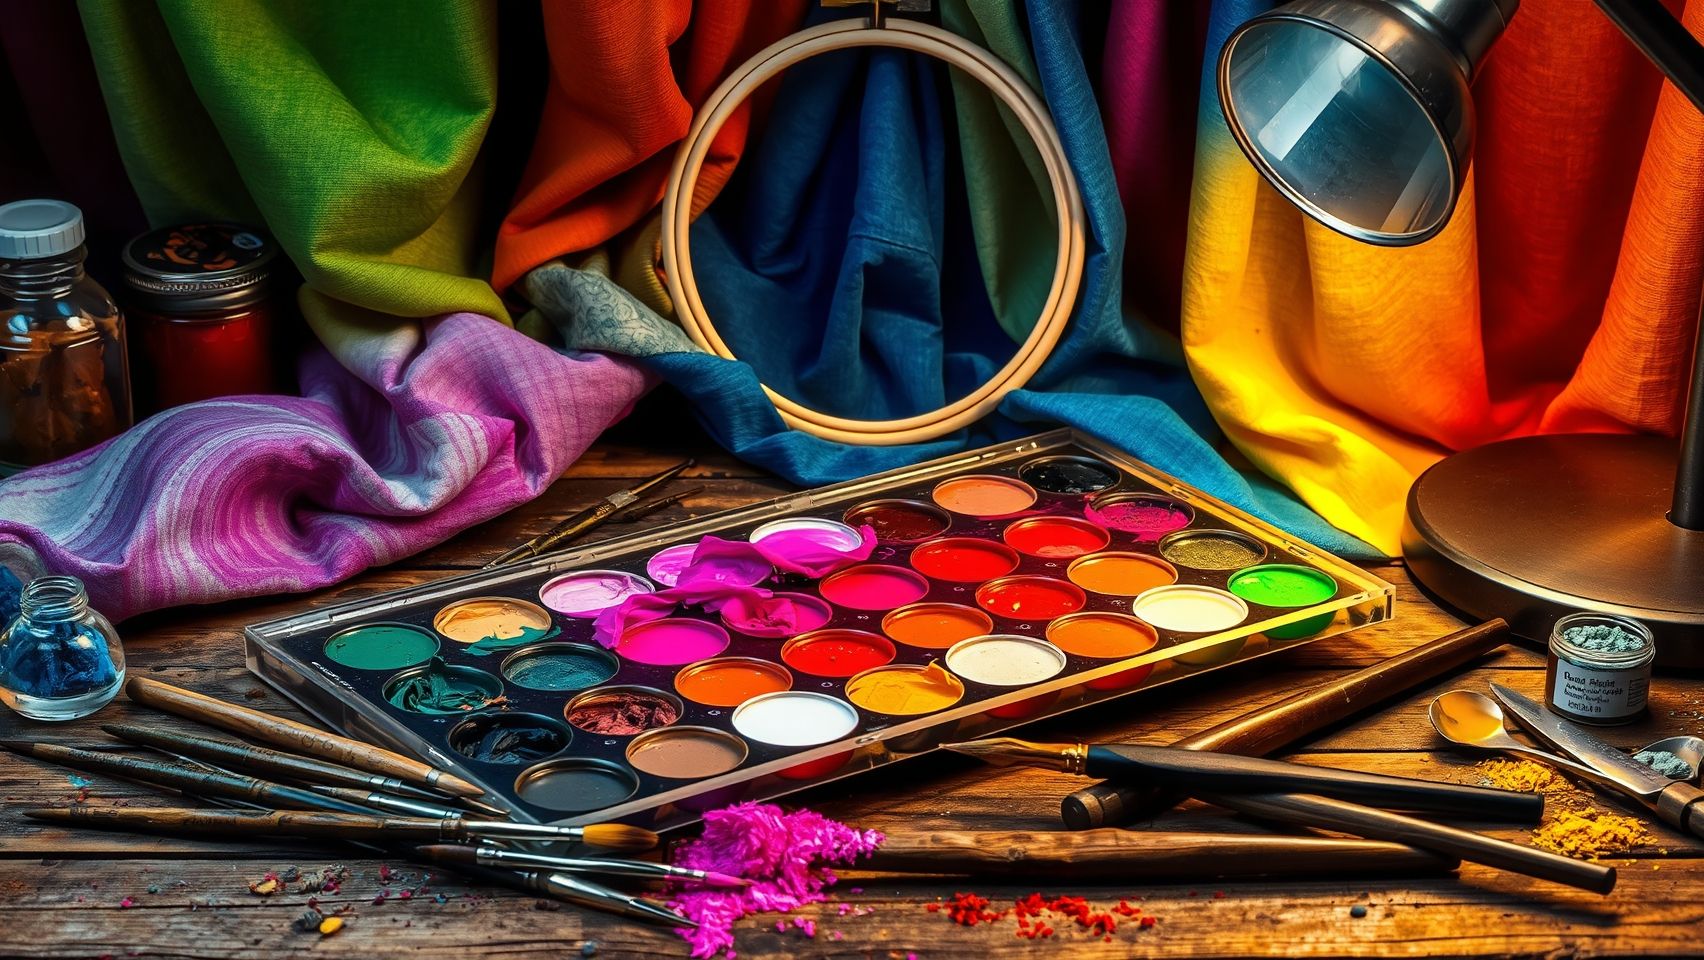
If you’re venturing into the world of machine embroidery with an eye toward stunning gradients and seamless color transitions, having the right tools is essential. From the embroidery machine itself to threads, software, and accessories, each element plays a crucial role in achieving professional-grade results.
Let’s start with the machine. A model like the Brother SE1800 has become popular among enthusiasts in 2025 due to its multi-color capabilities and adjustable tension settings, which are vital for smooth blending. It offers 138 built-in designs, many of which benefit from fine-tuning the tension and stitch properties for optimal gradient effects. Premium threads like Madeira Rayon, Sulky Metallic, and iridescent options such as Rainbow Metal are favored for their ability to produce soft, natural transitions in color, something that’s hugely satisfying to see come to life in a project.
On the software front, the latest versions of Wilcom Embroidery Studio, Hatch Embroidery, and Embird Studio have advanced gradient tools that simplify digitizing designs for subtle blending. These programs allow you to manipulate thread colors, density, and stitch types to create stunning effects without hours of trial and error. Proper hooping with stabilizers, preferably tear-away or cut-away depending on the fabric, ensures stitch precision and smooth color transitions, especially when working with delicate fabrics.
If you’re serious about efficiency, multi-needle embroidery machines with multiple thread spools loaded for various shades can significantly cut down time. Accessories like color management charts and thread blending guides are practical for selecting the perfect thread combinations, helping you avoid common mistakes and achieve that flawless gradient effect you’ve been dreaming of. Embroidery in 2025 has never been so accessible and rewarding with these well-chosen tools.
Comparing Embroidery Software for Color Blending Features
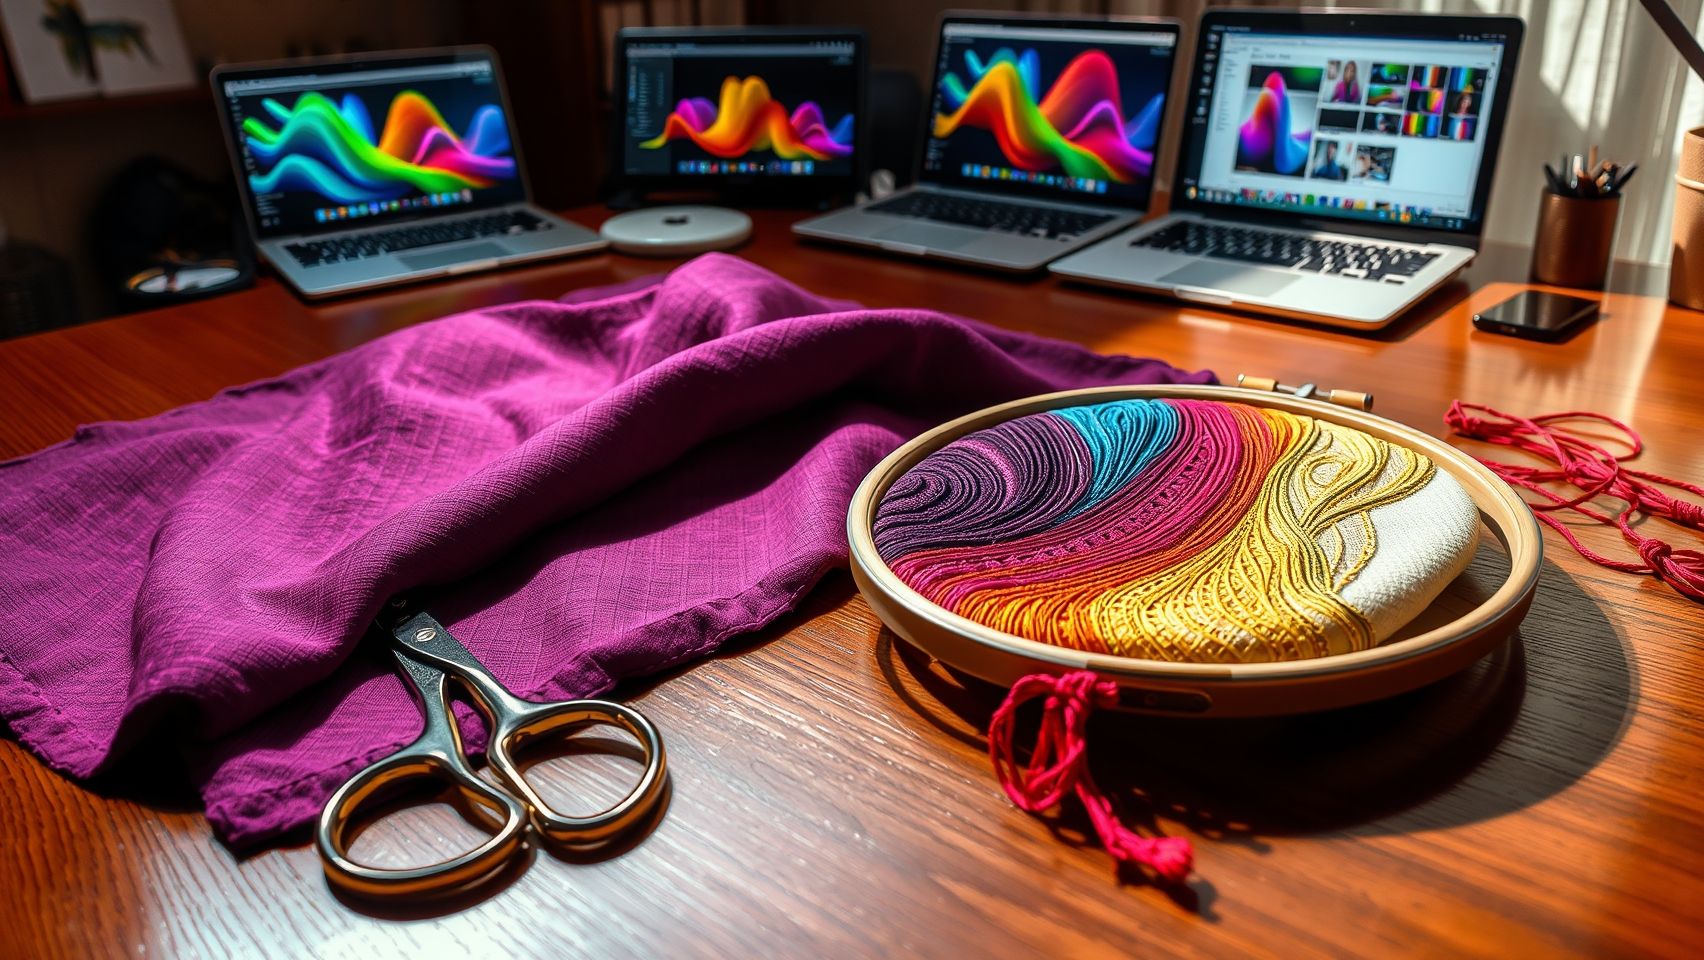
Choosing the right embroidery software can make a significant difference when it comes to creating stunning gradients and seamless color blends. With so many options on the market, understanding their capabilities, ease of use, and costs helps you make an informed decision that aligns with your skill level and project needs.
From industry-standard programs to beginner-friendly tools, each offers a unique set of features. While some focus on advanced gradient fills and complex color management, others prioritize simplicity and affordability. Let’s explore the most popular choices and see how they stack up in terms of blending techniques, compatibility, and value for money.
Wilcom Embroidery Studio
Wilcom Embroidery Studio is often considered the gold standard in embroidery CAD software. Its comprehensive gradient fill tools allow for precise color transitions and advanced blending effects, making it a favorite among professional embroidery shops. The perpetual license costs around $2, 500, which might seem steep but offers extensive features that justify the investment for serious hobbyists or business owners.
This software supports seamless integration with various embroidery machines and offers compatibility with common file formats like PES, DST, and EXP. Its preset color schemes and gradient options enable users to craft realistic, smooth gradients effortlessly, although mastering these tools can take some practice.
Hatch Embroidery
Hatch Embroidery strikes a balance between ease of use and powerful features. Its interface is user-friendly, making it a great choice for beginners who want to experiment with shading and color blending without a steep learning curve. The program supports multiple color shading tools, allowing for intricate gradients and in-the-hoop projects.
Priced at around $1, 200, Hatch offers a suite of tutorials that help users quickly grasp blending techniques. It also supports a variety of file formats compatible with most popular embroidery machines. Its preset color schemes and shading tools make creating complex color transitions straightforward, fostering both creativity and efficiency.
Embird Studio
Embird Studio is an affordable option at approximately $150 per year, and it provides versatile editing tools with good support for color management plugins. While it may not have the same advanced gradient features as Wilcom, it still offers adequate tools for blending colors and producing gradients, especially for hobbyists and smaller shops.
Compatibility with many file formats and the ability to add plugin features makes Embird flexible. Its learning curve is gentle, and the cost-effectiveness makes it attractive for those just starting out or working on limited budgets. It excels in supporting complex color transitions in projects and can handle in-the-hoop techniques efficiently.
Troubleshooting Common Issues in Color Blending
Color blending in machine embroidery can really elevate a project, giving it that professional, gradient-like finish. But let’s be honest, sometimes, despite our best efforts, unexpected problems pop up. Puckering, visible lines, or uneven blends are frustrations many embroiderers face, especially when working with delicate fabrics or advanced shading techniques. The key is knowing some practical solutions that can turn these obstacles into learning moments and craft wins.
Most of these issues boil down to a few core factors: stabilizer choice, tension settings, thread quality, and machine speed. Once you get these elements dialed in, troubleshooting becomes much less stressful. If you’re just starting to experiment with blending, expect a bit of trial and error, but that’s part of the process. With patience and these tested tips, you’ll develop a keen eye for what works, and avoid some common pitfalls.
Puckering: Preventing Fabric Distortion
Puckering is often caused by insufficient stabilizers or improper tension. Using a high-quality, appropriately thick stabilizer, like cut-away or light-weight tear-away, can really make a difference. Lowerting your tension slightly or increasing the backing layer can also help keep the fabric smooth during stitching. Remember, fabrics like silk or linen are more prone to puckering, so tailor your stabilizer choice accordingly. A quick tip: always test on scrap fabric first to find that sweet spot before working on your main project.
Visible Color Lines: Achieving Smooth Gradients
When you see harsh lines instead of seamless gradations, it’s often a sign that software settings or thread choices need tweaking. Ensure that your gradient transitions are gentle within the software, and select threads that have similar sheen and texture, differences here can create unwanted visual separation. Also, slow down your embroidery speed slightly, which allows the machine to lay down stitches more precisely, minimizing the risk of jagged edges or visible lines. This small adjustment can significantly improve the overall look.
Uneven Blending: Consistent Tension and Stitch Density
Uneven color blends usually mean tension inconsistencies across different needles or uneven stitch densities. Regularly check and calibrate your machine to ensure tension is uniform across all zones. Conducting test runs on scraps before your main project gives you opportunity to fine-tune stitch density, sometimes, lowering the density just a bit can help achieve smoother transitions. Remember, patience is key: blending takes a bit longer than simple embroidery, but the results are worth it.
Thread Breakage and Color Mismatches: Ensuring Quality and Compatibility
High-quality threads with good colorfastness and proper diameter tend to break less often and blend more naturally. Always double-check that your machine is threaded correctly, with no tangles or skipped threads, especially when switching colors. Preview your color transitions in the software, this can prevent unwanted surprises, and opt for threads with similar finishes, like matte or sheen, to keep the aesthetic consistent. If you notice frequent breakage, consider reducing the tension slightly and increasing your machine’s speed gradually, to find a balance that preserves thread integrity.
Speed Adjustments: Balancing Tension and Stitch Quality
Stitching at a moderate speed, around 600-800 RPM depending on your machine, allows for better control over tension during color transitions. Too fast, and you risk skipping stitches or creating uneven blends; too slow, and your machine may thread more tightly, causing puckering. Experiment with your machine’s speed settings during test runs. The goal is to find that comfortable middle ground where tension is consistent, and the blended colors look smooth and professional. Speed, tension, and stabilizer all work hand in hand to produce stunning gradients that elevate your embroidery projects.
Implementing Color Blending in Your Projects: Tips and Best Practices
Embroidery color blending is one of those techniques that can elevate your designs from good to truly stunning. Whether you’re creating subtle gradients or bold transitions, mastering the practical aspects of blending threads will make your projects look more professional and visually appealing. But, getting there takes a bit of practice, patience, and a few insider tips to avoid common pitfalls.
Starting with small test designs is key, think of it as your embroidery warm-up. Practice blending two shades in simple motifs, like a leaf or a flower petal, before tackling larger pieces. Use these tests to dial in your thread sequences and see how the colors transition on fabric. This not only saves time later but also helps you understand how different fabrics and threads behave together.
Planning with Software and Practice
Many embroidery software packages now feature preview tools that simulate how color gradients will look once stitched out. Investing the time to plan your colors and see the visual transition before stitching can prevent surprises. Also, choose threads with similar sheens and weights, like Madeira Rayon, which offers consistent quality, to ensure your blends stay smooth and uniform across the design.
When working on complex projects, remember that gradients are most effective in focal areas rather than sprawling backgrounds. This keeps your blending manageable and prevents overly tedious stitching. Balance stitch density and stitch speed; slower, carefully controlled stitches often create smoother transitions. Always test on sample fabric first, adjusting tension and stabilizers to find what works best for your specific material and thread choices.
Conclusion
As we’ve explored, mastering color blending in machine embroidery is both an art and a science, requiring the right tools, techniques, and patience. By choosing quality threads, leveraging advanced software features like gradient fills, and carefully setting up your designs, you can achieve seamless transitions and stunning gradients that elevate your work to a professional level. The journey might seem challenging at first, but with consistent practice and experimentation, your skills will flourish and open up new creative horizons.
Now is the perfect time to start experimenting with sample projects, try different thread combinations and software settings to refine your technique. Share your results with fellow embroiderers or seek feedback from your community; each project is a step toward mastery. Remember, even the most accomplished artists started where you are now, and every stitch brings you closer to mastering this beautiful craft.
Embrace the process, stay curious, and enjoy the limitless possibilities that color blending offers. Your next stunning gradient design is just waiting to be created, go ahead and bring your embroidery visions to life. After all, embroidery isn’t just a craft, it’s a timeless form of self-expression that continues to inspire and surprise us with each new project.