Brother PE900 Review: New Features & Tests
This post contains affiliate links. As an Amazon Associate, Latest Embroidery earns from qualifying
purchases, at no extra cost to you. Learn more.
How We Research
Every machine, thread, and accessory we cover is researched in depth, not reprinted from a spec sheet. Here is what goes into a Latest Embroidery review:
- Specs, cross-checked. We verify manufacturer specifications against multiple retailers and official manuals, so the numbers you read are accurate and current.
- What owners actually report. We read through verified buyer reviews, warranty complaints, and community threads to surface the real-world issues, threading, hooping, bobbin changes, noise, and jams, that owners run into after the first few weeks.
- Value, not hype. We weigh each pick against its closest alternatives and tell you who a product is, and isn’t, for.
- Kept current. Prices and models move fast, so every review carries a last-updated date.
- Independence. We earn affiliate commissions if you buy through our links, but that never decides our recommendation. Read our disclosure.
Compiled by the Latest Embroidery editorial team · Last updated July 2026
Curious how the PE900 handles applique stitches and edge work in real projects?
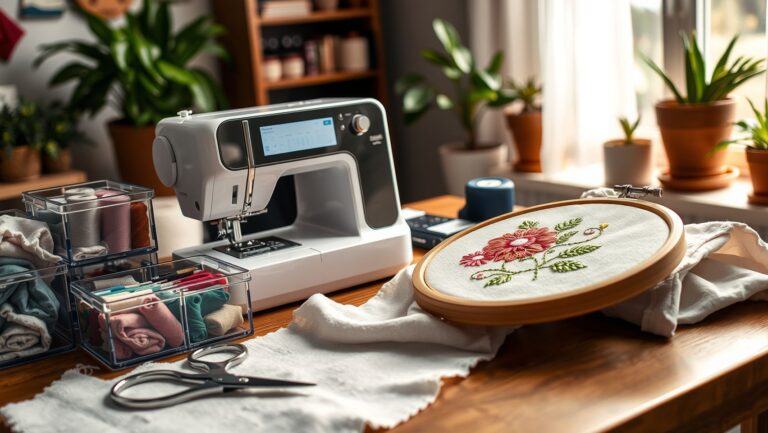
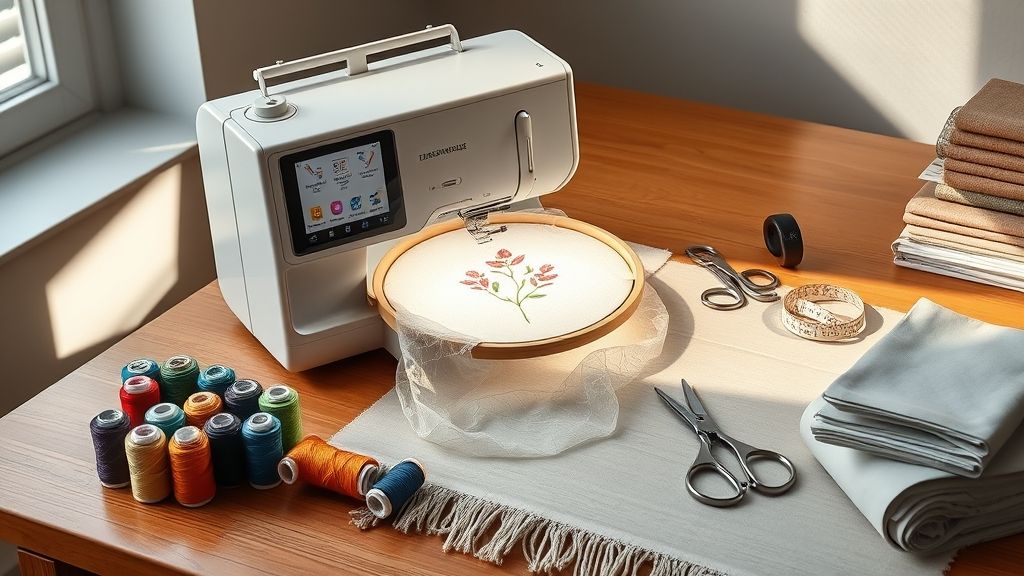
We put it to a practical test: an applique-heavy motif with tight satin edges and sharp corners. Setup is straightforward, load the design, secure a 5×7 hoop, and choose a dense satin stitch with a light stabilizer. The PE900 shines with Jump Stitch Trimming, fast color changes, and a friendly touchscreen workflow. A weekend-ready workflow you can try today is: hoop, stitch, trim, and finish, then move to the next color in minutes. Jump Stitch Trimming helps keep cleanup minimal and your project moving.
Industry context helps you gauge value: the embroidery market is expanding, with forecasts predicting steady growth into the next decade: Embroidery Market Report 2025.
Leaders shaping the space include Brother and other major players; insights are summarized in guides like Top Embroidery Machine Manufacturers.
Keep reading for the full setup and tips you can try this weekend.
Want to stock up on threads for finishing touches:
Shop embroidery thread on Amazon →
Brother PE900 Review: New Features & Tests
Short on time? If you only take one thing from this guide: Brother SE700 — the machine we point most beginners to — touchscreen, wireless transfer, and it sews as well as embroiders.
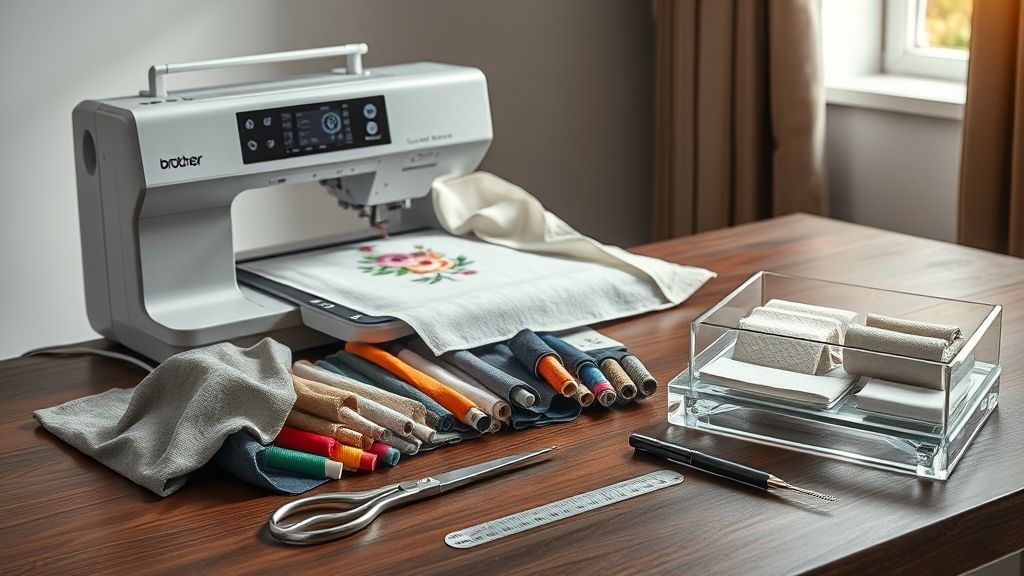
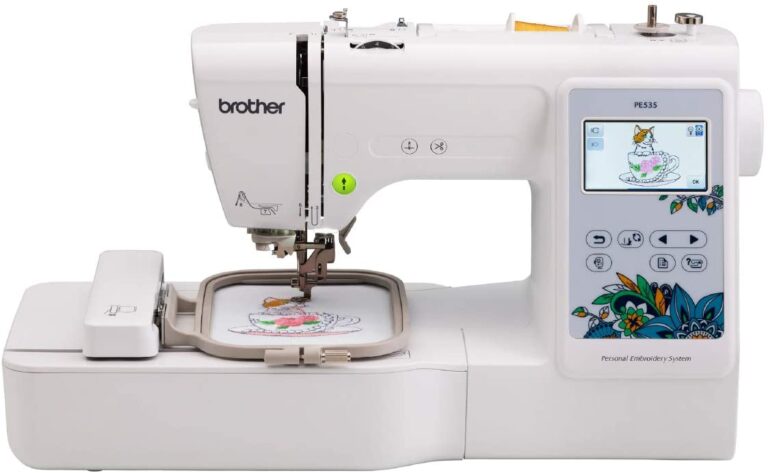
The PE900 brings a compact yet capable embroidery solution to hobbyists and small shops alike, with a 5″ x 7″ embroidery area, 193 built-in designs, wireless LAN, a vivid 3.7″ LCD touchscreen, and seamless USB connectivity. This section walks you through a start-to-finish applique workflow you can replicate, using wash-away stabilizer, linen, and a cotton organdy top for edge finishing. Market analyses show the embroidery sector remains robust, with the global embroidery machine market historically in the USD 5.7–6.0 billion range in 2024 and forecasts suggesting growth toward the USD 8 billion level by the mid-2030s, underscoring the value of scalable, repeatable workflows for makers and small businesses alike.
Prepare Materials
Gather a focused kit to support a clean, repeatable applique process on the PE900. Start with the machine, a wash-away stabilizer cut to hoop size, and a base fabric combination that reduces prep time and puckering. Layout linen as the foundation, then place a cotton organdy top for a crisp edge finish. Include an applique designs kit with zero-draft options, in-the-hoop frames, and a small scissors pair for trimming after stitching. You’ll also want a light spray bottle for temporary stabilizer handling and a shallow bowl of lukewarm water for stabilizer removal when the project is finished.
- Brother PE900
- Wash-away stabilizer (cut to hoop size)
- Linen (base fabric)
- Cotton organdy (top edge finishing)
- Applique designs kit (zero-draft designs)
- In-the-hoop frames or compatible hooping setup
- Scissors, water for stabilizer dissolution
Note: For a Madeira-inspired look, plan to implement a satin border and layered fills as you progress. If you are new to applique, start with small shapes to refine placement and stitch behavior before expanding to larger motifs. Tip: keep a dedicated scrap fabric palette to test edge finishing on the organdy before committing to your final edges.
Load Zero-Draft Applique Design & Stitch Options
Load a zero-draft applique design from your design kit and decide on stitch style early. The Madeira-inspired aesthetic benefits from a 5 mm satin border that frames the shapes, paired with either satin or tatami fill stitches depending on the texture you want. The PE900’s design kit workflow supports both options and helps you visualize how the edge finishes interact with the linen base and organdy top. For dense areas, you’ll adjust stitch density to maintain edge integrity and prevent fabric distortion.
After choosing the stitch type, save the design in a dedicated project folder and tag it with materials used (linen, organdy, stabilizer, and kit name). This helps you reproduce the Madeira-inspired look across multiple projects with minimal rework. The design kit also supports glyph libraries that speed placement and improve edge quality, reducing puckering and thread breaks in longer runs.
Hoop and Align
The PE900 benefits from a secure hoop grip and alignment aids to keep complex applique shapes precisely positioned. Use edge guides or seam guides embedded in the in-the-hoop frame to maintain consistent shape placement. Before stitching the main design, run a test stitch on a scrap sample to confirm edge alignment, border width, and the interaction between linen and organdy. Tighten the hoop evenly, then lock the frame in place so there is no slippage during the stitch sequence.
- Check hoop grip and frame tightness
- Align shapes with edge guides for consistent spacing
- Run a test stitch on scrap fabric to verify edge finish and density
When you’re ready, load the zero-draft applique onto the machine, select the Satin border follow-up, and confirm the design placement on the linen base beneath the organdy top. A quick alignment check minimizes misregistered edges and ensures the Madeira-inspired border sits evenly around each shape.
Run, Trim & Layer
Begin stitching and monitor the machine for thread breaks or fabric distortion. Once the stitch sequence completes, trim excess fabric close to the stitches with careful snips to preserve the integrity of the satin edge. For layered textures, add a second pass of applique shapes or additional fabric pieces, using the in-the-hoop frame to keep alignment consistent. Apply any final detailing (secondary stitches, outlines, or subtle satin highlights) to heighten the Madeira-inspired effect.
- Watch for puckering at dense edges; pause and re-thread if needed
- Trim close to stitches after each pass, keeping the satin line clean
- Layer additional applique shapes for texture; use a light spray to position
Workflow Scales: From Hobbyist to Small Shop
Apply this step-by-step process to a range of small in-the-hoop projects and repeatable production. Stabilize with wash-away stabilizer to dissolve behind the stitches, then layer linen and a cotton organdy top to finish edges cleanly. Use design kits and glyph libraries to speed production and enhance edge quality, reducing puckering and thread breaks. For a Madeira-inspired look, stick to a 5 mm satin border and a triple-run inside and outside where appropriate, as recommended in the workflow guides for satin and fill stitches. The Embroidery Fun Effects Course covers 14 techniques including applique, with guidance on trimming to layering, helping you evolve from hobbyist projects to small-shop workflows. With nearly 3, 000 applique designs and tools like the Free Embroidery Legacy Design Kit and ESA Glyphs and Shapes, you can implement repeatable workflows that scale with demand while maintaining high edge quality.
Current industry perspectives support the value of these techniques: a healthy, growing embroidery market suggests higher demand for efficient, edge-conscious applique workflows, especially as designers shift toward more textured, multi-layered looks. The PE900’s capabilities, paired with a curated kit ecosystem, enable producers to turn small batches into repeatable runs without sacrificing finish quality. This combination of hardware, stabilizers, fabrics, and design resources positions you to expand from personal projects to in-demand, in-the-hoop offerings.
Brother PE900 Review: New Features & Tests
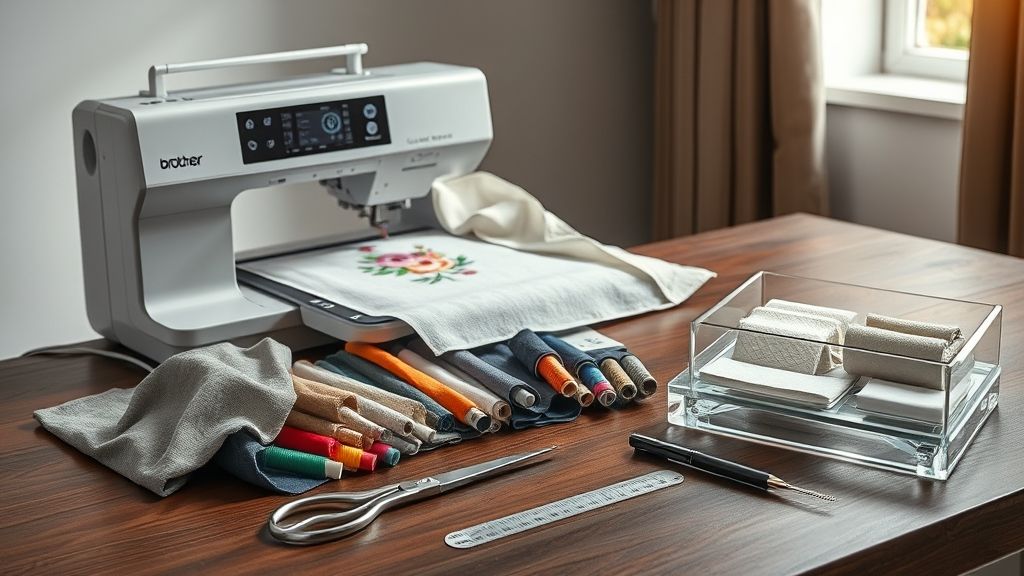
The PE900 continues to be a versatile workhorse for home and small studios, but edge quality remains one of the most visible indicators of embroidery success. In this section, we diagnose common edge puckering and thread-break symptoms and outline quick, repeatable fixes using a layered stabilizer approach and tested materials. Market data shows steady growth in the embroidery sector, underscoring the value of reliable edge finishes as projects scale from personal items to small-batch products. For context, industry analyses report the embroidery market as a growing segment, with several estimates placing annual global revenue in the billions and a steady CAGR into the next decade, reflecting increasing demand for quality finishes and user-friendly machines like the PE900. Alongside this, advances in stabilizer technology and Madeira-style techniques continue to influence practical settings designers actually use in the hoop.
Applying an in-the-hoop workflow and a deliberate stabilization strategy helps you achieve consistent edges while reducing rework. The data behind current craft trends reinforces the importance of stable fabrics, precise tension, and repeatable test stitches to deliver crisp borders across a range of fabrics. The following sections translate that research into actionable steps you can perform with known-good materials and the PE900’s built-in capabilities, including firmware-ready features and its wireless/ArtSpira ecosystem that supports testing and iteration.
Symptom: puckering near edges, quick tests and stabilizer upgrades
Puckering at the edge is usually a stabilization or tension challenge. Start with a quick diagnostic checklist and a test run on a scrap piece to confirm baseline settings before committing to a project:
: switch to a wash-away stabilizer for delicate edges, paired with a linen underlay to anchor the fabric and reduce movement during stitching. : apply a cotton organdy top to crisp the finish on the outer edge and prevent fabric creep under satin or dense fills. - Check top thread tension and hoop tension with a scrap run to verify that the stitch sits cleanly on the fabric surface without gathering.
- Use an in-the-hoop workflow to secure layering and edge finishing in a single sequence, minimizing repositioning errors.
For Madeira-inspired looks, plan a 5 mm border with a triple-run to reinforce the edge without adding bulk. If puckering persists, reduce stitch density in satin areas and confirm hoop tension with a dedicated test stitch on a similar fabric. This layered approach, wash-away stabilizer, linen underlay, and organdy top, aligns with expert recommendations and helps you finish edges cleanly rather than reworking the project.
Symptom: thread breaks; density and stitch choice adjustments
Thread breaks are frequently a symptom of fabric density, stitch configuration, or a mispath in the thread route. Use a short diagnostic sequence to confirm reliability before proceeding with dense areas:
- Reduce stitch density in dense satin areas or switch to a Tatami fill for Madeira-style sections to minimize thread stress and breakage.
- Verify hoop tension and ensure the machine is not skipping stitches. Run a test stitch first on a scrap piece with the same fabric and stabilizer stack.
- Review the thread path and rethread the machine, including the bobbin, to eliminate micro-snags that can cause breaks.
- Confirm the PE900’s firmware is up to date (if applicable) and that any connected software workflow doesn’t override tensions in your setup.
In practice, Madeira-inspired finishes benefit from satin for fine edges and Tatami fills for larger areas, but both require careful density control and underlay. When thread breaks occur, a quick rethread and a test stitch on a scrap piece often reveal a pathway issue, a tension imbalance, or a needle suitable for the chosen thread weight.
Solution: layered stabilization, underlay, and top stabilization workflow
Adopting a deliberate, repeatable stabilization workflow helps ensure edge crispness across fabrics and designs. The recommended approach mirrors current craft industry practices and aligns with PE900 capabilities:
- Stabilizer: use a wash-away stabilizer for the top edge, paired with a linen underlay to stabilize the fabric from beneath.
- Underlay/topping: apply linen underlay and a lightweight organdy top to finish edges crisply and reduce show-through on lighter fabrics.
- Test first: run a test stitch on a scrap piece to confirm stitch density, tension, and layering before starting the actual project.
- In-the-hoop workflow: plan edge finishing as an in-hoop sequence to minimize repositioning and ensure consistent layering across all edges.
In-the-hoop workflow: consistency and layering
The in-the-hoop workflow offers repeatable edge finishing and predictable layering, reducing manual adjustments mid-project. This approach is particularly effective when paired with a layered stabilizer stack and a final test stitch on scrap fabric. The PE900’s wireless updates and ArtSpira compatibility support iterating on edge finishes without interrupting production flow, which aligns with current embroidery industry trends toward more efficient, repeatable processes.
Madeira-inspired finishes and edge border strategies
For Madeira-inspired looks, satin stitches provide a luxurious gloss, while Tatami fills offer a textured, even finish over larger areas. Consider a 5 mm border with a triple-run to reinforce the edge without excessive bulk. If puckering or thread breaks occur, reduce satin stitch density in those zones and verify hoop tension with a dedicated test stitch on a scrap piece. Market intelligence indicates growing demand for reliable Madeira-style finishes as quirkier textures gain popularity in contemporary embroidery projects, making these strategies particularly relevant for PE900 users aiming to expand their repertoire.
Edge finishing options, quick-reference guide
Below is a concise, in-the-hoop option guide to help choose stabilizers and layering for edge finishes. Use it as a starting point for test runs and to document your preferred setup for different fabrics.
ROI, pricing context, and planning for small shops
For small embroidery shops evaluating the Brother PE900, ROI hinges on more than faster production; it requires a practical framework that ties design decisions, material costs, and pricing to measurable outcomes. The PE900’s 5×7″ embroidery area, advanced features like automatic needle threading, and wireless design transfers via the Artspira app support smoother workflows and repeatable results, which are essential when you’re building scalable applique offerings for sale. Ground your planning in real data and clear processes to avoid guesswork as you grow.
Doobeedoo’s motif data anchors design decisions, with a strong signal that 60% of motifs should be floral or animal-themed. This not only guides sample development but also aligns production with what customers are actively seeking in appliqué projects. The broader market backdrop shows a sizable opportunity: global embroidery market size estimates range from USD 5.71 billion in 2024 to about USD 7.88 billion by 2034, suggesting ample room for small shops to capture demand through efficient tooling and localized design kits. APAC accounts for a meaningful slice of growth (≈23.03%), while the US market sits around USD 1.0 billion, framing pricing and localization priorities. Use these benchmarks to shape product mixes, marketing messages, and regional bundles that maximize throughput and gross margins.
ROI framework and pilot planning
Adopt a simple ROI framework that tracks time saved per project, cost of materials, and projected sales. Start with a three-design pilot to produce a rough gross profit estimate and to surface process bottlenecks. The pilot should compare a baseline process (design-to-finish without PE900 enhancements) against the PE900-enabled workflow (design, digitizing, hooping, stitching, finishing with automation where available). Key steps include:
- Define the three pilot designs anchored to the Doobeedoo 60% floral/animal motif mix and localized variants for APAC and South America.
- Record design time, digitizing time, hoop setup, stabilization application, stitching, trimming, and finishing for each design.
- Calculate per-project material costs (stabilizers, fabrics, threads) and recurring costs (design kit subscriptions) for apples-to-apples comparison.
- Assign an hourly rate that reflects the shop’s locale and skills, then compute gross profit per design and for the trio overall.
Template for piloted ROI calculations: Gross profit = (design revenue) − (material costs + recurring design subscriptions) − (hourly labor × hours worked). Use the three-design pilot to gauge how much time and material savings the PE900 actually delivers in real shop conditions, and adjust pricing and workflow accordingly.
Project-time tracking and costing
Robust project-time tracking is the backbone of credible ROI. Log hours for each applique step from design to finish, and capture material usage per project. A lightweight tracking sheet works well:
- Date, Project, Design ID
- Digitizing time, Design tweaks, Hoop setup
- Stabilizer prep, Fabric cutting, Threading and needle prep
- Stitching time, Trimming, Finishing, Packaging
- Total hours, Hourly rate, Materials cost, Revenue, Gross profit
Recurring costs to include in the costs column are stabilizers, fabrics, threads, and design kit subscriptions. This full-cost view ensures your pricing reflects true production costs, not just labor. Regular process videos and workflow comparisons help identify efficiency gains over time and prove the value of the PE900 upgrade to clients or internal stakeholders.
Market outlook, localization, and pricing strategy
The market signals a meaningful localization opportunity in APAC and South America. Doobeedoo’s data highlights ROI gaps in AI-assisted digitizing but also points to a substantial total market size that can be approached with regionally tailored motifs and bundles. Localization strategies could include region-specific design kits, translated instructions, region-targeted marketing, and seasonal bundles aligned with local holidays and fashion preferences. With APAC representing a meaningful share of the market (23.03%), workflows that accommodate regional colorways, fabric preferences, and pricing expectations can unlock faster adoption and higher repeat orders. The US market, compared at around USD 1.0 billion, remains a steady base for premium appliqué services and cross-border sales to regional e-commerce or promo clients.
Pricing considerations should accommodate both flat-rate and stitch-count models, plus seasonal bundles. Flat-rate pricing simplifies quoting for clients seeking single-collection orders, while stitch-count pricing scales with design complexity and stitch volume. Doobeedoo’s motif guidance supports efficient design libraries, prioritize floral and animal motifs to maximize appeal while keeping stitch counts manageable. Seasonal bundles, combining designs with stabilizers and exclusive threads, can create predictable revenue streams and drive early-year production capacity planning. For AI-assisted digitizing, acknowledge ROI data gaps and plan pilots to quantify time saved in digitizing and error reduction, then adjust pricing to reflect the enhanced efficiency.
Ultimately, the path to profitability with the PE900 lies in disciplined measurement, deliberate design choices, and localized market actions. The three-design pilot will anchor your estimates, while ongoing tracking of hours and materials ensures pricing remains aligned with reality. Use Doobeedoo’s 60% floral/animal motif guidance as a practical design compass, and pursue APAC/South America localization to capitalize on market fragmentation and demand pockets. As the embroidery market continues to expand toward AI-assisted workflows and more capable machines, a clear ROI framework and a proactive pricing strategy will help small shops convert capability into sustainable profits.
Design and digitizing strategy: leveraging kits and glyphs
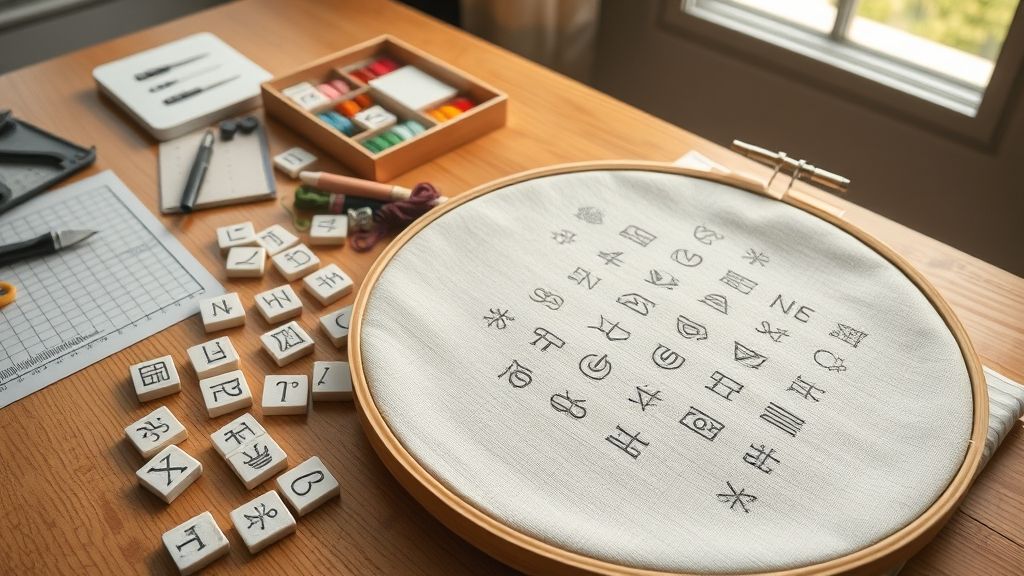
Design and digitizing for the Brother PE900 centers on repeatable applique workflows that blend design kits, glyph libraries, and a disciplined layering routine. By embracing in-the-hoop sequences, border stitches, and a structured texture plan, shops can produce saleable appliques with solid edge finishes and layered depth. This approach aligns with how modern embroidery businesses scale, minimize thread breaks, and reduce puckering while delivering consistent results across multiple orders.
Industry insights indicate embroidery remains a growth segment as customers continue to seek personalized, fast-turn items. Market projections place the embroidery sector in the multi‑billion dollar range with steady expansion into 2025. For hobbyists and small shops, starting from a free or low‑cost design kit like the Free Embroidery Legacy Design Kit and the ESA Glyphs and Shapes library provides rapid motif development and scalable applique workflows that keep production efficient and margins healthy.
Design kits and glyph libraries: quick motifs and repeatable applique
Use the Free Embroidery Legacy Design Kit alongside the ESA Glyphs and Shapes library to seed motifs that scale across product lines and fabrics. The combination supports in‑the‑hoop workflows with a strong edge finish and the ability to layer textures in a controlled, repeatable way. Emphasize components that transfer cleanly from one project to the next, enabling faster turnaround on customer orders. Edge quality and structural stability benefit when motifs are sourced from vetted kits and glyphs that are designed for machine embroidery.
- Choose a motif from the Free Embroidery Legacy Design Kit and pair it with ESA Glyphs to adapt for different fabrics and garment placements.
- Digitize using an in‑the‑hoop approach: place the base fabric, lock in the edge stitch, and plan subsequent texture layers within the same hooping sequence.
- Save repeatable motif groups to a library for quick replication across product lines (caps, bags, appliqued patches, etc.).
- Use a solid edge finish with a dedicated border stitch to seal edges before adding textures, reducing fraying and thread drape issues.
- Test on representative swatches and adjust stitch density to balance coverage with fabric teach‑through and thread tension.
Leveraging the 14 techniques from Embroidery Fun Effects Course to build textures
The Embroidery Fun Effects Course outlines 14 techniques that expand texture options beyond basic fills, including applique integration, layered textures, and shading tricks. By incorporating these techniques, designers can produce versatile motifs that read as high‑end embellishments even at smaller scales. This framework is especially valuable when pairing Legacies’ designs with ESA glyphs to create unique but scalable appliques for multiple product families.
- Applique layering: build depth by stacking fabric shapes with nested borders.
- Textured fills: replace flat fills with textured satin or decorative stitch patterns.
- Shading and highlights: simulate dimension with gradual density changes.
- Couching and fringe effects: add surface interest without increasing stitch count dramatically.
Layering workflow: trim after each stitch, build textures in steps, then finalize with borders
A disciplined layering workflow helps maintain edge quality and reduce puckering. The strategy is to trim after each stitch group, build textures in clearly defined steps, and cap the design with borders to lock everything in place. This approach keeps fabric movement minimal and preserves stitch‑to‑stitch tension as textures stack up, resulting in crisper outlines and fewer skipped stitches during production.
- Lay down the base shape and complete the primary fill.
- Add the first texture layer, then trim loose threads and secure fabric edges.
- Proceed with additional texture layers in logical order (mid‑layer to top layer), trimming between each step.
- Finish with a final border stitch to unify the design and enhance edge definition for durability in‑the‑hoop.
Make-ahead libraries for small shops to speed customer orders
Build ready‑to‑run libraries that couple motifs from the Legacy Kit with ESA glyphs to accelerate order fulfillment. Organize by theme (kids, home décor, apparel), and categorize by fabric type or texture (dense felt, lightweight cotton, knit jersey) to streamline placement decisions. Maintain a master library of border styles and stitch densities so teams can assemble complete appliques in minutes rather than hours, enabling faster quotes and margins that scale with volume.
- Create a central repository of ready‑to‑use applique blocks with border options pre‑selected for typical fabric profiles.
- Tag motifs by size, density, and fabric compatibility to speed customer‑order matching.
- Regularly test a sample batch on common fabrics to prevent puckering and thread breaks in live orders.
- Train staff on an in‑the‑hoop workflow to ensure consistent trimming, layering, and border application across operators.
Market dynamics favor scalable, kit‑driven workflows as embroidery businesses grow. Reports project continued expansion in customized embroidery, driven by small shops adopting digitizing kits and glyph libraries to accelerate production without sacrificing edge quality or texture depth. For practitioners, pairing the PE900 with free and paid design resources, plus a structured 14‑technique framework, provides a path to repeatable, saleable appliques that meet growing demand while keeping production lean and reliable.
Frequently asked questions and quick-start answers
The PE900 is a versatile workhorse for appliqué, with a 5×7 embroidery field and the benefit of in-the-hoop workflows that speed up production. For best results, start with proven stabilizers, test your fabrics, and pilot a small project before scaling. Market data shows embroidery and craft industries continuing to grow, with the global embroidery market valued in the USD billions and projected to rise steadily in coming years, so building efficient, repeatable processes pays off in speed and consistency.
These quick-start Q&As pull from practical PE900 use, plus resources like the Free Embroidery Legacy Design Kit and ESA Glyphs and Shapes to accelerate motif selection and layout. Use wash-away stabilizer as your starting point, then tailor to fabrics you expect to work with, and consider a small pilot project to estimate ROI before committing to larger runs.
What stabilizer should I start with for PE900 applique projects?
Begin with wash-away stabilizer for most PE900 appliqué projects to keep edges clean and avoid bulky borders. If you’re stitching dense designs or heavier fabrics, pair with a light tear-away or a thin cut-away behind the appliqué to add stability. This in-the-hoop approach helps you evaluate edge quality quickly on fabric scraps before committing to a full project.
Can I use wash-away stabilizer on all fabrics or are there limits?
Wash-away stabilizers work well on many fabrics, but there are limits. They’re less forgiving on dense weaves, thick denim, or non-absorbent materials where the stabilizer may not dissolve cleanly or provide enough support for dense stitching. Always test on scraps of the same fabric weight and composition, and consider pairing wash-away with a light cut-away for heavier or pile fabrics to maintain edge fidelity over time.
How many designs can I run in a single hoop on the PE900?
The PE900 accommodates a 5×7 inch field, so each stitch-out typically runs one design per hoop. You can nest multiple small motifs within a single layout file in your design software and stitch them in one job, but you’ll still be limited by the hoop’s field size during actual stitching. For best efficiency, plan designs to fit the 5×7 field and sequence them to minimize repositioning.
What are the first three settings to check when an edge looks off?
- Tension, ensure top thread tension is balanced with the bobbin to prevent loose or overly tight edges.
- Stitch density/underlay, adjust density and consider a light underlay to stabilize edges and reduce fabric puckering.
- Hoop alignment, confirm the fabric is flat in the hoop, the hoop is seated squarely, and the design is aligned to the needle path; re-hoop if needed.
Where can I find the design kits and glyph libraries mentioned in this guide?
Look for the Free Embroidery Legacy Design Kit and ESA Glyphs and Shapes to quickly assemble motifs and cohesive looks. These resources are popular for fast prototyping and consistent branding across appliqué projects; they’re commonly available through official embroidery resource libraries and vendor catalogs that partner with Brother and ESA.
What steps should I take to pilot a small shop applique project and estimate ROI?
Define a limited pilot: choose 1–2 products, run 20–30 units, and track material costs, time, and waste. Build a simple ROI model: ROI = (Gross Margin − Labor) / Investment, expressed as a percentage. For example, if material per unit is $3 and you sell at $15 with $2 labor, you’d earn a $10 margin per unit; at 20 units, ROI can reach about 100–200% depending on volume and demand. Factor in market context, embroidery and crafts continue to grow, with 2024 market estimates in the USD billions, and use that to frame pricing and scale decisions. Then run incremental tests, refine processes, and leverage the PE900’s in-the-hoop workflow to keep setup time efficient while expanding your product mix.
Conclusion
The PE900 shines when its features meet a practical applique workflow: start small to build confidence, stabilize the process, and use design kits and glyph libraries to speed production. By tracking time and materials, you quantify ROI and grow with purpose.
Use the Madeira-inspired satin and triple-run finishes to elevate edge quality, and apply the in-the-hoop approach to scale from hobbyist projects to saleable items for small shops.
- Small-start strategy means beginning with one project to stabilize timing and cost.
- Design kits and glyph libraries accelerate workflow and consistency.
- Edge quality enhancements with satin and triple-run finishes can command higher value.
- ROI tracking by logging time, materials, and revenue potential.
Try the step-by-step applique workflow on one small project this week, gather time and material costs, and complete a three-design pilot to estimate potential weekly revenue.
Stitch boldly, scale thoughtfully, and watch your side hustle become a thriving business.