How to Choose the Right Hoop Size for Your Project
This post contains affiliate links. As an Amazon Associate, Latest Embroidery earns from qualifying
purchases, at no extra cost to you. Learn more.
Tired of stitch distortion and edge wear ruining your embroidery on every project? You’re not alone. The right hoop size isn’t a guess, it’s about design size, fabric, and stabilizer working in harmony. This article defines the problem, previews a practical hooping framework, and promises a step-by-step sizing guide you can actually use. You’ll learn how to read your design, pick the smallest safe hoop, and position fabric tension for clean edges. For quick expert insight, explore stabilizer basics stabilizer basics, a lean hooping tip, and an in-depth hoop-size guide.
Expect a practical hooping framework and a clear, 4-step sizing method that helps you choose the smallest hoop that safely holds your design. We’ll cover measuring the design, adding breathing room, and accounting for fabric stretch. As the embroidery market grows, reliable hooping practices matter more than ever, with industry data showing a robust embroidery market size. For quick rules of thumb, see What size embroidery hoop I need?.
If you’re upgrading your setup, consider Embroidery Machines:
Shop embroidery machines on Amazon →
Keep reading to master a sizing framework that reduces movement and burn marks, giving you consistently crisp results across fabrics.
How to Choose the Right Hoop Size for Your Project
Short on time? If you only take one thing from this guide: Embroidery hoop set — the right size hoop matters more than any other accessory.
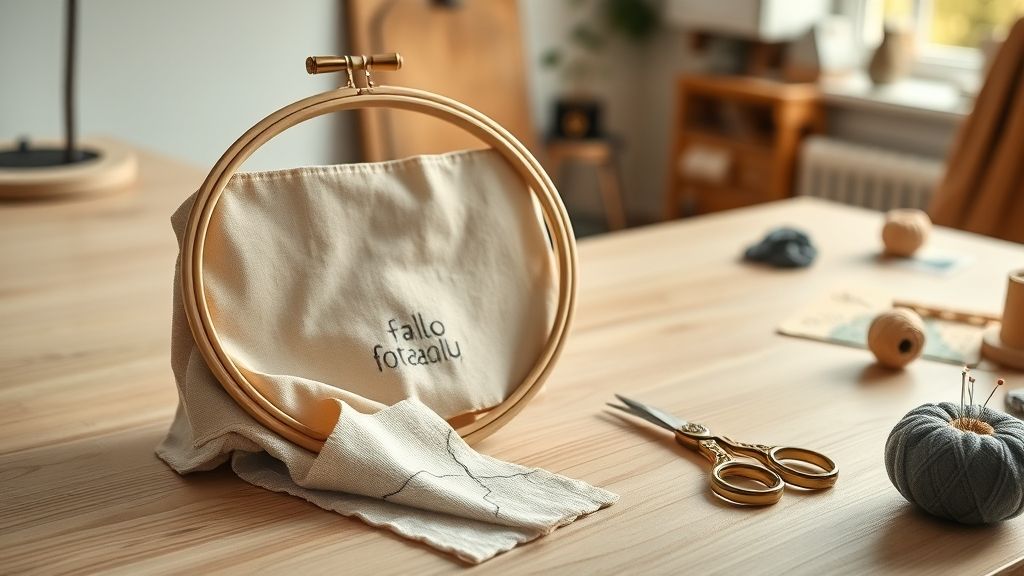
In a thriving craft market, precise hooping saves time, reduces fabric waste, and delivers cleaner stitches. Industry signals show steady growth in embroidery tooling and rapid interest in magnetic hoop systems that speed setup and adjust-on-the-fly. Use a repeatable sizing workflow to map a design to the right hoop, depth, and stand configuration, so you can scale production without guesswork.
Recent developments in embroidery hardware and software emphasize stability and ease of use. Magnetic hoops, wrap-tape techniques, and deeper hoops for heavy fabrics are now commonly recommended by professionals to keep fabric flat and edges protected throughout the stitch-out.
Step-by-step hoop sizing workflow for any project
- Step 1: Measure the design in inches and/or convert from centimeters. Logos typically 3.5–4.5 inches; common full designs around 5.5 inches; large projects up to 7 inches (and beyond when using stands).
- Step 2: Choose hoop type based on fabric and design shape. Round for circular logos, Square for squares, Rectangular/Oval for banners, and consider a Magnetic Mighty Hoop for quick adjustments.
- Step 3: Select hoop size. Small logos 3.5–4.5 inches; typical projects 5.5 inches square or 15 cm round; large designs 7 inches round with 5/8 inch depth or 7/8 inch for heavy fabrics.
- Step 4: Pick depth based on fabric weight. 5/8 inch for medium-weight fabrics; 7/8 inch for heavier textiles.
- Step 5: If the project exceeds hand-held stability, plan a stand setup (e.g., 7 inch round with stand) to prevent fabric drift.
- Step 6: Prep stabilizer and edge-protection plan. Wrap the inner ring with cotton twill, bind the edge, or mount muslin to protect edges.
Designs sized 3.5–4.5 inches for logos/left chest typically fit a 4 inch hoop with 5/8 inch depth. Standard designs often fit a 5.5 inch square or 15 cm round hoop. Larger pieces use a 7 inch round hoop with 5/8 inch depth; 7/8 inch depth is available for heavier fabrics. For heavier textiles, deeper hoops help maintain stable fabric contact. If movement is detected, wrap the inner ring with cotton twill, bind the inner hoop, and mount scrap muslin to guard edges. When in doubt, plan a stand to stabilize large projects.
Mighty Hoop-style magnetic systems are highlighted by embroidery pros for fast, precise hooping and reduced arm strain, aligning with current workflow best practices and helping teams scale up production without compromising fabric integrity.
How to Choose the Right Hoop Size for Your Project
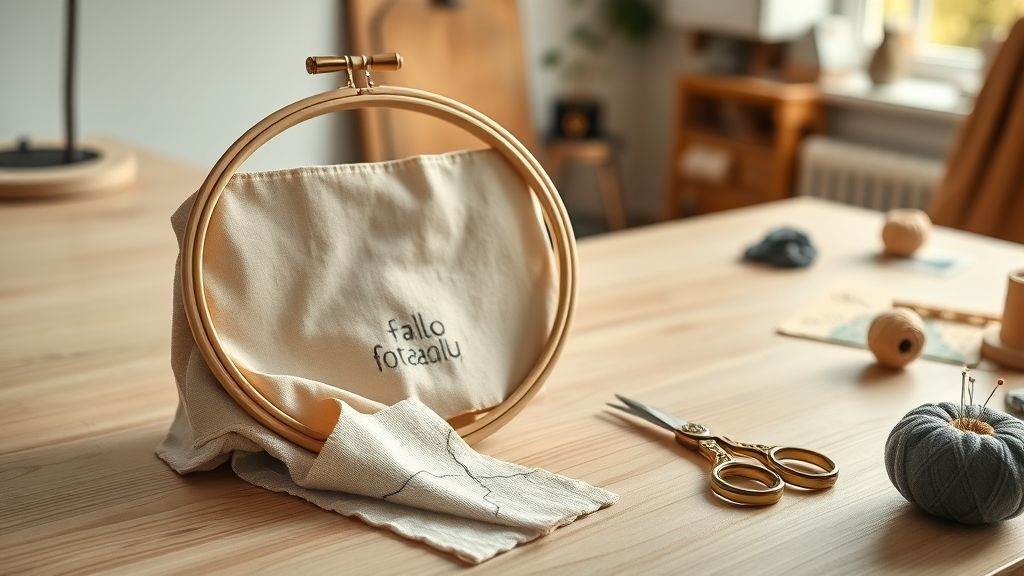
Selecting the correct hoop size starts with fabric weight, stabilizer, and design area. A 7 inch round Hardwicke Manor hoop with a 5/8 inch depth is a solid default for midweight fabrics, while a 7/8 inch depth variant handles heavier textiles and thicker stabilizers without excessive fabric shift. If your project uses dense textiles, sizing up can help maintain even tension and reduce hoop marks.
For speed and precision, consider MaggieFrame magnetic hoops to speed up alignment, and HoopMaster for precise, repeatable hoop setups. Pair these with resizing software like Embrilliance Essentials or Embird to adapt designs to the chosen hoop before stitching, ensuring optimal fit and stitch density across projects. Integrate edge-protection practices and technique nuances to maximize hoop life and stitch quality. Recent industry data show steady growth in the embroidery market, with expanding adoption of magnetic hoops and design-resizing tools among professionals and hobbyists alike.
Tools, equipment, and methods that improve hooping
The following tools and software play direct roles in hoop quality, speed, and edge protection. Use them as a starter kit and tailor selections to your fabric and design size.
Tip: Use this table as a quick reference when planning tool choices for a given fabric weight and design size.
Edge-protection and technique choices directly influence edge integrity and stitch quality. When in doubt, start with a 7" Hardwicke Manor for midweight fabrics and switch to the 7/8" depth for thicker textiles.
Edge protection and hooping techniques
Edge protection and careful hooping extend hoop life and protect fabrics during long sessions.
- Wrap the inner ring with cotton twill to increase friction and reduce fabric slippage
- Bind the inner hoop to further stabilize the grip
- Mount scrap muslin to shield edges from friction
Hoop techniques such as Stitch in the Ditch and deliberate left-handed versus right-handed positioning help minimize fabric movement. Avoid long-term hooping to prevent visible marks on delicate fabrics and warp over time. Stitch in the Ditch keeps stitching aligned with existing seams, while adjusting hand position reduces fabric drift across the hoop.
How to Choose the Right Hoop Size for Your Project
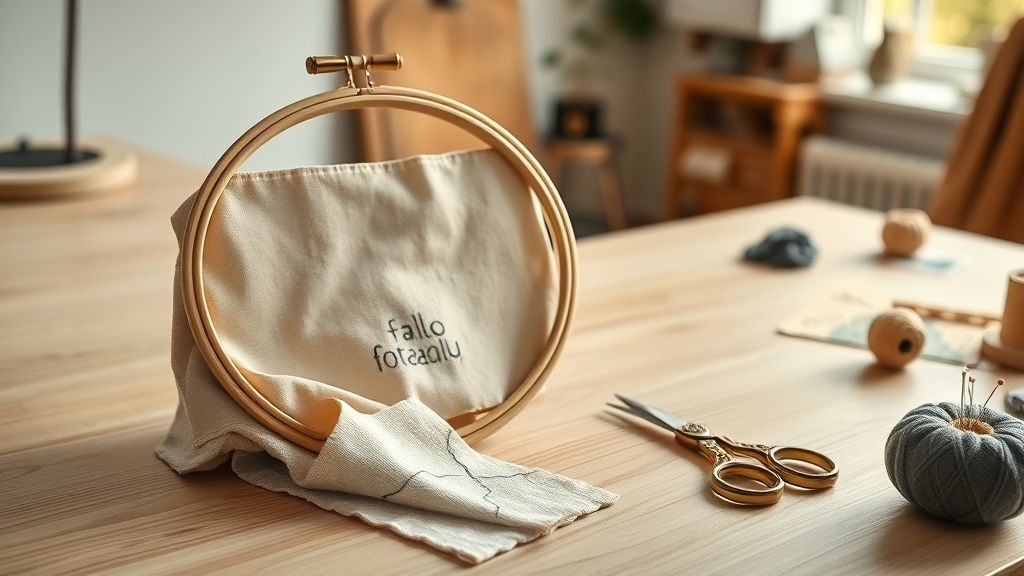
Choosing the right hoop size starts with the layout of your design and the fabric you’re stitching. A correctly sized hoop minimizes movement, reduces edge distortion, and makes the stitch-out predictable from start to finish. Start with stabilizer and design center alignment, then tighten to a comfortable tension before the needle ever moves.
Industry trends show embroidery remains a growth category as shops and hobbyists pursue more customized projects. Market research points to steady expansion in the coming years, with growth estimates commonly cited in the 6% range and multi‑billion dollar opportunities in both equipment and supplies. That momentum underscores why a repeatable hooping workflow that minimizes drift and edge damage is essential for consistent results.
Stabilizer prep and design centering
Prepare a stabilizer appropriate for fabric weight and design complexity. Use a weight that supports the stitch count without overly restricting fabric movement. For mid-weight fabrics, a 1.5–3 oz/yd² stabilizer is a common choice to balance support and ease of removal. Center the design on the stabilizer, ensuring the fabric will align with the hoop’s center when mounted.
Implementation note: wrap the inner ring with cotton twill to increase friction for medium-weight fabrics, and have a scrap muslin layer ready to protect edges during stitching. When using inner rings, bind the inner hoop and mount a scrap layer to shield stitchouts from fabric edges. These steps help keep the stitch path precise and reduce edge fraying.
Hooping technique and alignment cues
Position the fabric on the stabilizer with the design centered, then place in the hoop to a comfortable tension. If you’re using an inner ring, wrap with cotton twill before mounting to increase friction, then bind the ring and add the scrap muslin layer to protect edges. Use Stitch in the Ditch as an alignment cue and maintain a consistent left-handed or right-handed workflow to reduce drift. For magnetic hoops like MaggieFrame, ensure clean contact and adjust alignment as needed before starting the machine.
Stitch-out workflow and edge protection
Secure and align: ensure straight orientation, then place the hoop on the machine and confirm magnetic or screw-tight alignment. Mount scrap muslin to protect stitching edges and the fabric’s border while stitching. During stitch-out, keep the fabric flat and free of wrinkles to avoid distortion; monitor stabilization and stitch density to prevent edge pulling.
Post-stitch hooping and edge recovery
Hoop removal after stitch-out: keep fabric flat and remove carefully to avoid distortion. After removal, re-hoop with minimal movement to prepare for subsequent designs. Use Stitch in the Ditch cues again for re-alignment and maintain consistent handedness to minimize drift.
How to Choose the Right Hoop Size for Your Project
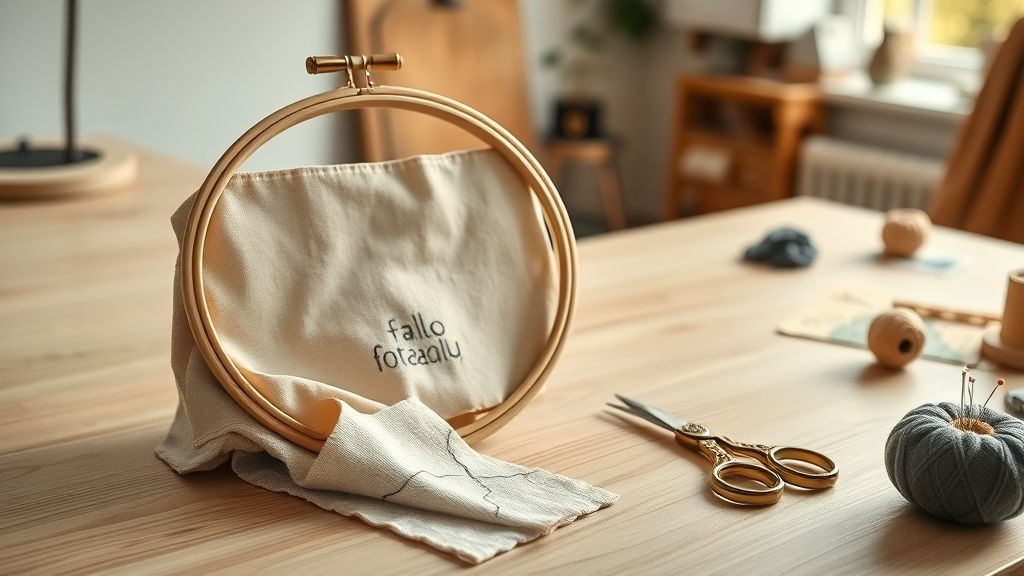
Selecting the right hoop size is about balancing upfront cost, setup time, and measurable impact on throughput and quality. Build a simple ROI view into your hooping decisions by comparing traditional hoops with magnetic or stand-based options, then track time and output per shift.
Section data indicates a notable ROI opportunity around magnetic hoops, with MaggieFrame claiming up to 90% faster hooping. Use a practical ROI method to estimate payback per month, while noting current data gaps across brands.
ROI framework: baseline timing and simple payback
ROI calculator logic: record baseline hooping time per piece for two weeks, then compare to a magnetic or stand setup. Compute payback as upfront cost divided by monthly savings (units per shift × time saved per unit × labor rate).
Project example framework
Cost considerations
Prices vary by brand. MaggieFrame, Hardwicke Manor, HoopMaster kits, and software upgrades represent different upfront costs, plus maintenance and wear on rings. Given data gaps, use a range-based model to estimate impact and payback.
Implementation plan
- Two-week trial comparing traditional hoops vs magnetic/stand setups on identical projects
- Collect time, throughput, and quality metrics for each phase
Section data recap
The data indicate a notable ROI opportunity around magnetic hoops, with MaggieFrame claiming up to 90% faster hooping. A practical ROI approach is to measure baseline hooping time, then compare to a magnetic/stand-based setup, and calculate payback per month based on units produced. Research also notes gaps in verified ROI data across brands and cross-brand guidance. To implement, track time per piece for two weeks on identical designs, then run a two-week trial with a different hoop system, recording throughput and any quality changes.
FAQ and quick decision framework
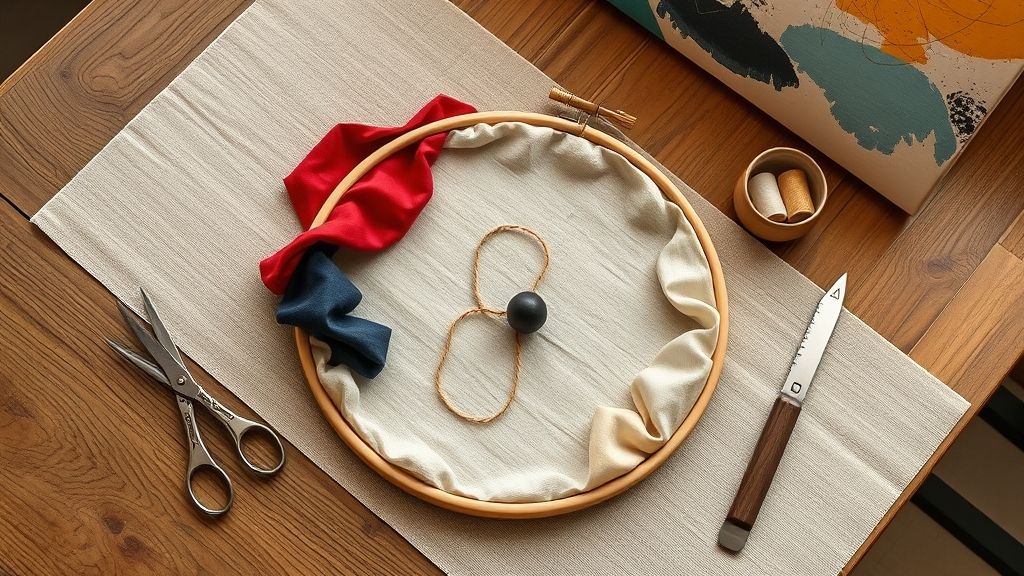
Choosing the right hoop is about how fabric behaves and the project size. This quick framework helps you decide fast without sacrificing accuracy.
Industry trends show steady growth in customized embroidery, fueling faster hoops and magnetic options that cut setup time.
Which hoop is best for mesh or unstable fabrics
Mesh fabrics benefit from stabilizers and even pressure; avoid over-tight tension. A larger, non-slip hoop reduces edge wear.
Are magnetic hoops worth it for accuracy vs stability
Magnetic hoops speed hooping and setup, but traditional hoops often deliver stronger stability for dense or multi-hoop work.
How to convert inches to centimeters
Remember: 1 inch = 2.54 cm. For example, 15 cm ≈ 5.91 inches; use this to pick the closest hoop size.
How to prevent hoop marks on delicate fabrics
Prewash, use wider hoops, stabilize properly, and avoid overstretching. Use backing on delicate fabrics to minimize impressions.
Do stands matter for small logos or large banners
For large banners, stands free both hands and improve stability; for small logos, a good handheld hoop can suffice but a stand speeds setup.
What quick tests should I run when trying a new hoop system
Test with a scrap first to verify alignment and stitching; check puckering, tension, and edge wear before stitching the real piece.
Conclusion
Choosing the right hoop size and setup isn’t just a preference, it’s a practical system that improves fabric tension, stitch quality, and workflow speed. By mapping design size to hoop type and depth, and protecting fabric with inner ring wraps and muslin, you gain consistency and flexibility.
With an ROI mindset, you can quantify time savings and justify equipment choices, turning hoop decisions into measurable gains. The framework will help you adapt as designs scale.
- Map design size to hoop type and depth to maximize tension.
- Protect fabric with inner ring wraps and muslin to reduce slippage.
- Use stands or magnetic hoops for larger or faster workflows.
- Apply the ROI workflow to measure savings and justify purchases.
CTA: Try a two-week hoop trials plan: compare your current setup with a magnetic hoop and a stand-based workflow on identical designs, track time per piece and quality, and calculate payback.
Seize the data, upgrade your craft, and finish every project with confidence.