Quilting Thread vs Embroidery Thread: Practical Guide
This post contains affiliate links. As an Amazon Associate, Latest Embroidery earns from qualifying
purchases, at no extra cost to you. Learn more.
Confused about which thread to use for quilting and embroidery and how it impacts results and costs?
In this quick, practical guide, we’ll compare side-by-side weight and fiber differences, share actionable setup steps, real price ranges, and brand/tool recommendations. We’ll pull workflows from leading embroidery platforms and open-source options like Ink/Stitch to show how the pros approach it.
Industry context matters: the global embroidery market is expanding, with projections from Fortune Business Insights indicating steady growth as textile and apparel demand rises.
For techniques and fibers, explore the embroidery styles guide to understand stitch families and fabric behavior, and see how different fabrics take threads in practice.
To get started today, here are practical steps you can implement right now: test a few spool types, match weights to your project, adjust tension, and run small samples before committing to a full project. Stay with us for proven workflows used by top embroidery platforms:
Shop embroidery thread on Amazon →
Step-by-step: Hoop, stabilizers, and tension for consistent stitching
Short on time? If you only take one thing from this guide: 40wt polyester thread set — the single cheapest fix for shredding and thread breaks.
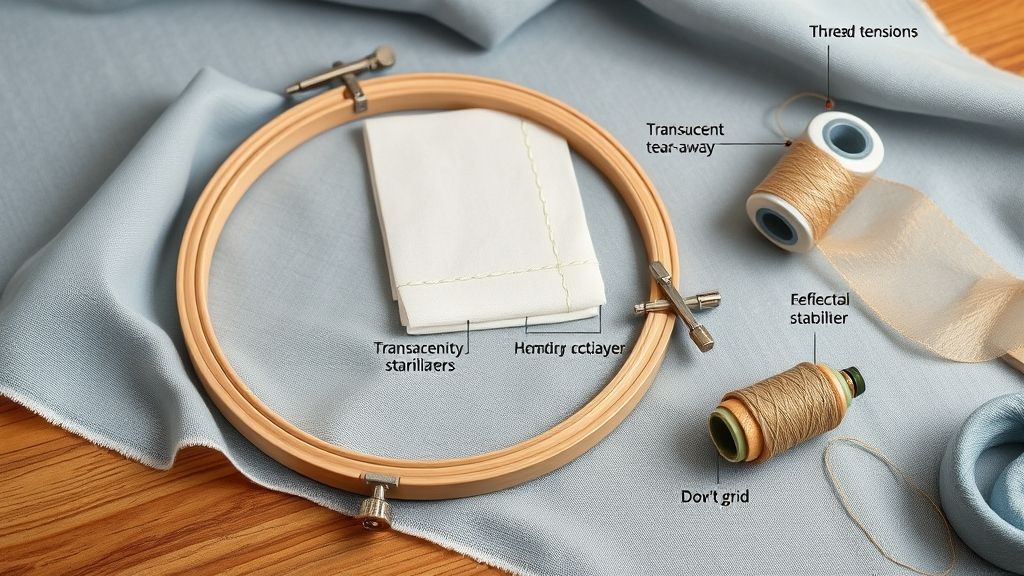
Consistency in machine embroidery begins at the hoop. By aligning stabilizers, fabrics, and tension in a repeatable workflow, you reduce puckering and skipped stitches across runs. Industry trends show embroidery equipment and software advancing toward faster setup and more reliable frames, with users reporting dramatic time savings when using magnetic or frame-based systems like MaggieFrame. In practice, aim for a repeatable, checkable process that fits your fabric and stitch density.
Modern craft data indicates steady growth in the embroidery market and a focus on quality controls in production. The following workflow emphasizes hard data points: preparing stabilizers, placing fabric, verifying alignment, and using pull compensation where your digitizing software supports it. MaggieFrame specifically promotes faster hooping and longer hoop life, contributing to more consistent results.
Step-by-step hooping workflow
Follow these steps to lock in alignment and tension from the start.
- Prepare stabilizer appropriate for stitch density and fabric weight: tear-away for lighter, woven fabrics; cut-away for heavier or knit fabrics; consider topping if fabric is slippery.
- Place stabilizer on the hoop, then lay the fabric on top, centering the design area.
- Position the assembly in the hoop and verify alignment of the design with hoop marks or grid references.
- Tighten evenly, checking that the fabric is taut but not stretched, and recheck alignment after tightening.
- Verify the hooping is square to the machine and that there is no fabric shifting when you gently tug on edges.
Stabilizer selection by stitch density and fabric weight
Choose stabilizers to minimize puckering: light densities on delicate fabrics with tear-away; dense designs on heavier fabrics benefit from cut-away, possibly with a topping to control stitch sinking.
Tension balance: top thread and bobbin
Set top and bobbin tensions to balance stitches and reduce shredding or skipped stitches. Run a quick balance test on scrap fabric and adjust in small increments, noting the effect on stitch appearance and pull.
Pull compensation for fabric stretch
Enable pull compensation in the design file to counter fabric stretch. Start with 0.2–0.4 mm and adjust based on fabric elasticity and stitch density, especially on knits or piqué fabrics.
Test run on similar fabric
Always stitch a test version on a scrap piece of the same or a very similar fabric before production. This validates alignment, tension, and pull settings and saves costly errors later.
MaggieFrame benefits
Using MaggieFrame can cut hooping setup time dramatically. Sources report up to 90% faster setup (about 30 seconds per item vs 3 minutes) and improved hoop life, translating to more consistent results over long runs. The approach supports repeatable hoops and less drift across garments.
Tools, software, and hardware to support thread decisions
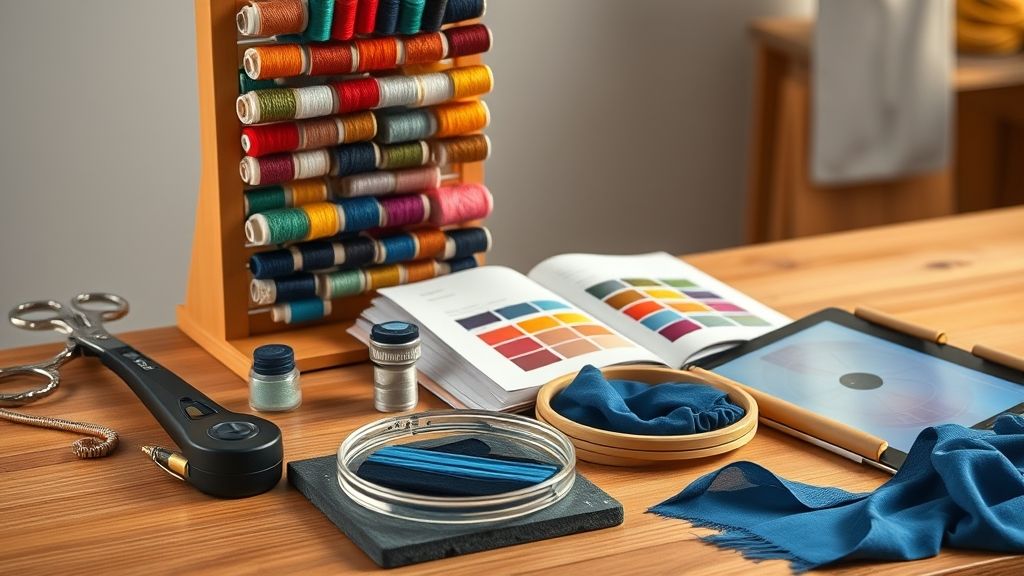
This section provides a practical toolkit, machines, software, and learning resources, that shape thread choices and streamline workflow. Market dynamics show ongoing growth in professional embroidery, with steady demand for customization and reliable production, helping shops justify investment in digitizing and simulation tools. Industry estimates place the embroidery market around USD 1.54 billion in 2024 and projected to about USD 2.62 billion by 2033, reflecting a CAGR near 6% as automation and on‑demand customization accelerate adoption.
From on‑screen design and simulation to global training networks and hardware upgrades, the right combination helps you test stitch decisions before you stitch. Key players include Wilcom, Tajima DG/ML by Pulse, Ink/Stitch, and Hatch, each offering distinct strengths for design, automation, and production speed. Stitch Player simulations and on‑fabric tests enable rapid comparison of stitch density, pull‑compensation, and fabric interaction across materials, while hardware like MaggieFrame hoops can speed setup and extend hoop life.
Design and digitizing tools
Wilcom EmbroideryStudio (latest releases) combines advanced digitizing with integrated design tools and ColorView for precise color planning, while Tajima DG/ML by Pulse provides robust lettering and effects for production environments. Ink/Stitch offers a free, open‑source option that runs inside Inkscape, making entry‑level digitizing accessible without licensing costs. Hatch delivers a tight on‑screen workflow with responsive color management and a stitch simulator to preview outcomes before stitching. Stitch Player simulations, whether in Wilcom or Hatch, mirror machine movements, enabling early detection of sequencing issues and density hotspots.
Workflow resources and testing
To structure a production‑ready workflow, consult The Essential Guide to Machine Embroidery for fundamentals like thread tension and pull compensation, plus sequencing strategies. Hatch Academy provides 80+ free lessons to accelerate learning, with a 30‑day Hatch trial that lets you explore digitizing, colorwork, and hooping in real time. Use Stitch Player to test a design against your target fabrics, then compare density and pull across alternatives to optimize for longevity and appearance.
Delivery, training, and global reach
Hatch serves users in over 100 countries, supported by a growing ecosystem of tutors and online resources. MaggieFrame hoops are a practical upgrade for speed and longevity, reducing setup time and protecting delicate fabrics. Training through Hatch Academy, plus open‑source options like Ink/Stitch, allows shops of all sizes to build a scalable learning path without prohibitive costs.
Pricing and production basics
Industry pricing models center on stitch counts: about $0.50–$4.00 per 1, 000 stitches, with per‑piece pricing commonly $5–$50+ depending on complexity and quantity. Typical logos run around $10 per 10, 000 stitches. These figures guide quoting and help balance thread decisions with machine speed, fabric, and design complexity. Ink/Stitch offers a cost‑effective digitizing route for hobbyists and small shops, while Wilcom and Tajima DG/ML are geared toward professional studios with larger production volumes.
Practical setup steps
- Install or access your chosen software (e.g., Wilcom, Tajima DG/ML, Ink/Stitch, or Hatch).
- Run a test design on a fabric sample that matches your production material.
- Use Stitch Player or Hatch’s Stitch Player to compare stitch density and pull compensation across fabrics, then adjust density, underlay, and pull‑compensation settings accordingly.
Support and learning
Maximize your tooling by leveraging trial periods and free lessons to optimize workflows. The combination of software trials, open‑source options, and structured learning paths helps teams quickly reach efficient production states while controlling costs. In addition, hardware upgrades like MaggieFrame can deliver tangible gains in speed and durability across multiple embroidery contexts.
Cost, pricing, and decision framework for thread choices
Choosing between quilting thread and embroidery thread isn’t just about fiber type or sheen; it’s about how you price work and manage workflows. A practical framework compares per-stitch costs to flat-rate (per-piece) pricing, then tests these models against real project data to pick the most profitable path. The goal is to predict costs accurately, reduce quote surprises, and preserve margin across runs.
Industry benchmarks show a broad spectrum: traditional stitch-count pricing runs roughly $0.50–$4.00 per 1, 000 stitches, while some sources advocate around $1 per 1, 000 stitches as a straightforward baseline. For flat-rate scenarios, small logos or designs around 10, 000 stitches commonly price near $10 per piece, with bulk orders delivering 30–50% discounts at 50+ identical items. Tools that cut labor time, such as efficiency-focused hardware or software, can shift the economics meaningfully, e.g., reducing per-item embroidery time from minutes to seconds in some workflows. These figures underpin a price-per-stitch calculator and a disciplined decision framework for per-stitch versus flat-rate planning.
Price framework and table
Below is a concise reference that anchors pricing decisions to real-world benchmarks. The table uses the industry ranges above and highlights how each approach translates to project economics. A per-stitch model scales with design complexity, while a per-piece model benefits from predictable budgeting and bulk discounts. Consider combining both methods for hybrid quotes on mixed runs.
Note: these figures form the backbone of a price-per-stitch calculator and a disciplined decision model that weighs cost certainty against potential savings from higher throughput and bulk production.
Pros and cons analysis
Feature-by-feature comparison
Cost-benefit breakdown with real project examples
Example A: 10, 000 stitches on a single logo. Per-stitch at $1/1, 000 stitches yields $10. A 10, 000-stitch piece at flat-rate around $10 aligns closely, making the choice depend on run size. If you produce 50 identical items, bulk discounts of 30–50% drop per-piece cost significantly. Labor savings from efficiency tools also compound: a MaggieFrame-style improvement (30 seconds per item instead of 3 minutes) reduces labor by about 2.5 minutes per item at a $20/hour rate, saving roughly $0.83 per item, which scales meaningfully across dozens of units.
Example B: A mixed run of 200 pieces with varying stitch counts. A hybrid approach, base pricing with a stitch-count contingency, can stabilize margins while preserving competitiveness for smaller items. In practice, a calculator that converts stitches to currency and flags break-even points helps teams decide when to switch from per-stitch to flat-rate pricing, or to apply volume-based discounts.
Performance considerations and metrics
Key metrics to guide tool and workflow choices include: average time per 1, 000 stitches, setup and changeover time, error rate, and yield (units completed versus planned). Target reductions in time (via MaggieFrame-like efficiency) and predictable per-piece margins support more confident bids. Track the break-even stitch count where per-stitch pricing matches flat-rate quotes, and monitor bulk discount thresholds to optimize when to push volume runs.
Brand and workflow recommendations for quilting vs embroidery
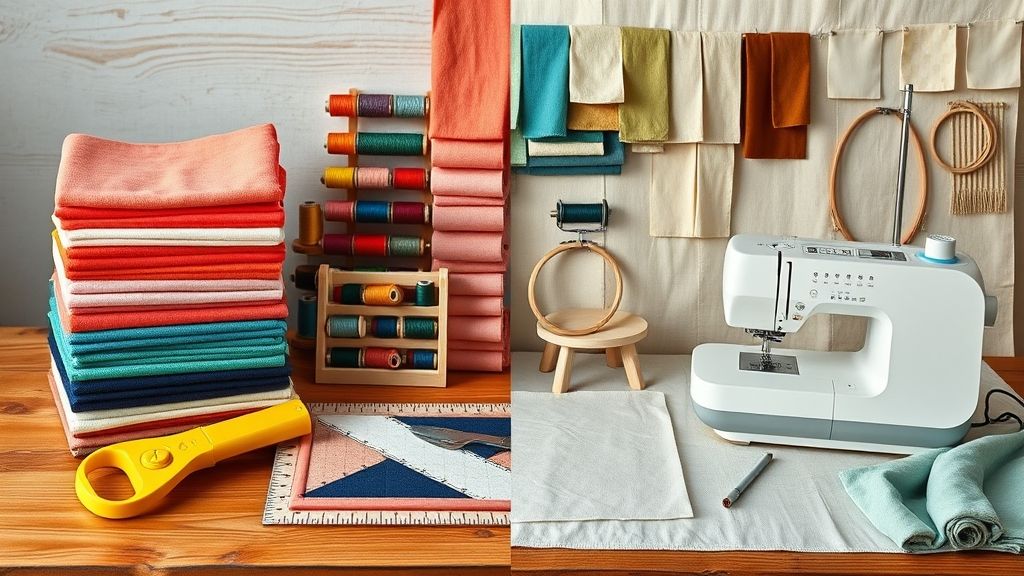
Quilting and embroidery share threads and fabrics, but the brand ecosystems and workflow requirements diverge as you scale from home projects to production. Current market analyses show steady growth across embroidery equipment, software, and digitizing services, with the equipment segment valued around USD 2.4B in 2024 and a CAGR near 5.5% through 2032, while software markets for embroidery surpass the USD 3B mark and project substantial expansion into the billions by 2032. These dynamics shape how a shop selects tools, from design-first ecosystems to hardware optimizations that keep long sessions efficient.
To stay practical, this section maps brand ecosystems that matter: Wilcom, Tajima DG/ML, Ink/Stitch, and Hatch, alongside a hardware workflow upgrade with MaggieFrame and learning pathways through The Essential Guide and Hatch Academy. We outline a repeatable workflow that accommodates both quilting and embroidery, from digitizing to stitching, including testing and pull compensation adjustments before production runs.
Brand ecosystems to consider
For design-to-production strength, Wilcom and Tajima DG/ML sit at the high end, offering broad format support, robust embroidery features, and deep workflow tools. Wilcom excels in complex fills and branding workflows, while Tajima DG/ML integrates tightly with Tajima machines for seamless production. Ink/Stitch provides an accessible open-source path that works well for hobbyists and bridging into Hatch’s environment. Hatch, meanwhile, delivers an end-to-end ecosystem that combines design, digitizing, and production with a global community and strong support in over 100 countries. For quilting contexts, Hatch often provides a smoother path from digitizing to stitching due to its integrated workflow and robust community resources, while Ink/Stitch can be a cost-conscious stepping stone into more advanced ecosystems.
Hardware workflow improvement
Consider MaggieFrame to speed hooping and extend hoop life, which reduces setup time and increases consistency on large quilt panels or dense appliqué projects. Pair MaggieFrame with your chosen software ecosystem to minimize operator fatigue and improve repeatability across long sessions, making it a practical upgrade for studios moving from hobby to small-batch production.
Educational resources and learning paths
Begin with The Essential Guide to machine embroidery to build solid fundamentals, then dive into Hatch Academy, which offers 80+ free lessons and a 30-day Hatch trial to validate workflows before committing. Hatch supports users in over 100 countries, reflecting a robust global network of mentors and users. These resources help you translate design concepts into production-ready stitches with confidence and speed.
Practical workflow
Digitize designs in compatible formats, test with Stitch Player for design fidelity, then simulate within Hatch’s environment. Test on scrap fabric, adjust pull compensation and tension, then hoop and stitch in production. For beginners, starting with Hatch’s 30-day trial and free lessons helps validate the workflow before investing in paid software. This approach keeps quilting and embroidery timelines realistic while maintaining stitch quality across projects.
Frequently Asked Questions
Whether you’re quilting or embroidering, the thread you choose and the setup you use can dramatically affect quality and turnaround. The embroidery market has shown steady growth in recent years, with 2024 estimates around USD 1.5B and projections suggesting continued expansion into the next decade, underscoring how central good thread, stabilizers, and software are to successful projects. As technology evolves, you’ll find faster hooping, smarter stabilization, and better learning resources making it easier to produce professional results at home.
In this section, we answer practical questions readers naturally ask about costs, setup time, learning paths, stabilizers and tension, and file compatibility, all with an eye toward real-world quilting and embroidery workflows.
Q: How much does embroidery cost per 1, 000 stitches (typical range)?
The cost per 1, 000 stitches varies by project and provider. Industry standard ranges from $0.50–$4.00 per 1, 000 stitches, with many guides citing about $1 per 1, 000 stitches as a common mid-point. For a 10, 000-stitch logo, you’d typically see around $10 in embroidery fees, though exact pricing depends on factors like color changes, backing, and stitch density.
Q: How long does setup take with a faster hooping solution like MaggieFrame?
With a MaggieFrame hooping solution, setup time drops to about 30 seconds per piece, versus roughly 3 minutes with traditional hoops. That speed boost is especially noticeable on high-volume runs or repetitive designs, where even small time savings add up across dozens of pieces.
Q: What learning resources help me improve quickly?
Speed your progress with The Essential Guide and Hatch Academy, which features over 80 lessons to build technique and confidence. If you’re evaluating software, a 30-day Hatch trial provides hands-on practice, guided projects, and the chance to test workflows before buying.
Q: How should I approach stabilizers and tension to reduce puckering?
Choose stabilizers based on design density and fabric weight, then run stitches on similar fabrics to observe puckering. Adjust tension and use pull compensation in your software and machine to balance density with fabric yield. The goal is taut, smooth fabric with minimal distortion, achieved through a combination of stabilizer choice, stitch testing, and precise tension control.
Q: Where can I find reliable digitizing and file formats for compatibility?
Use widely supported platforms such as Wilcom, Tajima DG/ML, Ink/Stitch, and Hatch workflows, then test compatibility with a Stitch Player-like simulator to preview how designs will stitch out before you sew.
Conclusion
In practical quilting versus embroidery, align design size and stitch density with stabilizers, tension, and fabric weight. Validate with targeted tests and leverage the right software and hardware to speed setup and improve consistency.
- Design size and stitch density should tie to stabilizers, tension, and fabric weight.
- Test designs provide real-world validation of thread behavior and finish.
- Using the right software (including Hatch) and hardware speeds setup and keeps results consistent.
Try a 30-day Hatch trial to explore the workflow, run a test quilt design, and evaluate MaggieFrame hooping for speed gains; download The Essential Guide and check Hatch Academy for a guided path.
Ready to sew with purpose, start your Hatch trial today and stitch with confidence.