Fix Bobbin Thread Showing on Top Embroidery: Quick Guide
This post contains affiliate links. As an Amazon Associate, Latest Embroidery earns from qualifying
purchases, at no extra cost to you. Learn more.
Are you seeing annoying loops of bobbin thread peeking through your beautiful embroidery designs? This common issue, often called “bobbin show-through, ” can make even the most experienced embroiderer frustrated. It occurs when the delicate balance between your top thread and bobbin thread is disrupted, causing the bobbin thread to pull through to the front. This tension imbalance is the primary culprit, leading to a less-than-perfect finish and potentially compromising the integrity of your stitches. But don’t despair! This guide will provide you with quick, actionable solutions to diagnose and fix this problem, ensuring your embroidery projects look as polished as you intend. We’ll dive into the root causes and guide you through the steps to achieve flawless results, so you can get back to enjoying the creative process.
Fix Bobbin Thread Showing on Top Embroidery: Quick Guide
Short on time? If you only take one thing from this guide: Size A / Class 15 prewound bobbins — a low-cost way to try prewounds — check your machine manual for the required bobbin size first.
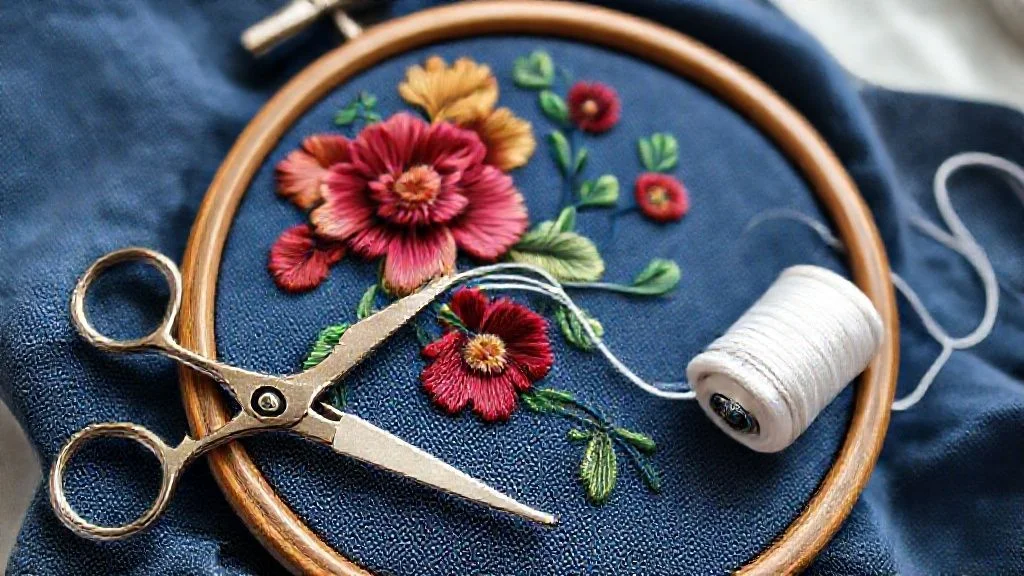
In the intricate world of embroidery, a well-formed stitch is a delicate balance, a “friendly tug-of-war” between the upper thread and the bobbin thread. Ideally, the bobbin thread should gently pull a tiny bit of the top thread down to the back of the fabric, creating a clean, interlocked stitch. However, when you start seeing that bobbin thread peeking through on the top surface, it’s a clear sign that this equilibrium has been disrupted.
This visual cue indicates a tension imbalance. Most commonly, it means the top thread is tensioned too tightly, or conversely, the bobbin thread is too loose. When this happens, the threads can’t interlock correctly within the fabric’s layers, leading to a less professional and less durable embroidery result. Understanding this fundamental concept is the first step to diagnosing and resolving the issue.
The Tension Tug-of-War Explained
The core of a successful embroidery stitch lies in the harmonious interaction between the needle thread and the bobbin thread. Imagine them engaged in a constant, gentle pull. The bobbin thread’s role is crucial; it should be just tight enough to pull a small loop of the top thread into the bobbin area, ensuring a neat stitch on both sides of the fabric.
When bobbin thread is visible on the top side, it signifies that the top thread is exerting too much force or the bobbin thread isn’t providing enough resistance. This imbalance prevents the proper interlocking of the threads, resulting in a stitch that is either too tight and potentially breaks, or too loose and shows the bobbin thread on the face of your design. Adjusting the tension on either the needle or bobbin is key to restoring this delicate balance.
Fix Bobbin Thread Showing on Top Embroidery: Quick Guide
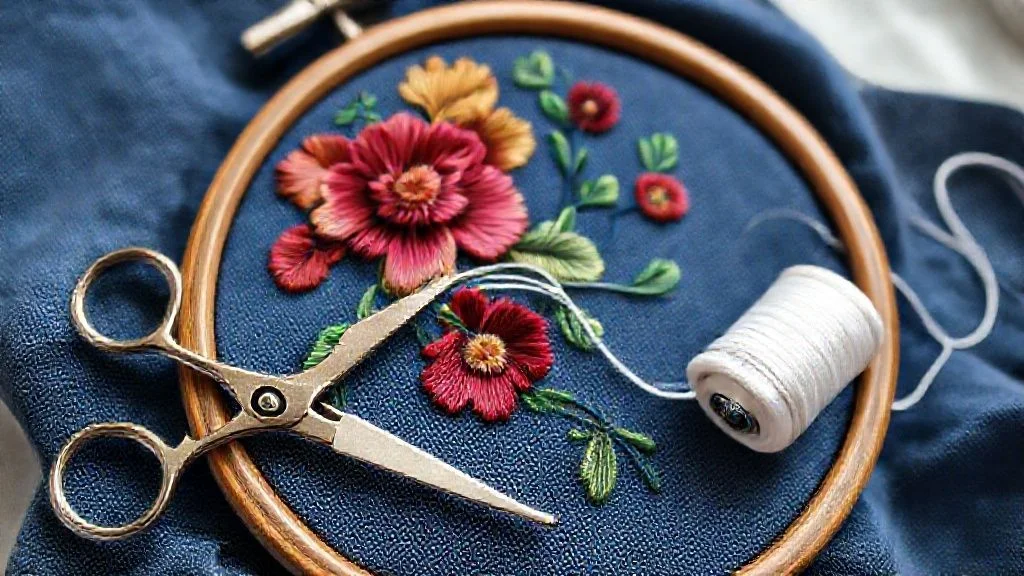
Experiencing bobbin thread showing on the top of your embroidery is a common frustration, often stemming from issues with tension or cleanliness. Before diving into complex adjustments, focusing on the fundamentals, thorough cleaning and precise re-threading, can resolve most of these problems. This guide will walk you through the essential first steps to get your embroidery machine back in perfect working order.
Ensuring your machine is free of lint and debris is paramount. These small particles can significantly interfere with thread tension and smooth operation, leading to visible bobbin thread on your embroidery’s surface. A clean machine is the foundation for successful stitching.
Step 1: Clean the Bobbin Area and Shuttle Race
Begin by meticulously cleaning the bobbin case and the shuttle race where the bobbin sits. Lint and thread fragments are the primary culprits behind tension problems. Use a soft brush or even a business card slid under the tension flap to dislodge any accumulated debris. It’s crucial to avoid using compressed air for cleaning, as it can force particles deeper into the machine’s delicate mechanisms, potentially causing more harm than good.
Step 2: Inspect and Clean Tension Discs
Next, turn your attention to the upper thread’s tension discs. Gently clean these with a small brush or a piece of folded cardstock to remove any lodged lint. Ensuring these discs are clean allows the thread to move freely and evenly, which is critical for balanced stitch formation.
Step 3: Re-thread the Upper Thread Correctly
When re-threading the upper thread, always make sure the presser foot is in the UP position. This crucial step ensures that the thread is correctly seated within the tension discs. If the presser foot is down, the thread won’t engage properly with the tension mechanism, leading to uneven stitches and the bobbin thread appearing on the top.
Step 4: Insert and Thread the Bobbin Properly
Finally, correctly insert the bobbin into its case. Ensure the bobbin is seated securely and that the thread is passing through the tension spring. Most machine manuals suggest a rule of thumb: the bobbin thread should double back on itself as it exits the bobbin case. If the bobbin is inserted backward or not threaded through the tension spring, it will cause significant tension imbalances.
Fix Bobbin Thread Showing on Top Embroidery: Quick Guide
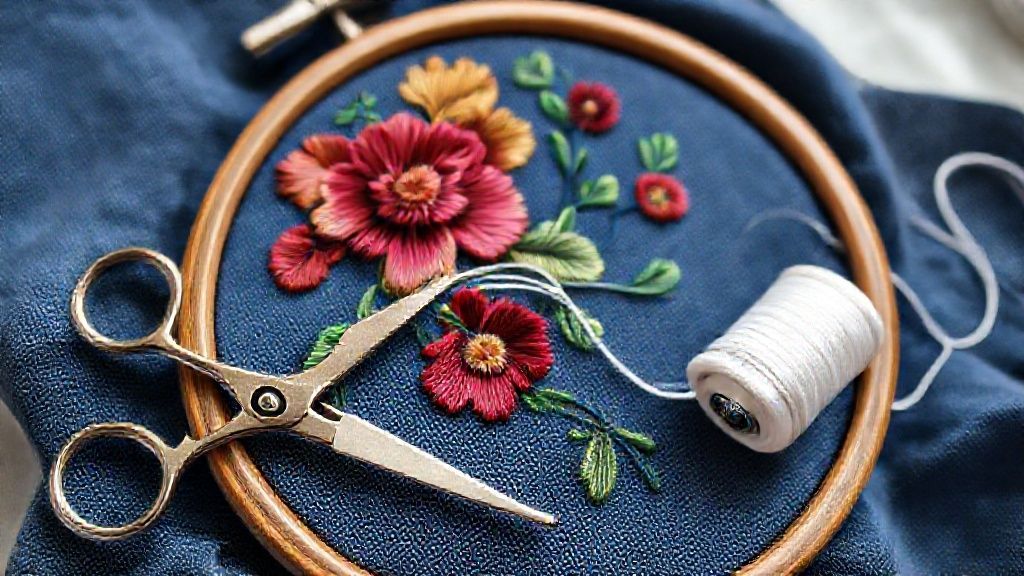
When bobbin thread peeks through to the top of your embroidery, it’s a clear signal that the lower thread’s tension is off. This common issue can mar the appearance of your projects, but thankfully, it’s usually rectifiable by adjusting the bobbin tension. This section will guide you through the process, ensuring your embroidery’s underside is as neat as its top.
Properly balanced tension between the top thread and bobbin thread is crucial for professional-looking embroidery. Fortunately, most modern embroidery machines allow for straightforward tension adjustments, primarily focusing on the bobbin case. Understanding how to fine-tune this setting can save you from many frustrating moments and elevate the quality of your finished pieces.
Adjusting Bobbin Tension: The Critical Lower Thread
The bobbin case holds the lower thread and is equipped with a small screw that controls its tension. To tighten the bobbin tension, turn this screw clockwise, and to loosen it, turn it counter-clockwise. It is vital to make these adjustments in small, incremental steps, typically around 1/8 to 1/4 of a turn at a time. Making drastic changes can easily lead to over-tightening or under-tightening, creating new problems.
For machines with a front-loading bobbin system, a simple ‘bobbin drop test’ can offer a preliminary indication of tension. Remove the bobbin and let it dangle by its thread. Give it a gentle tug; the bobbin should drop about one to two inches. If it drops too quickly, the tension is likely too loose; if it barely moves, it’s too tight.
For a more precise measurement, especially in commercial or high-volume settings, a bobbin tension gauge is highly recommended. This tool measures the force required to pull the thread from the bobbin. The ideal range for most embroidery applications is between 18 to 25 grams. For denser work like caps or thick materials, you might aim slightly higher, up to 30 grams.
After any adjustment, no matter how small, it’s essential to test stitch on a piece of scrap fabric that matches your project’s material. This allows you to visually assess the thread balance and make further minute adjustments as needed. Patience and precise, small changes are key to achieving the perfect tension.
Fix Bobbin Thread Showing on Top Embroidery: Quick Guide
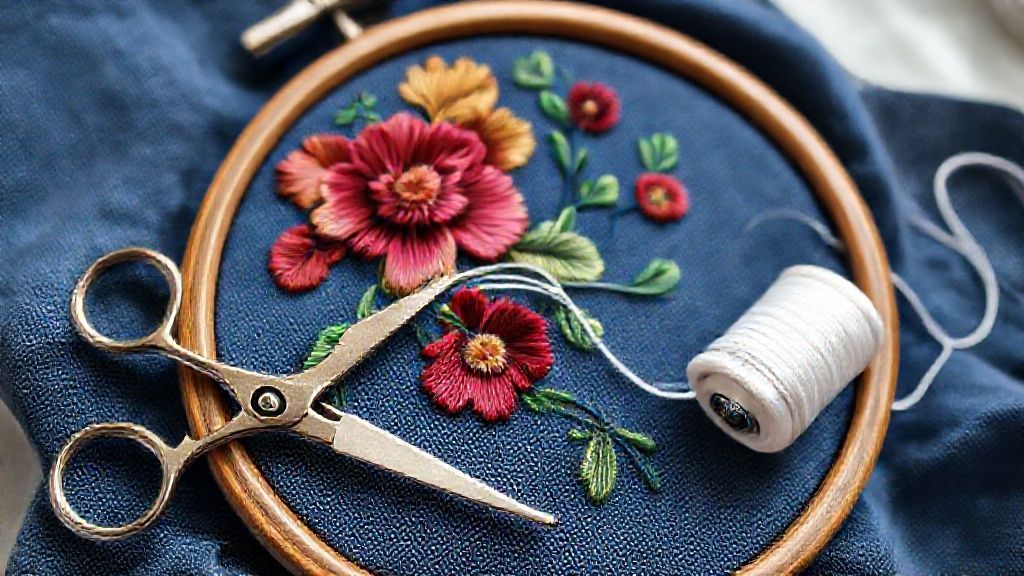
One of the most common issues when embroidery is the appearance of bobbin thread on the top surface of your fabric. This often indicates an imbalance in your machine’s tension settings. Fortunately, fine-tuning the upper thread tension can often resolve this problem, creating a clean and professional stitch every time.
The key to solving this lies in understanding and adjusting the upper thread tension dial. This dial acts as a counterbalance to the bobbin tension, and finding the right balance is crucial for consistent stitch quality. By making small, precise adjustments, you can achieve a perfect stitch formation.
Fine-Tuning Upper Thread Tension: The Counterbalance
The upper thread tension dial, typically located on the front or side of your embroidery machine, allows you to control how tightly the top thread is pulled through the machine. For most Brother embroidery machines, a standard tension range falls between 2 and 6. Remember that adjustments should always be made in small increments.
If you notice your bobbin thread showing on the top of your embroidery, it means the upper thread tension is likely too loose. To fix this, slightly loosen the upper tension by turning the dial counter-clockwise or reducing the numerical setting. Conversely, if you see loops of thread forming on the underside of your fabric, the upper tension is probably too tight. In this case, you’ll need to tighten the upper tension by turning the dial clockwise or increasing the number.
Always perform test stitches on a fabric scrap that matches your project material after making any tension adjustments. This allows you to observe the stitch balance and ensure the bobbin thread is no longer visible on the top. Consistent practice and observation will help you master tension settings for various fabrics and threads.
Fix Bobbin Thread Showing on Top Embroidery: Quick Guide
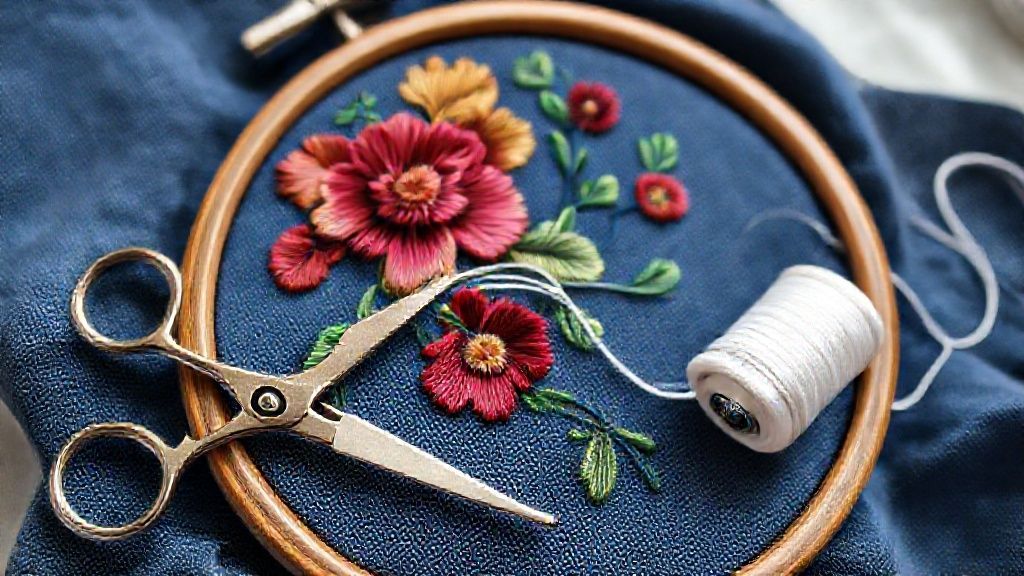
When the bobbin thread persistently appears on the top of your embroidery, it often signals a tension issue that goes beyond simple adjustments. While most users focus on the upper tension dial, several less obvious factors can significantly contribute to this problem. This section delves into advanced troubleshooting, exploring the critical roles of needle condition, thread type compatibility, and how specific stitch types can reveal or exacerbate tension imbalances.
Understanding these elements is key to achieving a clean and professional finish, ensuring your embroidery consistently looks its best. By systematically addressing these potential culprits, you can resolve persistent bobbin thread issues and gain greater control over your machine’s performance.
Needle Condition and Compatibility
The condition of your embroidery needle is paramount. A dull or damaged needle can lead to thread breakage and skipped stitches, which indirectly impact overall tension control and cause the bobbin thread to surface. Regular replacement of needles is essential, with many professionals recommending a change after every 6-8 hours of stitching or as soon as any performance degradation is noticed. Furthermore, ensuring you’re using the correct needle size and type for your fabric and thread combination is crucial. Using a needle that is too large or too small for the material can create unnecessary stress on the thread and fabric, contributing to tension problems.
Thread Properties and Tension Dynamics
The weight and type of thread you use play a significant role in achieving balanced tension. Generally, thicker threads require increased upper tension to counteract their bulk, while thinner threads need less. For instance, a 40wt thread will behave differently than a 60wt thread, often necessitating tension recalibration. When switching between thread types, such as from polyester to rayon, tension adjustments are almost always required, as polyester threads often need tighter settings. The quality of the thread also matters; high-quality polyester (40-120 wt) or cotton (30-50 wt) threads are recommended for consistent results. However, cotton threads can produce lint, which can accumulate in the machine and negatively affect tension and stitch quality.
Stitch Types and Their Impact
Certain stitch types can make existing tension imbalances more apparent. Narrow satin stitches and tatami stitches, due to their density and close proximity, provide less margin for error. Any slight fluctuation in tension will be immediately visible, often as bobbin thread peeking through. These stitches require a well-balanced tension for a smooth, even fill. If you’re encountering bobbin thread issues primarily with these stitch types, it reinforces the need to meticulously check your needle, thread, and upper tension settings.
FAQ: Common Bobbin Thread Issues & Solutions
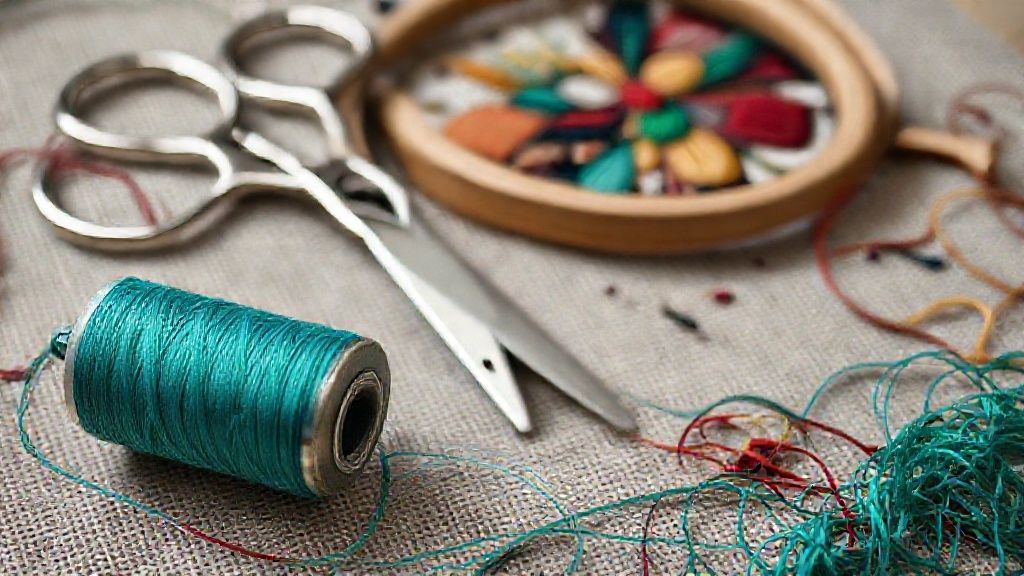
Experiencing bobbin thread showing on top of your embroidery can be a frustrating issue, but it’s often easily resolved with a few key adjustments and maintenance checks. This FAQ section addresses common questions to help you get back to smooth, professional-looking stitching.
Understanding the root causes and their solutions will save you time and improve the quality of your embroidered projects. Let’s dive into the most frequently asked questions about this common embroidery problem.
Why Does My Bobbin Thread Always Show on Top?
This common issue usually stems from an imbalance in thread tension between your top thread and bobbin thread. Other culprits include lint buildup in the bobbin area, which can interfere with smooth thread delivery, or incorrect threading of either the upper or lower thread paths. Ensuring your machine is clean, properly threaded, and that tensions are balanced is crucial for a clean stitch.
Can I Fix Bobbin Thread Showing by Adding More Stabilizer?
While adding more stabilizer might temporarily mask the problem by providing a denser base, it doesn’t address the underlying tension imbalance or machine issues. In fact, excessive stabilizer can add unwanted bulk to your design and may not fully resolve the visible bobbin thread. The most effective solution lies in adjusting tensions and performing regular machine maintenance.
How Often Should I Clean My Bobbin Area?
Regular cleaning of your bobbin area is essential for preventing lint buildup and ensuring smooth operation. It’s recommended to clean this area every 8-10 hours of stitching time. If you’re working with fuzzy fabrics like fleece or burlap, which shed more lint, you should increase the frequency of cleaning to every few projects or even more often.
What is the Ideal Bobbin Tension in Grams?
The ideal bobbin tension can vary slightly between machines and thread types, but a good starting point for standard projects is between 18-22 grams. For more demanding applications like cap embroidery or designs with dense stitching, you might aim for a slightly higher tension, around 25-30 grams. Using a bobbin tension gauge is the most accurate way to measure and set your bobbin tension precisely.
When Should I Consider Replacing My Bobbin Case?
The bobbin case is a critical component for smooth bobbin thread delivery. You should consider replacing it if you notice any physical damage, such as nicks, scratches, or burrs. These imperfections can snag the thread, leading to skipped stitches, thread breakage, and the bobbin thread showing on top. A worn or damaged bobbin case can significantly impact stitch quality.
Conclusion
Don’t let unruly bobbin thread on top of your embroidery dampen your creative spirit! By systematically addressing the root causes, ensuring your machine is clean, re-threading with care, and meticulously adjusting tensions, you’re well on your way to achieving those flawless, balanced stitches you desire. Remember, consistent maintenance and a little understanding of your sewing machine’s nuances are your greatest allies in conquering this common embroidery challenge.
Embrace the power of a well-behaved machine and let your embroidery projects shine. With these fixes, you can move from frustration to fantastic results, saving time and enhancing the professional look of your work.
Now it’s your turn! We’d love to hear from you. Share your own proven troubleshooting tips or ask any further questions you might have in the comments below. Let’s build a community of embroidery problem-solvers together!