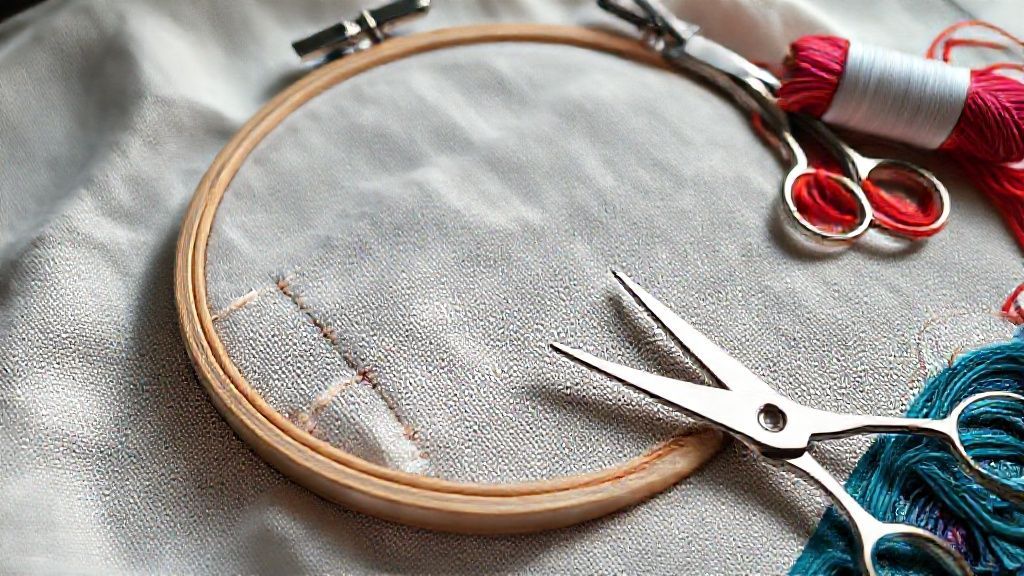
Fix Embroidery Registration Errors: Quick Guide
This post contains affiliate links. As an Amazon Associate, Latest Embroidery earns from qualifying
purchases, at no extra cost to you. Learn more.
Are your embroidery designs looking misaligned or shifted, ruining the professional finish you strive for? It’s a common frustration that can turn a beautiful project into a disappointing one. But what if there was a straightforward way to achieve perfect stitch placement every single time? This guide is designed to help you conquer those pesky embroidery registration problems.
We’ll dive into practical solutions, covering everything from the crucial first steps of fabric preparation and selecting the right embroidery stabilizer, to fine-tuning your embroidery machine settings and making essential design adjustments. You’ll discover techniques to ensure your stitches land exactly where they should, leading to a flawless final product that showcases your skill and creativity. Say goodbye to misaligned motifs and hello to professional-quality results.
Navigating the world of embroidery can sometimes feel overwhelming, especially when technical glitches arise. Understanding the nuances of your equipment and materials is key. For instance, the type of fabric you use can significantly impact registration, and many crafters find success with premium materials. To explore a range of options that could help, consider looking into various embroidery machines that offer advanced registration features:
Shop embroidery machines on Amazon →
By mastering these techniques, you’ll gain the confidence to tackle any embroidery project, knowing you can overcome registration challenges. Continue reading to unlock the secrets to precise stitch placement and elevate your embroidery game.
“`html
Fix Embroidery Registration Errors: Quick Guide
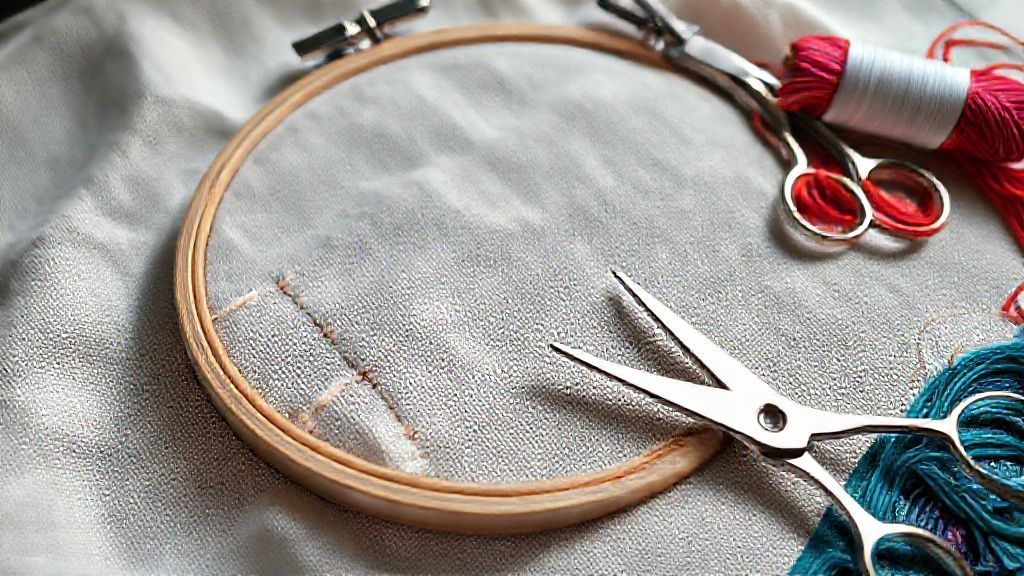
Embroidery registration errors, where stitches don’t perfectly align, can be a frustrating and time-consuming issue for crafters and professionals alike. These misalignments can turn a beautiful design into a disappointing one, leading to wasted materials and re-work. Understanding the root causes is the first step toward preventing and fixing these problems.
The integrity of the final embroidered product hinges on the precise interaction between the fabric, the embroidery machine, the hooping process, and the digitized design itself. When any of these elements are compromised, registration issues are likely to arise, impacting the overall quality and aesthetic of the embroidery.
Fabric Instability and Stretch
The very nature of many fabrics, especially knits and stretchy materials, can contribute to registration problems. As the embroidery needle penetrates the fabric and the machine moves, the fabric can shift, stretch, or distort under the tension of the stitches. This movement means that subsequent stitches may not land in their intended positions relative to the previous ones, causing a gradual or sudden misalignment.
Machine Calibration and Mechanical Issues
An embroidery machine, like any complex piece of equipment, requires proper calibration and maintenance. Issues such as misaligned sensors, worn-out components, or problems with the pantograph (the part of the machine that moves the hoop) can lead to inconsistent stitch placement. These mechanical faults can result in repeating registration errors or random instances of stitch drift, making it difficult to achieve a clean, precise outcome.
Hooping Errors
The hooping process is critical for securing the fabric tautly and flatly, providing a stable base for stitching. Errors here are common culprits for registration failures. If the fabric is not sufficiently stabilized within the hoop, or if it shifts during the hooping process, it creates a foundation prone to movement during embroidery. An inconsistently hooped piece of fabric will invariably lead to stitches falling out of place.
Design Digitization Issues
The digital blueprint of the embroidery design plays a significant role. During the digitization process, factors like pull and push compensation are crucial for accounting for fabric behavior and thread tension. If these compensations are inadequate or incorrectly applied, the design may not lay flat or could distort the fabric, leading to registration errors. Additionally, an inefficient stitch order or incorrect stitch types in the original design file can exacerbate these inherent fabric and machine-related challenges.
Environmental Factors
While less frequently the primary cause, environmental conditions can subtly influence embroidery results. Fluctuations in temperature and humidity can affect the stability of both the fabric and the embroidery machine’s components. While these effects are often minor compared to fabric stretch or hooping errors, in sensitive applications, they can contribute to slight variations in stitch registration.
“`
Fix Embroidery Registration Errors: Quick Guide
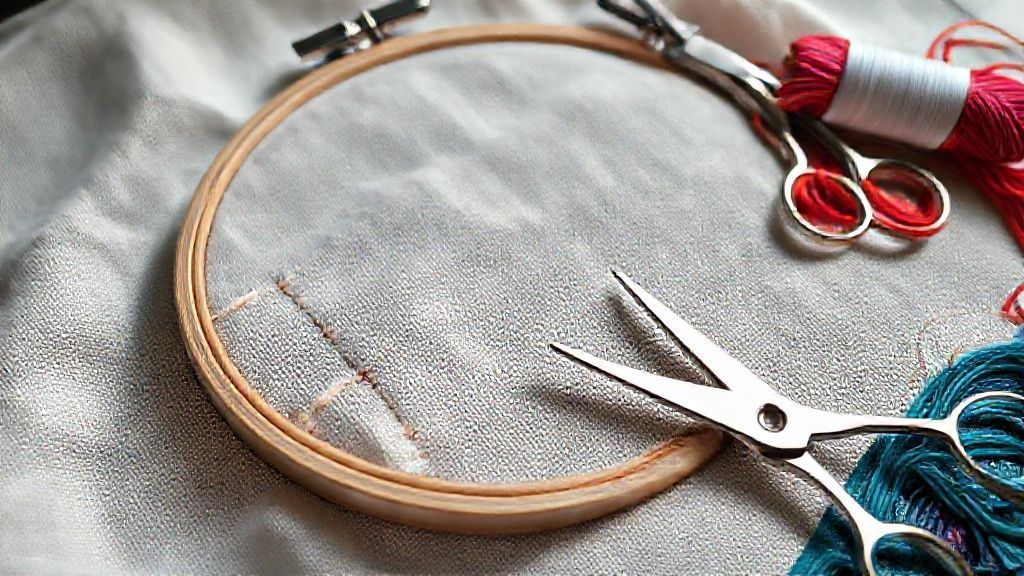
Achieving perfect embroidery registration hinges on meticulous hooping and the judicious selection of stabilizers. These foundational steps prevent fabric shifting and ensure your stitches land precisely where intended. By understanding the different types of stabilizers and how to apply them correctly, you can significantly reduce registration errors and elevate the quality of your embroidered projects.
The embroidery market continues to grow, with home embroidery machines becoming increasingly popular, driving demand for high-quality results that start with proper stabilization and hooping. Expert embroiderers consistently emphasize that these techniques are not optional but essential for professional-looking finishes, especially when dealing with a variety of fabrics and complex designs. Mastering these basics is key to avoiding common pitfalls and achieving consistent, accurate stitching.
Choosing the Right Stabilizer for Fabric Types
Selecting the appropriate stabilizer is the first crucial step in ensuring accurate stitch placement. For stable woven fabrics, tear-away stabilizers are an excellent choice. Products like Floriani or Terradon Clean Tear offer good support without adding excessive bulk. When working with fabrics that have a stretch, such as knits and t-shirts, cut-away stabilizers are more suitable. Brands like Brother’s Soft-n-Stable or Floriani No-Show Mesh provide the necessary stability to prevent distortion during stitching.
Wash-away stabilizers are ideal for delicate or sheer fabrics where a permanent stabilizer might be visible, or for freestanding lace designs. These dissolve with water, leaving a clean finish. The key is to match the stabilizer’s properties to the fabric’s characteristics to achieve optimal results.
Achieving Proper Hooping Tension
Proper hooping tension is critical for preventing fabric movement. The fabric, along with the stabilizer, should be taut in the hoop, similar to a drum, but without overstretching the material. Overstretching can distort the fabric’s weave and lead to puckering or registration issues once the design is stitched. Ensure there are no wrinkles or puckers on the fabric surface within the hoop.
Enhancing Grip with Adhesives and Sticky Stabilizers
For challenging fabrics, especially knits and stretchy materials, additional grip can be invaluable. Consider using a fusible cut-away stabilizer, which adheres to the fabric, providing a stable base before hooping. Alternatively, sticky-back tear-away stabilizers, such as Stabil-Stick, allow you to adhere the fabric directly to the stabilizer within the hoop, offering superior hold.
A temporary spray adhesive can also be used between the fabric and stabilizer to secure them together, ensuring they don’t shift during the embroidery process. This extra layer of security is particularly helpful for free-motion embroidery or when working with slippery materials. These methods provide an extra layer of security against movement.
Hooping Knits and Stretchy Fabrics
Hooping knits and other stretchy fabrics requires a delicate balance. As mentioned, using sticky stabilizers or adhering the fabric to a cut-away stabilizer beforehand is highly recommended. When placing the fabric in the hoop, ensure it is centered and pulled taut from the edges, but avoid aggressive stretching. Some embroiderers find it helpful to float an additional layer of stabilizer underneath the hoop rather than solely relying on the hooped layer for very stretchy or thin fabrics.
Ensuring Fabric Grain Alignment
Before tightening the hoop, always check that the fabric’s grain is aligned correctly and that the surface is smooth and flat. Pay attention to the lengthwise and crosswise grains of the fabric, especially for designs that have a distinct vertical or horizontal orientation. Misaligned grain can lead to designs appearing crooked on the finished garment. Once hooped, avoid tugging or pulling at the fabric, as this can compromise the tension and alignment you’ve worked to achieve.
Fix Embroidery Registration Errors: Quick Guide
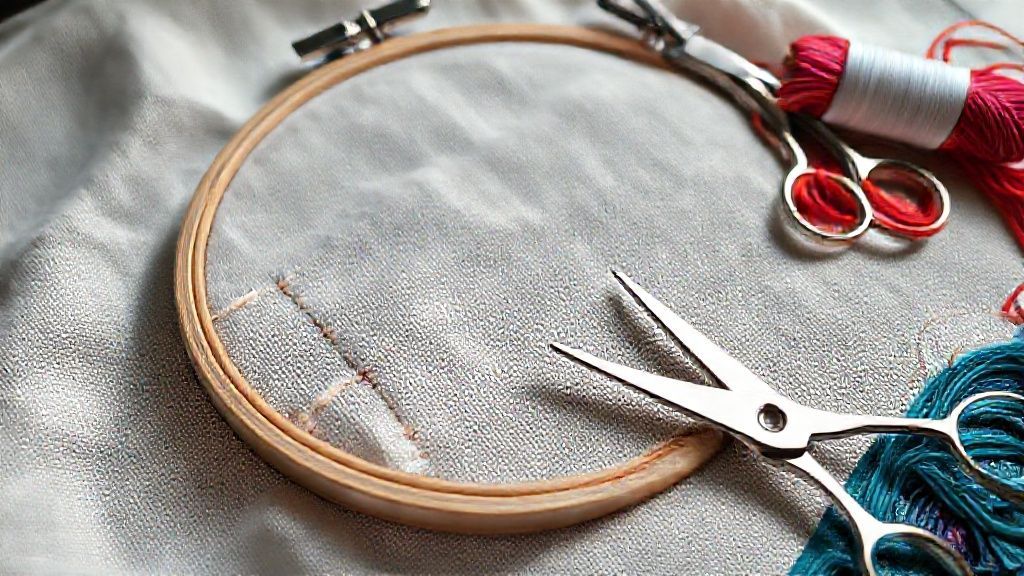
Achieving perfect embroidery registration hinges on meticulous machine settings and diligent maintenance. Even the most sophisticated machines require precise calibration to ensure designs align flawlessly stitch after stitch. This section will guide you through the critical adjustments and checks that directly influence your embroidery’s accuracy, transforming potential registration errors into clean, professional results.
Optimizing these settings not only resolves registration problems but also contributes to the overall longevity and performance of your embroidery equipment. Understanding the interplay between tension, speed, and mechanical integrity is key to mastering precise stitching.
Optimizing Machine Settings for Precision Stitching
The foundation of accurate embroidery registration lies in correctly balanced thread tension. An imbalance between the top thread and bobbin can magnify even minor fabric movements, leading to misaligned stitches. It’s crucial to adjust both top and bobbin tensions to achieve a harmonious stitch; overly tight top tension can pull the fabric, causing it to distort, while excessively loose bobbin tension might result in looping or skipped stitches.
For complex designs, dense stitch areas, or unstable fabrics like knits and performance wear, reducing your sewing speed is paramount. A slower pace allows the machine greater control, ensuring the fabric remains stable and the needle penetrates accurately, thus preventing registration shifts. Many modern embroidery machines offer specific settings for speed reduction in intricate zones, a feature to leverage for optimal results.
Regular mechanical checks are non-negotiable for consistent registration. Ensure your needle is perfectly centered in the needle plate and that your machine’s calibration is up-to-date. Verifying that the presser foot is correctly positioned and that specialized tension systems like Acti-Feed (if applicable to your machine) are functioning as intended will prevent undue pressure or slack that could compromise registration.
Before committing to a full project, always perform a dedicated registration test. This typically involves stitching a series of lines or shapes directly on top of each other. Analyzing the results of this test allows you to fine-tune your settings and address any alignment issues proactively, saving valuable time and materials.
Embroidery Machine Settings for Registration: A Closer Look
Embroidery professionals emphasize the importance of proactive maintenance and specific machine settings for optimal registration. A common practice among seasoned embroiderers is to conduct a detailed thread tension test for every new project or thread type. This ensures that the tension is appropriate for the fabric and design, preventing common registration pitfalls.
Furthermore, understanding your machine’s capabilities regarding fabric handling is essential. Advanced features like adjustable presser foot pressure can be critical for preventing fabric puckering or shifting, which are direct causes of registration errors. Consulting your machine’s manual for specific recommendations on needle centering and calibration procedures for your model is highly advised.
The embroidery market continues to evolve, with new machine technologies focusing on enhanced stability and automated calibration. While specific market statistics for registration-focused features are niche, the overall growth in the custom apparel and personalized goods sector, valued at billions globally, underscores the demand for high-quality, precisely registered embroidery.
Registration Test: The Proactive Approach
Implementing a pre-stitch registration test is a fundamental step for any embroiderer aiming for professional-grade results. This simple yet effective diagnostic involves stitching a small test pattern, often a series of overlapping lines or shapes, directly onto a piece of scrap fabric. The goal is to observe if the stitches perfectly align on subsequent passes.
Should the test reveal any misalignment, it signals the need for immediate adjustments. This could involve re-calibrating the needle, adjusting thread tension, or modifying the machine’s speed settings for specific design elements. Addressing these issues before commencing the main embroidery project is far more efficient and cost-effective than rectifying errors on a finished piece.
Fix Embroidery Registration Errors: Quick Guide
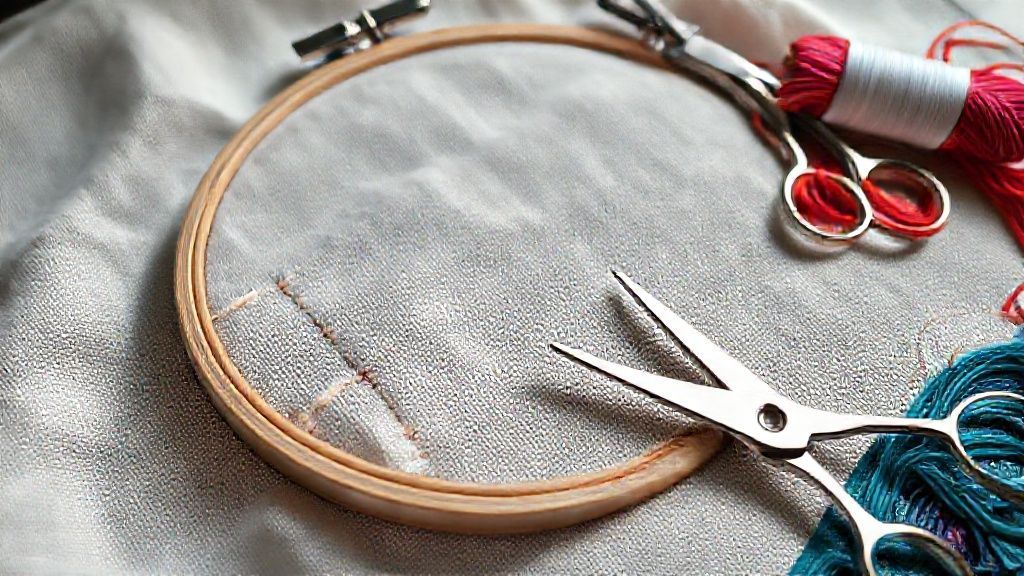
Achieving flawless embroidery, especially with complex or multi-hooping designs, hinges significantly on meticulous design preparation and precise digitization. Registration errors, those frustrating misalignments that can mar an otherwise perfect stitch-out, are often preventable through strategic use of embroidery software features. By understanding and implementing these techniques, you can ensure your designs align perfectly, every time.
The foundation of accurate registration lies in how a design is prepared within your digitizing software. This proactive approach minimizes potential issues during the stitching process, saving time and material. The following techniques focus on leveraging software capabilities to build precision into your designs from the outset.
Smart Design Preparation and Digitization Techniques
Embroidery software such as Wilcom EmbroideryStudio and Hatch Embroidery offers robust tools to combat registration problems. A critical feature is the ability to add registration marks. These are typically small, precisely placed elements that create an overlap area, allowing for accurate alignment when a design needs to be stitched in multiple hoopings. When digitizing, utilizing pull and push compensation is vital. Pull compensation accounts for the fabric’s tendency to pull inwards as stitches are formed, while push compensation addresses the outward buckling of fabric. Adjusting these settings based on the fabric type and density of stitches is crucial for maintaining registration.
The density of stitches and the type of underlay used play a significant role in fabric stability and, consequently, registration accuracy. Denser fabrics may require less underlay or a different type of underlay to prevent puckering, while stretchier materials might benefit from more stabilizing underlay. For designs that exceed the standard hoop size, breaking them down into manageable sections for multi-hooping is a common and effective strategy. Each section must incorporate registration marks to ensure seamless alignment when stitched together.
Understanding industry tolerance standards is also important for managing expectations and evaluating stitch quality. For most embroidery applications, a placement tolerance of ±0.25 inches (approximately 6 mm) is acceptable for smaller items like children’s clothing. For larger items such as back panels of jackets or banners, a tolerance of ±0.5 inches (approximately 12 mm) is generally considered the standard. Adhering to these guidelines helps ensure a professional and visually appealing final product.
The embroidery market continues to evolve with advancements in software and machines, emphasizing the need for up-to-date techniques. Recent software updates often include refined algorithms for compensation and underlay, which can further improve registration accuracy. Staying informed about these developments, perhaps by following industry blogs or participating in online forums, can provide valuable insights from embroidery professionals and keep your techniques at the cutting edge.
Key Software Features for Registration Accuracy
Specialized embroidery software provides essential tools for preventing registration errors. Key among these are registration marks, pull compensation, push compensation, and stitch density/underlay adjustments. These features, when used correctly, are fundamental to achieving precise multi-hooping and overall design alignment. The ability to break down large designs into smaller, manageable segments for multi-hooping is a standard practice facilitated by these software capabilities, ensuring that even the most ambitious projects can be executed with accuracy.
Understanding Embroidery Placement Tolerances
Placement tolerance in embroidery refers to the acceptable margin of error in how a design is positioned on the fabric. For small garments, a tolerance of ±0.25 inches (6 mm) is typical, ensuring the design appears centered and correctly aligned. For larger items, like banners or jacket backs, the acceptable tolerance increases to ±0.5 inches (12 mm) due to the larger surface area and potential for fabric shifting. These standards help define what constitutes a successful stitch-out and what might be considered a registration issue.
Fix Embroidery Registration Errors: Quick Guide
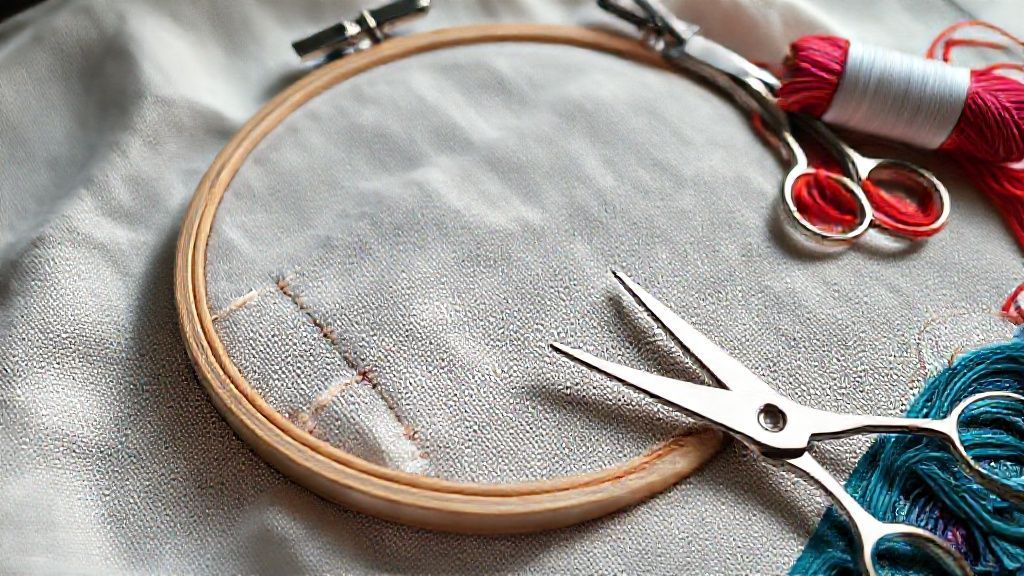
Embroidery registration errors, where different colored stitches don’t align perfectly, can be frustrating. Fortunately, most common issues can be resolved with a systematic troubleshooting approach. This guide provides a checklist to help you diagnose and fix these registration problems efficiently.
When registration issues arise, it’s crucial to follow a structured process rather than making random adjustments. By methodically checking each potential cause, you can pinpoint the problem and achieve crisp, professional results in your embroidery projects. The embroidery industry continues to see growth, with home embroidery machines becoming more accessible, making these troubleshooting skills essential for hobbyists and small businesses alike.
Troubleshooting Checklist for Common Registration Issues
Begin by running your embroidery machine’s built-in Registration Test. This will help confirm that the problem lies with your setup or design rather than a machine malfunction.
Next, meticulously check your hooping. Ensure the fabric is held taut, perfectly centered in the hoop, and that you haven’t stretched or distorted it during the hooping process. Inadequate hooping is a primary cause of registration errors.
Inspect your stabilizer. Is it the correct type and weight for your fabric? Using a stabilizer that is too light or too heavy can lead to fabric shifting, which directly impacts registration. Ensure it provides adequate support without being overly stiff.
Examine your thread tension. A balanced thread tension is vital for clean stitches. If your top thread or bobbin thread is too tight or too loose, it can cause stitches to pull or sit unevenly, resulting in registration problems.
Consider your sewing speed. If the machine is running too fast for the fabric, stabilizer, or complexity of the design, it can cause the fabric to move, leading to misaligned stitches. Try slowing down the sewing speed to see if this improves registration.
Assess the quality and digitization of your embroidery design. Sometimes, a design might not be properly digitized for the specific fabric you are using, or it may require compensation adjustments. Modern embroidery software often includes tools for design optimization, which can be invaluable.
Look for any physical obstructions around the needle area or hoop that could be interfering with the smooth movement of the machine. Also, inspect for any visible signs of machine damage or wear that might affect stitch placement.
If initial troubleshooting doesn’t resolve the issue, carefully re-hoop your project, paying extra attention to ensuring the fabric is perfectly flat and secure. In persistent cases, revisiting the design’s digitizing or considering re-digitization with specific fabric considerations might be the most effective solution.
“`html
Expert FAQ: Addressing Your Toughest Registration Queries
Embroidery registration is the cornerstone of a professional finish. When your design elements don’t align perfectly, it can detract significantly from the overall quality of your work. This section dives into common user dilemmas, offering expert insights and practical solutions to help you overcome even the most challenging registration issues.
Understanding the nuances of registration can save you time, materials, and frustration. From fabric behavior to machine settings, several factors influence how accurately your stitches lay down. Let’s address your most pressing questions.
Why Does My Outline Not Line Up With My Fill Stitches?
When your outline stitches miss their mark against the fill, it’s often a sign of underlying issues. Common culprits include fabric distortion during the hooping process, insufficient pull compensation in the digitized design, or incorrect machine tension that causes the fabric to shift. Addressing these elements is crucial for seamless alignment.
What Is the Acceptable Tolerance for Embroidery Placement?
The acceptable tolerance for embroidery placement can vary based on the garment size and complexity of the design. For smaller items like infant wear or pockets, a tolerance of around ±0.25 inches (6 mm) is generally considered acceptable. For larger items such as jackets or towels, this tolerance can extend to ±0.5 inches (12 mm). Precision digitizing and careful hooping help maintain these tolerances.
Can I Resize an Already Digitized Embroidery Design Without Affecting Registration?
Generally, resizing an existing embroidery design can negatively impact its registration. When you alter the size, the stitch density, angles, and underlay might not scale appropriately, leading to registration problems. For best results, it’s advisable to keep designs at their original digitized size or to have them re-digitized for new dimensions to ensure optimal stitch placement.
How Do I Fix Registration Issues on Caps?
Caps present unique challenges due to their curved surface and the limited hooping area. To fix registration issues on caps, ensure the cap is hooped properly and securely, using appropriate stabilizers that provide adequate support without excessive tension. Sometimes, breaking down a large design into smaller, manageable sections that can be stitched and aligned sequentially is necessary.
When Should I Consider Re-digitizing a Design Instead of Trying to Fix It on the Machine?
You should consider re-digitizing a design when you encounter persistent registration problems across different fabrics and hooping methods, or if the original digitizing is fundamentally flawed. If the design lacks proper underlay, pull compensation, or has been poorly converted from another format, attempting to fix it on the machine may be futile. Re-digitizing ensures the design is optimized for stitching from the ground up.
What’s the Difference Between Displacement and Distortion in Registration?
In embroidery registration, displacement refers to elements of the design not lining up correctly, resulting in gaps or overlaps between different stitch types, such as outlines and fills. Distortion, on the other hand, typically describes the deformation of the fabric itself after stitching, characterized by puckering, stretching, or gathering, which can also affect the final appearance and alignment of the design.
“`
Conclusion
Achieving flawless embroidery registration is now within your reach! By mastering the fundamentals of hooping, stabilizer choice, machine calibration, and design setup, you’ve gained the power to overcome those frustrating registration errors. Remember, consistent, professional results stem from a combination of careful preparation and smart troubleshooting.
Don’t let registration issues hold back your creativity any longer. Implement these actionable steps and troubleshooting techniques today to conquer registration errors and elevate your embroidery projects to a professional standard. Share your success stories and tips in the comments below – let’s learn and grow together! Your journey to perfect stitches starts now.