Hybrid Embroidery: Machine Precision Meets Hand-Crafted Texture
This post contains affiliate links. As an Amazon Associate, Latest Embroidery earns from qualifying
purchases, at no extra cost to you. Learn more.
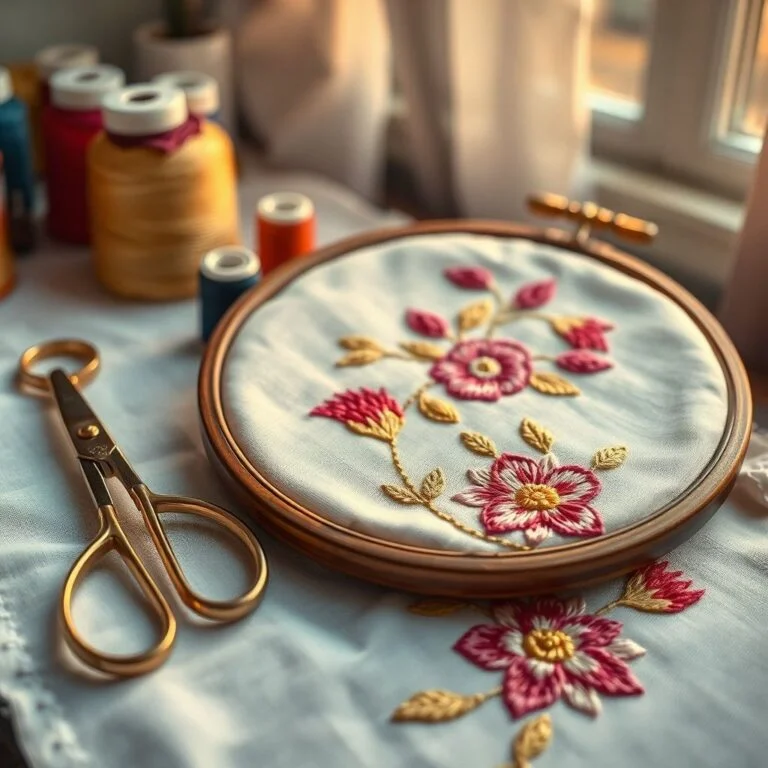
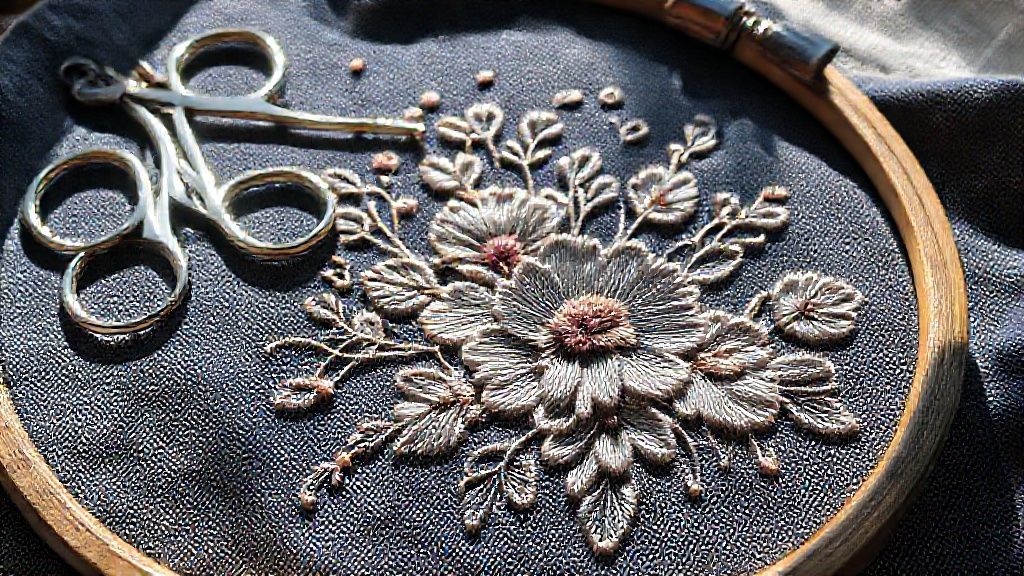
Tired of flat, predictable embroidery? Discover how to infuse your projects with captivating texture and dimension by blending the speed of machine embroidery with the artistry of hand embellishments. Hybrid embroidery is the art of combining the efficiency and precision of modern embroidery machines with the unique, tactile qualities that only hand stitching can provide. This powerful fusion allows you to achieve intricate designs with unparalleled speed while simultaneously adding depth, personality, and a touch of the handmade to your creations.
By merging these techniques, you unlock a world of creative possibilities, transforming ordinary fabrics into extraordinary works of art. This article will guide you through exploring new dimensions of texture, experimenting with captivating embellishments, and enhancing your efficiency without sacrificing your artistic vision. Whether you’re a seasoned crafter or just beginning your embroidery journey, you’ll find inspiration and practical advice to elevate your skills and create truly unique pieces. Prepare to embark on a creative adventure that bridges the gap between technology and tradition, offering exciting new avenues for expression in the ever-evolving craft market. Learn more about the latest advancements in embroidery techniques and how they can be integrated into your work.
We’ll delve into specific methods, showcase inspiring projects, and provide actionable tips to help you master this dynamic approach. Get ready to elevate your embroidery game and discover the magic that happens when machine precision meets hand-crafted texture.
For those looking to enhance their machine capabilities, exploring advanced embroidery machines can open up even more hybrid possibilities:
Shop embroidery machines on Amazon →
“`html
Unlocking Texture: Machine & Hand Stitching Techniques
Short on time? If you only take one thing from this guide: Brother SE700 — the machine we point most beginners to — touchscreen, wireless transfer, and it sews as well as embroiders.
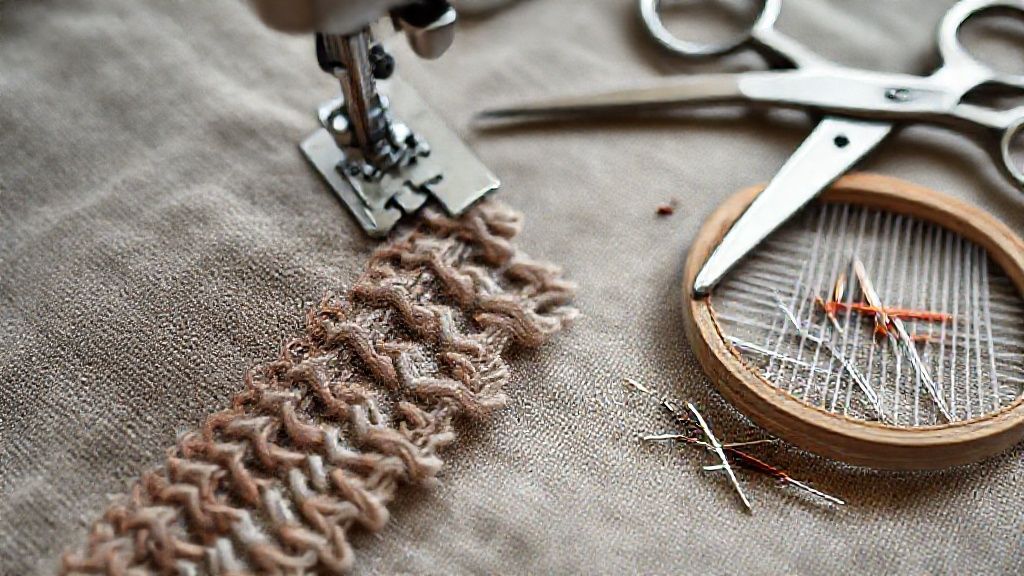
Texture is a crucial element in hybrid embroidery, adding depth and tactile appeal that elevates a design beyond the visual. By thoughtfully combining machine and hand stitching techniques, embroiderers can create surfaces that are both visually rich and engaging to the touch. This section explores how to leverage the precision of machines and the nuanced artistry of handwork to achieve a symphony of textures.
The interplay between machine and hand embroidery allows for a diverse range of textural possibilities. Understanding the properties of different stitches and materials is key to unlocking multidimensional effects, transforming a flat piece of fabric into a rich tapestry of tactile experiences.
Leveraging Machine Stitches for Base Texture
Machine embroidery excels at laying down foundational textures with speed and consistency. Dense fill stitches can create smooth, velvety surfaces, while patterns designed for embossed fills, such as those controllable in Hatch Embroidery software, can impart a subtle relief and visual interest across larger areas [45]. These machine-generated patterns, with adjustable size, spacing, and orientation, serve as an excellent canvas for further embellishment [45].
Incorporating Hand Stitches for Unique Textural Elements
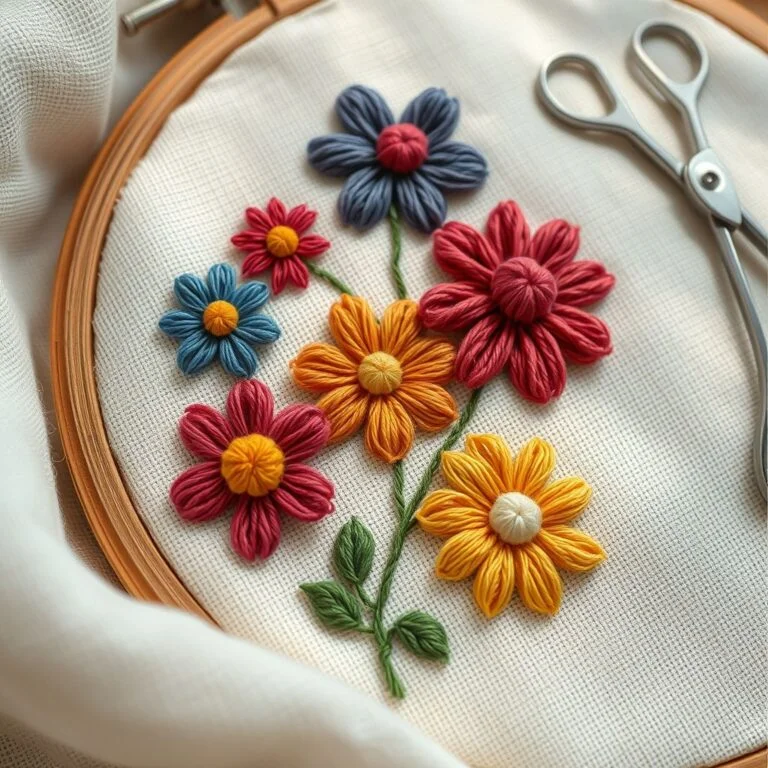
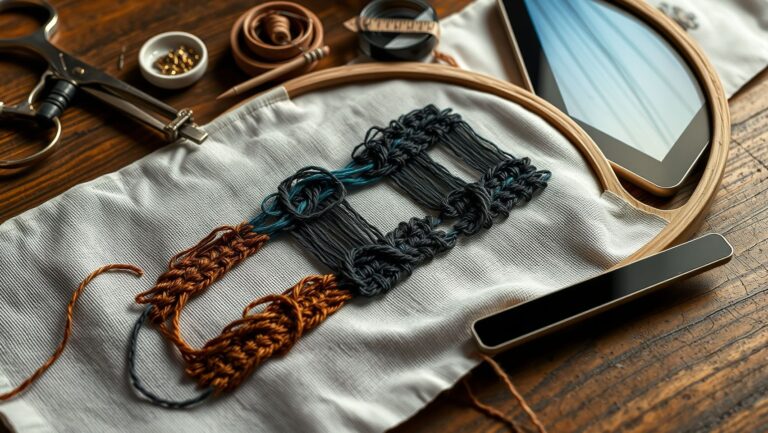
Hand embroidery offers unparalleled control for introducing unique textural accents. Stitches like the French knot, granito, turkey stitch, and various woven stitches (e.g., woven wheel, needle weaving) are fundamental for adding distinct tactile dimensions [5, 8, 10, 44]. For instance, varying the number of wraps in a French knot allows for a spectrum of heights and densities [5, 44]. Turkey stitch, with its cut loops, can mimic the plushness of carpet or the fine strands of hair, with the added ability to trim loops to varied lengths for further textural play [10, 44].
Using Bead and Sequin Embellishments for Tactile Dimension
The addition of beads and sequins instantly introduces a significant tactile dimension to embroidery projects [6]. Both flat and cup-shaped sequins offer different levels of shine and visual depth [5, 20]. Specialized machine feet or careful adjustment of machine settings, such as speed (often between 750–900 RPM) and tension (around 4.0–5.5), can facilitate machine beading [20, 28]. For example, the Brother machine can be utilized with a dedicated pearl and sequin foot for efficient application [23].
Understanding Stitch Properties for Texture
Achieving desired textures requires a keen understanding of how stitch properties influence the final outcome. Factors such as stitch length, density, angle, and direction critically impact the surface quality [5, 8, 10, 44]. Longer stitches can create more pronounced lines, while shorter, denser stitches build up solid areas. The angle and direction of stitches can also create visual texture, mimicking patterns or creating directional flow within the design.
Layering Stitches and Materials for Multidimensional Effects
The true magic of hybrid embroidery lies in layering. Combining machine-stitched base layers with intricate hand-stitched elements and embellishments creates truly multidimensional pieces [6]. For example, overlaying raised satin stitches with subtle fill stitches and then adding hand-stitched French knots and beads can transform a simple design into a complex, tactile artwork [27]. This thoughtful layering of disparate elements, machine precision, hand artistry, and material diversity, is the hallmark of advanced hybrid embroidery.
Market Insights and Trends
The craft industry, including embroidery, has seen a surge in interest for personalized and handmade items. This trend fuels the demand for techniques that offer unique textures and artisanal qualities. Advanced embroidery software, such as Hatch Embroidery, continues to evolve, offering more sophisticated tools for creating complex fills and textures, catering to both hobbyists and professionals seeking to push creative boundaries [45]. The market also shows a growing appreciation for sustainable practices, with artisans exploring natural fibers and eco-friendly embellishments alongside traditional materials.
“`
Step-by-Step: Adding Beads & Sequins for Dimension
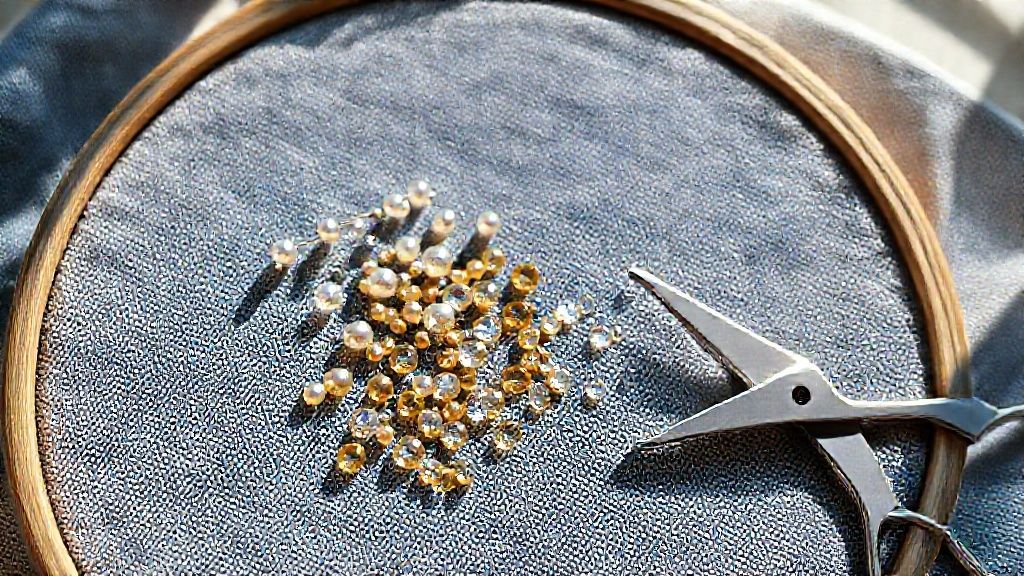
Elevate your hybrid embroidery projects by skillfully incorporating beads and sequins, transforming flat designs into tactile works of art. This guide will walk you through the essential steps, from material selection and machine preparation to advanced techniques and troubleshooting, ensuring a polished and professional finish.
The art of embellishment with beads and sequins not only adds visual appeal but also introduces a luxurious texture and depth to your creations. By mastering these techniques, you can enhance the value and artistry of your embroidered pieces, making them stand out.
Choosing the Right Embellishments and Tools
Selecting the appropriate beads and sequins is crucial for a successful outcome. Sequins typically range from 3mm to 14mm, with flat and cup-shaped varieties offering distinct visual effects. For machine application, specialized equipment is often recommended. A dedicated sequin attachment device or foot can significantly streamline the process [cite:20, cite:23]. For instance, some Brother machines are compatible with a pearl and sequin foot designed for precisely this purpose.
When considering manual embellishment, the choice of needle and thread is equally important. For seed beads, a fine embroidery needle such as the John James Straw Needle Size 11 is a popular choice. The type of thread used, whether for machine or handwork, should be strong yet fine to avoid snagging or bulk, with weights between 80-100 often recommended for machine beading.
Preparing Your Design and Machine
Before you begin embellishing, careful preparation of both your design and machine is paramount. Ensure your embroidery design has designated areas for bead and sequin placement. If using a machine, attach the appropriate sequin foot or attachment. Many modern embroidery machines, like the BERNINA 700E, offer intuitive design editing features that can aid in the precise placement of these embellishments, allowing for adjustments before stitching begins.
For machine beading and sequin application, specific machine settings are vital for optimal performance and to prevent common issues. Machine speed can often range between 750–900 RPM for beading tasks, while maintaining thread tension between 4.0–5.5 is recommended to minimize thread breaks and fabric puckering. It is also important to select the correct needle size, often a size 60/8 or 70/10, to accommodate the beads and sequins without causing damage.
Machine Application Techniques
Machine beading and sequin application typically involves feeding the embellishments, often presented on a ribbon or tape, towards the needle. The machine needle then pierces the sequin, secures it with precise tie stitches, and a mechanism often cuts the sequin from its feeding ribbon. This automated process allows for rapid and consistent application of repetitive embellishments.
The use of a specialized sequin foot is key here. These feet are designed to guide the sequin or bead ribbon smoothly under the needle, ensuring each embellishment is captured correctly by the stitch. Experimenting with the stitch type and density for securing the beads or sequins is also important; a dense zigzag or a specialized beading stitch can provide a secure hold.
Manual Beading and Sequin Placement
For areas requiring a more delicate or customized touch, manual hand embellishment offers unparalleled control. Beads can be individually sewn onto the fabric using a fine embroidery needle and thread. Techniques such as couching, where the bead is secured with small stitches over a thread laid alongside it, or directly attaching beads with small, precise stitches, are effective [cite:5, cite:26, cite:33].
This hand-embroidery element is where the “hand-crafted texture” in hybrid embroidery truly shines. It allows for organic placement, unique clusters, and intricate detailing that might be difficult or impossible to achieve with a machine alone. This method is particularly useful for adding a few strategically placed, larger beads or for creating a subtle shimmer with smaller seed beads.
Troubleshooting Common Issues
During bead and sequin embellishment, whether by machine or hand, several common issues can arise. Sequins may flip over, become misaligned, or thread can break. Careful initial placement and stitch adjustment are key to preventing many of these problems. If your machine is struggling with bead application, double-check that you are using the correct needle size and that your thread is of an appropriate weight and strength.
For machine issues, ensure the sequin attachment is correctly aligned with the needle. If sequins are not feeding smoothly, try adjusting the ribbon tension or ensuring the sequins are evenly spaced on the tape. For hand embellishment, consistent stitch tension and careful handling of beads will minimize errors. If beads are not lying flat, a different securing stitch or needle might be required.
Mastering Texture with Stitch Density and Layering
Texture is the unsung hero of embroidery, transforming flat designs into tactile experiences. In hybrid embroidery, where machine precision meets hand-crafted artistry, mastering stitch density and strategic layering is paramount to achieving rich textural depth. By understanding how these elements interact, embroiderers can unlock a new dimension of creativity, moving beyond visual appeal to create pieces that beg to be touched.
The interplay of stitch density and length offers a foundational control over the fabric’s surface. Densely packed, short stitches can create a plush, almost velvety feel, ideal for simulating fur or rich, soft surfaces. Conversely, longer, more spaced-out stitches can evoke an airy, delicate aesthetic, reminiscent of fine lace or a light, woven texture. This principle applies across both machine and hand embroidery, allowing for nuanced control over the final outcome.
Manipulating Stitch Density and Length
For machine embroidery, software such as Hatch Embroidery provides granular control over stitch density, enabling the transition from a solid, opaque fill to a more open, breathable weave with just a few adjustments. Similarly, altering stitch length can drastically change the appearance and feel. Short stitches lay down smoothly, creating dense areas, while longer stitches, when carefully managed, can create dramatic visual lines or openwork effects. In hand embroidery, using a greater number of floss strands or choosing specific stitch types directly impacts density and texture, allowing for a similar range of effects.
The Art of Layering Stitches
Layering is where complexity and depth truly emerge in hybrid embroidery. Overlapping different stitch types, varying thread colors, or combining different thread weights can build a rich tapestry of texture. Imagine a base layer of dense fill stitches providing a solid foundation, overlaid with delicate satin stitches for highlights or raised details. This strategic layering adds visual interest and a tangible sense of dimension.
Techniques specifically designed for dimensionality, such as trapunto and raised satin stitches, leverage layering to create an embossed effect. Trapunto, for instance, involves layering batting beneath the fabric and stitching around an area to push it upwards, creating a puffy, three-dimensional motif. Raised satin stitches add height and a lustrous sheen, making details pop.
Advanced Texture Control with Software and Materials
Modern embroidery software offers advanced features to further refine texture. Features like ‘Embossed Fill’ in programs like Hatch Embroidery allow for patterned, raised stitching effects that can be customized in density and orientation. This empowers embroiderers to create unique surface designs that mimic traditional embellishment techniques with digital precision.
For those aiming to achieve a hand-stitched aesthetic with machine capabilities, using thicker threads like Sulky 12 weight thread can be transformative, mimicking the bulk and texture of embroidery floss. Furthermore, managing machine speed can also play a crucial role; slowing down can help create more defined stitches and prevent delicate threads from breaking, ensuring a cleaner, more textured result. The embroidery market continues to evolve, with ongoing innovations in both machine hardware and software providing more sophisticated tools for texture creation, reflecting a growing consumer demand for unique, tactile textile art.
Hybrid Embroidery Texture Examples
Choosing Your Hybrid Embroidery Toolkit: Machines & Software
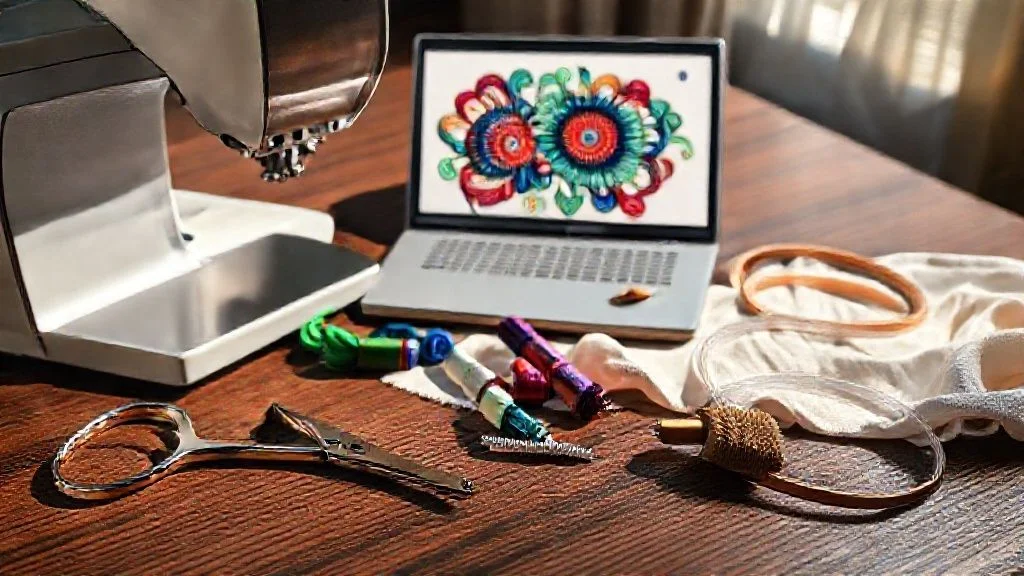
Embarking on hybrid embroidery, where the precision of machines meets the tactile charm of handcrafting, requires careful selection of both your embroidery machine and design software. The right tools can significantly enhance your creative process, allowing for greater complexity and a unique blend of textures. This section will guide you through the essential features and popular options available to build your ideal hybrid embroidery toolkit.
Considerations for your machine and software should align with your artistic vision and technical needs. Key features to look for include ample embroidery area, intuitive design editing capabilities, and robust software compatibility, ensuring a seamless workflow from concept to completion.
Embroidery Machines for Hybrid Techniques
When selecting an embroidery machine for hybrid techniques, prioritize models that offer a generous embroidery area, advanced on-screen editing, and reliable compatibility with various software formats. A larger hoop size allows for more intricate and expansive designs, reducing the need for re-hooping and maintaining design integrity.
High-end machines often come equipped with features that streamline the hybrid process. For instance, the BERNINA 700E boasts a substantial embroidery area of 400 x 210 mm, alongside an intuitive design editing suite and a Color Wheel, which aids in managing complex color transitions and embellishments. Another excellent choice is the Janome Horizon MC15000, offering a 230 x 300 mm embroidery area, a vast library of built-in designs, and Wi-Fi connectivity for convenient design transfer and remote monitoring via dedicated apps.
Essential Embroidery Software for Digitizing and Design Manipulation
The software you choose is the digital canvas for your hybrid embroidery creations. It’s where designs are digitized, manipulated, and prepared for machine embroidery. Popular options range from beginner-friendly yet powerful solutions to professional-grade suites, each offering distinct advantages for hybrid techniques.
Hatch Embroidery, developed by Wilcom, is a highly regarded option that balances advanced digitizing features with an accessible interface, available in tiered versions like Composer and Digitizer. For those seeking industry-standard power, Wilcom Embroidery Studio provides a comprehensive suite of tools for intricate digitizing and complex design manipulation. Embrilliance Essentials offers a flexible and user-friendly platform, ideal for design customization and editing tasks, making it a favorite for many hybrid artists.
Key Software Features for Hybrid Designs
To effectively create textured and layered hybrid designs, your software should offer specific functionalities. Look for features that provide fine control over stitch types, densities, and directions, as well as the ability to manually edit and adjust individual stitches. Auto-digitizing capabilities can be a helpful starting point, but the power to refine these automated designs is crucial for unique, hand-crafted aesthetics.
Essential software features include robust design flexibility, allowing for easy resizing and rotation of elements without compromising quality. Support for a wide range of machine file formats, such as DST and PES, is also vital. Capabilities like image-to-embroidery conversion can spark new design ideas, while advanced layering options enable the creation of depth and dimension in your work.
Ensuring Machine and Software Compatibility
A seamless workflow in hybrid embroidery hinges on the compatibility between your chosen machine and software. Most modern embroidery machines support common file formats, but it’s crucial to verify that your preferred software can export designs in a format your machine can read. Understanding these connections prevents technical hurdles and allows your creativity to flow uninterrupted.
Investigate the specific file formats supported by both your embroidery machine and software. Many brands use proprietary formats, but universal formats like DST, PES, and JEF are widely recognized. Ensuring compatibility upfront will save considerable time and frustration, allowing you to focus on the artistic aspects of hybrid embroidery.
Troubleshooting Hybrid Embroidery Challenges
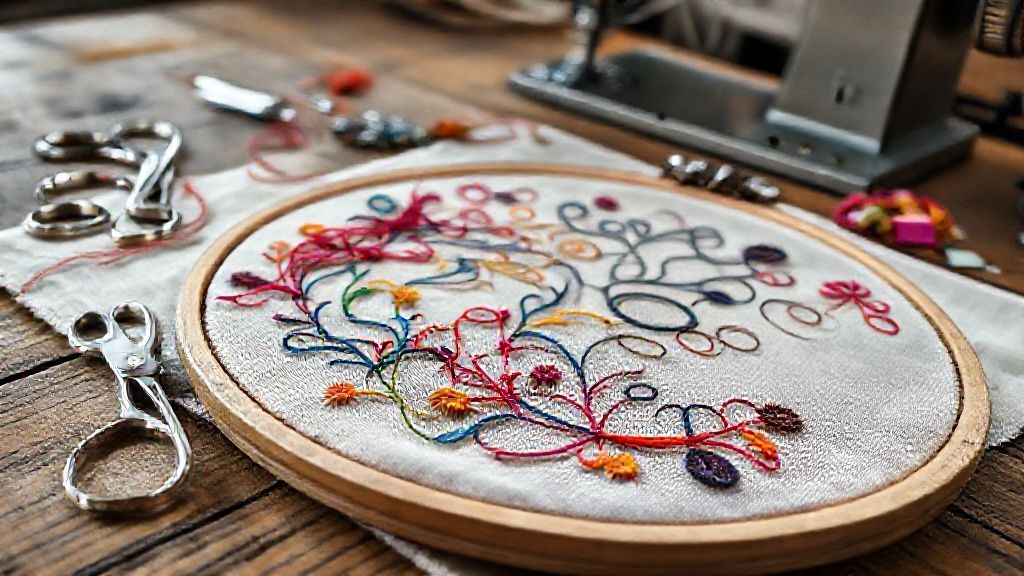
Navigating the complexities of hybrid embroidery, where machine precision meets hand-crafted artistry, often involves encountering a unique set of challenges. Addressing these issues promptly and effectively is crucial for achieving a seamless and professional finish. This section provides practical solutions for common problems encountered with both machine and hand elements in hybrid embroidery, ensuring your projects are as flawless as they are creative.
Maintaining optimal performance requires understanding potential pitfalls and knowing how to resolve them. From the digital precision of the machine to the tactile nuances of hand embellishments, troubleshooting is key to a smooth hybrid embroidery process. Focusing on specific areas can prevent minor glitches from becoming major setbacks.
Machine Embroidery Troubleshooting
Common machine embroidery problems can significantly disrupt the workflow. Thread breaks are frequently caused by blunt needles, rough thread guides, or incorrect tension settings. Ensuring your needle is sharp and the thread path is smooth is the first step in prevention. Birdnesting, where thread tangles underneath the fabric, often stems from incorrect bobbin winding, improper bobbin placement, or overly high upper thread tension.
Skipped stitches can occur due to using the wrong needle type or size for your fabric and thread, incorrect needle depth, or tension imbalances. Addressing these requires careful observation of the stitch formation. Puckering or wavy stitches are frequently resolved by using the proper stabilizer for the fabric weight and type, or by adjusting the machine tension. In the competitive craft industry, where quality and efficiency are paramount, mastering these machine troubleshooting steps can elevate the final product.
Hand Embellishment Troubleshooting
For hand embellishments, ensuring beads or sequins are securely attached might require specific stitch types or meticulous manual placement. Using a fine needle and strong, thin thread can help secure small embellishments without overwhelming the design. Experiment with different knotting techniques to create a secure attachment that doesn’t detract from the overall aesthetic. Consistency in stitch size and tension is also vital for a polished look.
Stabilizer Selection and Its Impact
Selecting the correct stabilizer is vital for both machine and hand elements in hybrid embroidery. Tear-away stabilizers are suitable for projects that don’t require frequent washing and offer good support without adding bulk. Cut-away stabilizers are better for stretchy fabrics or items that will undergo frequent laundering, as they provide robust support and prevent distortion. The right stabilizer not only supports the stitches but also influences the final texture and drape of the fabric.
Addressing Fabric Puckering and Hoop Burn
Hoop burn, a visible imprint left by a tight hoop, can be mitigated by using appropriate hooping techniques, such as placing a piece of stabilizer or soft fabric between the hoop and the material, or by “floating” the project, where the fabric is held in place with temporary adhesive spray instead of being hooped directly. Proper hooping tension, snug but not excessive, prevents this issue. Similarly, addressing fabric puckering often involves ensuring the fabric is taut in the hoop and using the correct stabilizer.
Machine Maintenance for Optimal Performance
Regular machine maintenance is essential for preventing issues and ensuring smooth operation. This includes cleaning lint from the bobbin area and feed dogs, and oiling moving parts as recommended by the manufacturer. Many modern embroidery machines, such as BERNINA models, incorporate features like automatic bobbin thread pickup to minimize common issues. Consulting your machine’s manual or reputable online forums can provide model-specific maintenance tips and troubleshooting guidance, keeping your equipment in top condition.
Project Ideas: Inspiring Hybrid Embroidery Creations
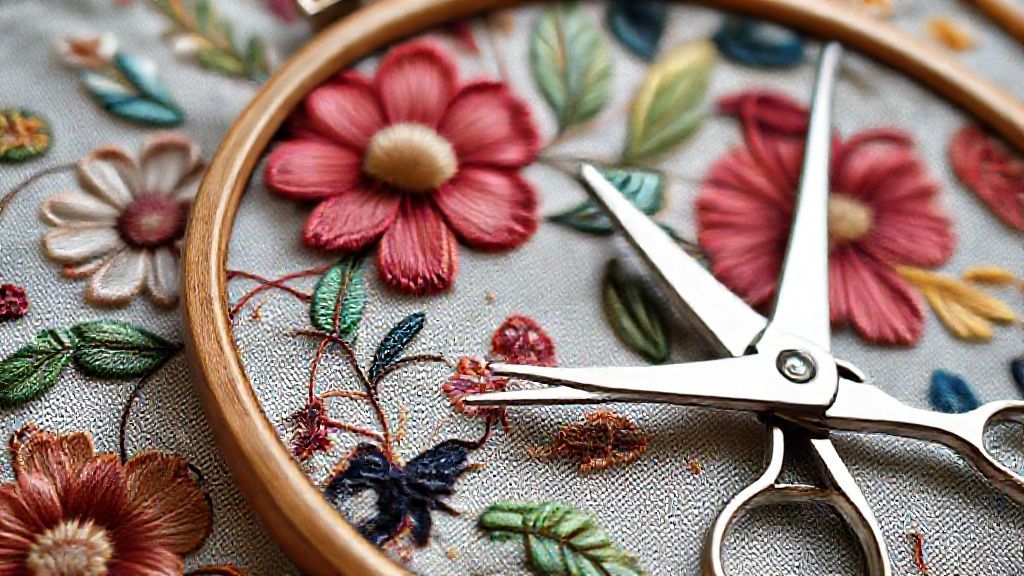
Hybrid embroidery, a captivating fusion of machine precision and hand-crafted texture, unlocks a universe of creative possibilities. This technique empowers artists to transcend the limitations of each method, resulting in truly unique and tactile masterpieces. By thoughtfully combining digital designs with the nuanced touch of hand embellishment, you can breathe new life into everything from personal apparel to home decor.
The world of hybrid embroidery is ripe for exploration, offering endless avenues for artistic expression. Whether you’re drawn to creating intricate fabric art or adding personalized touches to everyday items, the interplay between machine and hand stitching provides a rich foundation for your creative endeavors. This approach not only enhances visual appeal but also adds a tangible depth that machine embroidery alone cannot achieve.
Textured Fabric Art and Wall Hangings
Transform flat canvases into dynamic art pieces by layering machine embroidery with hand-stitched details. Imagine a machine-embroidered landscape forming the base, brought to life with hand-stitched French knots for delicate blossoms or shimmering beads and sequins that mimic dew drops. This creates a compelling tactile experience that draws the viewer in, offering a depth and complexity that is truly mesmerizing.
Embellished Apparel and Accessories
Elevate your wardrobe by infusing garments with the unique charm of hybrid embroidery. Machine-embroidered monograms or intricate designs can serve as the foundation, with hand-stitched floral elements, opulent metallic threads, or carefully placed beads adding a bespoke, luxurious finish. This technique is perfect for giving a unique flair to jackets, denim, and even smaller accessories, making each piece a wearable work of art.
Customized Home Decor
Your living space can become a gallery of your creativity with custom home decor items. Tote bags and throw pillows can be transformed into stunning focal points. Machine embroidery can establish the core design or structure, while hand stitching and embellishments, such as beads for a necklace effect or buttons for added flair, introduce unique textural dimensions and personalized charm.
Unique Christmas Ornaments and Small Decorative Pieces
For the festive season or as charming gifts, consider creating bespoke Christmas ornaments or small decorative items. Hybrid techniques allow for intricate detailing that adds significant value and character. You can even sketch a design by hand directly onto fabric within the embroidery hoop and then meticulously add hand stitches like backstitch, lazy daisy, French knots, and satin stitches, personalizing each creation.
Combining Machine Appliqué with Hand Embroidery
A powerful combination within hybrid embroidery involves machine appliqué seamlessly blended with hand stitching. After a machine-appliquéd element is in place, hand embroidery can be used to add incredibly fine details, secure edges with decorative stitches, or introduce textural elements that would be impossible with machine work alone. This synergy allows for a level of intricacy and refinement that truly sets hybrid projects apart.
Conclusion
As we’ve explored, the fusion of machine precision and hand-crafted artistry in hybrid embroidery offers an unparalleled opportunity to elevate your textile creations. By skillfully blending these techniques, you can unlock new dimensions of texture, depth, and unique visual appeal that simply isn’t possible with either method alone. Embrace the power of this innovative approach to breathe fresh life into your projects and stand out in the world of embroidery.
Don’t let your next project be ordinary! Experiment with these hybrid techniques and discover the exciting possibilities they hold. Share your inspired blended embroidery pieces in online communities and connect with fellow enthusiasts. Your next masterpiece awaits!