Unlock Ribbon Embroidery: Techniques and Inspiring Ideas
This post contains affiliate links. As an Amazon Associate, Latest Embroidery earns from qualifying
purchases, at no extra cost to you. Learn more.
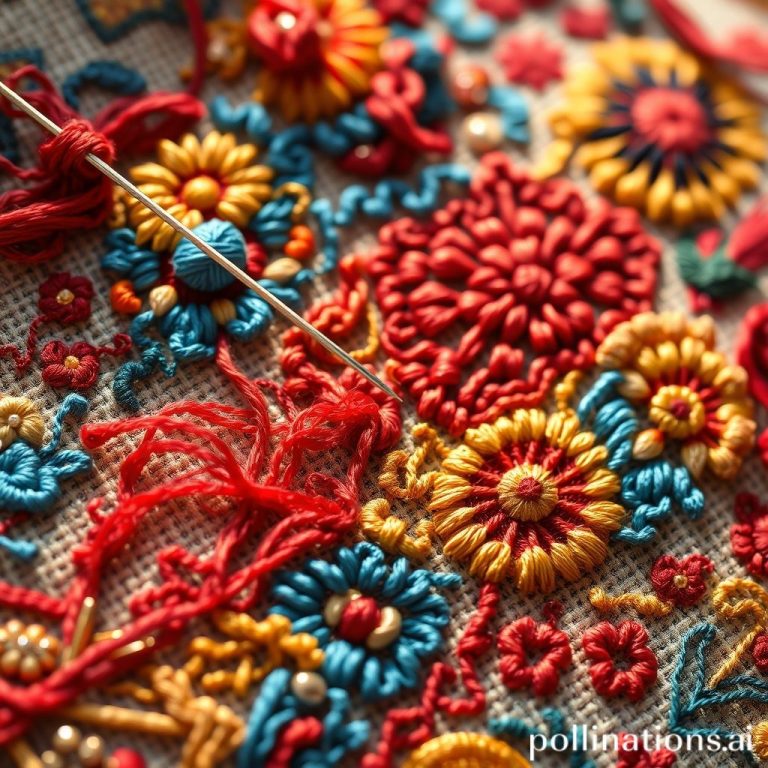
Imagine transforming simple fabric into a breathtaking masterpiece, adorned with delicate roses, vibrant wildflowers, and intricate patterns, all brought to life with the lustrous touch of ribbon. Ribbon embroidery, a timeless craft blending needlework and artistry, offers a unique and rewarding experience for beginners and seasoned embroiderers alike. It’s more than just stitching; it’s about sculpting texture, adding depth, and injecting a touch of luxury into your creations. But where do you start? How do you master the techniques that bring these stunning designs to life?
This blog post serves as your comprehensive guide to the captivating world of ribbon embroidery. We’ll delve into essential techniques, exploring the stitches that form the foundation of this beautiful art form. We’ll uncover inspiring ideas to spark your creativity and guide you through practical applications, from embellishing garments to creating heirloom-worthy home décor. Get ready to unlock the secrets of ribbon embroidery and embark on a journey to create stunning, textured works of art.
Essential Ribbon Embroidery Tools and Materials
In a hurry? Jump to our recommended supplies picks ↓
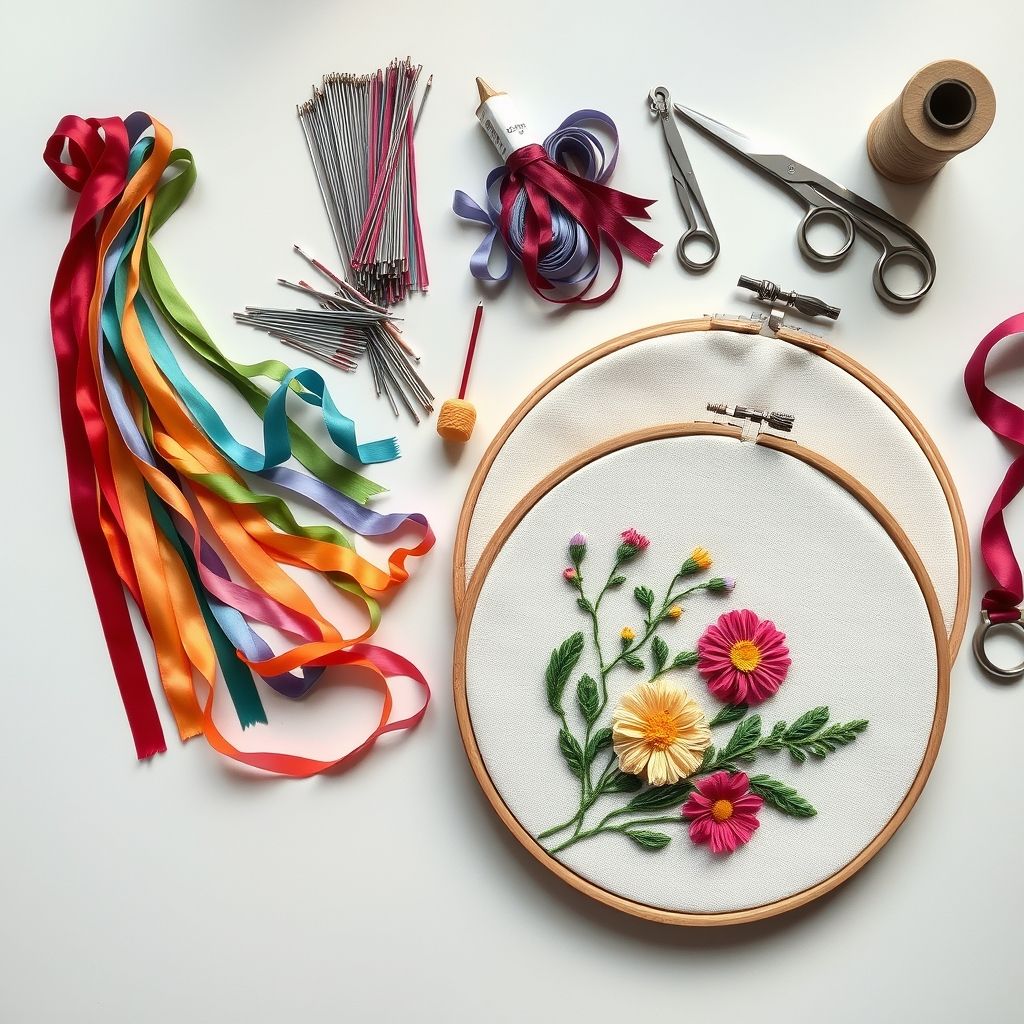
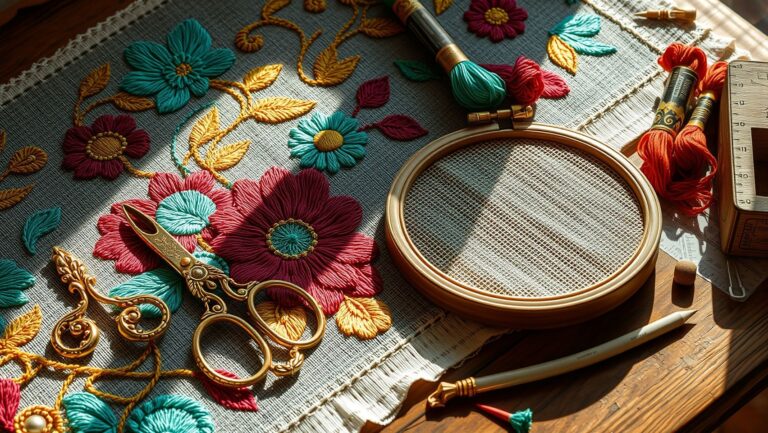
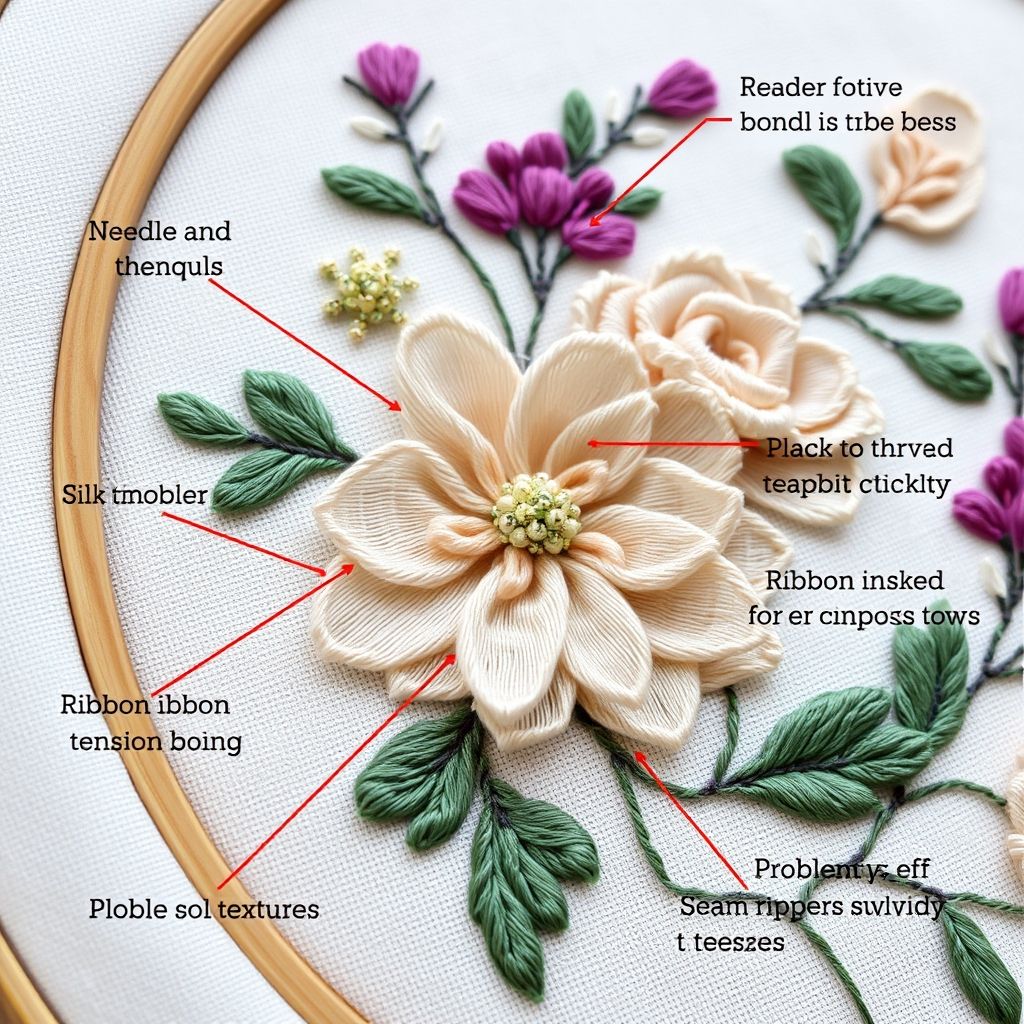
Before diving into the stitches, it’s crucial to gather the right tools and materials. The foundation of any successful ribbon embroidery project lies in quality supplies. This section will guide you through the essentials, ensuring you’re well-equipped to begin your creative journey. From needles and ribbons to fabrics and frames, understanding the role of each component is key to achieving beautiful and lasting results.
First, let’s talk about ribbons. Silk ribbons are the most popular choice due to their luxurious sheen and drape. However, rayon ribbons offer a more affordable alternative, providing a similar aesthetic appeal. Width is also important; opt for ribbons ranging from 2mm to 13mm depending on the desired effect. As Mary Corbett, author of “A Needlepoint Primer,” notes, “Experimentation is key to discovering what works best for your individual style and project.”
Next, you’ll need needles specifically designed for ribbon embroidery. These needles have a larger eye to accommodate the ribbon without causing damage. Chenille needles are a common choice due to their sharp point and long eye. Choose a needle size appropriate for your ribbon width; a larger needle is needed for wider ribbons. Proper needles will prevent fraying and ensure smooth stitching.
Finally, select a suitable fabric. Natural fabrics like linen, cotton, and silk are ideal choices because they provide a stable base for your embroidery. Avoid fabrics that are too stretchy or loosely woven. Stabilizers can also be used to prevent the fabric from puckering or distorting during stitching. Consider the color of your fabric as well, choosing a hue that complements your ribbon colors. With the right tools and materials in hand, you’re ready to begin creating stunning ribbon embroidery projects.
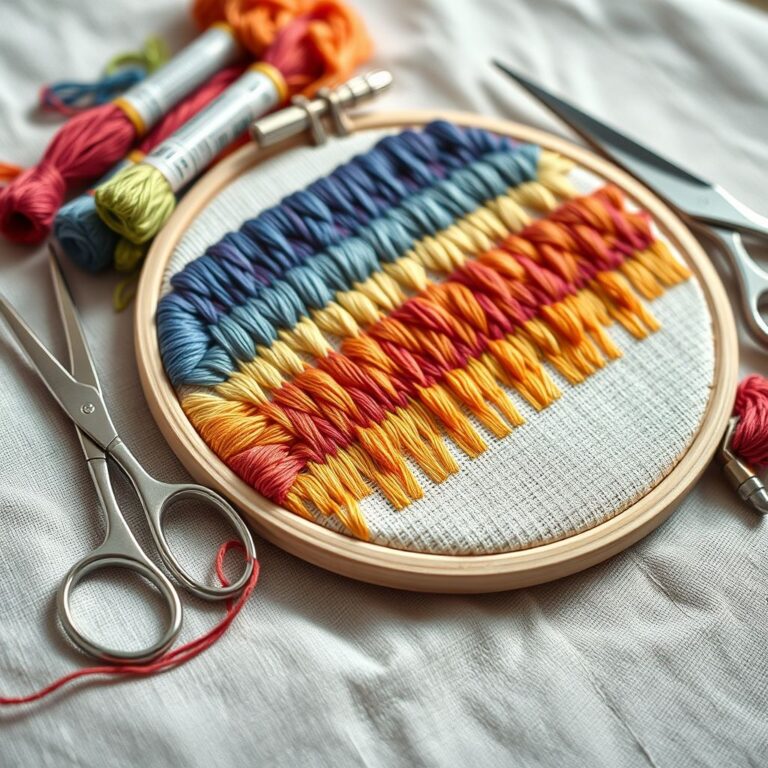
Mastering the Basic Ribbon Embroidery Stitches

Ribbon embroidery utilizes a range of stitches to create its signature textured effects. Mastering a few key stitches unlocks a world of creative possibilities. In this section, we’ll explore some fundamental techniques, providing step-by-step instructions and helpful tips for achieving beautiful results. These foundational stitches will serve as building blocks for more complex designs.
The ribbon stitch is arguably the most iconic technique. To execute this stitch, bring the ribbon to the front of the fabric, then insert the needle back down through the ribbon itself, creating a loop. The placement of the needle determines the shape and size of the loop. Pull the ribbon gently to form a soft, organic shape. “The key to a beautiful ribbon stitch is to avoid pulling the ribbon too tightly,” advises renowned embroidery artist, Trish Burr. “Allow the ribbon to retain its natural fullness and texture.”
Next, let’s explore the stem stitch, which is perfect for creating delicate lines and outlines. Bring the ribbon to the front of the fabric and take a small stitch forward. Bring the needle up halfway back along the previous stitch, keeping the ribbon to one side of the needle. This creates a textured, slightly raised line. The stem stitch is excellent for outlining leaves, stems, and other delicate details.
Another useful stitch is the French knot, which adds a touch of dimension and texture. Bring the ribbon to the front of the fabric, wrap it around the needle several times, and then insert the needle back down close to the point where it emerged. Pull the ribbon gently to secure the knot. French knots are ideal for creating flower centers, berries, and other small, decorative elements. Practice these basic stitches, and you’ll be well on your way to creating stunning ribbon embroidery masterpieces.
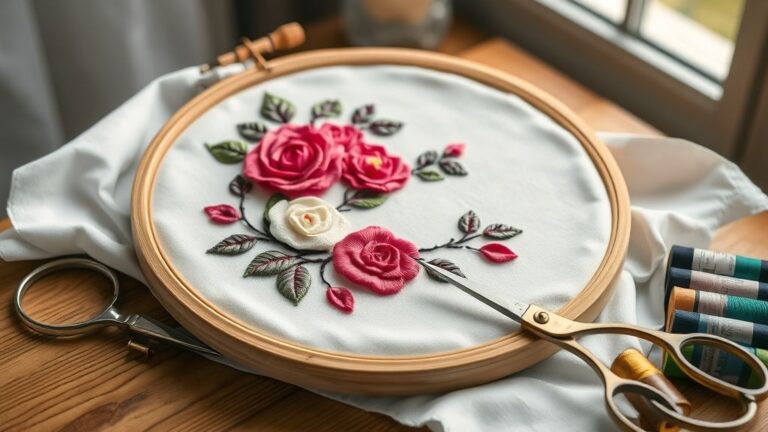
Creating Stunning Ribbon Roses
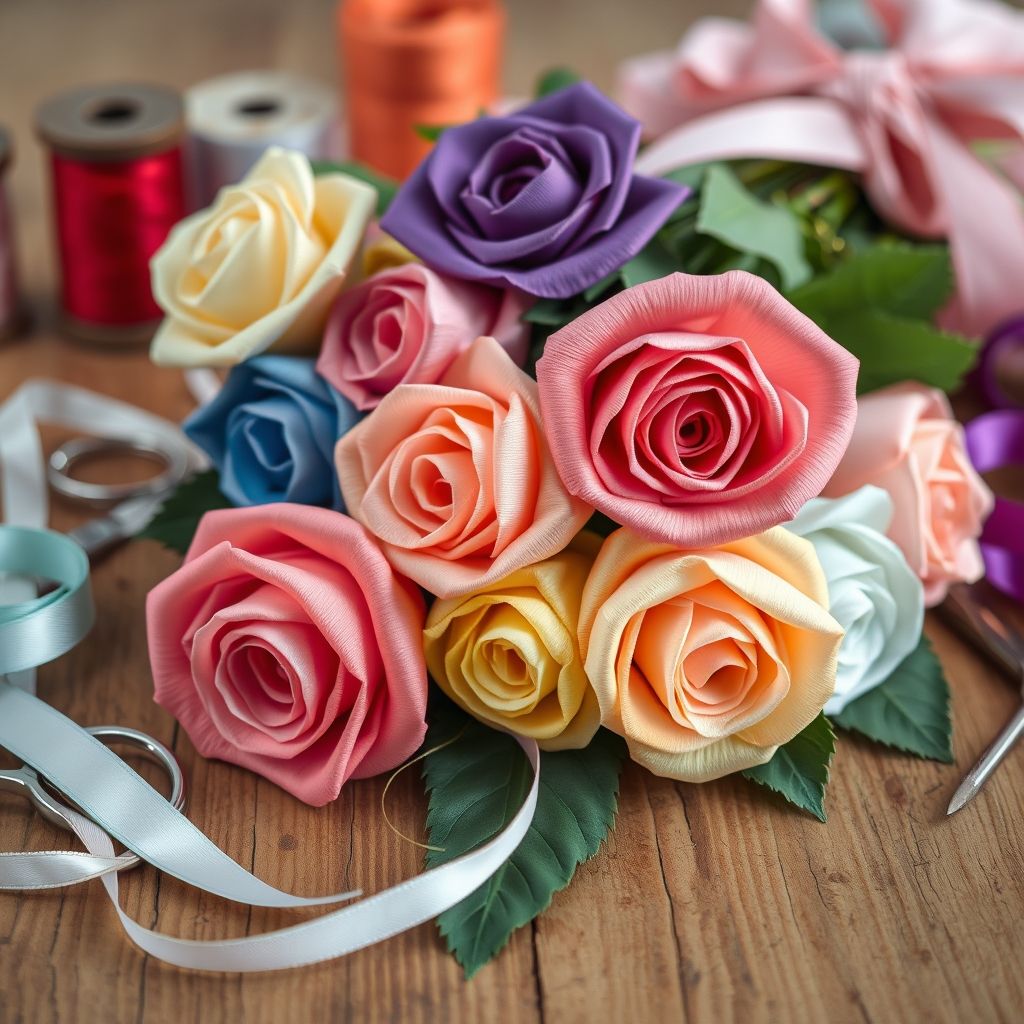
The ribbon rose is a quintessential element of ribbon embroidery, embodying elegance and beauty. Learning to create these delicate blooms opens up a vast array of design possibilities. This section will guide you through various techniques for crafting stunning ribbon roses, from simple rolled roses to more intricate layered designs. These roses will add a touch of romance and sophistication to any project.
One of the simplest methods for creating a ribbon rose is the rolled rose technique. Start by folding one end of the ribbon over slightly and securing it with a small stitch. Then, begin rolling the ribbon tightly, creating the center of the rose. As you roll, twist the ribbon slightly to add dimension and shape. Secure the base of the rose with stitches to hold it in place. “The key to a realistic rolled rose is to vary the tightness and looseness of the roll,” explains embroidery expert, Hazel Blomkamp. “This creates a more natural and organic look.”
For a more intricate rose, consider the gathered ribbon rose technique. Start by creating a long running stitch along one edge of the ribbon. Gently pull the thread to gather the ribbon, creating a ruffled effect. Then, coil the gathered ribbon around itself, forming the rose shape. Secure the base with stitches to hold it in place. This technique allows for greater control over the shape and size of the rose.
Experiment with different ribbon widths and colors to create a variety of rose styles. Combine these techniques to create layered roses with varying textures and depths. Use these roses to embellish clothing, accessories, or home decor items. With practice, you’ll be able to create stunning ribbon roses that will add a touch of elegance to any project. Adding leaves, using the techniques described above, will create a realistic and beautiful rose presentation.
Embellishing Garments with Ribbon Embroidery

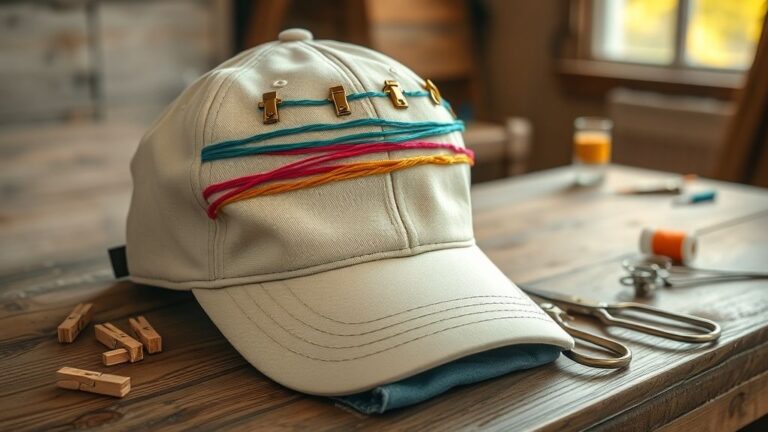
Ribbon embroidery offers a beautiful way to personalize and elevate your wardrobe. Adding delicate floral accents or intricate patterns can transform ordinary garments into unique, eye-catching pieces. This section will explore various ways to embellish clothing with ribbon embroidery, from subtle accents to bold statement designs. Discover how to add a touch of elegance and individuality to your style.
Consider adding ribbon embroidery to collars, cuffs, and pockets for a subtle touch of elegance. A few delicate ribbon roses or a trailing vine of leaves can transform a simple blouse or dress. Use coordinating ribbon colors to complement the fabric of the garment. “When embellishing garments, it’s important to choose lightweight fabrics that can support the weight of the embroidery,” advises fashion designer, Vera Wang.
For a more dramatic effect, create a larger embroidery design on the front or back of a jacket or coat. A vibrant floral motif or an intricate geometric pattern can make a bold statement. Use a combination of different ribbon widths and stitches to create texture and depth. Consider adding beads or sequins for extra sparkle and dimension.
Ribbon embroidery can also be used to repair or cover up imperfections in clothing. A strategically placed embroidered patch can transform a damaged garment into a unique and stylish piece. Use ribbon embroidery to add personal touches to your jeans, t-shirts, or handbags. With a little creativity, you can transform ordinary garments into one-of-a-kind works of art. Always test your embroidery techniques on a scrap piece of fabric before applying them to your garment to ensure the best results.
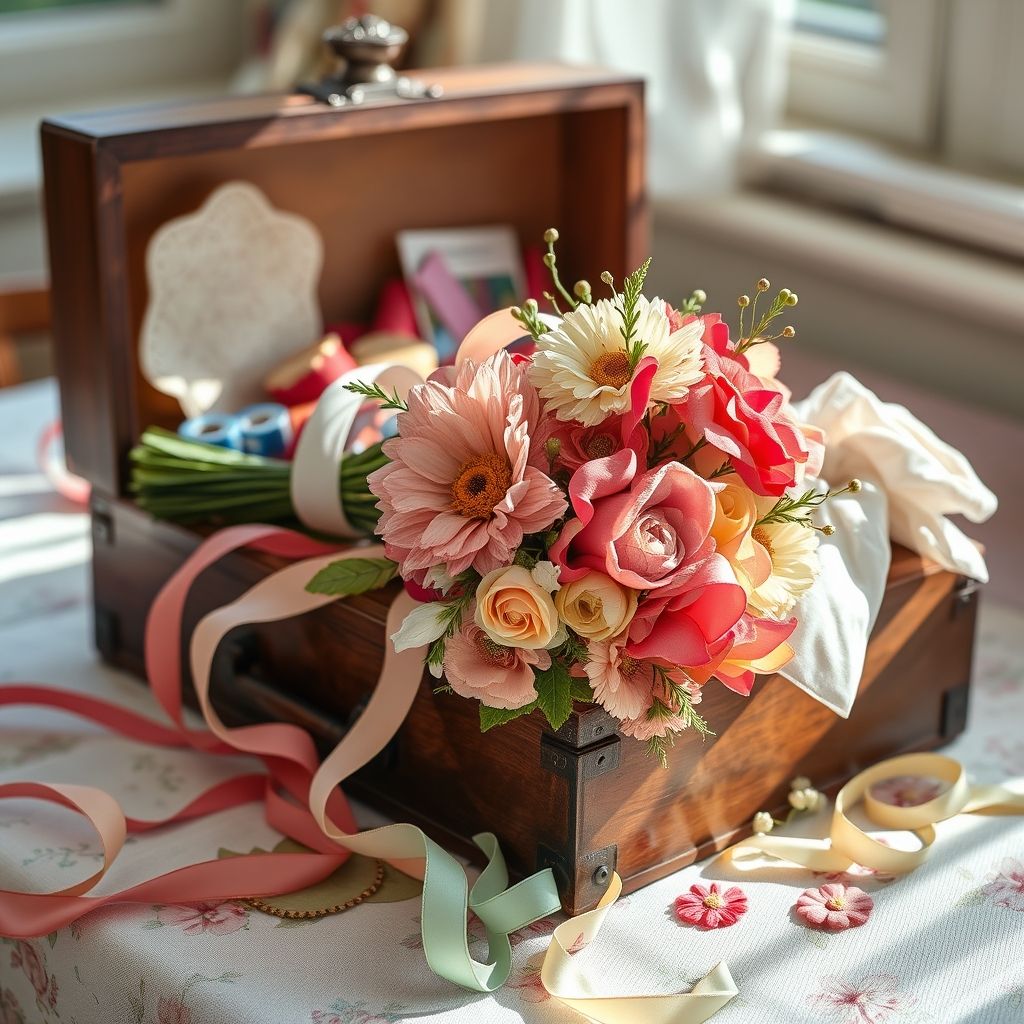
Creating Heirloom-Worthy Home Décor with Ribbon Embroidery
Ribbon embroidery adds a touch of timeless elegance and artistry to home décor. From delicate pillow covers to stunning wall hangings, ribbon embroidery can transform your living space into a haven of beauty and sophistication. This section will explore various ways to incorporate ribbon embroidery into your home décor, creating heirloom-worthy pieces that will be cherished for generations.
Consider creating embroidered pillow covers featuring delicate floral designs or intricate geometric patterns. Use coordinating ribbon colors to complement your existing décor. Add embellishments like beads or sequins for extra sparkle and dimension. These embroidered pillow covers will add a touch of luxury and comfort to your living room or bedroom. “Handmade items add a personal touch and create a sense of warmth and authenticity in a home,” says interior designer, Joanna Gaines.
Create stunning wall hangings featuring elaborate ribbon embroidery designs. Frame your finished embroidery pieces to create beautiful works of art. Consider using vintage frames to add a touch of history and character. These framed embroidery pieces will add a unique and personalized touch to your walls.
Ribbon embroidery can also be used to embellish table linens, curtains, and other home décor items. Add delicate floral accents to your tablecloths or napkins for a touch of elegance. Use ribbon embroidery to create unique and personalized curtains for your windows. With a little creativity, you can transform your home into a showcase of ribbon embroidery artistry. Consider making small changes on a seasonal basis to bring the feeling of the outside in.
Ribbon Embroidery: Tips, Tricks, and Troubleshooting
Like any craft, ribbon embroidery presents its own set of challenges. This section offers valuable tips, tricks, and troubleshooting advice to help you overcome common obstacles and achieve professional-looking results. From preventing ribbon fraying to achieving even tension, these insights will elevate your ribbon embroidery skills.
One common issue is ribbon fraying. To prevent this, seal the ends of your ribbon with a fabric sealant or a light application of heat from a lighter. Choose high-quality ribbons that are less prone to fraying. Use sharp needles designed for ribbon embroidery. “A sharp needle is essential for preventing ribbon fraying and ensuring smooth stitching,” advises embroidery teacher, Nancy Zieman.
Another challenge is achieving even tension. Avoid pulling the ribbon too tightly, which can distort the fabric and create puckering. Practice achieving a consistent tension throughout your embroidery. If you encounter puckering, try loosening your tension or using a stabilizer to prevent the fabric from shifting.
Experiment with different techniques and materials to find what works best for you. Don’t be afraid to make mistakes; they are a valuable learning opportunity. Seek inspiration from other ribbon embroidery artists and online resources. With patience, practice, and a willingness to learn, you can overcome any challenge and create stunning ribbon embroidery masterpieces. Remember to relax and enjoy the process!
Finding Inspiration and Expanding Your Ribbon Embroidery Skills
The world of ribbon embroidery is constantly evolving, offering endless opportunities for creative exploration. This section will guide you towards finding inspiration and expanding your skills, ensuring that your ribbon embroidery journey remains fresh, exciting, and fulfilling. From online resources to workshops and beyond, discover how to continuously learn and grow as a ribbon embroidery artist.
Explore online resources such as blogs, tutorials, and online communities dedicated to ribbon embroidery. Platforms like Pinterest and Instagram are filled with inspiring images and ideas. Join online forums and groups to connect with other ribbon embroidery enthusiasts, share your work, and learn from their experiences. “The internet provides a wealth of information and inspiration for ribbon embroidery artists of all levels,” says digital artist, Jen Aranyi.
Consider taking a ribbon embroidery workshop or class to learn new techniques and refine your skills. Many local craft stores and community centers offer classes for beginners and experienced embroiderers alike. Online classes offer a convenient alternative for those who prefer to learn from home. Learning from an experienced instructor can provide valuable insights and personalized guidance.
Visit museums and galleries to study the work of other embroidery artists. Analyze their techniques, color palettes, and design choices. Experiment with different styles and approaches to develop your own unique voice. Don’t be afraid to step outside of your comfort zone and try new things. The key to continuous growth as a ribbon embroidery artist is to remain curious, open-minded, and committed to lifelong learning. The art of Ribbon Embroidery is always evolving!
Conclusion: The Enduring Allure of Ribbon Embroidery
As we conclude our exploration of ribbon embroidery, it’s clear that this craft offers a unique blend of artistry, skill, and personal expression. From mastering basic stitches to creating intricate designs, ribbon embroidery provides a rewarding and fulfilling creative outlet. The beauty of this art form lies not only in the finished product but also in the process of creation, the mindful focus, and the joy of transforming simple materials into something beautiful and lasting.
We’ve covered essential techniques such as ribbon stitches, stem stitches, and French knots. We’ve explored the creation of stunning ribbon roses and discussed how to embellish garments and create heirloom-worthy home décor. We’ve also addressed common challenges and offered troubleshooting advice to help you overcome obstacles and achieve professional-looking results. Remember, the key to success in ribbon embroidery is practice, patience, and a willingness to experiment.
Beyond the technical aspects, ribbon embroidery offers a connection to a rich history of textile arts and a tangible way to express your creativity. It allows you to add a personal touch to your clothing, home décor, and gifts, creating unique and cherished items that reflect your individual style. As you continue your ribbon embroidery journey, remember to embrace the joy of the process, seek inspiration from the world around you, and never stop learning and growing. The possibilities are truly endless, and the beauty you create will be a testament to your skill and passion. Now, armed with knowledge and inspiration, go forth and unlock the captivating world of ribbon embroidery!
Free: 12 Essential Hand Embroidery Stitches
A printable illustrated cheat sheet of the 12 core stitches every embroiderer should know. Instant PDF.
No spam. One-click unsubscribe.