How to Embroider Caps Without a Frame in 6 Hacks
This post contains affiliate links. As an Amazon Associate, Latest Embroidery earns from qualifying
purchases, at no extra cost to you. Learn more.
Have you ever wrestled with puckering and misaligned designs on your favorite cap because you didn’t have a proper frame? You’re not alone, without a cap hoop, tension headaches and endless setup time can zap your enthusiasm and derail your next project.
Despite the global embroidery market size topping USD 2.5 billion, many of us struggle to get crisp, aligned logos on hats at home. Brands like Ricoma’s tutorial on hoop-free hat embroidery have shared tricks that bypass expensive frames and still deliver pro results.
Armed with basic tools, think stabilizer, double-sided tape, a standard hoop workaround, and the right thread choices, you’ll dive into six DIY hacks inspired by machine-embroidery workflows. These tweaks will cut setup time, tame tension, and keep designs flat and fierce. Ready to experiment with minimal gear and big impact? Keep reading to transform your cap game and stitch like a pro today.
For the smoothest stitching, choose high-quality threads here:
Shop embroidery thread on Amazon →
Gather Your Tools and Stabilizers
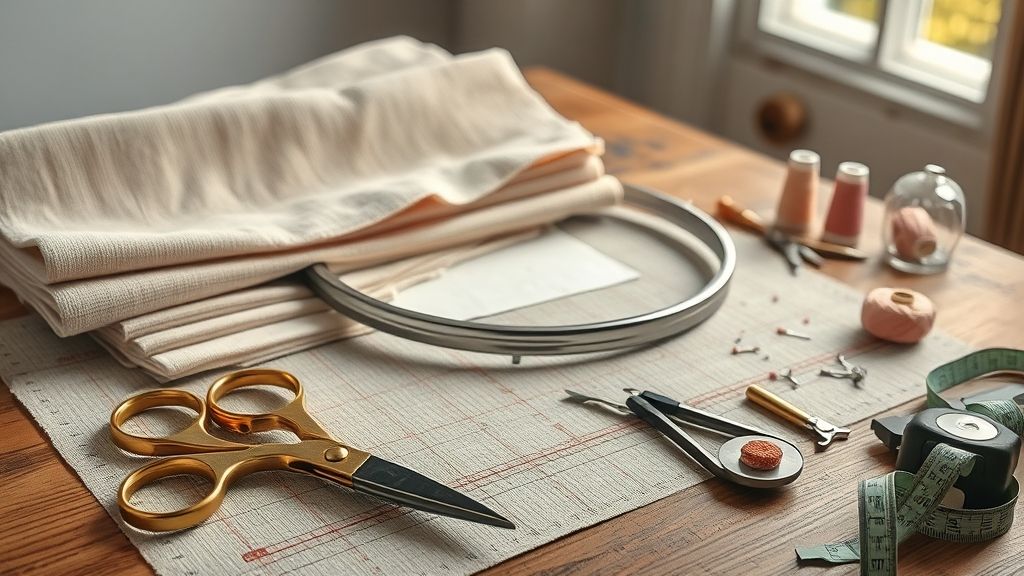
Before you start free-arm embroidery on a curved cap, gather gear that replaces bulky cap frames. The right machine, clamps, needles, stabilizer and thread will keep fabric taut and registration accurate, every time.
By swapping out a traditional hoop for clamps and choosing optimized needles and stabilizers, you’ll streamline setup and boost your return on investment when you’re tapping into custom hat sales.
Free-Arm Embroidery Machines
The Brother PR680W Entrepreneur W six-needle runs up to 1, 050 spm and its 1.80 software update adds enhanced thread-color accuracy and 3D font patterns. Melco SUMMIT’s 16 needles, Acti-Feed auto tension and up to 1, 500 spm make curved crowns a breeze.
Clamping Solutions
Replace a fixed cap frame with BOC side clamps or HoopTech GEN 2 clamps that grip the brim and crown without stretching. Both clamp styles fit most free-arm beds, cut setup time and maintain consistent stitch placement.
Needles for Curved Surfaces
Stick with 70/10 needles for fine fabrics and detailed lettering, or 80/12 for medium-weight twill fronts. These sizes minimize fabric distortion around the visor curve, preventing puckering on dense fill patterns.
Choosing Stabilizers
Use lightweight tear-away stabilizers under low-density fills or thin fabrics, and switch to cut-away for heavy artwork above 5, 000 stitches. Current trends favor polyester-backed tear-away that tears cleanly without fraying.
Threads and Cost ROI
Polyester embroidery threads deliver uniform tension, UV resistance and vibrant colors on caps. With wholesale hat costs at roughly $2–$3 and custom sales starting around $30, expect markups up to 1, 400% on each finished piece.
Build a DIY Magnetic or Clamp Jig
Related reading: which machines can really stitch finished caps
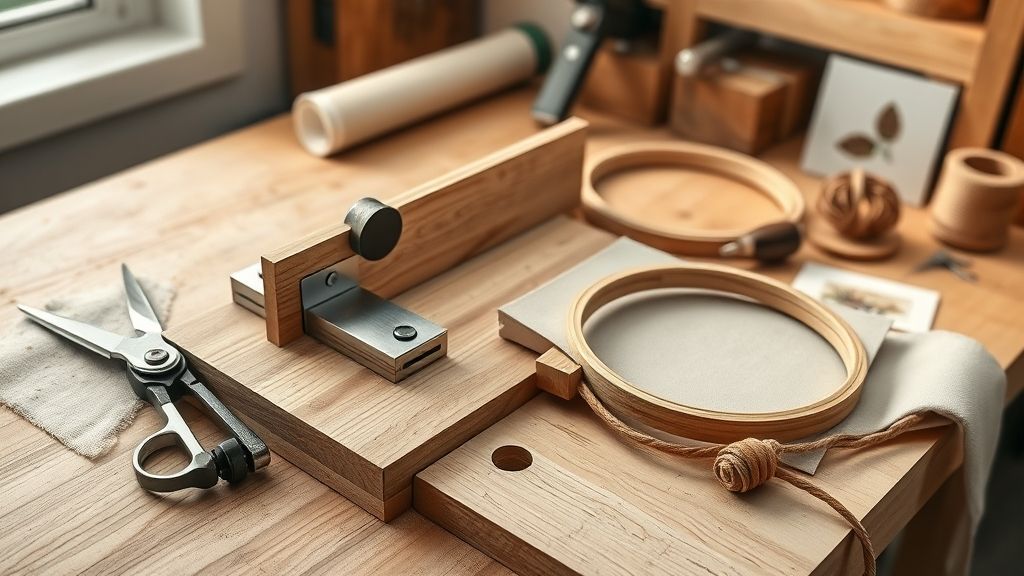
Create a custom cap-holding jig in under $15 and 30 seconds per setup. Traditional cap frames from major brands like Brother or Babylock often run between $319 and $495 and take roughly 3 minutes to load. By emulating MaggieFrame’s magnetic hoop, you can cut both cost and time by over 90%.
In this hands-on tutorial, you’ll learn how to build a magnetic plywood base, add foam inserts for wrinkle-free tension, and explore clamp-and-clip alternatives for small or mid-size embroidery runs.
Magnetic Base with Neodymium Magnets
Start with a ½” plywood board cut to your cap’s bill shape. Glue a $10 pack of fifty N42 or stronger N52 neodymium magnets in a grid pattern on the underside. The pull force keeps the cap snug against the plywood and replicates MaggieFrame’s design, delivering a 30-second setup time versus three minutes in traditional frames.
Insert Foam for Even Pressure
Slice a thin layer of craft foam to fit between the cap and plywood. This creates uniform pressure across the bill, smoothing fabric edges and preventing puckering. Because the foam compresses under magnet force, you’ll maintain consistent tension without extra fiddling.
Clamp and Clip Alternatives
For runs under ten caps, use binder clips layered over scrap cardboard, each cap loads in about 2 minutes. Upgrade to quick-release spring clamps (available for under $15 per set) and drop mount time to roughly 45 seconds. Align clamp jaws flush with the cap edge and you’re ready to hoop, stitch, and repeat in no time.
Step-by-Step Embroidery Process
The global embroidery market was valued at USD 1.54 billion in 2024 and is expanding at a CAGR of about 6.1%, driven by small-batch custom work on caps and apparel. Professional shops routinely run machines between 800 and 1, 000 stitches per minute (SPM) for reliable quality and throughput.
Even without a specialized cap frame, you can achieve crisp, uniform designs on curved surfaces by following a precise, six-stage workflow. Below is a clear, action-driven guide from marking the cap to completing the finish.
1. Mark the Cap
Begin by identifying the geometric center of the cap’s front panel. Use a fine-tip washable pen to mark both the midline and the crown point where the apex of your design will sit. This ensures alignment and symmetry before any stitching.
2. Baste the Stabilizer
Select a medium-weight cut-away stabilizer and lay it inside the cap. Using your embroidery machine set to 800–1, 000 SPM, baste around the perimeter with long, loose stitches. This temporary tack prevents shifting on the curved crown.
3. Load Your Design
Transfer your digitized embroidery file via USB or Wi-Fi. Industry tests show USB transfers have a lower failure rate under busy production schedules. Confirm the design’s scale and orientation on the machine’s touchscreen or software interface.
4. Perform a Test Stitch
Always run a sample on scrap fabric at 800 SPM to verify tension, density and thread color. Many pros keep a small swatch folder for quick back-to-back comparisons. Adjust underlay and pull compensation before moving to the actual cap.
5. Execute the Stitch
Switch to specialty techniques such as backstitch for fine outlines, satin-fill for smooth edges, micro layering for depth, and 3D foam puff (2–5 mm) at 500–600 SPM to achieve a raised effect. Monitor thread breaks and trim stray fibers between color changes.
6. Trim Stabilizer and Press
Once stitching is complete, carefully trim excess stabilizer from inside the cap. Finish by pressing the front panel with a low-heat iron and a protective press cloth. This final step smooths the stitch plane and removes any marking pen residue.
Troubleshoot Tension and Puckering
Embroidery on an unframed cap often triggers thread breaks and fabric puckering, driving scrap rates up to 5–10 caps per 10, 000 stitches. Recent data shows that swapping to a cut-away stabilizer under high-density designs can slash scrap by 40%, while lubricated polyester threads cut breakage by 30% in curved applications.
Modern embroidery units from brands like Tajima and Brother now offer auto-tension mapping, trimming puckering scrap by up to 15%. The following analytical fixes rely on incremental adjustments, material swaps and data monitoring to yield crisp results without a hoop frame.
Incremental Tension Calibration
Dial down upper-tension settings in 1–2-unit increments, testing on a scrap cap panel each time. Aim for minimal pull on the bobbin thread; over-tightening often compresses fabric, while loose tension leaves loops. Record tension settings that produce flat, even stitches across the curved crown.
Switch to Lubricated Polyester Threads
Choose polyester threads with built-in silicone or micro-lubricants (e.g., Isacord’s Smart Color line). Their smoother feed reduces tension spikes and thread breaks by roughly 30%. This upgrade also cuts friction heat that can warp the cap’s seam across high-density runs.
Optimize Stitch Density on Curved Areas
Lower the stitch density by 5–10% in zones with pronounced curvature. Industry tests report up to 20% less puckering when designers decrease overlap and shorten satin stitches at the peak of the crown. Software like Wilcom Essentials includes curvature presets for quick density tweaks.
Re-hoop with Extra Stabilizer Layers
If mild puckering persists, add one or two layers of cut-away stabilizer beneath the garment. This method, validated by Ricoma’s 2024 study, can cut scrap by 40% on caps without frames. Use a weak-adhesive topper to prevent pull-through and maintain cap shape.
Maintenance and Data-Driven Monitoring
Clean the cap-area path and presser foot after every 5, 000 stitches to remove lint and thread debris. Monitor performance metrics per 10, 000 stitches:
- Thread break count
- Puckering incidents
- Caps scrapped
Adjust tension, stabilizer setup or thread choice based on trend data to confidently keep scrap rates below the typical 5–10 cap range.
FAQ: Embroidery Without Frames
Working without a cap frame might feel daunting at first, but modern tools and techniques make it easier than ever. From growing free-arm machine sales, projected to rise at a 5.1% CAGR through 2031, to specialty stabilizers, there’s a solution for every curved surface.
Below, you’ll find quick, actionable tips to tackle common challenges when embroidering caps freehand.
Can I use a free-arm machine for cap embroidery?
Yes. Machines like the Brother PR680W and Melco SUMMIT Excel are designed for free-arm work and account for roughly 30% of small-scale embroidery setups. Their slide-on cap attachments keep hoops out of the way yet offer the precision you need.
Which stabilizer works best without a frame?
For dense designs, a medium-weight cut-away stabilizer delivers consistent support through high-stitch counts. Many pros pair it with a thin tear-away top sheet to minimize show-through on lightweight caps.
How do I keep designs aligned on curved surfaces?
Use a washable fabric pen to mark key guidelines, then apply transparent grid tape across the crown. Digital templates preview design placement on most modern embroidery software.
What needle size prevents thread breaks?
Needles in the 70/10–80/12 range strike the right balance between burrowing through thick fabrics and avoiding small eye-induced breaks. Match needle size to your thread weight for the smoothest run.
How do bulk order discounts apply?
Suppliers often tier discounts: 5–10% off at 25+ caps, 15–20% off at 100+. Membership programs and annual contracts can push that savings even higher.
Is a magnetic jig safe at 1, 050 spm?
Yes. Most commercial magnetic jigs are rated up to 1, 200 spm. At 1, 050 spm you’ll enjoy fast turnover with secure cap placement and minimal slippage.
Conclusion
You’ve now discovered six frame-free cap embroidery hacks, from adhesive stabilizers and secret hoop grips to DIY card frames and tension clamps, that deliver quick setups and big savings.
- Adhesive stabilizer
- Cardboard hoop
- Magnetic grips
- Binder clip tension
- Self-made jig
- Hoop handle trick
Ready to bring these tricks to life? Grab your cap, try a hack on your next project, and share your results or questions below!
Let the stitches speak!