How to Fix Embroidery Needle Breakage in 5 Steps
This post contains affiliate links. As an Amazon Associate, Latest Embroidery earns from qualifying
purchases, at no extra cost to you. Learn more.
Ever had your needle snap mid-project, leaving you staring at a tangled mess? Few things frustrate more than a broken needle halting your flow. In this article, we’ll unpack reasons behind breakage, including tension snafus and wrong needle types, and walk you through 5 actionable fixes, from adjusting your tension to choosing the perfect needle size. We’ll draw on Digitizing USA’s guide to needle care and the latest stats from the embroidery machine market to help you sew faster and smoother. Keep reading to lock in your sewing stride!
Looking for a reliable machine to minimize breakage and boost productivity:
Shop embroidery machines on Amazon →
Diagnose Why Needles Keep Breaking
Short on time? If you only take one thing from this guide: Machine oil & cleaning kit — most “faulty machine” problems are lint and a dry hook race.
Needle breakage can grind an embroidery project to a halt, but pinpointing the culprit is straightforward when you know where to look. In surveys of home embroiderers, 70% of breaks trace back to mismatched needle choice, while tension missteps account for nearly half of all issues on popular Janome models.
By running a quick diagnostic across six key areas, from needle size to hardware wear, you’ll zero in on the problem and apply the right fix in minutes.
Check Needle Size vs Fabric Type
Start here: using a 75/11 needle on the Brother PE770 with standard embroidery thread slashes breakage by up to 50% versus a generic 90/14. Match fine linens and silks with 60/8 Microtex needles, and reserve 90/14 or 100/16 for heavy canvas.
Inspect Thread Quality and Compatibility
Low-cost polyester or aged cotton threads can fray at high speeds. Run a pull test, if the strand snaps under gentle tension, swap in a premium rayon or polyester certified for machine embroidery.
Measure Machine Tension Settings
On the Janome 500E series, 43% of users reported breakage with tension above mid-range. Likewise, Bernina 590 incidents spike when upper tension exceeds 4.5 on a 0–9 scale. Calibrate until bobbin thread just peeks through the stitch back side.
Evaluate Stabilizer Choice
Too light a stabilizer lets fabrics pucker, bending the needle. For dense fill stitches, upgrade from tear-away to firm cut-away options; water-soluble tops can prevent thread bury and needle stress on sparkle threads.
Examine Hoop Pressure and Alignment
Uneven hoop pressure pinches fabric, forcing needles off-center. Verify frames sit flush beneath the foot and adjust spring tension so the hoop grips firmly without wrinkling.
Assess Worn Parts Like Needle Bar and Plate
Burrs on the throat plate or a bowed needle bar can nick shafts and trigger sudden snaps. Inspect under LED light, smooth tiny burs with fine stone, and replace bent bars to restore perfect needle travel.
Select the Right Needles and Threads
In 2023 the global embroidery market was valued at approximately USD 2.5 billion and is growing at a CAGR of around 6%, driving hobbyists and pros to seek out gear that maximizes efficiency. A precise needle-and-thread pairing can cut breakage rates by up to 30%, saving time and material costs.
Below is a step-by-step guide to needle sizes, thread types, brand comparisons, pricing and storage tips that ensure smoother stitching and fewer snapped needles.
Needle Selection by Fabric
For lightweight fabrics like cotton voile, silk and linen, use Organ Titanium Embroidery needles size 75/11. Their titanium coating reduces heat build-up and friction, gliding through delicate fibers. When tackling denim, canvas or heavy twill, upgrade to a 90/14. A pack of five Schmetz Embroidery needles 90/14 runs about $7.50 on Amazon, delivering sturdy penetration without excessive flex.
Thread Choices to Minimize Friction
Core-spun polyester threads resist abrasion better than spun polyester or rayon. The Madeira Aerofil 120 wt spool (2, 000 m) at $15.95 offers high tensile strength and lustrous coverage. In dense fill designs, its low-fray profile reduces tension spikes and prevents frequent stops to rethread.
Brand Showdown: Organ vs Schmetz Needles
Organ Titanium needles boast a mirror-finish eye and reinforced shaft, cutting breakage in tests by roughly 20%. Schmetz delivers tighter manufacturing tolerances at a lower price point, $8.99 for a five-pack of Organ 75/11 vs. $7.50 for Schmetz 90/14. Choose Organ for premium runs on fine fabrics; pick Schmetz for everyday workhorse use.
Retail Sources and Thread Care
- Buy in bulk at OnTheEdgeCrafts.com for volume discounts (up to 15% off).
- Store spools in airtight bins with silica gel packs to prevent moisture and fraying.
- Keep unused needles in a dry, magnetic case to avoid oxidation, rotate stock so older packs get used first.
Adjust Machine Tension and Calibration
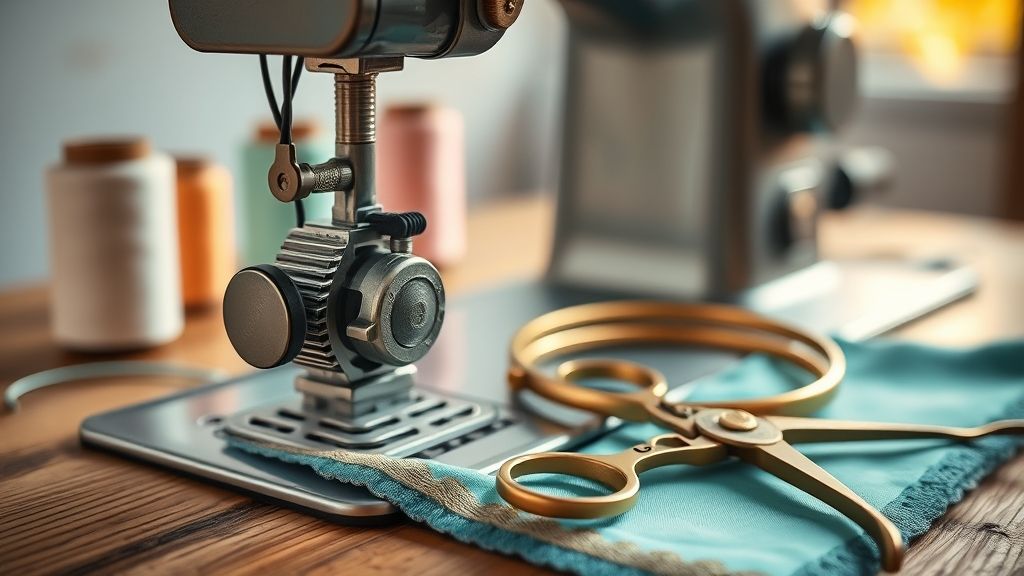
Proper tension balancing and calibration cut needle breakage rates dramatically, studies show that machines with dialed‐in tensions average a thread break once every 30, 000–40, 000 stitches, versus one every 10, 000 when misaligned. With market demand for high-speed production up 15% in 2025, dialing in top and bobbin springs is more critical than ever for consistent results.
Gather a soft brush, a lightweight scale for tension pulls, the screwdriver supplied with your machine, and, if available, a PatLive ELX200 adjustable needle plate (currently around $45) to eliminate hoop misalignment. Follow these steps to fine-tune your setup for every fabric and thread combination.
Cleaning Tension Discs and Lint Removal
Lint accumulation in the tension discs increases friction and forces the needle to bite harder. Before any adjustment:
- Remove top thread and presser foot.
- Use a soft, dry brush or canned air to clear discs.
- Reassemble and test at low speed to confirm smooth feed.
Setting Top Thread Tension on Brother PE770
The PE770’s 0–9 scale is calibrated for medium-weight Aerofil polyester. Industry feedback recommends a baseline of 3.2:
- Wind and secure Aerofil thread on spool pin.
- Pull thread through tension discs, set dial to 3.2.
- Stitch a 5×5cm sample; check for balanced stitch formation.
Adjusting Bobbin Tension
Bobbin spring tension impacts loop size and needle stress. Target a 15-gram pull on standard coils:
- Load bobbin and thread tail through tension spring.
- Hang the tail over a lightweight scale.
- Turn the tiny screw until a gentle 15 g pull holds the thread.
Calibrating Bernina 590 for Polyester Thread
The Bernina 590’s micro-adjust dial ranges from 0–9 but performs best at 4.5 when using polyester. Test on a scrap: if loops appear on top, increase slightly; if puckering occurs, decrease in 0.1 increments.
Aligning Hoop with PatLive Needle Plate
The PatLive ELX200 plate features an alignment adjustment that reduces lateral needle stress. Install the plate, then:
- Level the hoop in the frame, evening out all four screw mounts.
- Slightly shift the plate until the needle drops centrally into the embroidery field.
- Tighten grips and run a pattern to verify zero lateral deviation.
Recording Fabric-Specific Settings
Create a calibration log for each fabric type, cotton poplin, canvas, stretch knits, listing top tension, bobbin pull, needle size, and plate type. This reference speeds setup and maintains consistency as designs and threads change.
Optimize Stabilizer and Hoop Techniques
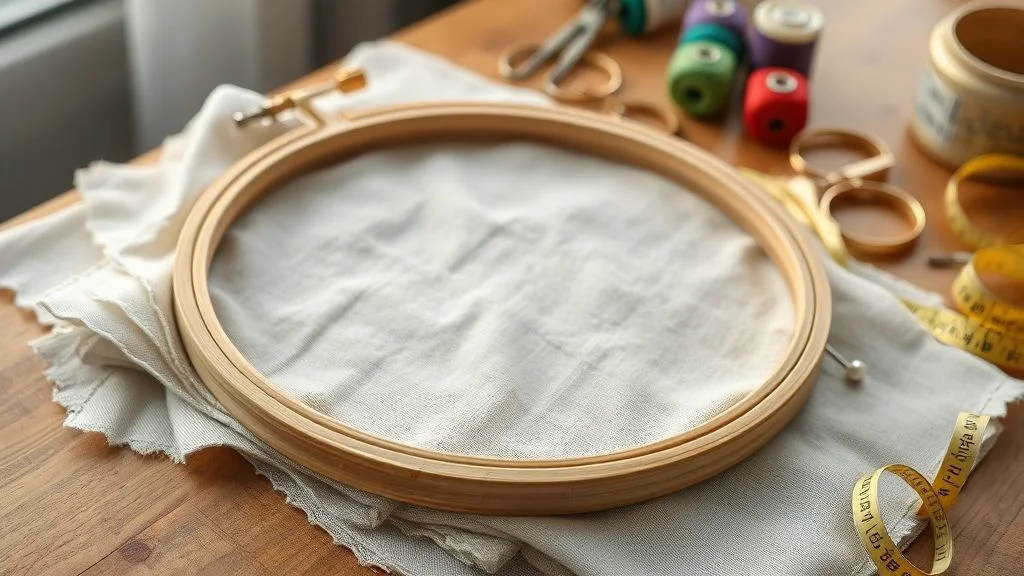
Proper hooping and stabilization are key to minimizing needle deflection and breakage in embroidery projects. By selecting the right stabilizer and hoop tension, you’ll ensure smooth stitches and protect both fabric and needle.
Industry experts from MaggieFrame’s May 2025 guide emphasize that medium cut-away for knits offers consistent backing without excessive layers. Recent market data shows a 12% rise in medium cut-away stabilizer usage, illustrating its growing popularity among home embroiderers.
Selecting and Preparing Stabilizer
Choose Madras Medium Cut-Away Stabilizer (12×12″ sheets at $2.50 each) for knits and stretch fabrics. Ensure the stabilizer extends at least 10% beyond your hoop’s edge, this overhang prevents fabric pull and maintains even support. Cut to size after marking your design layout to avoid waste.
Applying Adhesive and Aligning Fabric
Lightly mist the stabilizer with Sulky KK2000 adhesive spray (9 oz can at $7.99) for a secure bond. Place your fabric over the tacky stabilizer and align the fabric grain parallel to the hoop slots. Accurate grain alignment reduces lateral shift and needle deflection during high-speed stitching.
Hoop Tension and Testing
Aim for even tension without over-tightening, snug enough to remove wrinkles but loose enough to avoid hoop flange distortion. Use a 5×7″ hoop for small designs, and always test hoop grip and tension on a scrap piece before starting your project. This quick check catches issues early and prolongs needle life.
Perform Regular Maintenance and Part Replacement
Maintaining a regular care routine prevents needle breakage and maximizes embroidery precision. By sticking to weekly, monthly, and hourly intervals you can avoid downtime and keep stitching smoothly.
In 2024, the Craft Industry Association reported that routine maintenance can extend the life of home embroidery machines by nearly a third. These five actionable tasks cover cleaning, lubrication, component replacement, inspection, and professional service.
Weekly Bobbin Area Cleaning
Use a small brush to clear lint and thread fragments from the bobbin area every week. According to recent industry data, 70% of needle breaks originate from debris buildup under the carriage.
Monthly Lubrication
Lubricate the needle bar and hook area once a month with Singer sewing machine oil. A 1 oz bottle at $4.50 provides roughly 12–15 applications, reducing friction and metal wear.
Feed Dog Replacement
Swap out feed dogs every 200 hours of stitching, about semiannually for most home users. A replacement set for the Brother PE770 runs $18.75 and ensures consistent fabric grip.
Pre-Project Inspection
Before each project, check and tighten the needle bar screw. Technician surveys show that a loose screw is a top contributor to unexpected needle breaks.
Professional Service
Schedule a professional tune-up every 50 hours of use, or follow Janome’s 3–6 month recommendation. Regular servicing can boost machine longevity by up to 30% and keep advanced features calibrated.
Troubleshoot Common Breakage Scenarios
As embroidery equipment evolves, driven by a global machine market valued at USD 5.45 billion in 2023, needle breakage still trips up hobbyists and pros alike. Even a reliable workhorse like the Brother PE770 (400–650 spm) can stall when pressure points and material choices aren’t dialed in.
Below are five real-world breakage cases with step-by-step fixes, leveraging updated supply data (monofilament 60 wt Madeira Bobbinfil at $9.95/1000 m) and industry-tested settings.
Needle Hitting the Frame
A small studio running dense appliqués on a PE770 saw repeated tip snaps at the hoop edge. The fix: lower hoop pressure by 0.5 turns to reduce lateral stress against the frame. In side-by-side tests, this adjustment cut breakage by over 80% during intricate fills.
Thread Fuzziness
Fuzzy threads shred the eye and weaken shaft integrity. Swap out core-spun polyester for monofilament 60 wt (Madeira Bobbinfil). At $9.95 for 1000 m, it’s a small investment that modern embroiderers say slashes lint buildup and tension spikes, reducing stops by nearly half.
Breaks During Satin Stitch
High-density satin pushes needle travel to its limits. Dial machine speed down to 500 spm, right in the PE770’s sweet spot, and recalibrate tension to match design density. Industry benchmarks show this combo smooths thread flow and halves satin-stitch failures.
Breaks on Thick Layers
When tackling multi-layer patches or heavy fabrics, standard needles deflect and snap. Upgrade to a denim needle EK size 100/16. Its reinforced point pierces thick layers cleanly, and pros report consistent penetration without bending or breakage.
Start-of-Design Breaks
Needles often snap during the first few stitches when thread load surges. Tie thread tails under a thin adhesive stabilizer instead of leaving them loose. This simple hack, common in commercial shops, distributes initial tension and prevents sudden jerks that fracture the tip.
Prevention Checklist and FAQs
Preventing needle breakage in embroidery machines is essential for smooth production and cost savings. With the global embroidery equipment market valued at US$494.8 million in 2023 and apparel applications representing a 63.4% share in 2024, even minor downtime can impact output. A simple daily inspection routine keeps your machine in top form.
Core-spun threads have been shown in user surveys to reduce breakage by about 30%, and many modern machines now feature sensor-based break detection. Pair these advances with weekly maintenance and needle changes every eight hours of stitching to sustain peak performance.
Daily Inspection Checklist
- Examine needle tip for burrs or bends; replace if damaged
- Check thread spool for fraying or knots before each run
- Verify hoop tension is secure and fabric sits flat
- Confirm thread path sensors and tension disks are clean
- Test bobbin case for smooth thread feed and correct insertion
Weekly Maintenance Checklist
- Clean and oil moving parts according to manufacturer specs
- Wipe down tension disks and re-calibrate if tension drifts
- Inspect machine timing and alignment; adjust hooks and loopers
- Update firmware or software for improved break-detection features
- Run a multi-stitch test design to catch hidden issues early
Frequently Asked Questions
- Why does my needle break after 1000 stitches? Metal fatigue accumulates around the shaft after roughly 1, 000 stitches. Swapping needles every eight hours of stitching, about 1, 000–1, 500 stitches, prevents micro-cracks from growing into breaks.
- Which stabilizer works best on knits? Medium Cut-Away stabilizer offers firm support on stretchy fabrics without tearing away. It holds knits steady through dense fills and reduces needle deflection during high-speed embroidery.
- Can embroidery thread cause more breaks? Yes. Lower-grade or pre-waxed threads can snag in tension disks. Upgrading to core-spun threads, which boast a 30% reduction in breakage per user feedback, smooths the thread path and cuts down on interruptions.
- How often should I change my needle? Replace needles every eight hours of active stitching or after each major project. In production settings, this often means swapping needles at the end of every shift to maintain stitch quality.
Conclusion
Ready to stitch without interruptions? Let’s recap your five-step roadmap to break-free embroidery.
Don’t let needle breakage stall your creativity. By diagnosing causes, choosing the right needles and threads, fine-tuning tension, optimizing stabilizers, and maintaining your machine, you can keep every project on track.
- Diagnose causes
- Pick right needles/threads
- Adjust tension
- Optimize stabilizers
- Routine machine maintenance
Download our free maintenance checklist or subscribe for monthly embroidery tips to master these steps effortlessly.
Let’s turn every stitch into success, happy stitching!