How to Embroider a Chain Stitch
This post contains affiliate links. As an Amazon Associate, Latest Embroidery earns from qualifying purchases, at no extra cost to you. Learn more.
The chain stitch is one of the most basic and fundamental embroidery stitches that everyone should learn. It is also one of the oldest known stitches that has been used widely among various cultures from Asia to Europe.
The chain stitch creates a chain-like appearance or, like petals lined up one after the other. It is a great stitch for decorative outlines, borders, and lettering. It can also be used to fill in large areas that you want to add more texture to, such as flower petals or leaves.
How to Embroider a Chain Stitch: Step by Step
In a hurry? Jump to our recommended supplies picks ↓
Follow these steps to embroider a chain stitch:
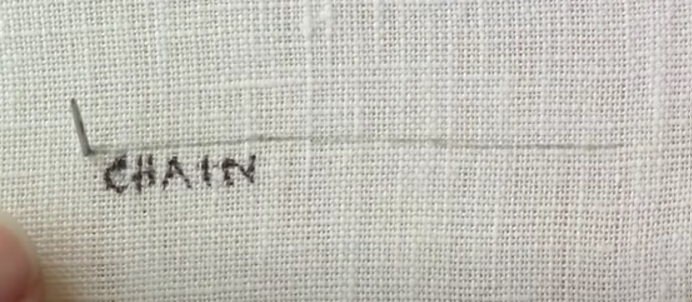
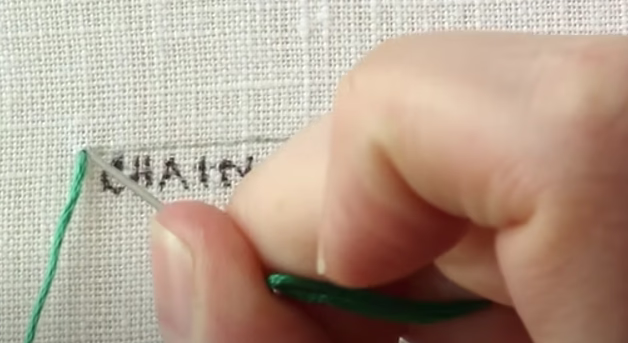
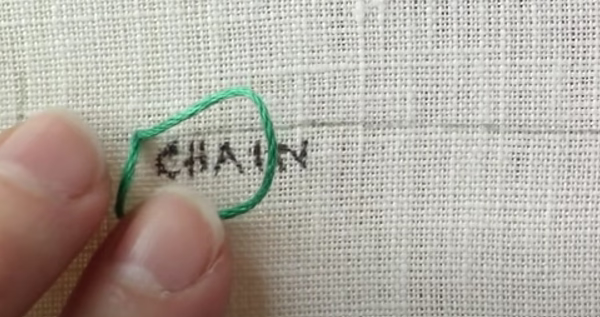
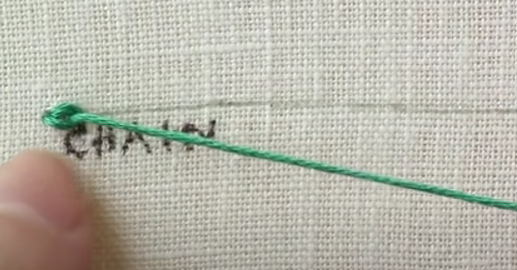
1. Begin by poking a hole in the fabric from the backside. Bring the needle up and then insert it back into the same hole, but don’t pull it all the way through. This creates a round shape, as shown in the picture.
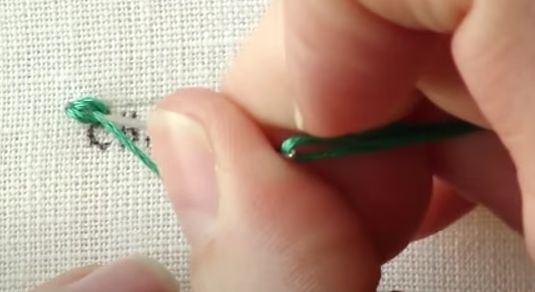
2. Now, make another hole close to the first one. Guide the needle through the rounded thread, pull it up, and you’ve just made a chain stitch!
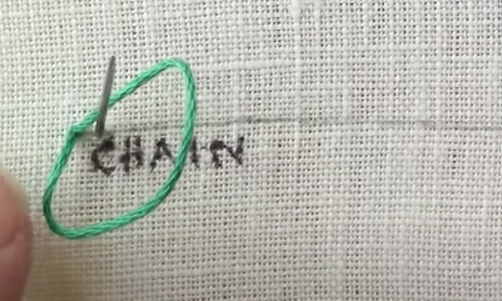
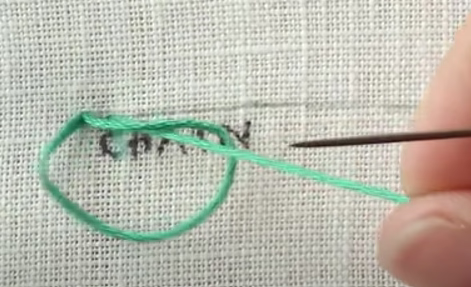
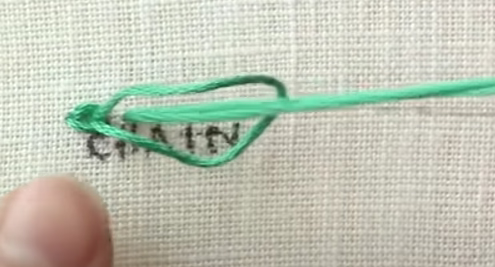
3. Needle back to the hole where you just pulled the needle through and create the round shape, like in the picture. Now, make another hole nearby, pull the needle through the rounded thread, and repeat this process as many times as needed.

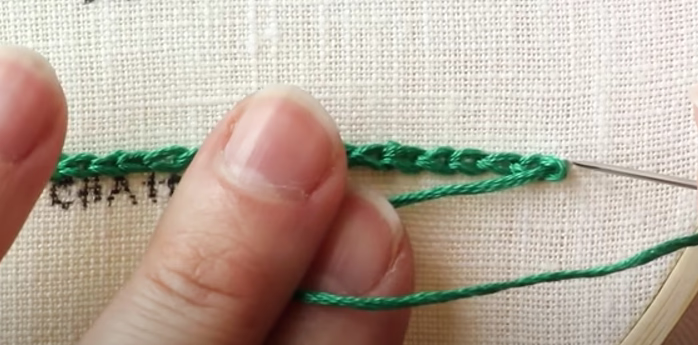
4. When you’re done, just pull the needle back through the last hole.
Here’s an easy video tutorial on how to do the chain stitch, the images of this article were collected from this video,
Tips and Tricks for Embroidering a Chain Stitch
Here are some tips and tricks that will help you embroider a chain stitch better:
- Adjust the stitch length and tension. You can make the chain stitch longer or shorter by changing the distance between the stitches. You can also make the chain stitch looser or tighter by changing the tension of the thread. Experiment with different stitch lengths and tensions to create different effects and textures.
- Avoid fabric rippling. Sometimes, the chain stitch can cause the fabric to ripple or pucker, especially if the stitch is too tight or the fabric is too thin. To avoid this, you can use a stabilizer behind the fabric, such as interfacing or tissue paper. You can also use a smaller needle and a thinner thread to reduce the bulk of the stitch.
- Use different thread types. You can use different types of thread to embroider a chain stitch, such as cotton, silk, wool, or metallic. Each type of thread will give a different look and feel to the chain stitch. You can also use multiple strands of thread to make the chain stitch thicker and more colourful.
- Secure the ends of the thread. To prevent the chain stitch from unravelling, you should always secure the ends of the thread by tying a knot at the back of the fabric. You can also use a small stitch, such as a back stitch or a split stitch, to tack down the end of the chain stitch.
Examples and Variations of the Chain Stitch
The chain stitch is a very versatile stitch that can be used for various purposes and projects. Here are some examples and variations of how to use the chain stitch:
- Embroider letters. The chain stitch is a great stitch for embroidering letters, as it creates a smooth and curved outline. You can use the chain stitch to embroider words, names, monograms, labels, or samplers. You can also use different fonts, sizes, and colours to make your letters more interesting and unique.
- Embroider flowers. The chain stitch can also be used to embroider flowers, as it creates a petal-like shape. You can use the chain stitch to embroider flower petals, leaves, stems, or buds. You can also use different shades of thread to create a gradient or a shading effect.
- Embroider borders. The chain stitch can also be used to embroider borders, as it creates a continuous and elegant line. You can use the chain stitch to embroider borders around your fabric, around your embroidery design, or along the edges of your clothing or accessories. You can also use different patterns, such as zigzag, scallop, or wave, to make your borders more decorative and fun.
- Use variations of the chain stitch. There are many variations of the chain stitch that you can use to create different effects and textures. For example, you can use the reverse chain stitch, which is worked from right to left instead of left to right. You can also use the twisted chain stitch, which is worked by twisting the thread around the needle twice instead of once. You can also use the Quaker stitch, which is worked by inserting the needle through the loop of the previous stitch and the fabric at the same time.
Conclusion
The chain stitch is a simple and versatile embroidery stitch that you can use for various purposes and projects. It is easy to learn and fun to do, and it can create beautiful and textured effects. I hope this article has inspired you to try the chain stitch and experiment with different ways to use it. Happy stitching!
Free: 12 Essential Hand Embroidery Stitches
A printable illustrated cheat sheet of the 12 core stitches every embroiderer should know. Instant PDF.
No spam. One-click unsubscribe.