Bean Stitch Embroidery: Guide for Beginners
Bean Stitch Embroidery
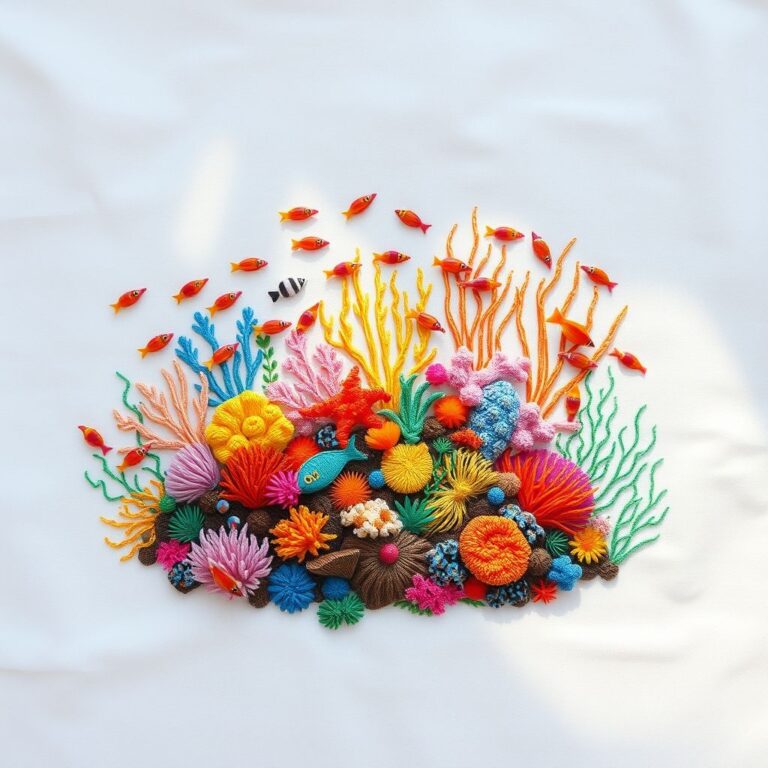
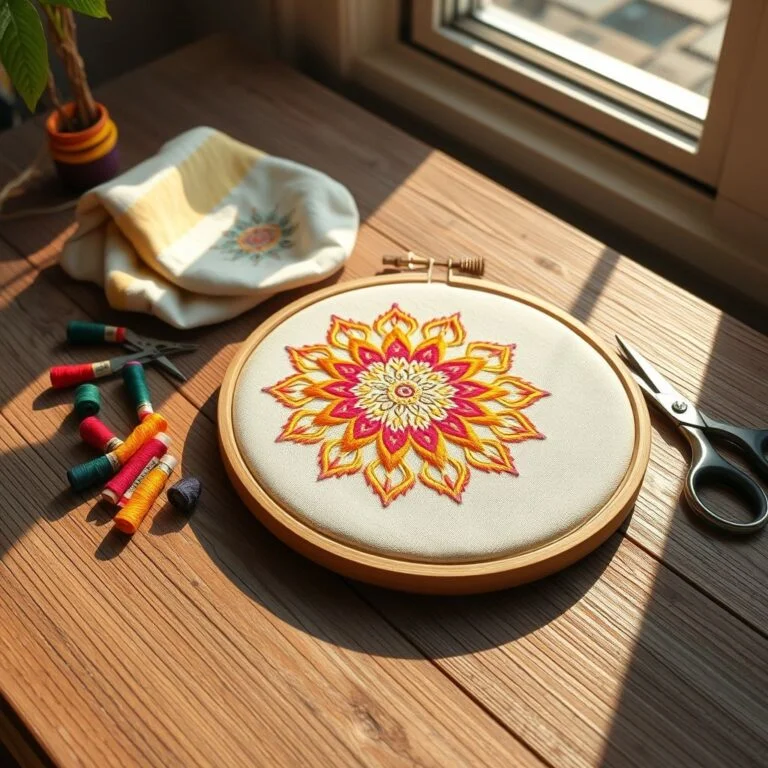
Embroidery, a cherished art form for centuries, welcomes a new friend: bean stitch embroidery! This delightful technique, known for its unique texture and versatility, allows you to create intricate designs and embellish fabrics of all kinds. Whether you’re a complete beginner or a seasoned stitcher, this step-by-step guide will equip you with the knowledge to master bean stitch embroidery and embark on your creative journey.
Let’s Gather Your Supplies:
-
Fabric: Choose a fabric that’s embroidery-friendly, like cotton or linen. Ensure it’s clean and wrinkle-free for a smooth stitching experience.
-
Embroidery Hoop: This handy tool keeps your fabric taut while you stitch. Select a size that comfortably accommodates your project.
-
Embroidery Floss: Ditch the regular thread! Opt for high-quality embroidery floss in colors that spark your creativity.
-
Embroidery Needle: A sharp needle with a fine point (size 7 or 8) is ideal for precise bean stitches.
-
Scissors: Keep a pair of sharp scissors handy for trimming threads.
-
Bean Stitch Pattern: Find inspiration online or get creative and design your own pattern! Many resources offer free bean stitch patterns for all skill levels.
Step 1: Prepare Your Workspace
Find a well-lit and comfortable area to begin your embroidery adventure. Set up your embroidery hoop and secure your fabric within it, ensuring it’s evenly stretched for optimal stitching.
Step 2: Thread Your Needle
Cut a length of embroidery floss, around 18-24 inches, and thread it through the eye of your needle. Knot the end of the thread securely to prevent it from unraveling while you stitch.
(Optional Step 3: Transfer Your Pattern)
If you’re using a pre-made pattern, here’s how to transfer it onto your fabric: Lightly trace the design onto your fabric using a transfer pen or by placing your fabric over the pattern on a lightbox and tracing the design with a pencil.
Step 4: Create the Bean Stitch
Now comes the fun part: making the bean stitch! Here’s how:
- Bring your needle up from the back of the fabric to the front, marking the starting point of your design. Hold the tail of the thread against the fabric for stability as you begin stitching.
- To create the bean shape, insert the needle back down into the fabric slightly away from your starting point, leaving a small loop of thread raised above the fabric surface.
- Now, bring the needle back up through the fabric, but this time, enter it inside the loop you just created. Catch the loop of thread with the needle as you bring it up.
Step 5: Repeat and Fill Your Design
Continue making bean stitches, keeping them evenly spaced and following the outline of your chosen pattern. As you stitch, maintain consistent thread tension for a neat and professional look. Remember to keep your thread untangled while you work!
Step & Variations:
There’s more than one way to bean stitch! Experiment with different stitch lengths (single, double, or triple) to achieve varied textures and effects.
Step 6: Finishing Touches
Once you’ve completed your design, secure the ending thread by making a small backstitch or knot on the backside of the fabric. Trim any excess thread with your scissors for a clean finish. Don’t forget to hide the starting knot on the back using the same technique.
Step 7: Practice Makes Perfect!
Before tackling your final project, practice your bean stitch embroidery skills on scrap fabric. This allows you to experiment with different thread colors, stitch lengths, and patterns to discover your own unique style.
Congratulations!
You’ve successfully completed your first bean stitch embroidery project! With dedication and practice, you’ll refine your skills and create stunning embroidered pieces that showcase your creativity. Keep exploring new techniques and patterns to make each project uniquely yours. There’s a whole world of embroidery waiting to be discovered!
Looking for More Inspiration?
The internet is a treasure trove of embroidery resources! Explore online tutorials, embroidery communities, and websites offering free bean stitch patterns to fuel your creative fire. Happy stitching!


