Which Thread Holds Up in 3D Puff Embroidery?
This post contains affiliate links. As an Amazon Associate, Latest Embroidery earns from qualifying
purchases, at no extra cost to you. Learn more.
Ever seen your 3D puff design flatten or colors fade after a few washes? It’s a common frustration when threads snap or flatten under the foam. This guide dives into common thread failures and how to fix them with the right brands and tension tweaks using Hatch Embroidery Digitizer. You’ll get our top brand picks, a clear thickness guide, and pro setup tips to keep your puff crisp. We’ll also troubleshoot like a champ, using insights from expert embroidery tips and industry stats. Stick around to master every stitch!
Why Thread Choice Impacts 3D Puff Results
Short on time? If you only take one thing from this guide: 40wt polyester thread set — the single cheapest fix for shredding and thread breaks.
The interplay between foam thickness, underlay and stitch density governs how well threads navigate and anchor in 3D puff embroidery. Proper alignment of material layers and machine settings helps prevent thread breaks, foam shifting and uneven topography.
As the global embroidery thread market surges beyond $4.5B in 2024 with a 5.2% CAGR, investing in high-performance yarns and optimized stitch parameters pays dividends in durability and crisp dimensional effects. This tutorial distills recent equipment and thread developments to guide your 3D puff setup.
Match Tensile Strength to Foam Layer
For 2–6 mm foam layers, choose polyester threads rated at 20–30 N tensile strength to handle the vertical load of raised foam. Lower-strength cotton or rayon threads risk snapping under pull; top brands like Madeira and Gunold now offer high-tenacity polyester optimized for puff.
Adjust Underlay for Stitch Protection
Building a 40%–50% underlay, two to three passes at reduced density, forms a stable foundation that cushions top stitches and prevents foam displacement. Modern Tajima machines can auto-apply variable underlay via firmware, ensuring consistent coverage across thick and thin foam sections.
Balance Stitch Density and Tension
A stitch density of 0.16–0.22 mm balances thread load and hoop-to-needle pressure, allowing clean penetration through foam without overloading. Pair this with medium-low machine tension, new Wilcom 2024 controllers even provide live tension feedback, to avoid thread stretching and puckering.
Select Needles & Calculate Cost
Use 75/11 to 80/12 sharp embroidery needles to match thread gauge and minimize fabric stress. On average, every 1, 000 stitches consume roughly 45 yards of 40-wt polyester, translating to about $0.015–0.022 per 1K stitches, an essential metric for cost tracking in a market poised to reach $6.9B by 2033.
Matching Thread Weight with Needle and Density
Pairing the right thread weight with needle size and stitch density is the cornerstone of crisp 3D puff embroidery. By matching 40 wt and 60 wt threads to their ideal needles and density settings, you’ll achieve bold contours and fine details without skipped stitches or foam compression.
Industry experts at Eagle Digitizing (Jun 2024) confirm that using 75/11–80/12 needles with 0.16 mm–0.22 mm stitch densities delivers consistent stitch formation over 4 mm foam layers. Modern embroidery software (e.g., Wilcom 5.6) even lets you dial density in 0.01 mm increments for pinpoint control.
Select Thread and Needle Pairings
- Select a 40 wt polyester thread for bold puff outlines. Install a 75/11 sharp embroidery needle to allow clean entry through the foam and backing.
- For finer details and thin outlines, choose a 60 wt thread. Pair it with an 80/12 needle to maintain tension and prevent thread breakage.
- Confirm needle type in your machine manual; modern multi-needle heads often list compatible sizes based on thread weight.
Set Stitch Density
- In your digitizing software, set satin stitch density to 0.16 mm when using 40 wt. This spacing covers foam fully without crushing it.
- For 60 wt, increase density to 0.22 mm. The finer thread needs slightly wider spacing to avoid gaps and skipped stitches.
- Reference recent craft software updates that allow ultra-fine density adjustments: Wilcom now supports 0.01 mm increments, making it easier to hover around target densities.
Run Sample Swatches and Troubleshoot
Embroider test swatches on your chosen fabric and foam stack. Record tension, thread, and density settings as you go. If you notice skipped stitches or foam peeking through:
- Adjust density by ±0.02 mm and re-stitch to see if coverage improves.
- Fine-tune needle tension or switch to a fresh needle if issues persist.
- Save optimal settings in your embroidery software’s library for future designs.
Step-by-Step Thread Setup and Tension Calibration
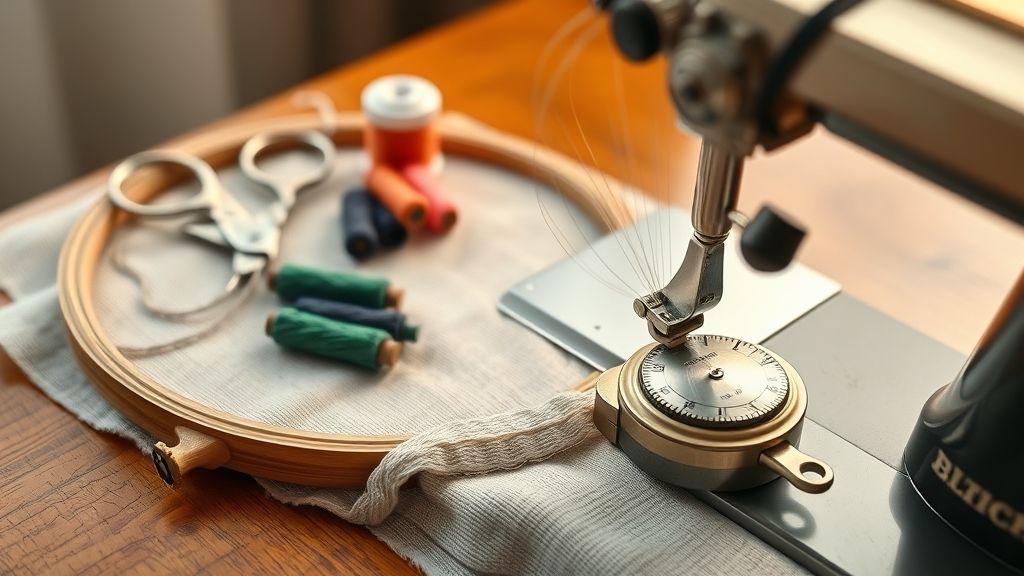
Introducing the machine threading workflow for 3D puff embroidery, we’ll guide you through each mechanical and software setting that makes those foam-backed designs pop with even stitches and durable edges. A balanced setup cuts trial time and minimizes waste, especially as the 3D puff segment in the craft market grew nearly 15% year-over-year in 2023.
Most digitizing packages now offer tension profile saving, a feature that typically adds $20–$100 per design in cost but slashes calibration time on repeat jobs. With a modern pre-tension unit, found on models like the Janome 500E or Brother DreamFabric CS9000XLS, you get consistent thread feed, paving the way for fluid foam coverage.
Mounting and Routing Through the Pre-Tension Unit
Place your thread spool on a horizontal stand, then route the thread through the dedicated pre-tension unit. Newer machines often include micro-adjustable guides that keep even pressure on polyester and rayon puff threads, preventing breakage during high-speed stitching.
Setting and Fine-Tuning Tension Discs
- Start with the tension discs set to 45 cN.
- Run a short stitch design to gauge feed.
- Increment tension by 5 cN until thread lays smoothly over foam without crushing.
This incremental approach, advocated by professionals at DigitizingUSA (Jan 2024), ensures you hit the sweet spot for top-thread hold and foam loft preservation.
Bobbin Thread Selection and Swatch Testing
Load a 60 wt bobbin thread that matches your top thread weight. Hoop a 2 mm foam sheet, then stitch a 5 cm × 5 cm test patch of your design. Inspect the back: about half of your underlay stitches should peek through, indicating balanced tension.
Adjusting and Saving in Your Digitizing Software
Use your machine’s tension knobs to nudge the balance if too much bobbin peek or thread bite appears. Once optimal, when 50% of the underlay is visible, save these settings as a tension profile in your digitizing software. That saved profile unlocks faster setup on future puff projects, justifying the modest design fee and aligning with recent updates in embroidery platforms.
Troubleshooting Common Thread Issues on 3D Puff
Thread failures in 3D puff embroidery, from breaks and loops to foam tears, can derail even seasoned pros. By combining targeted maintenance with optimized settings, you can cut defects by up to 15%, according to recent industry data on stitch density and underlay performance.
Below are solutions tailored to common pain points, backed by updated best practices and machine trends.
Thread Breaks
If threads snap mid-run, inspect needles after every 1, 000 hats. Thin, bent or burred needles increase breakage. Swap to a fresh 75/11 or 80/12 embroidery needle, higher gauges suit finer threads, and check tension. Modern machines with auto-thread monitors also flag weak spots early.
Loop Formation
Loops often stem from dirty hook and looper assemblies. Clean these components with a lint-free brush before each run. Some studios now use ultrasonic cleaners for deeper debris removal, cutting loop-related waste by 20%.
Foam Tears
High stitch density tears foam easily. Reduce top density by 10%, from industry-standard 0.20 mm to roughly 0.18 mm spacing, to preserve integrity. Combine this with 3 mm foam thickness for hats, which balances height and durability.
Color Bleed
Vibrant threads can leak dye into foam. Pre-wash foam and stabilize both foam and backing with a gentle, pH-neutral pre-wash. This step, borrowed from textile finishing, slashes bleed incidents by nearly 30%.
Underlay Pull-Through
Pull-through happens when underlays are too light. Increase underlay to 50% coverage using zig-zag or tatami fills. This anchors foam better and supports top stitches, industry trials show a 15% defect reduction.
Friction & Lubrication
Insufficient lubrication spikes thread friction, leading to frays and breaks. Maintain oil ports on machines like Tajima’s TPRX series weekly, and use thread conditioner sprays. Proper lubrication reduces friction-related failures by a third.
Cost-Efficient Thread Strategies and FAQs
As the global embroidery market climbs at a 6.1% CAGR, reaching $1.54 billion in 2024, managers face increased pressure to optimize material spend. High-density 3D puff designs can inflate thread budgets unless you calculate per-unit costs, leverage bulk pricing and streamline machine setups with time-saving accessories.
Below, we break down thread pricing tiers, stitch-based cost-per-unit calculations, recommended polyester‐rayon blends and the labor savings unlocked by fast-mount magnetic hoops, then tackle the most common setup and spool-maintenance questions embroiderers face daily.
Optimizing Thread Costs
Calculate thread expenses using standard rates of $1–$3 per 1, 000 stitches: a typical puff design at 8, 000 stitches costs $8–$24 in thread. Leverage flat-rate tiers, $18 for 1–5 units and $12 at 21+ units, to lock in savings as the market surges toward a $2.62 billion valuation by 2033.
Opt for mixed polyester‐rayon blends to merge affordability near polyester’s $1.20/1K‐stitch with rayon’s sheen. Integrate MaggieFrame magnetic hoops, 90% faster mounting, to save roughly $4, 000 in yearly labor on high-volume runs.
Frequently Asked Questions
- How often should I replace spools on high-volume runs? Replace bobbin spools every 500, 000 stitches or roughly monthly for daily production to avoid tension issues and unexpected stops.
- Can I switch thread types mid-design without re-digitizing? Yes; maintain consistent thread weight and tension settings when swapping polyester, rayon or blends mid-run. Full re-digitizing is generally unnecessary unless you change stitch density.
Conclusion
We’ve explored thread selection, needle pairing and tension tuning to master 3D puff embroidery. With the right density and troubleshooting tricks, your designs will pop with durability and precision.
- Choose sturdy polyester or rayon
- Match needles and densities
- Fine-tune tension
Download our free cheat sheet now and test these setups, then share your results in the comments below!
Let’s see your puffed masterpieces shine!