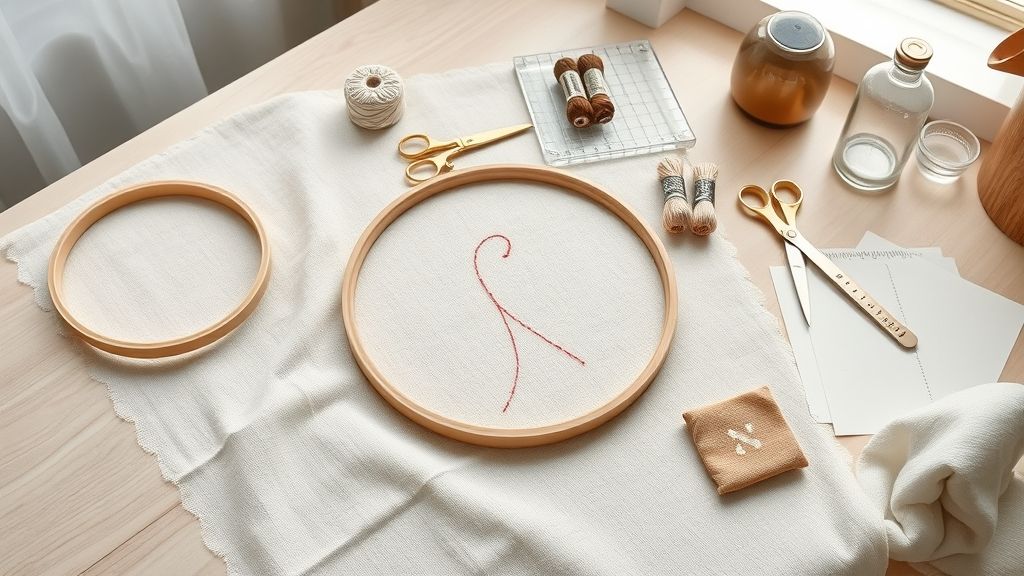
Monogramming Made Practical: Step-by-Step Setup
This post contains affiliate links. As an Amazon Associate, Latest Embroidery earns from qualifying
purchases, at no extra cost to you. Learn more.
Crisp, consistent monograms without guesswork or fragile fonts? This is the week you dial in a practical workflow that fits a busy schedule.
Best-in-class monogramming starts with smart font choices, a reliable hoop system, and quick digitizing with BX fonts, DST compatibility, and a fast finishing routine. MaggieFrame helps you move from placement to stitch-out in fewer passes, turning monograms from a headache into a repeatable process. Explore machine embroidery fonts and consider Embrilliance Essentials for streamlined lettering work.
Industry context: the craft market remains robust, with sustained growth in embroidery and monogramming data you can reference here: embroidery market size.
What you’ll learn: font selection, hoop setup, BX-font digitizing, and a finishing routine that keeps costs clear (roughly $5–$12 per item for basic setups). By the end, you’ll run a practical monogram with confidence and speed.
For a practical upgrade, consider an embroidery machine:
Monogramming Made Practical: Step-by-Step Setup
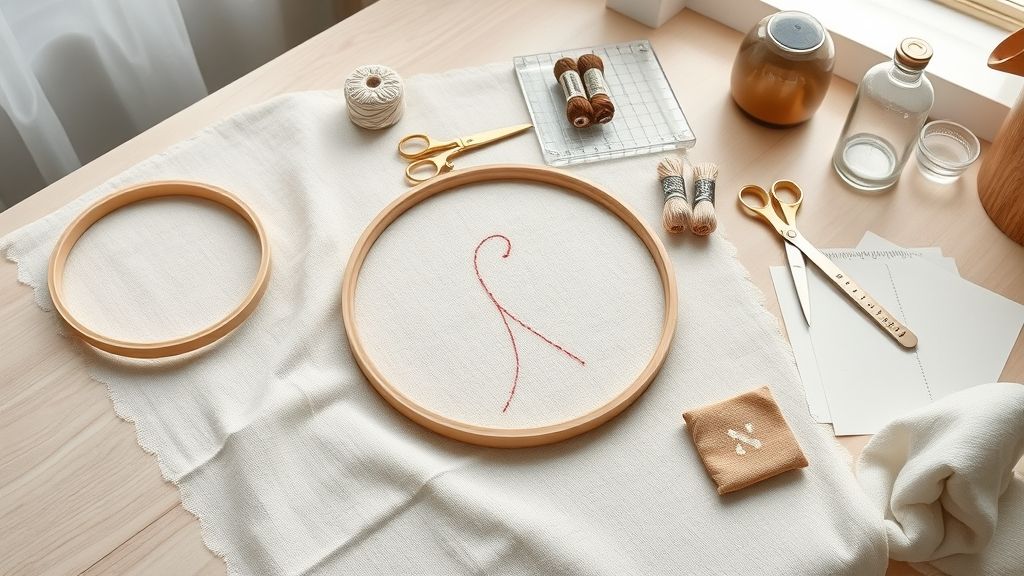
When you’re moving from basic monograms to reliable, repeatable output, the hardware, software, and fonts you choose become the needle’s workforce. This section flags the gear that actually drives speed, consistency, and creativity in monogram projects.
From magnetic hooping systems that cut setup time to expansive font libraries and robust lettering software, these components form the core of a practical monogram workflow. Market data show the embroidery sector continuing to grow, with industry research estimating multi‑billion dollar markets expanding into 2025, highlighting the value of upgrading hooping, digitizing, and font-management tools as demand for personalized monograms stays strong.
Hooping hardware that actually moves the needle
The MaggieFrame magnetic hoop system is a standout in fast, accurate hooping. It slashes setup time and reduces repetitive strain by enabling quick, tool-free hoop changes and more secure fabric alignment.
- MaggieFrame magnetic hoops: significantly faster hooping, less finger fatigue, and repeatable placement for consistent results
- Compatibility across common machine families means fewer setup substitutions between projects
Design and lettering software
Hatch Embroidery offers robust lettering and monogramming capabilities with a rich font ecosystem and intuitive controls for spacing, alignment, and sequence.
- Over 120 professionally digitized fonts for immediate lettering options
- Advanced lettering with width, italics, spacing, and pull compensation controls
- Multi-hooping support for larger or more complex monograms
- TrueType and OpenType compatibility for easy font import
Font management and digitizing
Digitizing and font management come together in Embrilliance BX ecosystems, which streamline installing, organizing, and using alphabet fonts across projects.
- BX font installation and management tools simplify keyboard-ready lettering
- BX fonts integrate with digitizing workflows for consistent letter shapes across designs
- Cross‑platform compatibility supports portable workflows
Font libraries for variety
Expand options with Embroidery Legacy fonts, featuring over 1, 000 fonts to diversify your monograms and decorative text.
- Extensive ESA and BX compatibility for flexible project setup
- Diamond Monogram families and related 50 mm sizing resources provide clear scale references
- Regular updates and new style additions keep portfolios fresh
Monogram sizing reference
For sizing guidance, use the Diamond Monogram 50 mm alphabet as a standard reference. This sizing helps ensure legibility across items and provides a consistent baseline for monogram proportions.
- 50 mm benchmarks align with common product dimensions and expectations
- ESA font options from Embroidery Legacy accompany size guidance for clean, crisp lettering
File formats compatibility and cross‑platform workflow
Cross‑format compatibility is essential, with DST and PES formats widely supported across brands. Ensure your machine can read both to maximize design portability and vendor flexibility.
Font and design decisions that impact results
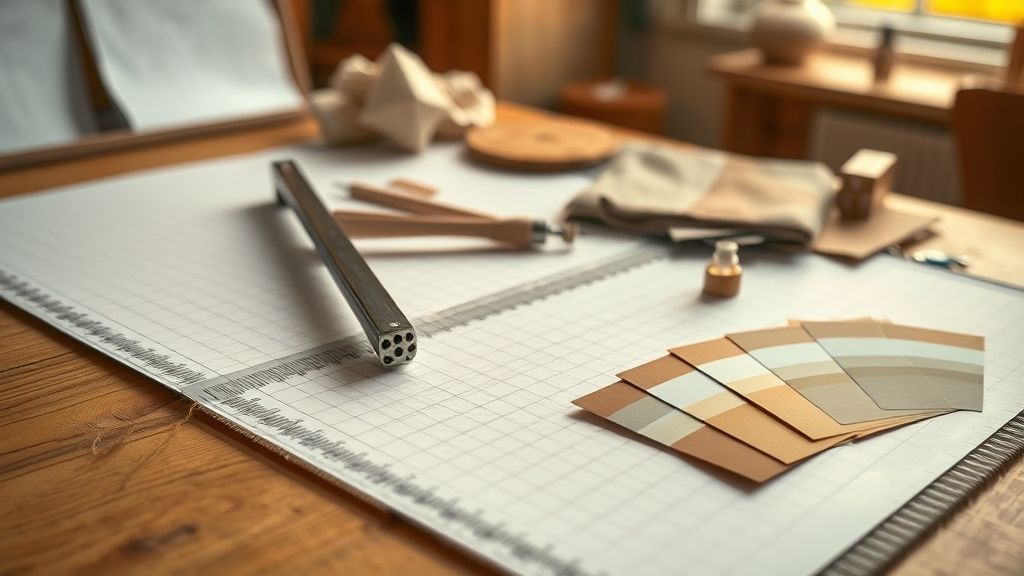
When you’re planning monograms, the font family and layout decisions set the stage for professional results. A robust font library lets you swap letterforms quickly and keep spacing consistent across fabrics and projects. Market insights show embroidery remains a strong, growing craft field, underscoring the value of dependable fonts and patterns in production workflows.
For a practical baseline, aim for a 50 mm monogram height and adjust with safe margins for woven, knit, or delicate fabrics. This height aligns with common standards and works well with the Diamond Monogram 50 mm sizing, frequently used in Embroidery Legacy offerings. Building a consistent library from Hatch Embroidery lettering, Embrilliance/BX fonts, and Embroidery Legacy ensures predictable results across garments and gifts.
Building a consistent font library: Hatch lettering, BX fonts, and Embroidery Legacy
Start with Hatch Embroidery lettering, which includes over 120 professionally digitized fonts and support for TrueType/OpenType fonts, giving you clear, legible options for names and initials. Pair that with BX fonts from Embrilliance, which are object-based and scalable without distortion, making resizing quick without compromising stitch quality. Complement these with the Embroidery Legacy BX/ESA fonts to expand your core toolkit and maintain a cohesive look across projects.
Leveraging a broad font and pattern library
Tap into a broad ecosystem: Embroidery Legacy’s library offers 1000+ fonts and access to free monogram patterns for variety, enabling consistent styling while exploring new aesthetics. For sizing consistency, the Diamond Monogram 50 mm font family provides a reliable baseline that stitches out cleanly on multiple fabrics. This combination supports a flexible yet uniform brand of monograms across your line of work.
Sizing and margins for different fabrics
Use a 50 mm height as the standard starting point and scale down or up with careful margins to prevent crowding on smaller items or fabric with pronounced texture. Test margins on test swatches to account for fabric weave and stabilizer needs, then lock in margins in your project notes for future repeatability.
Texture variety through design styles
Explore Whitework on Linen for a subtle, tonal texture, Red Padded Satin Stitch for raised, vivid forms, and Shadow Work to create depth by stitching on the reverse. Each style adds a tactile dimension without sacrificing legibility, giving you a family of looks that stay cohesive when used across a collection.
Testing and documenting settings
Always test density and underlay on scrap fabric to avoid puckering or stitch show-through, adjusting placements and stabilizers as needed. Document your settings for each fabric type, thread weights, stabilizer choice, density, and underlay pattern, so future projects move faster and with predictable results. Pair this with a quick reference guide that links fonts to fabric types and recommended margins.
Troubleshooting and quality control for reliable results
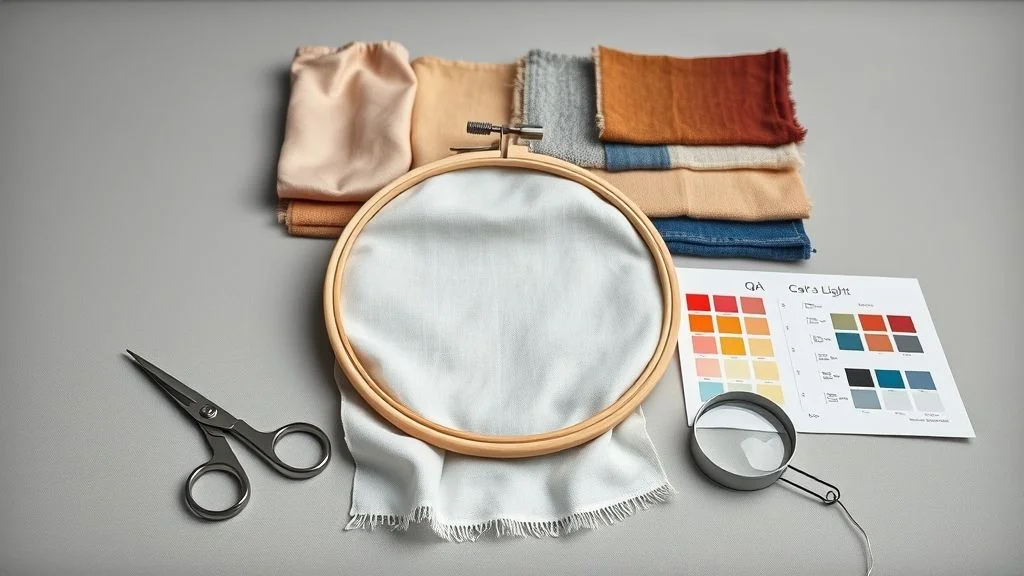
Monogramming is a precision craft where tiny variances in DST, hooping, or density show up as imperfect letters. Market analytics indicate the embroidery sector remains strong and growing, with industry data projecting a multi‑billion global market that’s anticipated to reach around USD 7.9 billion by 2034, underscoring the value of consistent results in home and small‑studio setups. As equipment evolves with AI‑assisted design and smarter software, solid troubleshooting remains essential to keep monograms crisp and professional.
This section offers practical checks and fixes to keep every monogram polished, from DST stability checks to finishing touches and a reliable reference log to speed up setup across fabrics and stabilizers. Use these steps as a quick‑reference guide during setup and production.
DST size stability: verify within 30% of original size before final stitching
Small DST size changes can raise density gaps or crowding that ruin letter shapes. Always test a stitched sample at the target size and compare it to the original design. If measurements drift by more than 30%, pause and recalibrate before committing to final stitching. Keep a DST‑change checklist handy and perform a quick stitch‑out on scrap fabric to confirm scale accuracy.
Hooping tension and fabric stability: use appropriate stabilizers; re-hoop if fabric shifts during stitching
Stable fabric support and proper hooping prevent distortions that ripple through letters. Choose stabilizers based on fabric type (woven, knit, or specialty fabrics) and garment weight, and re‑hoop if you notice movement during stitching. Always verify fabric grain alignment and hoop tension before each run.
Tips: use cut‑away or heavy tear‑away for woven fabrics; for knits, choose a lighter stabilizer with adhesive. A sticky back or spray adhesive can help with slippery fabrics, but re‑hoop if shifting occurs mid‑stitch. Modern machines benefit from a light stabilizer during first passes to reduce fabric pull.
Stitch density considerations for 1, 000–5, 000 stitch projects to avoid thread buildup or gaps
For monograms in the 1, 000–5, 000 stitch range, start with manufacturer‑recommended density for your fabric and stitch type, then run a small test on scrap. If you see thread buildup or gaps, fine‑tune in small increments and re‑test. Document changes to prevent drift across similar runs.
Actionable steps: print or export a density grid from your software, test on representative samples, and aim for uniform coverage without overpowering the fabric. For satin and fill stitches, slightly lower densities can improve sheen and reduce pulling.
Finish improvements: trim threads carefully, brush satin stitches for uniform shine
Post‑stitch finishing matters almost as much as the stitching itself. Trim tails cleanly, remove jump stitches, and brush satin areas with a soft tool to even out gloss. A light steam or pressing with a protective cloth can further even the surface without crushing pile or flattening stitches.
Inventory management: keep a library of tested fabric/stabilizer combinations for quick reference
Build a reference library of fabric types, stabilizers, and recommended settings. Having tested combos on file speeds production and reduces rework. Include notes on needle type, thread brand, and machine settings so future runs can start from a solid baseline.
Documentation: record the exact font, size, density, and stabilizer used for each fabric type
Maintain a running log for every fabric and monogram project: font, size, stitch density, stabilizer, hoop size, and observed outcome. Include photos of stitch outcomes for quick comparison. This practice aligns with industry guidance that emphasizes traceability and repeatability as the market evolves toward more personalized production.
Research-backed context: Industry analytics project the embroidery market to grow from about USD 5.71 billion in 2024 to roughly USD 7.88 billion by 2034, reflecting sustained demand for personalized, high‑quality embroidery. Advances in digitizing and AI‑assisted design continue to influence workflow, but solid troubleshooting and meticulous documentation remain core to reliable monograms.
Cost, ROI, and project planning for monogram work
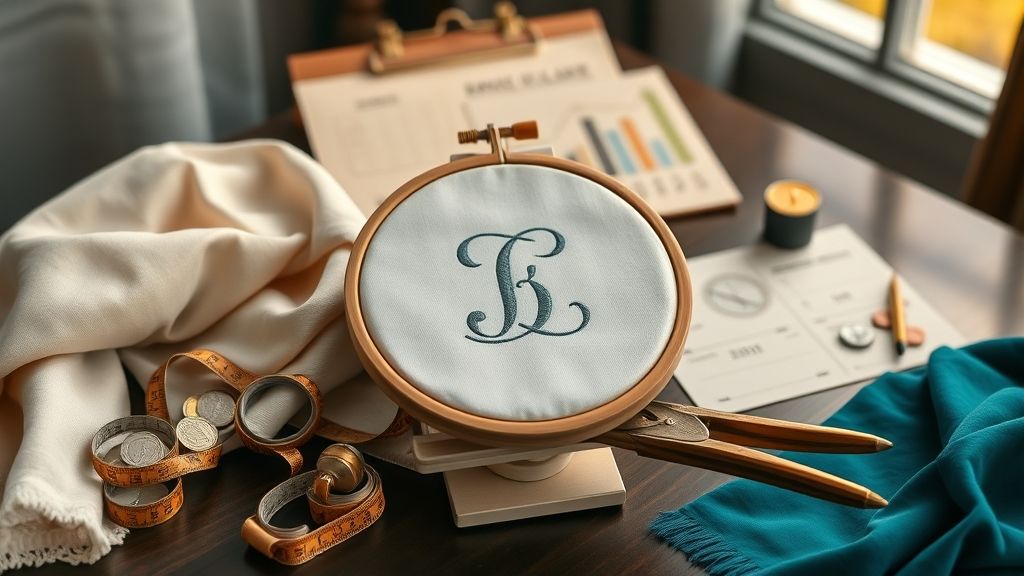
Monogram projects typically bring in $6–$15 per item, a sweet spot for small- to mid-size shops when volume and turnaround time align. With typical runs, the math hinges on fast setup, accurate digitizing, and reliable hooping, areas where MaggieFrame can trim minutes and boost throughput. Market dynamics support the opportunity: embroidery has been trending in the billions with steady growth around the 6% range, driven by customization demand and e-commerce expansion. This section lays out concrete budgeting and ROI thinking you can plug into your own hourly rate and production volume.
Below, you’ll find practical anchors for budgeting: per-item revenue bands, setup and digitizing costs, and a clear path to compare in-house digitizing vs. outsourcing. The numbers are designed to be plugged into a quick ROI model so you can decide where to invest time, software, and hardware.
Revenue and cost anchors
Per-item revenue commonly lands in the $6–$15 band, with many monogram projects clustering in the middle. Setup and digitizing costs run about $5–$10 per design if you manage digitizing in-house, while outsourced digitizing often starts at $29.99 per design. These anchors help you estimate gross margins and decide whether to build digitizing in-house or farm it out to a service capable of handling complex logos with consistent stitch outcomes. Industry indicators show sustained demand for personalized embroidery, reinforcing the value of a repeatable, efficient workflow.
Time savings with MaggieFrame
Using MaggieFrame for hooping and placement reduces prep time dramatically. In practical terms, it can save about 2.5 minutes per garment (3 minutes minus 30 seconds), which compounds quickly on larger runs. That time savings translates directly into labor dollars at your chosen hourly rate, improving the viable margin on each project.
Price comparison: in-house vs. outsourced digitizing
ROI framework and example scenarios
Compute ROI by applying your hourly labor rate to the time saved from MaggieFrame and then comparing against the digitizing and hardware/software investments. For a quick model, use an hourly rate of $25/hour as a baseline. Saving 2.5 minutes per garment translates to about 0.042 hours saved per item, yielding roughly $1.05 in labor value per garment at that rate. Multiply by volume and subtract any digitizing costs to see the return. For 50 garments, the labor savings would be about 2.1 hours, equating to roughly $52 in labor value; for 200+ garments, the savings exceed $200 in labor value, quickly offsetting setup, digitizing, and equipment investments. Higher volumes amplify ROI as fixed costs are spread across more units and time savings compound in a per-unit basis.
Frequently asked questions about practical monogramming
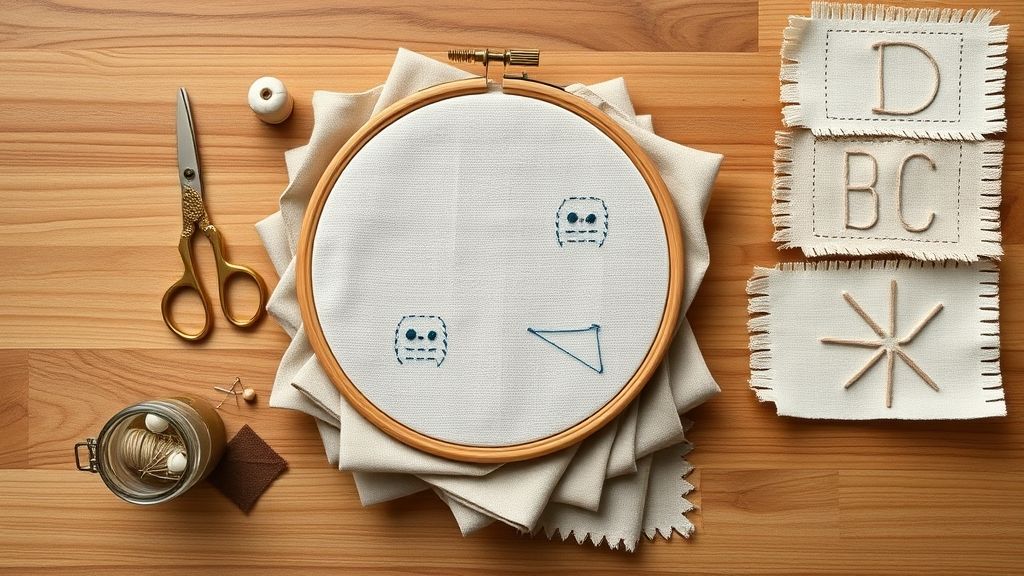
Practical monogramming isn’t just about the machine; it’s about fast hooping, reliable fonts, and clear cost expectations. MaggieFrame can dramatically cut hooping time, making small runs more practical and repeatable. You’ll spend less time mounting fabric and more time perfecting the design.
This FAQ pulls together time-saving tips, font libraries, format compatibility, digitizing costs, and stitch guidance to help you plan smoother monograms from setup to finish.
What is MaggieFrame and does it really save time on hooping?
Yes. MaggieFrame claims hooping time per item drops from about 3 minutes to 30 seconds, a roughly 90% savings. In practice, that reduces setup fatigue and frees you to prep garments and designs more efficiently.
Which fonts and libraries are most reliable for monograms?
Reliable options include Hatch Embroidery fonts and libraries from Embrilliance/BX and Embroidery Legacy. They offer balanced letterforms and consistent spacing; always test fonts with your stabilizer and fabric on a swatch.
Can I use DST with PES formats on different machines?
DST and PES are common formats, but compatibility varies by machine. Some systems read both with a conversion step; others require re-export from the native format. Confirm cross-format workflows with your software and machines.
What are realistic costs for in-house monogram digitizing vs outsourcing?
In-house digitizing requires software, presets, and training, but can pay off with high-volume runs. Outsourcing typically charges per design or per item, varying by complexity. Many shops blend approaches, digitize frequent motifs in-house and outsource specialty monograms.
How many stitches should a typical monogram contain for a balanced look?
Typical monograms range 1, 000–5, 000 stitches. For a balanced look on standard items, aim around 2, 000–3, 000 stitches, adjusting for size and fabric to avoid overfill or gaps.
Conclusion
From the data, a practical monogramming workflow emerges: MaggieFrame hooping, Hatch–Embrilliance font tooling, and a DST-based digitizing process with clear ROI.
- MaggieFrame provides stable, repeatable hooping.
- Hatch and Embrilliance toolkit standardizes fonts quickly.
- DST-driven workflow reduces steps, saves time.
- Clear cost and ROI baselines enable confident planning.
Call to Action: Choose one font library, set up MaggieFrame today, and run a 1, 000–2, 000 stitch test on scrap fabric to lock in your baseline.
With concrete stitch counts and time savings in hand, you can plan projects confidently and consistently achieve high-quality monograms. Begin now and turn potential into practice.
Stitch by stitch, your best monograms are a decision away.