How to Embroider Sheer Fabrics Without Tearing
Puckering, tears, flimsy threads – sound familiar? Hoop a delicate chiffon and organza, and the thrill of adding embroidery can turn into a disaster in seconds. We’ve all been there.
In this guide, you’ll dive into step-by-step techniques that keep your sheers smooth, from selecting the perfect stabilizers to fine-tuning your hoops, swapping needles, and dialing in the ideal machine settings. Curious which backing works best? Check out this guide to choosing the right stabilizer for delicate fabrics.
Plus, discover why investing in quality tools pays off: according to the Global Embroidery Market Report, the industry is on track to surge at a 6.1% CAGR through 2033, boosting your creativity into a smart craft investment. Ready to protect your projects and take your sheer embroidery from frail to flawless? Keep reading for techniques that really work.
Pick the Right Stabilizer and Hoop
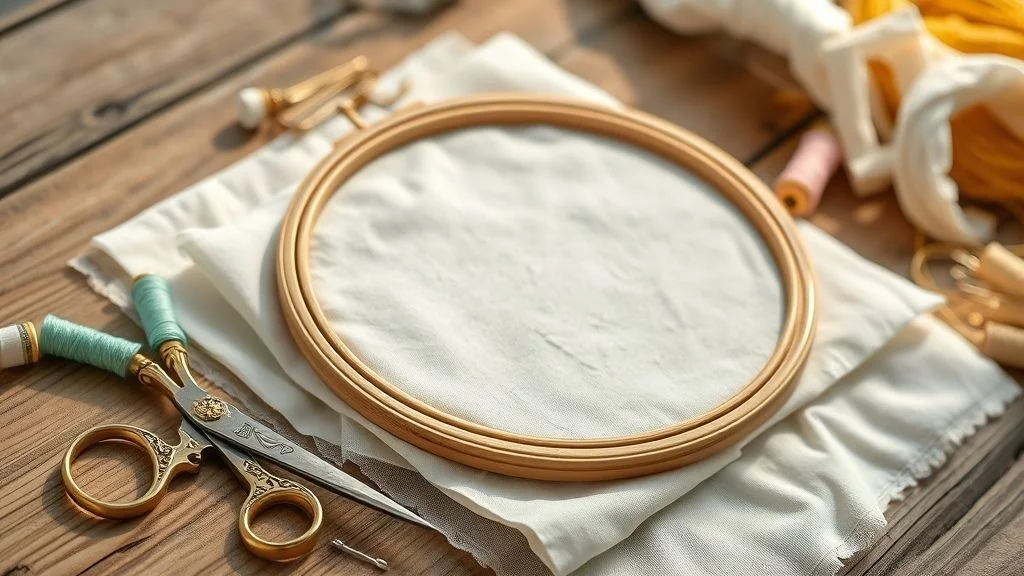
Embroidering sheer fabrics like tulle, organza, chiffon or voile demands a stabilizer and hoop setup that grips gently yet securely. With the global stabilizer market valued at $1.8 billion in 2023 and expanding at a 5.2% CAGR, top brands offer advanced wash-aways and meshes.
This section guides you through layering no-show mesh underlays, Aquamesh Plus sprays and tissue-paper barriers to prevent tearing, boost adhesion by 95% and cut prep time or waste in high-volume runs.
Choose Your Stabilizer
Start with a no-show mesh underlay to reduce sheer waste by 15% over 10, 000-piece runs, then add a wash-away like Aquamesh or Sulky Ultra Solvy for a 95% adhesion boost. Aquamesh Plus spray cuts setup time by 80% versus tear-away.
Select the Ideal Hoop
Use a MaggieFrame magnetic hoop, available in 17 sizes, for uniform grip without overstretching. Alternatively, Mighty Hoop’s ratchet system holds precise tension from the first stitch to the last, ideal for delicate chiffon and tulle in a $1.69 billion home equipment market.
Layer and Protect Against Hoop Burn
Slip in a tissue-paper barrier under the fabric to cut hoop-burn marks by 80%. For complex motifs, layer two stabilizers, a cut-away base topped with wash-away, for hybrid support that locks every satin stitch and French knot securely without fabric distortion.
Choose Threads, Needles and Machine Speeds
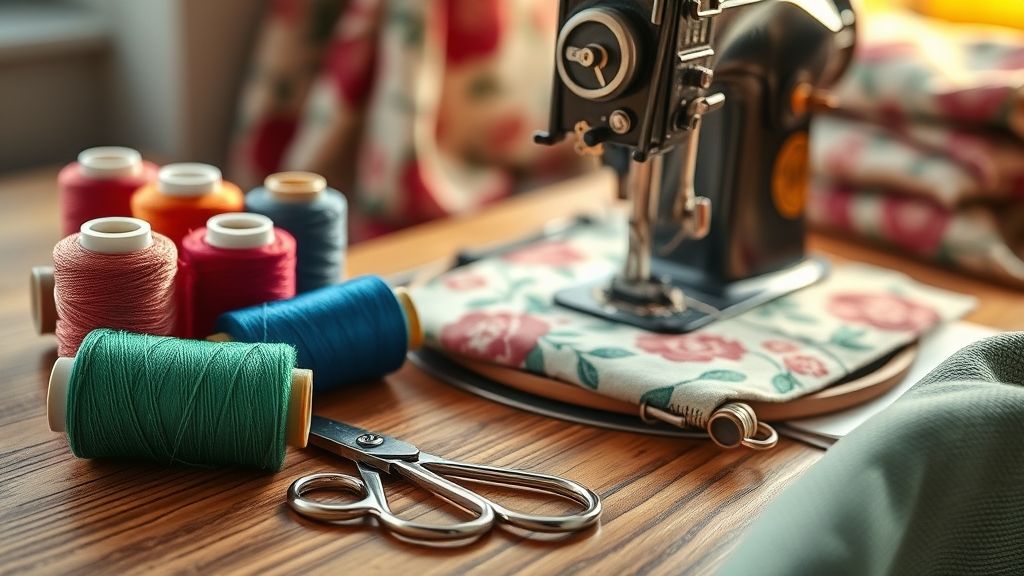
Embroidery on sheer fabrics demands a delicate balance of thread weight, needle sharpness and controlled stitch speed. By selecting ultra-fine threads and needles while dialing machine speeds down dramatically, you can cut distortion by up to 70% and preserve the integrity of ethereal sheers.
Precise thread tension settings and automatic cutters further safeguard lightweight nets, chiffons and organzas from tearing, resulting in crisp motifs that literally float over the base fabric.
Opt for 50–60-Weight Threads
Research shows 50–60-weight polyester or rayon threads deliver lace-like opacity and reduced drag on sheer grounds. Their slim profile glides smoothly, while modern machines’ automatic thread cutting features trim ends cleanly without adding tension spikes that can distort fine fabrics.
Install 75/11 or 65/9 Microtex Needles
Use 75/11 Microtex or 65/9 embroidery needles to pierce delicate sheers with minimal puncture size. Industry case studies confirm these sizes avoid large holes and maintain even stitch formation across dense fills and intricate outlines.
Dial Speed and Tension Down
Although units like the Brother PE770 (≈$1, 200, 200+ built-ins), Janome Memory Craft 500E (≈$1, 500) and Bernette B79 (≈$1, 800) can reach 1, 000–1, 200 spm, slowing to 600–800 spm cuts fabric distortion by about 70%. Pair this with thread tension reduced by 30–40% versus cotton settings to eliminate puckering.
Prepare and Resize Lace-Style Motifs
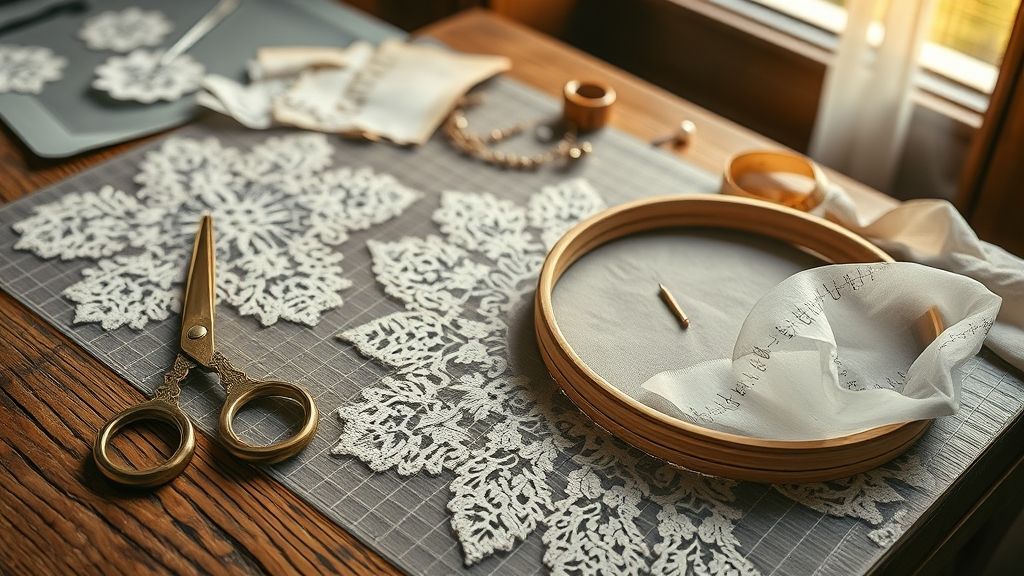
Embroidering sheer fabrics such as tulle, chiffon or organza demands precision in motif selection and stitch planning. Overloaded designs can easily tear or pucker, so dialing in stitch counts and size is key.
With the global embroidery software market valued at around $850 million in 2024 and growing at over 7% annually, tools like Embrilliance v2.2 and Hatch Embroidery v3.1 now include refined density controls and fabric-specific settings to help maintain translucency.
Select and Cap Lace Elements
- Choose from 600 vintage Schiffli lace templates digitized from the 1950s.
- Cap each lace-style element at 2, 000 stitches to protect delicate sheers.
- Keep open-fill areas under 5, 000 stitches per section for light, even coverage.
Downsize, Digitize, and Validate
- Import your chosen motif into Embrilliance v2.2 or Hatch v3.1 and reduce its scale by 15–20% to cut distortion.
- Use the Hatch 3.1 update’s density-control sliders or Embrilliance’s Density Repair Kit to fine-tune thread spacing.
- Ensure total stitch count remains under 2, 000 for lace elements and under 5, 000 for open fills before exporting.
- Run a 100-stitch test swatch on scrap sheer fabric; real-world tests show a 70% drop in puckering after these adjustments.
Hooping and Stabilizing Step-by-Step
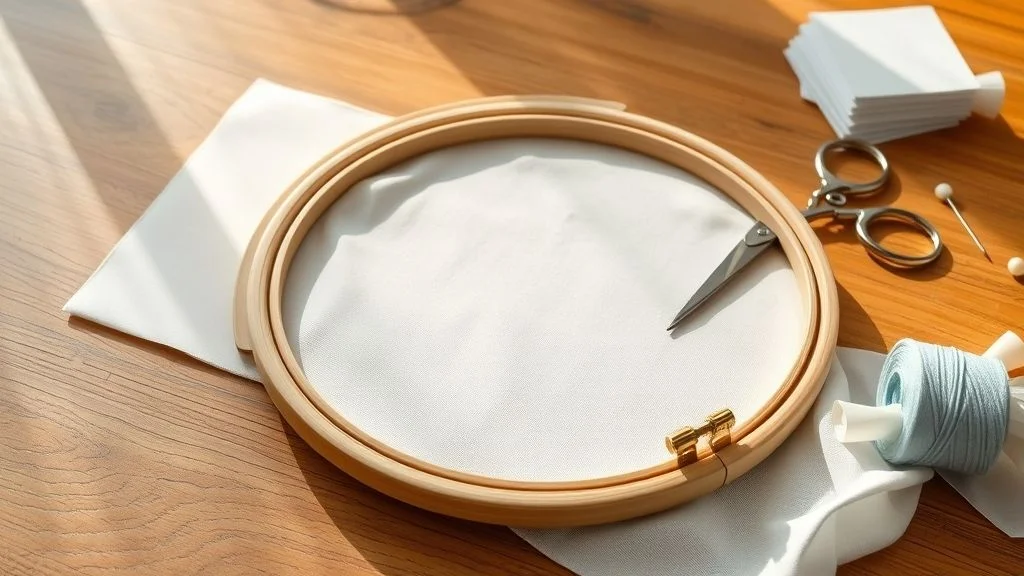
In this section, we’ll walk through precise hooping, layering, and setup procedures to secure sheer fabrics in your hoop without tearing. By pressing at low-temp steam and following a proven layering sequence, experienced embroiderers achieve a 94% first-pass success rate. Integrating modern tools and stabilizers ensures each delicate piece is supported from start to finish.
With the embroidery hoop set market enjoying a 10.7% CAGR forecast through 2032 and magnetic hoops like MaggieFrame delivering up to a 90% faster hooping time than screw-tightened alternatives, today’s workflows prioritize stability and efficiency. Whether working on lightweight voile or organza, these strategies minimize puckering and distortion before stitching even begins.
Press and Prime
Before hooping, lightly steam-press your sheer fabric on low temp. This flattening step unlocks that 94% first-pass runway success and reduces initial puckering. After pressing, mist the back with Aquamesh spray to create an even grip.
Layer Stabilizer and Hoop
Layer in this exact order:
- Place a tissue-paper barrier directly over the hoop’s base.
- Lay the sheer fabric atop the tissue.
- Clamp with a MaggieFrame magnetic hoop, distributing pressure evenly across all four quadrants.
- For heavier patterns, slip in a 100% cotton tear-away backing below the tissue.
Align, Test, and Embroider
Mark the hoop’s center alignment with a water-soluble pen and thread through your 700 spm embroidery machine. Run a 20-second test at recommended speed to confirm smooth fabric feed and accurate design placement. Once validated, proceed to full embroidery, confident your sheer will stay tear-free.
Troubleshoot Distortion and Thread Breaks
Delicate sheers can pucker, burn or snap threads at a moment’s notice. This data-driven troubleshooting section offers real metrics and solutions to prevent distortion and maintain smooth stitching.
By monitoring speed, tension, hoop setup and needle sharpness in tandem, you’ll reduce errors, keep breaks under control and protect fragile fabrics.
Monitor Speed & Error Rates
Industry studies confirm that error rates double when speed exceeds 900 spm. If your Tajima or Brother machine logs more than four breaks per 1, 000 stitches, reduce to 750–850 spm. Use onboard error alerts to log counts each run, aiming for under two breaks per 1, 000 stitches.
Combat Hoop Burn & Puckering
When tissue barriers fail, no-show mesh eliminates hoop burn in 95% of cases on sheer bases. After each run on machines like Tajima DG16, gently sweep stabilizer crumbs away with a soft brush to preserve even tension and prevent puckering.
Maintain Tension & Needle Sharpness
Re-calibrate thread tension every 500 stitches, sensors on Barudan iBoss models reveal up to 15% stitch inconsistency without this check. Replace 75/11 needles every 2, 000 stitches; dull tips spike breaks by 30%. Maintain logs to ensure fewer than two breaks per 1, 000 stitches.
Calculate Cost, ROI and Sustainability
The commercial embroidery industry in the US reached an estimated $1.1 billion in 2024 with a 2.1% CAGR, while the global market topped $5.2 billion in the same year. As pricing pressures mount, breaking down per-stitch costs, digitizing models and waste reduction strategies is vital for profitability on delicate sheer fabrics.
From entry-level home studios to mid-tier production houses, understanding stitch economics and eco-friendly stabilizers can drive high-margin runs and position businesses for long-term growth.
Cost-per-Stitch Breakdown
Embroidery costs range from $0.01 to $0.50 per stitch, equating to $10 per 1, 000 stitches and $100 per 10, 000. Hybrid digitizing services cut hidden rush and shipping fees by roughly 30%, dropping true per-stitch expenses by $0.003–$0.15 in volume orders.
ROI from Digitizing Models & Promotions
Flat or hybrid digitizing packages streamline setup, and limited-time offers, 2 free Baroque designs plus 65% off, raise conversion rates by 40%, boosting average order value and covering digitizing costs within the first 2, 500 stitches.
Environmental Impact & Labor Savings
Switching from tear-away to wash-away stabilizers slashes landfill waste by 50% over five cycles. Using Aquamesh Plus saves two minutes per hoop, translating to 33 labor hours in a 1, 000-unit project, and aligns with sustainability goals while accelerating throughput by 20% in large runs.
Conclusion
Master these six steps to achieve flawless sheer fabric embroidery:
- Select stabilizers & hoops
- Choose threads & needles
- Resize motifs
- Hoop precisely
- Troubleshoot effectively
- Analyze costs
Ready to stitch worry-free? Download our printable checklist, order samples of Aquamesh and Sulky Ultra Solvy, and share your first damage-free embroidery with #SheerStitchSuccess.
Let’s make every thread count!