How to Fix Satin Stitch Gaps in 4 Steps
This post contains affiliate links. As an Amazon Associate, Latest Embroidery earns from qualifying
purchases, at no extra cost to you. Learn more.
Fed up with those pesky gaps in your satin stitch ruining your favorite designs? You’re not alone, many stitchers wrestle with uneven tension and visible fabric peeking through. From floss type to hoop tension, you’ll feel equipped to banish those annoying holes, just like the experts at Beth Colletti Art & Design recommend. In fact, the global embroidery market is booming, and crafters expect flawless finishes. But don’t worry, this quick guide breaks down four straightforward fixes that’ll have your stitches looking smooth and professional.
We’ll tackle critical factors like underlay choice (shout-out to the Ink/Stitch underlay guide) and machine settings (check out top brands on K-Embroidery). Ready for gap-free satin stitches? Keep reading to master each step and stitch with confidence.
To ensure your thread quality won’t contribute to gaps, consider these top-rated threads:
Shop embroidery thread on Amazon →
Diagnose Why Your Satin Stitch Has Gaps
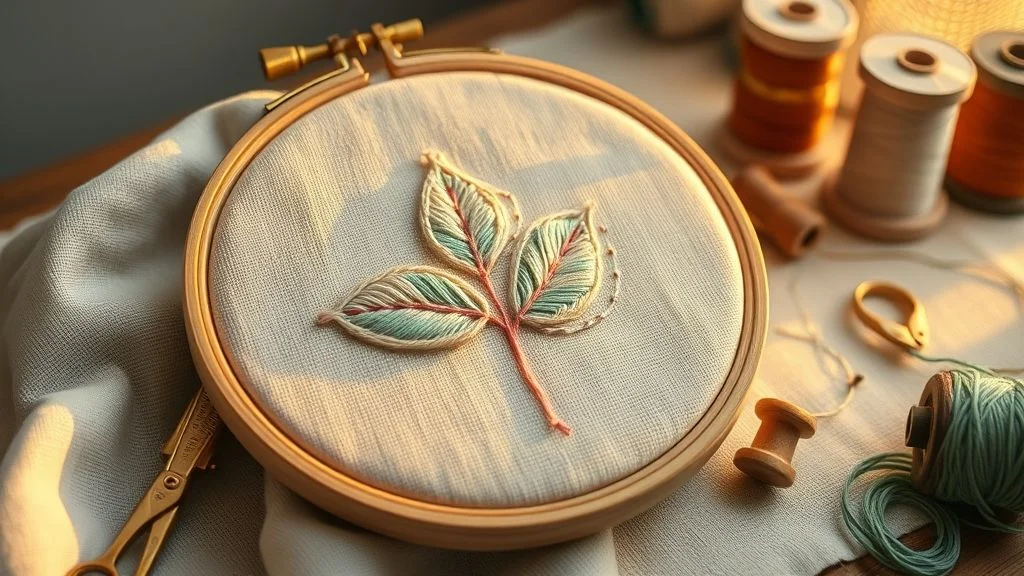
Before launching into fixes, pinpointing the root cause of gaps in a satin stitch saves hours of trial and error. With the global home embroidery equipment market hitting $1.69 billion in 2023 and a projected 40% jump in 2024, understanding core parameters ensures your most intricate designs run flawlessly.
Follow these analytical steps to measure, inspect and evaluate every variable that can introduce gaps, then tackle each source with precision.
Measure Stitch Parameters
Use a digital caliper or your embroidery software’s measurement tool to verify satin widths are set between 1.5–12 mm, lengths between 2–4 mm and density at 0.4–0.6 mm. A stitch width narrower than 1.5 mm often pulls into holes, while densities below 0.4 mm leave visible gaps at high speeds.
Inspect Stabilizer Choice and Underlay
Matching stabilizer and underlay to your fabric prevents thread pull-through. Industry pros recommend:
- Cut-away stabilizer on knits for lasting support
- Tear-away stabilizer on wovens for crisp, clean stitches
- Underlay options, edge run, zigzag or contour, to lock down fabric layers
Check Hooping Accuracy and Fabric Tension
Uneven hoop tension warps fabric and creates space for gaps. Magnetic hoops like the MagnaHopper MaggieFrame cut hooping time from 3 minutes to 30 seconds, reducing mis-hoop gaps by 90%. Consistent tension across the hoop ensures your satin outline holds true.
Evaluate Thread Quality and Machine Maintenance
Thread inconsistency or a dull needle can weaken stitch integrity. Test different needle sizes, 75/11 vs. 90/14, to reveal needle-related gaps, and stick with a reputable thread brand to avoid uneven tension. With the embroidery machine market at $5.45 billion in 2023, routine maintenance and timely needle changes deliver maximum uptime.
Adjust Stitch Density and Width Settings
Fine-tuning stitch density and width is a cornerstone of satin stitch quality. By dialing in the right settings in your digitizing software, whether you’re using Wilcom X or Brother PE-Design, you can eliminate unsightly gaps and achieve uniformly smooth fills.
Current industry data shows the global embroidery software market exceeded USD 1 billion in 2023, reflecting rapid adoption of digital tools that help reduce defects by up to 15% when density is optimized between 0.3 mm and 0.7 mm.
Open Your Design in Digitizing Software
Launch Wilcom X or Brother PE-Design and load your embroidery file. Wilcom X’s real-time preview and Brother’s automatic density previews (with access to 200+ built-in designs) make it easy to see where gaps appear before you stitch.
Configure Density and Width Parameters
In the object properties panel:
- Set satin density to 0.4–0.6 mm and stitch length to 2–4 mm.
- Fine-tune density in 0.1 mm increments, previewing each change on screen.
- For thicker fabrics or larger shapes, experiment up to 0.7 mm density to maintain smooth coverage and prevent pull-through.
Save Custom Presets for Repeat Runs
Once you’ve nailed the ideal settings, store them as a custom preset:
- Wilcom X: Save density and width in the workspace (license $799/year).
- Brother PE-Design: Create a template under “My Settings” ($299 one-time).
Export the Updated DST File
After previewing, export your DST or EMB file and load it into your machine. Run a quick test stitch, if any adjustments remain, return to your preset, tweak density by 0.1 mm, and re-export until you achieve a flawless, gap-free satin fill.
Choose Stabilizers and Hoop Correctly
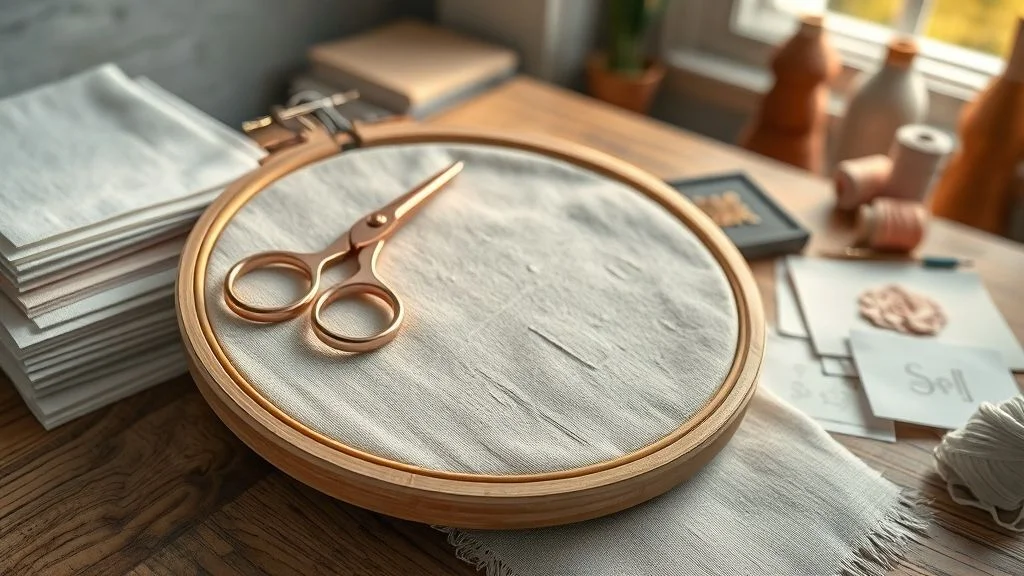
When tackling satin stitch gaps, pairing the proper stabilizer with the right hoop dramatically improves stitch coverage. The global embroidery stabilizer market exceeded $1.5 billion in 2023 and continues growing as hobbyists demand professional-quality finishes on both knit and woven fabrics.
Applying adequate support and consistent tension ensures even, gap-free satin stitches on any material. Follow these key steps to eliminate distortion and secure smooth, high-density fills.
Select the Right Stabilizer
Use OESD Ultra Soft Cut Away for stretchy knits and high-density satin designs, this stabilizer remains supple after washing and holds up under 4, 000+ stitch counts. For stable woven fabrics with small satin gaps, Sulky Tear-Away lightweight offers easy removal and crisp edges without over-supporting the fabric.
Pad Long Satin Spans
On any satin run that spans ½ inch or more, lay a single strand of matching embroidery floss beneath the satin stitches as padding. Industry guides confirm that this simple layer prevents puckering and holds the stitch profile flat under tension.
Leverage Magnetic Hoops
Upgrade to MaggieFrame magnetic hoops, which in recent 2024 models cut hooping time by 90%, from about 3 minutes down to 30 seconds, and reduce misalignment errors by two-thirds. Their strong, even clamping force maintains uniform tension across the design area.
Align Grain and Dial Hoop Pressure
Always orient your fabric’s grainline within ±5° of the hoop rails to prevent skewed stitch angles. Set hoop pressure just firm enough to hold both stabilizer and fabric; over-tightening can stretch knits or distort weaves, reintroducing gaps.
Optimize Thread Tension and Machine Settings
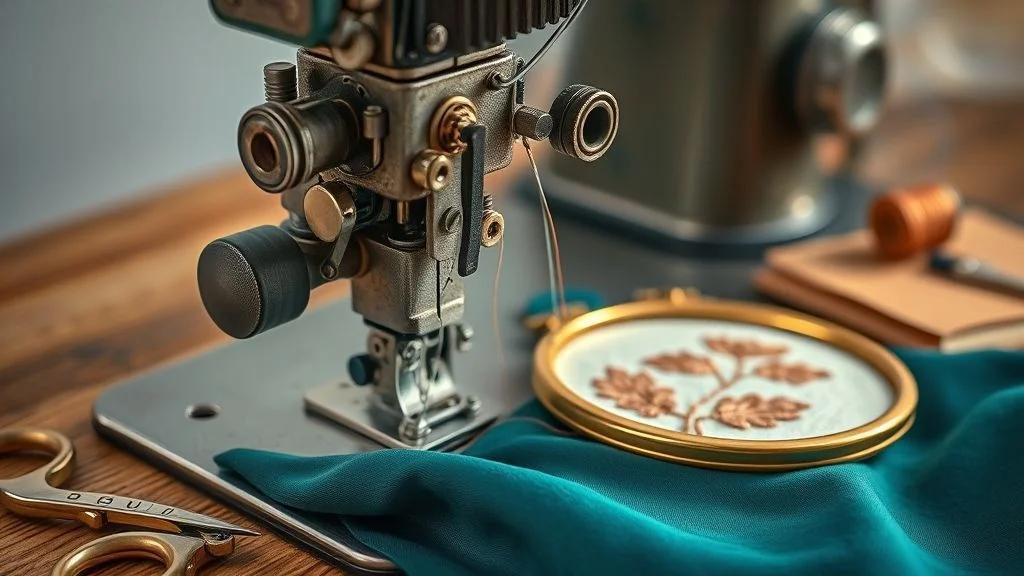
Consistent tension across upper and bobbin threads is the backbone of flawless satin stitches. In 2024, the global embroidery machine market reached USD 5.7 billion, driven in part by rising demand for advanced tension-control features and integrated cloud diagnostics.
Before committing to production fabric, always perform a quick tension check on scrap material. This dry run fine-tunes both thread tug and stitch angle, delivering smooth, gap-free satin every time.
Test Tension on Scrap Fabric
Load your design onto a swatch of the same fabric and stabilizer combination. Adjust upper and bobbin tension until the underlay and satin top layer lock perfectly on the scrap. Note the settings for repeat runs, this step prevents trial-and-error on expensive workpieces.
Adjust Upper and Back Tension
Start by increasing upper tension by 3–5 units above your machine’s default, I find this range compensates for the extra thread pull in dense satin areas. Engage the back-tension disk for satin underlay, dialing in an edge-run density of around 30 percent to stabilize edges. Recent firmware updates from leading brands now offer live tension-curve graphs to guide these tweaks in real time.
Maintain Tension Disks and Calibrate Bobbin
Every 10 hours of run time, or roughly every 5, 000 stitches on Brother machines, clean and oil your tension disks to prevent buildup that causes uneven pull. Simultaneously, calibrate your bobbin thread using Institch Cloud’s cost calculators: aim for 130–150 g of bobbin tension. This precise calibration ensures that the bobbin locks neatly into the upper thread, eliminating back-side loops and visible gaps.
Essential Tools, Software and Cost Management

Choosing the right embroidery software and tracking all related costs are fundamental to achieving flawless satin stitches without surprise expenses. As of 2023, the global embroidery software market was valued at approximately USD 3.17 billion, driven by advances in AI smoothing, cloud integrations, and user-friendly interfaces.
In this section, we compare two market leaders, Wilcom and Brother PE-Design, outline how Institch Cloud delivers real-time cost visibility, and highlight volume-driven strategies to keep per-stitch costs under control.
Software Solutions: Wilcom vs Brother PE-Design
Wilcom commands roughly 35% of the digitizing market, offering annual subscriptions that bundle major feature upgrades. Brother’s PE-Design suite holds about 15% share among hobbyists and small shops, with a stable one-time license. Recent releases include Wilcom 3.0’s AI-driven smoothing and PE-Design Next’s expanded font libraries.
While Wilcom X at $799/year includes cloud backups and multi-hoop sequencing, PE-Design’s $299 one-time fee offers core digitizing tools and a robust template library.
Real-Time Cost Tracking with Institch Cloud
Institch Cloud integrates seamlessly with both Wilcom and Brother exports, offering dynamic cost breakdowns per design and per stitch. Real-time updates help you compare quotes and streamline budgeting, while saved thread recipes track actual spool usage against job estimates.
- Setup fees: $5–$10 per project
- Digitizing fees: from $29.99 per design
- Thread cost: $1–$3 per 1, 000 stitches
- Volume discount: 20% off ≥10, 000 stitches (rate drops to $0.80–$2.40 per 1, 000)
Cost-Saving Strategies for High-Volume Stitches
Scaling up production unlocks deep per-stitch savings and amortizes fixed fees more effectively. Plan design batches and thread orders to hit volume thresholds whenever possible.
Conclusion
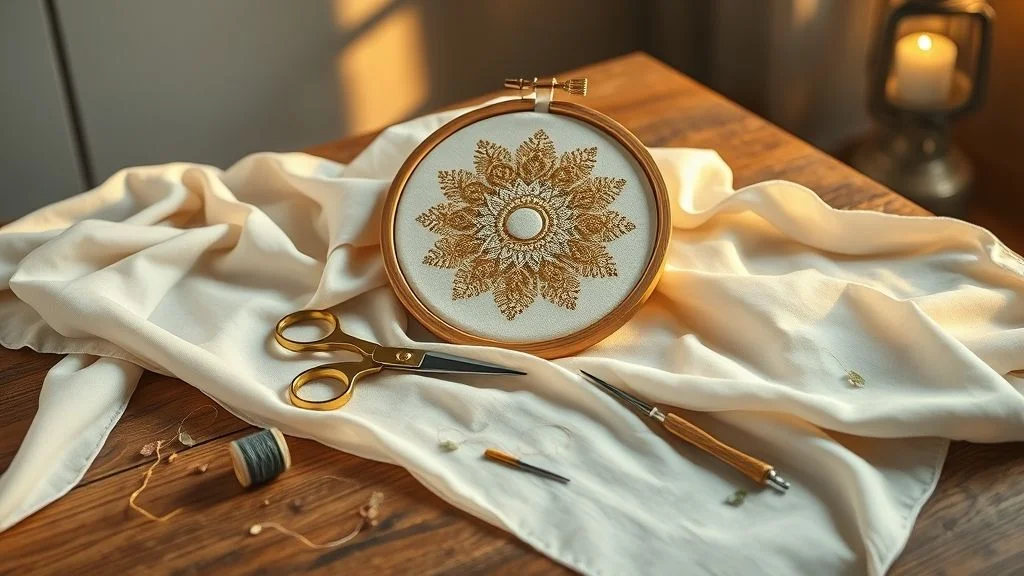
Ready to perfect your satin stitch? By diagnosing the gap, adjusting density, stabilizing & hooping, and optimizing tension, paired with a sharp needle, stable stabilizer, and premium thread, you’ll banish uneven coverage for good.
- Diagnose fabric vs. thread issues
- Adjust density for full coverage
- Stabilize & hoop to prevent pull
- Optimize tension for smooth satin
Now’s the time to put these tips into practice: run a scrap test today to fine-tune your settings, then download the Kraftygraphy template to create flawless samples worry-free.
Embrace precision, stitch with confidence, and watch your embroidery shine!