<span style="background: #228b22; color: white; width: 24px; height: 24px; border-radius: 50%; display: flex; align-items: center; justify-content: center; margin
Prepare Your SVG for Smooth Conversion
Related reading: Embrilliance
Related reading: browser-based image-to-embroidery converter
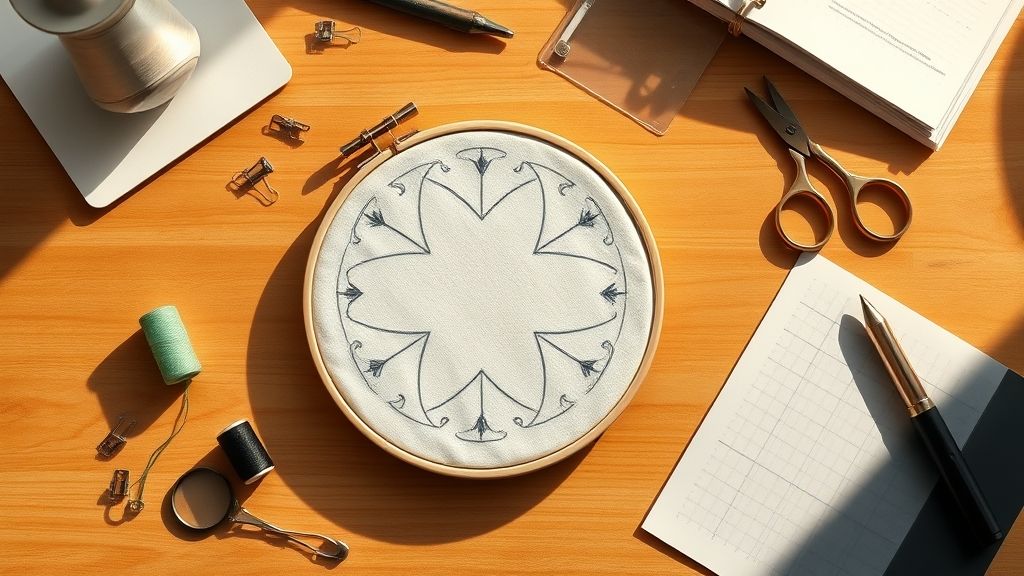
Before you export and convert your vector art into a stitch file, a quick cleanup in Inkscape can save minutes troubleshooting effectively. With the global embroidery software market forecast to exceed USD 8 billion by 2032, getting crisp, compatible SVGs at 300 DPI or above ensures a seamless import into PES or DST formats.
Following these steps, setting DPI, converting fonts, simplifying paths and grouping elements, aligns your designs with modern embroidery workflows and significantly avoids common pitfalls in digitizing, boosting productivity.
Set Document DPI
Open Document Properties (Inkscape 1.1) and set Custom DPI to 300 or higher for precise stitch mapping.
Convert Text to Curves
Select text elements, then run Text→Object to Path to convert fonts into editable curves for embroidery engines.
Simplify Complex Nodes
Use Path→Simplify (Ctrl+L) until each shape has under 500 nodes, which streamlines digitizing and trims file size.
Group and Export
Select objects, hit Alt+G to group by color, then in File→Save As choose “Plain SVG” for compatibility; this strips excess metadata and locks layers for better interoperability.
Quick Convert with Ink/Stitch in Inkscape
Ink/Stitch 2.1, released in January 2022 with satin column support and custom palettes, powers a streamlined SVG-to-embroidery workflow inside Inkscape 1.1. Thanks to an active community, Ink/Stitch averages over 10, 000 monthly Linux downloads alone, hobbyists and pros alike rely on its intuitive parameters and free, open-source foundation to get designs stitch-ready in minutes.
In under 15 minutes, you’ll install the extension, dial in stitch settings, preview the path, and export a machine-ready PES v6 or Tajima DST file. Follow these four steps to turn your vector shapes into perfectly sequenced stitches.
Install Ink/Stitch 2.1
Download Ink/Stitch 2.1 and copy the entire inkstitch extension folder into your Inkscape 1.1 extensions directory. Restart Inkscape to activate the plugin, which adds a new “Ink/Stitch” submenu under Extensions.
Configure Stitch Settings
Open your optimized SVG, then go to Extensions → Ink/Stitch → Params. For outlines, choose Satin stitch; for larger areas, select Fill stitch. Set density to 0.4 mm, enable Auto Color Sort, and add an underlay of 0.2 mm for clean layering on all thread colors.
Preview with Visualize Tool
Simulate your design by selecting Extensions → Ink/Stitch → Visualize Embroidery. This on-screen model renders thread order and path flow, so you can spot overlaps or density issues. Return to Params if any adjustments are needed.
Export as PES/DST
When the simulation looks perfect, choose Extensions → Ink/Stitch → Embroider. In the dialog, pick PES format v6 or Tajima DST, name your file, and click “Save.” Your machine-ready file is now ready to load and stitch.
One-Click Digitizing in Commercial Suites
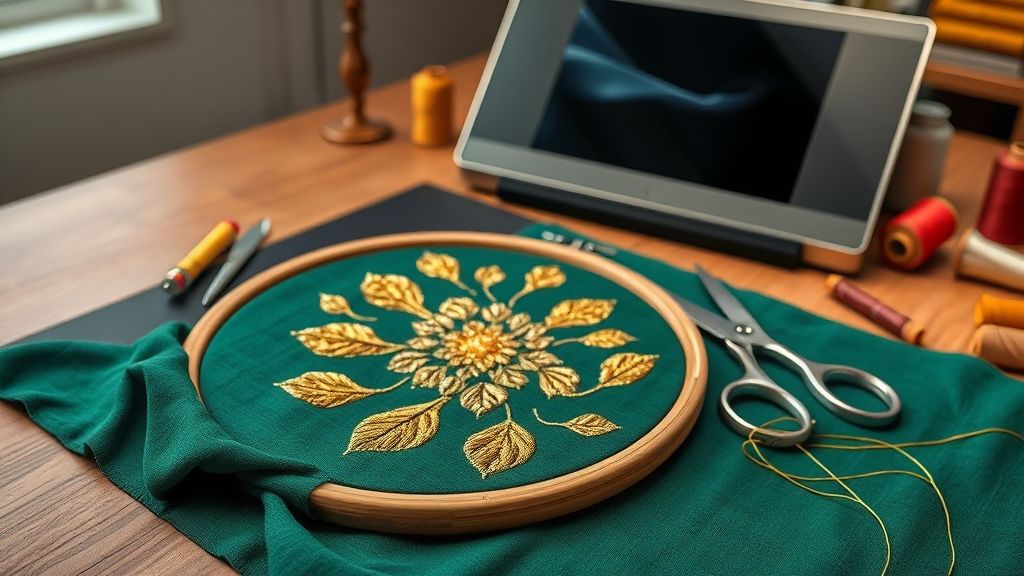
As the global embroidery software market topped an estimated USD 1.2 billion in 2024 with a projected CAGR near 8.5%, auto-digitizing has become essential for speed and precision. Leading suites like Wilcom Hatch 5.0 and Embird 2019 combine AI-driven algorithms with manual tweak tools to convert SVGs into machine-ready stitches in minutes.
In under 15 minutes you can import a high-res SVG, generate a stitch plan, refine underlays and satin fills, and export to PES or DST. Both platforms streamline one-click workflows while offering granular stitch editing and on-demand resizing to maintain density and alignment.
Wilcom Hatch One-Click Workflow
In Hatch 5.0 (subscription $499/year), open your SVG via File→Open and confirm 300 DPI. Select Autodigitize→TrueSnap to auto-generate jumps, underlays and fills. Switch to the Stitch Edit Tool to refine underlay overlap to 0.2 mm, adjust satin stitch widths and set stitch angles. When ready, choose File→Save As→.pes or .dst. For resizing without density loss, load your PES in Wilcom TrueSizer 2.0 and scale on-demand with stitch count preserved.
Embird Auto Digitize Plugin
With Embird 2019 (one-time fee $149), launch the Digitizing Plugin and click Convert→Auto Digitize. The plugin analyzes vector paths, assigns underlay layers automatically, then use the Thread Control panel to tweak color mapping and satin widths. Preview the stitchout, dial in angles per segment, and export directly to .dst. Embird’s updated thread libraries ensure accurate conversion across popular machine brands.
Troubleshoot Common Conversion Errors
When converting SVG to PES or DST, even seasoned embroiderers can hit snags, especially with files over 5 MB, missing stitch elements, or density quirks. Given a projected 6.1% CAGR in the global embroidery market (valued at $1.54 billion in 2024), optimizing your workflow with precise fixes can shave minutes off each design.
Below are hands-on solutions using Wilcom TrueSizer 2.0, Ink/Stitch, and online utilities like SVGOMG to resolve frequent SVG-to-stitch hiccups.
Verify and Convert Formats
Open your SVG in Wilcom TrueSizer 2.0 (v2.0.2 adds DST import improvements) to switch between PES and DST. Always preview stitch counts to confirm no segments were lost.
Reduce File Size
If an online converter rejects files over 5 MB, upload your SVG to SVGOMG and strip metadata. Target ≤ 5 MB for seamless uploads.
Restore Satin Stitches
Missing satins? In TrueSizer’s stitch parameters, set Underlay Overlap to 0.2 mm. This ensures the foundational overlap needed for crisp satins.
Fix Thread Colors
Under Extensions → Ink/Stitch → Color Sort, manually assign threads to correct palette indices. This prevents automatic remapping from dropping hues.
Adjust Density
Fill stitch gaps or puckering by setting density between 0.4 mm (light fabrics) and 0.5 mm (heavier materials). Test on scrap to lock in the ideal setting.
⚡ Convert Your Design Free, Right Here
You do not need to pay for digitizing software to convert a single image. Drop a PNG or JPG into our free
converter and get a machine-ready file back, no install, no signup wall.
Open the free converter →
USB Flash Drive (for your machine)
Once the file is converted you still have to get it onto the machine. Most embroidery machines are fussy: use a smaller drive formatted FAT32, not a large modern one. |
Shop on Amazon → |
Embroidery Machine Needles (75/11)
Converted designs are often denser than commercial ones. A fresh sharp needle is the difference between a clean first run and a shredded one. |
Shop on Amazon → |
As an Amazon Associate, Latest Embroidery earns from qualifying purchases, at no extra cost to you.
FAQ on SVG-to-PES/DST Conversion
With the global decorated apparel market soaring past US$28 billion in 2023 and projected to hit US$68 billion by 2030, efficient digitizing has never been more vital. Whether you’re a hobbyist or small-business embroiderer, swift SVG-to-PES/DST workflows save time and reduce errors.
In this quick FAQ, we tackle file-size limits, tool speeds and key settings so you can convert designs in under 15 minutes and keep production flowing.
How large can my SVG be for online converters?
Most web-based tools like My Editor cap uploads at 5 MB. If your art is heftier, run it through a compressor like SVGOMG to strip metadata and optimize paths without quality loss.
Which free tool converts fastest?
Ink/Stitch typically completes import, digitizing, tweaking and PES/DST export in 10–15 minutes on average. SewArt, by comparison, often takes 20–30 minutes end to end.
How long does auto-digitizing take?
Modern software such as Hatch Embroidery 3.1 and Embird NZ finish auto-digitizing in under 5 minutes. Plan an additional 10–20 minutes for manual refinements and color adjustments.
Can I resize embroidery after export?
Yes. Wilcom TrueSizer scales PES/DST files up or down without changing stitch density, ideal for tweaking hoop sizes or swapping fabric weights.
What’s the ideal fill stitch density?
Use about 0.4 mm on lightweight materials like voile or linen. For heavier fabrics such as denim or canvas, bump density to around 0.5 mm to maintain coverage without puckering.
Conclusion
With optimized SVGs and the right software, you can convert to PES/DST in minutes. From selecting your tool and troubleshooting hiccups to resizing in TrueSizer, each step is streamlined for efficiency.
Ready to level up your embroidery workflow? Test these methods on your next project and share your results in community forums to inspire and learn together.
Get stitching!