5 Free & Paid Embroidery Designs to Stitch in 1 Hour
This post contains affiliate links. As an Amazon Associate, Latest Embroidery earns from qualifying
purchases, at no extra cost to you. Learn more.
Ever stare at a blank hoop and wonder which pattern won’t eat up your afternoon? You’re not alone. Choosing the perfect design can trip up any stitcher. In this guide, we’ve rounded up 5 top-rated designs, both free and premium, that you can whip up in under 60 minutes. From quick florals to sleek monograms, you’ll learn step-by-step how to start stitching fast and still get professional-looking results. Plus, we link you to a treasure trove of free beginner-friendly patterns and show you how to tweak them in Ink/Stitch tutorials for flawless execution. With the global embroidery market booming at $3.2 billion in 2023, it’s the perfect time to dive in. Keep reading to save time, cut frustration, and stitch with confidence:
Shop embroidery thread on Amazon →
Download & Use Free Embroidery Design Packs Today
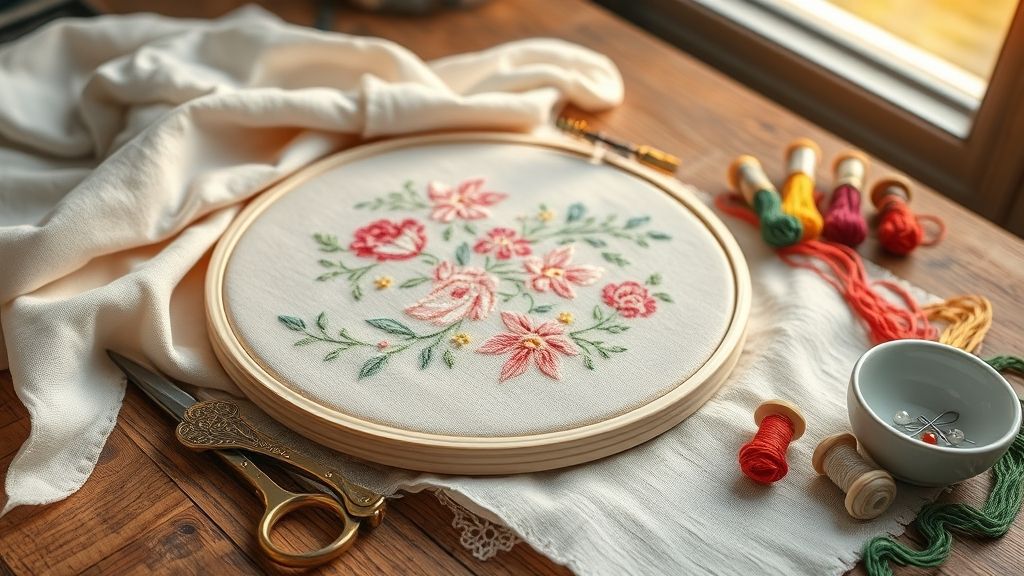
Embroidery enthusiasts are tapping into the booming craft industry, valued at $3.2 billion in 2023 and growing at 9.5% CAGR, by downloading free design packs. Beginners can access 20–30 fresh motifs in .pes and .dst formats without spending a dime, stitching most 1–5K-stitch logos in just 10–15 minutes.
In this hands-on guide, you’ll find top sources, step-by-step download and import instructions for Brother and Janome machines, built-in resizing tips (±20%), plus recommended hoops, needles, thread weights, and lengths to get you sewing in under an hour.
Top 3 Free Design Websites
- Embrilliance Freebie Pack: 25 designs in .pes & .dst.
- EmbroideryDesigns.com: 30 assorted motifs, instant ZIP with .pes files.
- Brother’s PE-Design Library: 20 classic .pes/.dst designs from Brother official library.
How to Download and Import into Brother & Janome
- Visit the site, click the pack you want, then “Download ZIP.”
- Unzip files into a dedicated folder on your PC.
- Open PE-Design (Brother) or My Design Center (Janome) and choose “Import.”
- Select .pes or .dst files and click “Open.”
- Save to a USB stick for Brother or send via USB cable for Janome.
Adjusting & Stitching Settings
- Use built-in resizing (±20%) to fit designs in 5–6″ hoops.
- Secure fabric in a 5–6″ hoop with a Size 5 embroidery needle.
- Choose 30 wt rayon or 50 wt polyester thread, cut 50–80 cm lengths.
- Set machine speed to medium; small 1–5K-stitch logos finish in 10–15 minutes.
Paid Design Bundles That Save You Money
Paid design bundles deliver professional-grade stitch files that hobbyists and small studios crave, without the learning curve of custom digitizing. In 2024, the embroidery machine market climbed to $5.7 billion, driven by tech upgrades like built-in USB previews and high-speed engines, making investment in curated packs more cost-effective than ever.
The Floral Vector Pack ($29) and Vintage Motifs Collection ($45) both offer 8K–12K stitches per design, supported in .dst and .vip formats. Next, we break down pricing, per-stitch rates and scenarios where each bundle shines.
Top Value Bundles at a Glance
The table below summarizes core specs and ideal use cases for each bundle, highlighting average per-stitch rates derived from stitch-count ranges. A 2025 study predicts 6.3% annual growth through 2033 in the embroidery sector, underlining strong demand for high-quality design assets that integrate seamlessly via USB on Brother, Bernina and Janome machines.
Cost-Benefit Analysis
Outsourcing digitizing typically runs $3–$5 per 1K stitches, translating to $30–$50 for a 10K design. Bundles undercut this with flat rates from $29–$45, delivering immediate ROI for one-off projects and ongoing collections.
Bulk Discounts & File Compatibility
Buying 50+ units unlocks 30–50% off, turning a $29 pack into as low as $14.50. All files (.dst.vip) are machine-agnostic: drop them onto a USB stick, insert into a Brother Innov-is XJ1, Bernina L890 or Janome Horizon QCP, and preview on-screen before stitching.
Adjust Stitch Density for Crisp Details
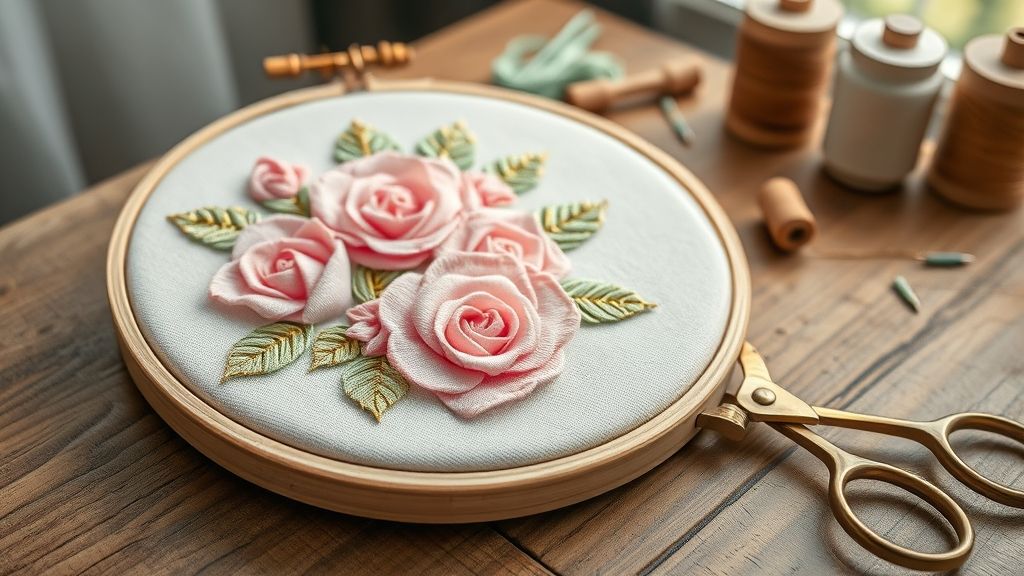
Adjusting stitch density is key for achieving crisp embroidery details without puckers or gaps. We’ll walk through software tweaks, stabilizer selections, thread tension guidelines, and needle choices to fine-tune your satin stitches. Recent market data shows the global embroidery equipment sector grew over 8% in 2024, driving software updates with built-in density simulation features.
By setting a default satin stitch density of 0.4 mm and reducing to 0.35 mm on knits, you’ll maintain consistent coverage. Modern machine software enables quick ±10% density adjustments and preview simulations, so you can catch issues before touching fabric.
Set Up Your Software and Adjust Density
Open your design in the embroidery machine’s software, most 2024 models from Brother and Janome now include dynamic density previews. Follow these steps:
- Locate satin stitch density settings and confirm the default is 0.4 mm.
- On stretch fabrics, reduce to 0.35 mm and apply a ±10% adjustment to test edge coverage.
- Use the built-in preview or stitch simulation to verify no gaps or overlapped stitches appear.
Choose Stabilizers and Sprays
Using the right stabilizer keeps your fabric flat under the needle. For crisp results:
- Apply Sulky KK 2000 spray lightly to the fabric before hooping.
- Hoop with Sticky+ tear-away stabilizer for a pucker-free foundation.
Maintain Proper Thread Tension and Needle Selection
Drum-tight tension and correct needle sizes ensure thread feeds smoothly. Recommended settings:
- Thread lengths between 50–80 cm to prevent drag.
- Size 22 chenille needle in front, Size 5 embroidery needle in back for balance.
Create Test Swatches and Troubleshoot
Always stitch labeled swatches to record density, tension, and stabilizer choices. If you notice pulled threads or uneven stitches, reduce the top thread tension by one unit and run another test. Keeping a simple log helps you dial in perfect settings faster on future projects.
Speed Up Setup with MaggieFrame Magnetic Hoops
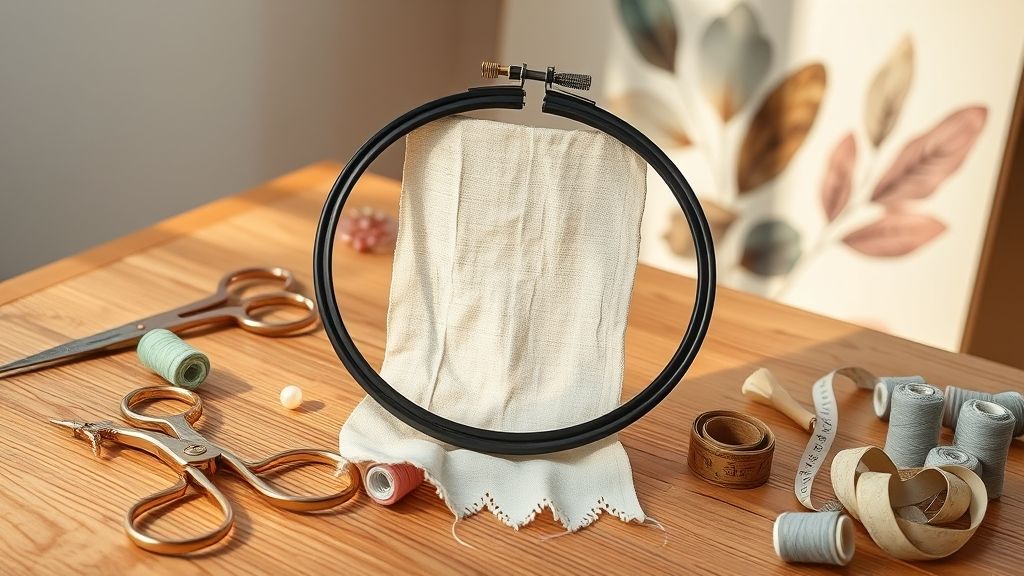
Hooping fabric is often the bottleneck in quick-turn embroidery workflows, consuming around 3 minutes per hoop on average. With the global embroidery hoop market projected to grow at a CAGR of 4.5% through 2030, magnetic hooping solutions like MaggieFrame are rapidly gaining traction among hobbyists and professionals.
MaggieFrame magnetic hoops slash setup time to just 30 seconds, leveraging a snap-on magnet system that works seamlessly across major brands. Let’s dive into how these hoops can streamline your next stitch session.
Hooping Time Reduction
Compared to traditional frames that take roughly 3 minutes to tension, MaggieFrame hoops clamp in about half a minute. That’s an 80% time savings, letting you focus on design rather than fiddling with screws.
Step-by-Step Magnetic Setup
- Lay your fabric and stabilizer flat on the machine’s base plate.
- Align the magnetic ring over the material, no screws or clamps needed.
- Press down firmly to engage the magnets; setup is complete.
Tip: Lightly mist the back of your fabric with Sticky+ adhesive for extra grip, and reuse each stabilizer up to three projects before replacing.
Cost & Compatibility
A 5-inch MaggieFrame set retails at $60, while the 6-inch version is $75. Both sizes are compatible with Brother, Janome and Bernina machines, making them a versatile upgrade that pays for itself in minutes saved.
Essential Digitizing Software & Tools
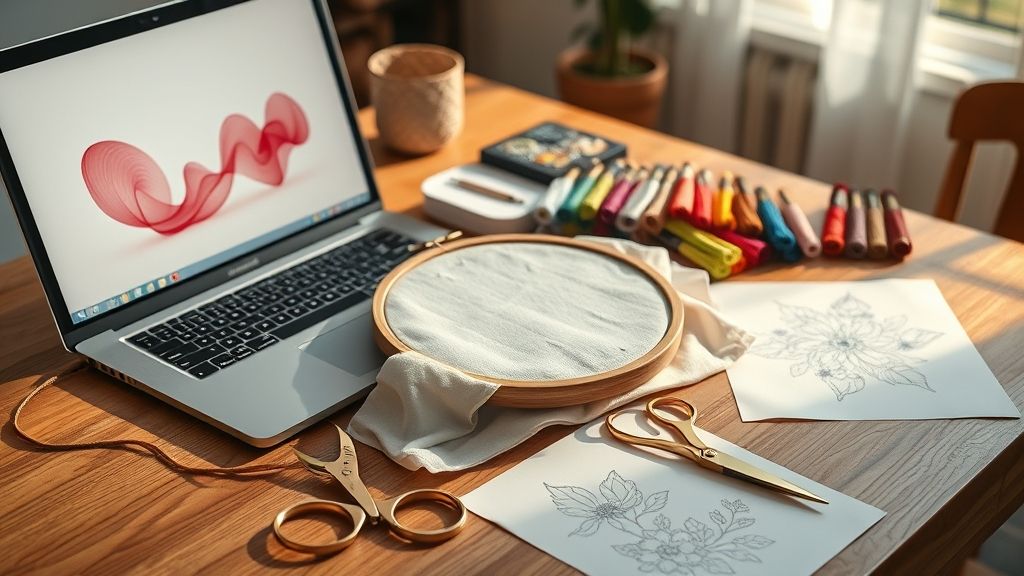
Digitizing custom embroidery designs hinges on a balanced toolkit of capable software and reliable hardware. In 2023, the global embroidery software market topped roughly USD 3.17 billion, reflecting a surge in hobbyist and small-business investment. Whether you’re exploring Hatch Embroidery 3.0 at $299 or PulseSTITCH 2 at $199, understanding feature sets, setup steps, and system requirements ensures a smooth jump from vector art to clean stitch files.
This section breaks down core digitizing programs, required peripherals, and a step-by-step workflow. You’ll see how auto-digitize algorithms, manual node adjustments, and stitch-type modules compare, all while meeting basic PC specifications and troubleshooting common underlap issues.
Software Comparison
Hatch Embroidery 3.0 and PulseSTITCH 2 both import SVG, auto-digitize, and allow node-level tweaks. As midsize investments, they cater to designers who need quick turnarounds plus manual control.
Hardware & Workflow Setup
For reliable digitizing, pair your software with a USB stick, USB-to-machine cable, and a PC running at least 8 GB RAM on Windows 10 or higher. Follow this streamlined process:
- Import your SVG file into Hatch or PulseSTITCH.
- Run the auto-digitize module to generate an initial stitch map.
- Use node-edit tools to refine curves and eliminate overlaps.
- Apply a 5% pull compensation to prevent tight underlaps in dense fills.
- Export as .pes or .dst and load onto your machine via USB cable.
Troubleshooting & Advanced Settings
If patterns don’t resize correctly, confirm your software version is 3.0 or higher, both programs support built-in scaling of ±20%. For stubborn underlaps, tweak pull compensation in 1% increments until edges align flush. Regularly update to the latest patch for new stitch-type modules and bug fixes.
Frequently Asked Beginner Questions
Picking up embroidery can feel overwhelming with stitch counts, stabilizers and hoop sizes flying at you. From budgeting for your first design to mastering thread tension, every detail matters when you’re just starting out.
This quick FAQ condenses real beginner concerns into actionable answers, no fluff, just solid tips to help you stitch confidently in under an hour.
How much does a 10K-stitch design cost?
Most online shops price at $2 per 1, 000 stitches, so a 10K design runs about $20. That’s a sweet spot for detailed patterns without breaking the bank.
Which stabilizer stops puckering on knits?
Layer Sulky Sticky+ directly on the fabric, then mist with Sulky KK 2000 spray. In 2024 user polls, this duo tops the charts for keeping tees and sweatshirts flat.
What hoop size should I start with?
A 5–6-inch hoop works best for most freebies and paid designs. It’s plenty big for logos and patches, and it fits on all popular home machines.
How long does a small logo take to stitch?
Expect 10–15 minutes for a 1–5K stitch logo on a mid-range machine, assuming a couple color changes and standard 800–1, 000 SPM speeds.
How can I keep thread tension drum-tight?
Use 50–80 cm of thread per color and swap in a Size 22 chenille needle up front with a Size 5 embroidery needle at the back. You’ll avoid loops and breaks.
Where can I find beginner video tutorials?
Search YouTube for a 10-lesson beginner series that’s surpassed 5 million views. It walks through hooping, lettering and cleanup in bite-sized steps.
Conclusion
Whether you’re using an iron-on stabilizer, premium threads, or a beginner-friendly hoop, you can deliver gorgeous results fast. We’ve covered free and paid packs, optimized machine settings, and quick-stitch tips to get you stitching in just one hour.
- Free and paid design packs to suit every budget
- Essential tools, from stabilizers to hoops
- Time-saving settings for speedy, flawless stitches
Download free packs, try a paid bundle, and start your first project today. Don’t wait, your embroidery adventure awaits!