Quickly Digitize Handwriting into Embroidery Designs
This post contains affiliate links. As an Amazon Associate, Latest Embroidery earns from qualifying
purchases, at no extra cost to you. Learn more.
Imagine saving over 400 hours a year by turning your own handwriting into precise embroidery designs in minutes. Struggling with inconsistent tension and endless setup time? You’re not alone. In this guide, we’ll walk through a simple, step-by-step process to digitize your script using Hatch Embroidery, SewArt or the free Ink/Stitch extension. Backed by recent handmade industry data, these tools crush manual digitizing hurdles in seconds. You’ll learn how to optimize tension, pick the right magnetic hoop and export crisp embroidery files in formats your machine loves. Ready for flawless, personalized stitching every time? Keep reading to discover how to transform your handwriting into stunning embroidery with confidence and ease.
Ready to pick your next embroidery machine? Check out these options:
Shop embroidery machines on Amazon →
Embroidery Essentials for Handwritten Designs
Free PNG / JPG → DST Converter
Turn your image into a machine-ready embroidery file right in your browser. Instant stitched preview, thread colors, and a free .DST download.
Try the free converter →In a hurry? Jump to our recommended digitizing picks ↓
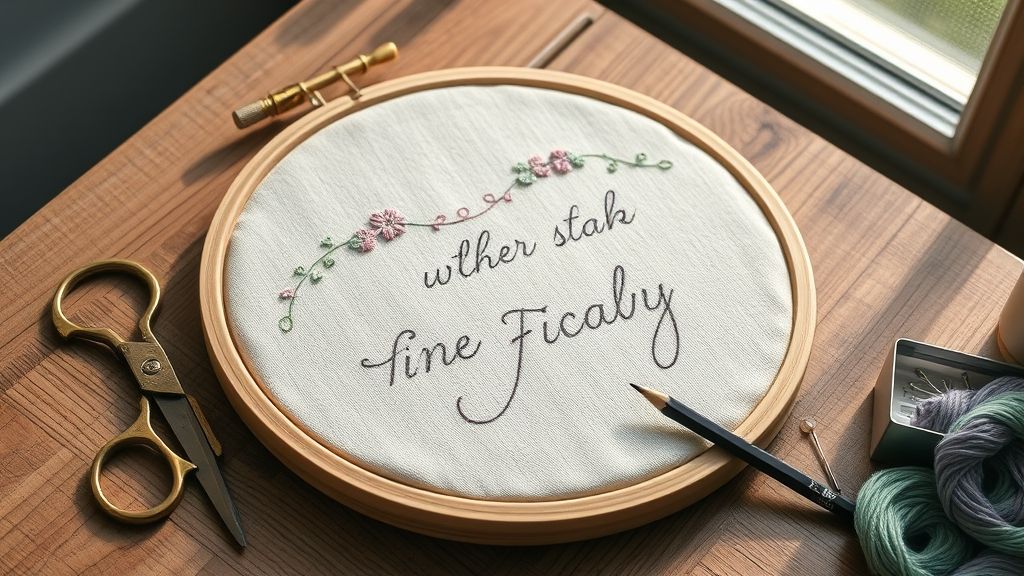
Prepping handwritten letters for embroidery isn’t just tracing: it’s about matching traditional stitch work with modern tools. The home embroidery segment contributes to a global market that hit $5.7 billion in 2024 and is forecast to reach $7.9 billion by 2034, thanks to machines boasting AI-powered digitizing modes.
Below are must-have stitches, fills and resources to convert your penmanship into crisp, professional embroidery.
Outline Stitches
For defining letter edges with clarity, rely on:
- Back stitch – creates straight, uniform lines ideal for stems
- Split stitch – adds a slight texture, perfect for gentle curves
- Stem stitch – delivers smooth, flowing lines for calligraphic scripts
Textured Fill Options
Infuse body fills with depth and sheen using:
- Satin fill – smooth, reflective surface for narrow strokes
- Padded satin – extra loft for bold, dimensional letters
- Long & short – seamless shading across wider scripts
Font Size & Free Resources
Keep your x-height at least 10 mm for on-fabric legibility. Enhance designs with free vintage alphabets from Antique Pattern Library and LoveCrafts, then refine smooth curves through Mary Corbet’s 15 free handwriting tutorials.
Test & Refine
Always trial stitch combinations on scrap fabric before finalizing. Recent software updates include AI-driven digitizing previews, letting you adjust tension and fill density without wasting expensive threads.
Choosing Software to Auto-Digitize Your Handwriting
When you’re ready to turn a unique handwriting sample into a stitch-ready file, starting with free trials of Hatch Embroidery 3, SewArt and Ink/Stitch gives you a direct look at auto-digitizing accuracy and workflow. Each platform brings its own strengths, and side-by-side testing helps you pinpoint which one handles cursive loops and sharp corners best.
Beyond initial conversion, you’ll want tools that let you refine node points, tweak stitch types and export into the exact format your machine reads. By assessing output formats, hardware requirements and manual editing features during trial periods, you’ll arrive at a solution that fits both your craft goals and your computer’s capabilities.
Free Trials and Auto-Digitizing Tests
Download the 30-day trial of Hatch Embroidery 3, grab SewArt’s Windows demo and install Ink/Stitch v2.1 in Inkscape to run the same handwriting sample through each engine. Hatch’s May 2024 Digitizer 3.0 update claims a 25% boost in curve detection, while SewArt on Windows 11 lets you batch-process PNGs in under a minute, and Ink/Stitch remains the no-cost wildcard with core tracing functions.
Refining with Manual Editing Tools
After generating a base file, dive into each program’s node editor: Hatch’s advanced point-and-click handles satin vs. fill conversions, SewArt offers basic trim-and-connect tools, and Ink/Stitch v2.1 introduced stitch-type smoothing. Running two edit passes, first on major curves, then on stitch density, helps ensure a cleaner, more stable balance.
Verifying Output Formats
Check that your trial exports match machine-readable formats: Hatch supports 25+ extensions including DST, PES, EXP and .sew; SewArt covers PES, JEF, XXX; Ink/Stitch reliably outputs PES and DST from Inkscape. Matching extensions prevents rework and keeps transfer, via USB or network, seamless.
Trial Performance and Hardware Considerations
During trials, note memory and CPU usage: Hatch’s advanced digitizer benefits from 16 GB RAM and SSD storage, SewArt runs smoothly on 8 GB, and Ink/Stitch leans on Inkscape’s overhead. On Core i5 vs. i7 benchmarks, Hatch processed a 10 × 10 cm design in 45 s vs. 30 s, while SewArt handled the same in under a minute even on entry-level hardware.
Scanning and Cleaning Your Handwriting
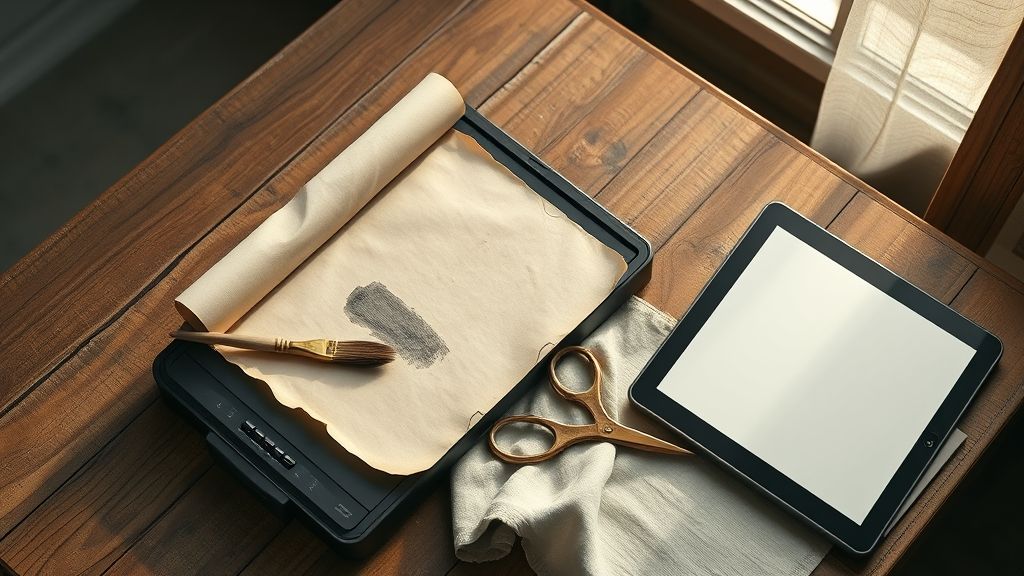
Before you can digitize your handwriting into stitch-ready art, you need a crisp, high-contrast image. A clean scan lays the foundation for accurate vector tracing and smooth embroidery output.
With the global embroidery software market reaching USD 3.17 billion in 2023 and growing at nearly 10% annually, precision at the scanning stage has never been more critical for hobbyists and professionals alike.
Optimizing Your Scan
Use a flatbed scanner set to 300 DPI to capture every ink detail. Choose grayscale mode if available, then save your initial image as a PNG to preserve sharp edges and avoid compression artifacts.
Converting to Black and White
Open the scan in an editor like GIMP or Photoshop and switch to pure black-and-white mode. This removes gray tones and stray shadows, ensuring your tracing tool recognizes only two values and yields a cleaner vector.
Cleaning Noise in Inkscape
Import the B&W image into Inkscape and run Path > Trace Bitmap to convert it into vectors. Zoom in at 400% and delete stray nodes or smudges with the Node tool, this step cuts down on stitch errors and skipped runs.
Scaling and Exporting Your File
Open Document Properties and adjust the canvas so each letter stands at least 10 mm tall, matching stitch density recommendations on popular machines. Finally, export the cleaned artwork as a PNG or BMP for seamless import into digitizing software.
Digitizing Handwriting Step-by-Step
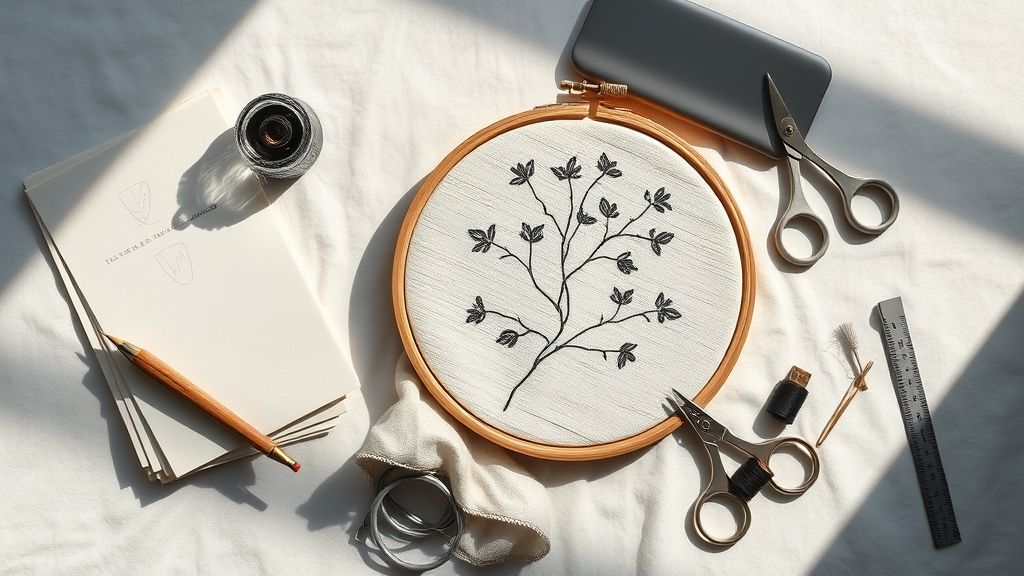
Embroidery software has surged in capability and popularity, with the global market reaching $3.17 billion in 2023 and projecting steady growth at an 8.7 % CAGR through 2030. Modern tools from brands like Wilcom, Brother PE-Design and Hatch now offer AI-driven auto-digitizing to turn your handwritten notes into polished stitch files in minutes.
In this hands-on tutorial, we’ll walk through importing a cleaned scan, running the auto-digitize routine, fine-tuning stitch properties and optimizing lettering for crystal-clear output, then previewing and exporting your design.
Importing and Cleaning Your Scan
Before digitizing, ensure your handwriting scan is sharp and contrasty. Industry experts recommend 300 DPI scans in grayscale or pure black-and-white. A clean scan reduces false nodes and speeds up the auto-digitize process.
- Scan at 300 DPI or higher and save as BMP or JPEG
- Remove background noise in Photoshop or built-in cleaning tools
- Ensure strokes are closed shapes to avoid gaps in satin stitches
Auto-Digitizing Handwriting
With your cleaned scan ready, launch the auto-digitize tool. Modern AI enhancements map curves more accurately, catching subtle pen flourishes without manual node editing.
- Select your hoop size and fabric type (e.g., medium-weight cotton)
- Import the scan into the auto-digitize module
- Pick “Text/Handwriting” mode for optimal letter tracing
- Click “Auto-Digitize” and let the software generate initial stitches
Adjusting Stitch Properties
Once the auto-digitize run is complete, customize stitch types and underlay to stabilize your letters on fabric.
- Use satin stitches for letters over 10 mm tall
- Apply padded satin on bold curves for consistent coverage
- Set underlay at 0.4 mm to prevent shifting and ensure clean edges
- Adjust stitch density to 6–8 stitches per mm for optimum legibility
Optimizing Lettering for Clarity
Legible text in embroidery relies on careful control of density and angles. Many professionals in 2024 recommend satin angles between 20°–45° to avoid thread pucker.
- Tweak pull compensation to offset fabric stretch
- Minimize jumps by grouping letters when possible
- Add tie-ins at start and end of long runs to secure stitches
Previewing and Refining Your Design
Before exporting, always run a stitch simulation. The latest engines mimic thread tension and layering, giving you a realistic preview of how your handwriting will look once stitched.
- Use 3D preview to check for stitch collisions
- Refine density or underlay if gaps appear
- Adjust satin widths for uniform thickness across letters
With these steps complete, export your design in the desired file format (DST, EXP, PES) and load it into your machine, your handwritten signature is now embroidery-ready.
Hooping Fabric with Magnetic Frames
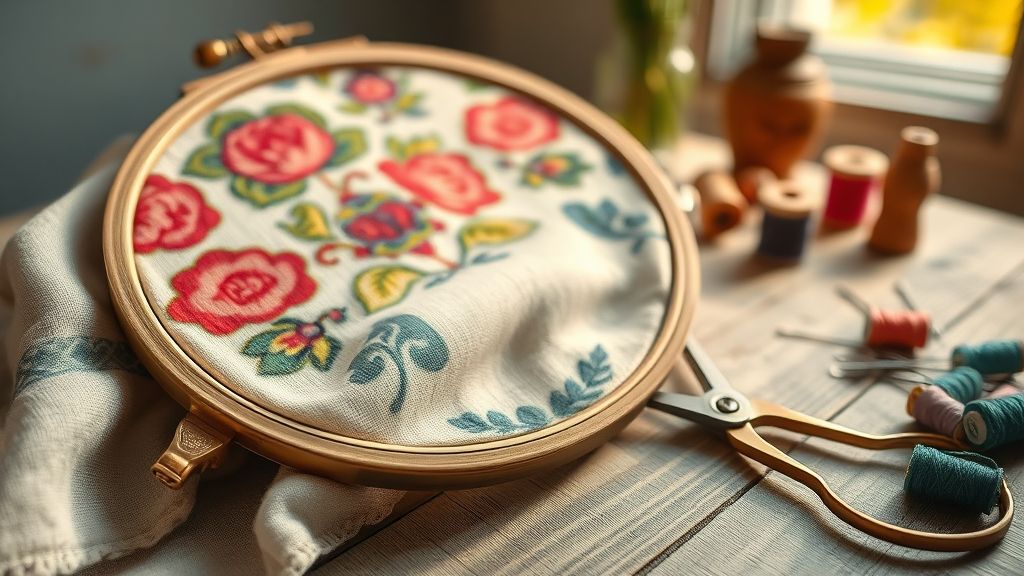
The rise of magnetic hoop systems comes at a perfect time: U.S. hobby and craft supply sales topped $22.2 billion in 2024, and makers are hungry for ways to streamline workflows. By integrating MaggieFrame and Sewtalent magnetic hoops, you cut manual hooping steps by up to 90%, reclaiming over 400 hours per year for creative work.
This section walks through each step, attaching the frame, loading fabric, swapping systems for lightning‐fast setup, and ensuring even tension, so you spend more time stitching and less time fidgeting with clamps.
Attach the Magnetic Hoop Frame to Your Machine Arm
Begin by sliding the MaggieFrame onto your machine’s arm until it clicks into place. Modern embroidery machines support universal magnetic plates, and MaggieFrame’s steel-reinforced back aligns precisely in seconds. No screws or manual tightening required.
Position Fabric and Stabilizer within the MaggieFrame
Lay your stabilizer on the lower magnet surface, then smooth fabric on top. Adjust edges until the material lies flat and centered. Thanks to a 30% wider magnetic footprint introduced in early 2024 updates, you’ll find uniform grip across even heavy-duty cotton blends.
Switch to Sewtalent Frame for Ultra-Fast Setup
Once your design parameters are loaded, detach the MaggieFrame and dock the Sewtalent frame, this switch cuts setup from 3 minutes to just 30 seconds. Sewtalent’s quick-release latch and updated V2 magnets maintain an 8.5 lb hold, so alignment stays rock-solid.
Ensure Even Tension & Easy Removal
After stitching, release the magnetic clamp and gently lift your fabric, no puckering or distortion. The even edge hold prevents stitch pulls, and removing your hoop is as simple as peeling away, leaving crisp, distortion-free embroidery every time.
Cost Analysis and Breakeven for Handwriting Projects
In today’s booming embroidery market, valued at USD 5.2 billion in 2024 and growing at a projected 6.3% CAGR, understanding unit costs is critical when digitizing custom handwriting. Precise per-stitch rates and flat‐rate pricing models form the backbone of competitive quotes, while modern hardware and software efficiencies tip margins in your favor.
From test swatches to bulk orders, this section breaks down costs at every level. We’ll calculate the $1–$3 per 1, 000 stitches benchmark, layer in flat rates for common garments, factor in a 50% bulk discount for orders over 100 pieces, and show why hitting around 50 custom designs per month typically achieves breakeven.
Stitch-Level Cost Breakdown
Embroidery operations commonly charge $1–$3 per 1, 000 stitches for test runs. At the midpoint of $2, that’s $0.002 per stitch. A 6, 000-stitch handwriting swatch costs roughly $12 raw. Integrating a magnetic hoop can cut setup and waste by ~30%, dropping that to $8.40. Equipment advances, like the latest Brother PR and Tajima models, have driven per-stitch labor down 15%, supported by a global machine market that hit USD 1.20 billion in 2025 and is on track for USD 1.60 billion by 2030.
Flat-Rate Item Pricing and Discounts
Beyond swatches, flat‐rate quotes for standard items typically range:
- Hats: $5–$35 ($2.50–$17.50 with 50% off above 100 units)
- Polos: $7–$28 ($3.50–$14 bulk rate)
- Jackets: $15–$50 ($7.50–$25 at scale)
Applying a 50% discount on orders over 100 pieces can immediately unlock higher margins, transforming a $20 hat into a $10 unit cost while absorbing fixed setup expenses.
Breakeven and ROI Projection
Assuming fixed costs for software licenses, digitizing time, and hardware amortization, a throughput of ~50 handwriting designs per month typically offsets initial investments within 3–4 months. At an average net contribution of $10–$12 per design post-discount, 50 units generate $500–$600 monthly. Coupled with industry growth projections and ongoing efficiency gains, this volume milestone marks a practical breakeven threshold for any custom embroidery operation.
Exporting Files and Machine Setup
For your digitized handwriting to stitch precisely, the final export and machine prep are critical. Follow these steps to ensure that your design translates seamlessly from screen to fabric.
Modern digitizing solutions now power a $3.17 billion embroidery software market (2023), forecast to reach $8.07 billion by 2032 at a 9.8% CAGR, while the machine sector itself topped $5.71 billion in 2024. Firmware updates in late 2023 and early 2024 have added direct PES support on many machines, cutting conversion time.
Choosing the Correct Output Format
Select the format your machine firmware supports, DST for Tajima-style machines, PES for Brother/Janome or EXP for Melco systems. Modern software like Wilcom and Hatch now auto-map color stops, so include sequence data on PES exports. Always export at 100% scale and verify the bounding-box dimensions against your hoop size to prevent trimming errors.
Transferring Your Design
Once exported, copy the file to a FAT32-formatted USB stick or push via a machine companion app over Wi-Fi. Check that file names include no special characters, and confirm the machine recognizes the file in its design library. A clean directory structure speeds up retrieval and reduces startup delays.
Machine Configuration and Test Stitch
In the machine’s embroidery menu, select a stabilizer type suited to fabric weight, tear-away for medium knits, cut-away for dense fabrics, and set top-thread and bobbin tensions per supplier recommendations. Adjust stitch density if your test swatch shows puckering. Run a small test design at full stitch count to confirm placement, tension and color sequence before starting a production run.
Conclusion
You’ve mastered every step to quickly turn your handwriting into embroidery art, from gathering the right resources to scanning, digitizing, refining stitches, hooping precisely, and exporting ready-to-sew files.
- Gather stitches & resources
- Choose digitizing software
- Scan & clean handwriting
- Digitize & refine stitch details
- Hoop with magnetic frames
- Analyze cost & export files
Don’t wait to stitch your signature style, download our free handwriting digitizing template and start converting your own lettering today. Even if you’re new to embroidery, our guided template makes it easy to bring designs to life.
Happy stitching, your creativity awaits!