How to Fix Loose Bobbin Tension in Embroidery
This post contains affiliate links. As an Amazon Associate, Latest Embroidery earns from qualifying
purchases, at no extra cost to you. Learn more.
Struggling with loose bobbin stitches or puckering? A small tension tweak can fix it fast.
Start from the machine’s default tension and run a quick stitch-density test grid on scrapbook fabric to see how the bobbin and needle interact. Test on a scrap, observe the balance, then adjust in small increments, 0.1–0.3 at a time, until the stitches look even from both sides. Keep a performance log of each change and the result. Regular cleaning and a light oiling of the bobbin area help prevent drift between projects. For deeper guidance, see HoopTalent’s bobbin tension troubleshooting guide and Sewing Mastery’s embroidery tension fixes.
For broader context on tools and trends in the embroidery space, explore embroidery market size and trends.
Stay with me as the article walks you through exact tests and checks, turning small tweaks into flawless finishes.
For reliable threads that run smoothly, consider this collection:
Shop embroidery thread on Amazon →
Step-by-step baseline tension setup
Short on time? If you only take one thing from this guide: Size A / Class 15 prewound bobbins — a low-cost way to try prewounds — check your machine manual for the required bobbin size first.
In today’s expanding embroidery market, achieving consistent stitch quality hinges on a reliable tension baseline that works across fabrics and threads. Market insights show the embroidery software sector alone was valued near USD 1.2 billion in 2023, with projections of strong growth driven by automation and customization capabilities. This momentum highlights the value of a repeatable tension process that technicians can reference across projects.
Adopting a structured baseline also aligns with recent developments in computerized machines and advanced software that demand precision. By establishing a solid baseline, you can better harness newer features and ensure predictable results when switching fabrics or thread weights, without constant re-tuning.
1. Remove bobbin case, clean lint, and reinsert correctly
Power off and open the bobbin area, remove the case, brush away lint, and reinstall ensuring the case seats fully and evenly. A misaligned case is a common source of inconsistent tension, so confirm it sits snugly before proceeding.
2. Wind a fresh bobbin and ensure proper insertion orientation
Wind a fresh bobbin, then load it with the thread feeding from the outside and under the tension disk as specified in the manual. Confirm the bobbin snaps into the carrier with the correct orientation so the bobbin thread feeds smoothly.
3. Load a scrap fabric and a stitch-density test grid
Place a scrap fabric under the presser foot and create a small stitch-density grid (e.g., 2×2 or 3×3 blocks) to observe how the machine stitches across density changes without risking a project piece.
4. Start with the machine’s default tension setting from the manual
Set the needle and presser foot as you would for a typical project, then return the bobbin tension to the manufacturer’s default. This provides a neutral baseline from which you can fine‑tune and compare results.
5. Sew a small test block and observe bobbin thread visibility on the right
Stitch the grid once, then inspect the right-side of the fabric. If bobbin thread is visible, the tension is too tight or loose on the bottom side and needs adjustment.
6. If needed, tighten or loosen bobbin tension in 1/8-turn increments and re-test
Make small 1/8-turn changes and re-run the test block until the right side shows minimal bobbin thread. Perform a back‑of‑fabric check to confirm roughly one‑third bobbin thread visibility. Record the final baseline tension in a simple log for reference, noting baseline tension settings and the back view outcome.
Essential tools and settings for balanced tension
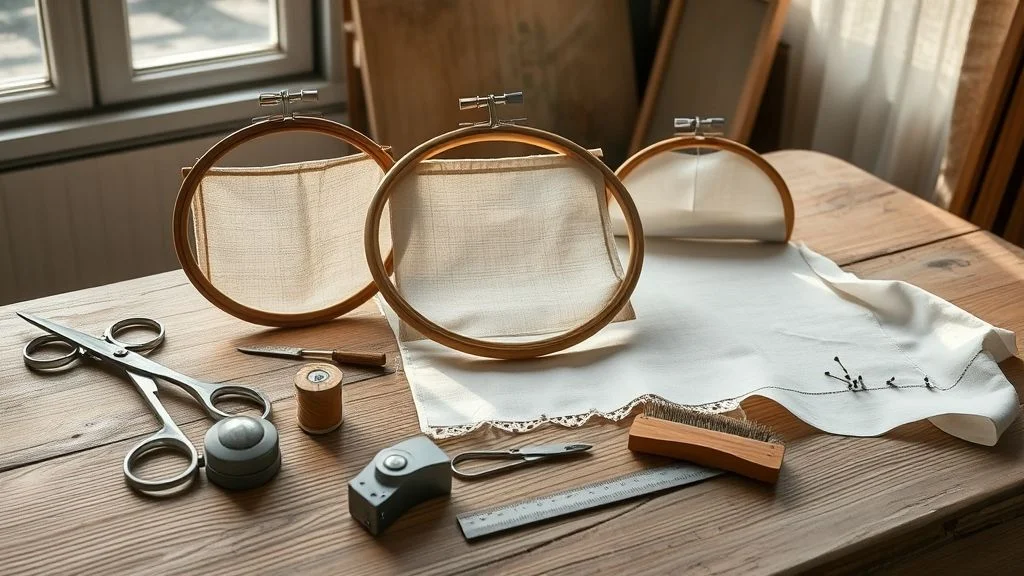
Balanced bobbin tension is the quiet workhorse behind crisp, uniform embroidery. Start with measurement, use a Towa tension gauge to verify a pull in the 18–22 g range for most 40 wt threads. Precise setup reduces looping and thread breakage, especially on dense fills and complex motifs. Market research shows the embroidery sector is expanding, with reports placing the industry around USD 5.71B in 2024 and approaching USD 7.88B in the near term, underscoring the value of reliable, repeatable tension workflows across single and multi-head machines.
These tools and settings form a practical baseline that translates to better stitch quality, less downtime, and steadier production, whether you work with home setups or small-to-mid commercial runs.
Tools and target measurements
Keep these concrete tools and settings at hand to measure and maintain balance:
- Towa tension gauge to confirm pull: 18–22 g for most 40 wt threads
- Cotton threads in the 30–50 weight range and polyester threads in the 40–120 range
- Bobbin tension range: 25–35 g
- Target tension: 150–250 mN, with 190–220 mN (approx 23 gf) being optimal
- Regular maintenance essentials: lint brush, cleaning solvent, lightweight oil, and a soft cloth
- Tools for multi-head machines and auto‑tension features, with per-head calibration notes
Maintenance and per-head calibration
Regular upkeep prevents drift and preserves consistency across runs. Schedule quick daily cleanups and a deeper weekly lint removal from tension discs, using a lint brush and a gentle cleaning solvent. Apply light oil to moving parts and wipe with a soft cloth to prevent residue buildup. For multi-head machines, verify auto‑tension features and calibrate per head, then document a simple tension map for quick reference in production logs. Per-head notes help you maintain uniform results when switching thread types or design densities, ensuring the optimal 190–220 mN target remains achievable across all heads.
Calibrating by fabric type: create a sweet spot map
Calibrating bobbin tension by fabric type creates a practical, repeatable process you can reuse across projects. A per-fabric sweet spot map turns fabric behavior into concrete tension settings you can rely on. Market data shows embroidery remains a growing field, underscoring the value of reliable tension for consistent results across projects.
With a focused map, you’ll dial in tension for lightweight cotton, medium-weight twill, and synthetic blends in one session and apply it to future tasks with confidence.
1) Select 3–4 fabric types representing common projects
Choose representative fabrics you actually sew. For most projects, start with:
- Lightweight cotton (e.g., poplin)
- Medium-weight twill (e.g., khaki)
- Synthetic blend (e.g., polyester-cotton)
Tip: add a fourth fabric if you frequently work with specialty finishes.
2) Use the stitch-density test grid on each fabric with the baseline tension
Run the density grid on every fabric using your baseline bobbin tension. Look for even density and minimal bobbin thread on the right side.
3) Record the optimum bobbin tension and resulting pull on each fabric
Log the optimum bobbin tension (mN) and describe the right-side pull as minimal, mild, or noticeable for each fabric.
4) Maintain tension values around 190–220 mN when tested across fabrics
Aim for a sweet spot near 190–220 mN. If one fabric deviates, adjust within this range and re-test.
5) Build a per-fabric sweet spot map and keep it with your machine notes
Document a compact map you can print or store with your notes. The map below summarizes each fabric’s optimum tension.
6) Re-test whenever you switch thread weights or fabric finishes
If you change thread weight or fabric finish, re-run the grid and update the map to keep results repeatable.
Troubleshooting common bobbin tension issues
The embroidery market remains in a growth phase, with reports highlighting steady expansion driven by home studios and commercial shops alike. Industry data point to sustained demand for reliable machines and software, with the overall market showing mid-to-high single-digit growth in recent years. In practice, tension problems remain a recurring hurdle, so a clear, repeatable process is essential for consistent results.
When tension goes off, start with the underside first: nests and loose bottom stitches are your first clue. Then verify the top thread after the bobbin is balanced to confirm which side needs adjusting. This hands-on approach keeps tests efficient and repeatable as you scale up projects or switch fabrics.
Underside nests? Balance bobbin tension first, then re-test
Bird nests on the underside typically signal the bobbin tension needs adjustment. Balance the bobbin and re-test before touching upper tension. Re-threading and path checks come next if the problem persists.
- Inspect the bobbin area for lint; clean as needed.
- Make small clockwise adjustments to the bobbin case tension (about 1/8 turn).
- Re-thread and test on a scrap fabric to confirm the nest is gone.
Top thread looks loose or fluttery? Balance upper tension after bobbin is balanced
If the top thread appears loose or fluttery after the bobbin has been balanced, tighten the upper tension gradually and re-test on scrap fabric. Focus on maintaining a clean line of stitches rather than forcing a tight top thread.
- Increase upper tension in small increments (1/4 turn).
- Test on scrap material to check for uniform bite and minimal flutter.
Re-thread the machine and check the thread path for snags
A tangled or snagged thread path can mimic tension issues. Re-thread from the spool to the needle, ensuring each guide and hook is seated correctly. A clean path reduces drift across tests.
- Remove all threads and re-thread one step at a time.
- Check for thread catching at needle or hook guides.
Clean and oil the machine to prevent drift between tests
Accumulated lint or old oil can create drift between tests, masking true tension. Clean the bobbin area, thread guides, and feed mechanism; oil per your manual and wipe away excess.
- Wipe surfaces and lint traps after cleaning.
- Oil only in recommended spots; avoid over-lubing.
Re-insert or replace the bobbin case if misalignment is suspected
A misaligned bobbin case can cause uneven tension across stitches. Inspect for bend or wear and replace as needed, then re-test with a standard fabric.
- Remove and visually inspect the case and spring.
- Replace if any deformation is present; re-test on scrap fabric.
For multi-head machines, verify each head has the same baseline tension and repeat the test per head
In multi-head setups, one head drifting can skew overall results. Calibrate each head to the same baseline tension and test per head with a uniform fabric. Repeat until all heads align.
- Set a standard baseline tension across heads.
- Run a test stitch on each head and compare outcomes.
Auto-tension and multi-head machines: keeping consistency
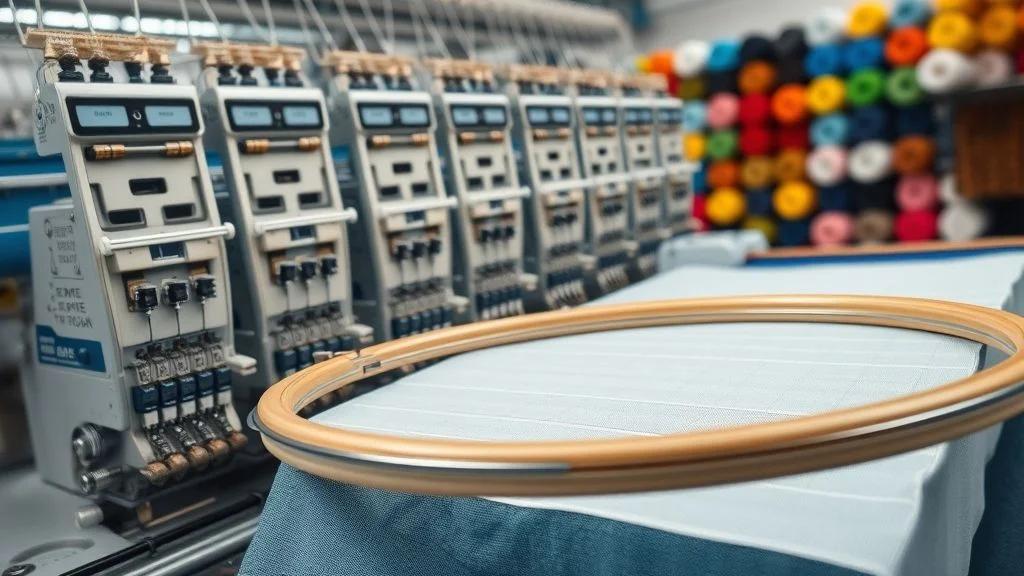
Auto-tension systems promise consistent stitch quality across multiple heads, but drift can occur during frame changes or routine maintenance. A disciplined workflow, test, baseline, and map, lets you leverage auto-tension without sacrificing control.
Industry trends show major brands are integrating AI-based tension management in multi-head models, shifting focus from manual guesswork to coordinated baselines with per-head tuning. A practical workflow below aligns with current market moves and real-world applications, ensuring predictable results across designs and fabrics.
Cross-head tension test
Run identical fabrics and threads through all heads at the same position, then record the tension readings. Note any divergent heads or fabric factors that shift tension, and aim for a clean baseline before enabling auto-tension.
Calibrate per-head baseline before enabling auto-tension
Set a common baseline value for each head, then validate with a standard test fabric before turning on auto-tension. This baseline establishes a controlled reference that supports uniform output across heads.
Use the tension map to verify alignment with the baseline
Review the tension map to confirm every head matches the baseline within an acceptable tolerance. If discrepancies appear, adjust the head individually and re-run the map until all heads align. Baseline alignment is critical for reliable auto-tension performance.
Re-check after maintenance or frame changes
After any service, re-test all heads to catch path changes or alignment shifts. Update the tension map and re-run the cross-head test to confirm sustained consistency across the production run.
Document head-specific deviations and update the map
Maintain a running log of head-specific deviations, operator notes, and adjustment dates. Use this record to refine the map in the control software, ensuring the map reflects real-world behavior and supports future changeovers.
Maintenance cadence and calibration to prevent drift
Schedule regular calibration intervals based on usage, with quarterly or hourly-based checks as a guideline. A proactive cadence helps prevent drift from impacting multi-head output and keeps auto-tension reliable over time.
Frequently asked questions about bobbin tension
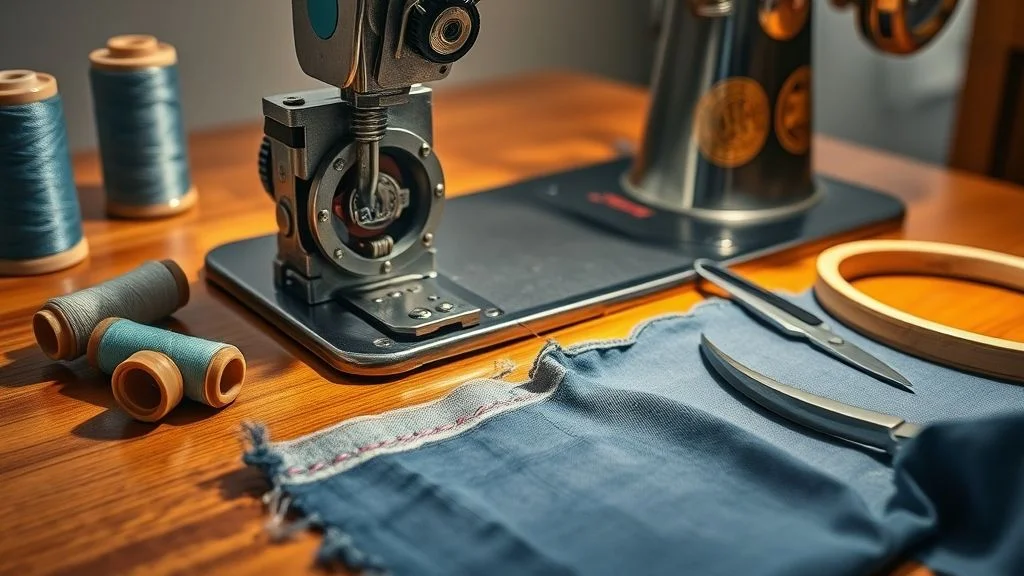
Maintaining steady bobbin tension is essential for clean embroidery and consistent stitch quality. Industry data show the embroidery market is expanding, with estimates ranging from about USD 5.9 billion in 2025 to nearly USD 8 billion by the mid-2030s, reflecting greater adoption of home, hobby, and small-business projects. This growth underscores why knowing how to manage tension reliably matters for every setup.
Use practical, repeatable checks to prevent drift between projects. Regular maintenance and a quick tension check routine help you stay in spec, even as fabrics and threads vary.
What is the recommended bobbin tension range?
The recommended bobbin tension range is 25–35 g. Staying within this window keeps most stitches balanced; if you work with specialty threads or delicate fabrics, test nearby values and adjust as needed.
How do I test tension quickly?
Use scrap fabric and a stitch-density grid, then observe the bobbin thread on the right. Adjust in ~1/8-turn increments until the stitch sits cleanly without looping or flattening pockets.
How often should I clean and oil my machine?
Perform routine cleaning and oiling as part of your embroidery routine to prevent tension drift and keep mechanisms moving smoothly.
What if auto-tension isn’t working?
Calibrate per head, verify the threading path, and re-check tension maps. If issues persist, consider replacing a faulty bobbin case and re-check fabric and thread compatibility.
Conclusion and next steps
The work isn’t done once the bobbin tension is dialed in. Use scrap tests to confirm a baseline and pair them with a stitch-density grid to verify consistency across designs. Industry estimates place the 2024 embroidery market around USD 1.54B, with expectations to reach about USD 2.62B by 2033. This growth makes reliable tension a competitive edge for hobbyists and professionals alike.
Create a fabric-specific sweet spot map and keep it within reach. With a Towa gauge handy, you can quickly verify tensions for each fabric type and stay on track between projects.
Review baseline and map per fabric
Review your scrap test results against the stitch-density grid to confirm a stable baseline under varied designs. Develop a per-fabric sweet spot map you can reference at the machine when switching from cotton to silk or synthetic blends.
Equip yourself with a Towa gauge and maintain regularly
Keep a Towa gauge within arm’s reach to verify both bobbin and upper thread tension as you switch fabrics. Schedule regular cleanings, lubrication, and routine checks to prevent tension drift.
Document results and adjust as you branch into new fabrics or threads
Log tension outcomes by fabric, thread type, and design. Use these records to update the sweet spot map whenever you introduce new materials or threads.
Schedule monthly checks and per-project recalibration
Set a monthly maintenance cadence and recalibrate between projects to maintain consistent embroidery quality.
Conclusion
Start with a scrap fabric test to establish baseline tension, then build and print your fabric-specific sweet-spot map. Track adjustments in a simple notebook or spreadsheet and schedule monthly maintenance.
This translates research into repeatable steps: establish baseline, calibrate for fabric types with a sweet-spot map, and balance bobbin first to manage multi-head auto-tension. Use the Towa gauge and documented ranges to ground your adjustments and prevent drift.
- Baseline testing on scrap fabric sets a starting point.
- Sweet-spot mapping guides fabric-specific adjustments.
- Per-head calibration keeps multi-head tension aligned.
- Routine maintenance prevents drift and extends life.
Take action now and commit to the routine so your embroidery stays precise, efficient, and dependable. Finish with confidence.