Brother SE700 Review: Setup, Pros & Cons (2026)
This post contains affiliate links. As an Amazon Associate, Latest Embroidery earns from qualifying
purchases, at no extra cost to you. Learn more.
How We Research
Every machine, thread, and accessory we cover is researched in depth, not reprinted from a spec sheet. Here is what goes into a Latest Embroidery review:
- Specs, cross-checked. We verify manufacturer specifications against multiple retailers and official manuals, so the numbers you read are accurate and current.
- What owners actually report. We read through verified buyer reviews, warranty complaints, and community threads to surface the real-world issues, threading, hooping, bobbin changes, noise, and jams, that owners run into after the first few weeks.
- Value, not hype. We weigh each pick against its closest alternatives and tell you who a product is, and isn’t, for.
- Kept current. Prices and models move fast, so every review carries a last-updated date.
- Independence. We earn affiliate commissions if you buy through our links, but that never decides our recommendation. Read our disclosure.
Compiled by the Latest Embroidery editorial team · Last updated July 2026
Considering the Brother SE700 but unsure where to start with setup and features? This guide delivers concrete steps, real‑world numbers, and practical tips you can implement today. You’ll learn what to do first, what to buy, and how the machine performs right out of the box.
From unboxing to your first finished project, you’ll see how to pick hoop options (Available hoop sizes) and why the 4×4 hoop covers most projects. Decide between USB and Wi‑Fi transfers, then unlock built‑in designs and trustworthy third‑party resources to speed up your workflow: SE700 specs and built‑in designs check Brother SE700 price on Amazon →.
Market context matters: the embroidery market is growing, with estimates from Fortune Business Insights indicating steady expansion in the coming years. Industry groups and manufacturers remain at the forefront, see the Embroidery Trade Association for resources and community.
With this guide, you’ll walk through a clean setup workflow from unboxing to your first finished piece, plus tips on stabilizers, transfers, and design sources you can trust. Ready to dive deeper into the steps and see real numbers you can apply this weekend?
Stock up on quality threads for your first projects:
Step-by-step: Quick-start setup for SE700
Short on time? If you only take one thing from this guide: Brother SE700 — the machine we point most beginners to — touchscreen, wireless transfer, and it sews as well as embroiders.
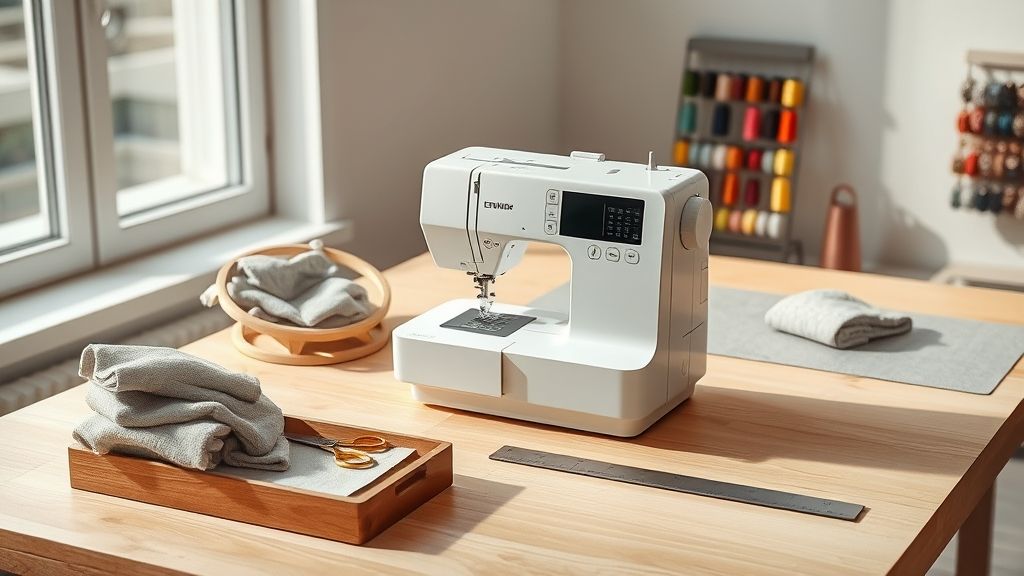
This quick-start guide walks you from unboxing to a first stitched sample, with practical checks along the way. The Brother SE700’s compact footprint and 4″ x 4″ embroidery area make it ideal for home projects and small runs, so you’ll be up and running quickly after you’ve chosen your transfer method and hoop setup. Market data shows embroidery continues to grow as a popular hobby and small-business tool, with steady demand for accessible desktop machines and ready-made designs that feed into fast, confident setup sessions like this one.
As you prepare, keep in mind two design-transfer options: USB transfer for Mac reliability and Design Database Transfer for wireless design management. The SE700 supports both approaches, so you can tailor the workflow to your computer setup and design library. You’ll also find a rich ecosystem behind the machine, ArtSpira and iBroidery patterns, plus tens of thousands of ready-to-use designs, making on-screen placement and editing essential parts of the workflow.
STEP 1: Decide transfer path (USB recommended for reliability on Mac)
Start by choosing how you’ll move designs to the SE700. USB transfer is typically more reliable on Macs, especially when working with larger files or multitasking software, while Design Database Transfer (DDT) provides wireless design management across devices. If you’re balancing design organization with quick in-session edits, you may prefer to start with USB for a straightforward first project and experiment with DDT later. The choice can influence how you organize your workflow and how quickly you can load a design for stitching.
Action steps you can take now: confirm your computer’s USB options, install the Design Database Transfer app if you plan to use wireless transfers, and plan a simple test design to verify each path works as expected. In practice, having both options available gives you flexibility as you scale up projects and design libraries.
STEP 2: Mount hoop (4×4–6×10) and attach stabilizer; optional MaggieFrame for tension
Mount the hoop that matches your design size, start with the 4″ x 4″ hoop for a first test, then move to larger frames up to 6″ x 10″ for bigger projects. Attach a compatible stabilizer that suits your fabric thickness; tear-away or cut-away stabilizers are common choices depending on the material you’re embroidering. If you’re aiming for consistent tension with minimal hoop burns, consider adding a MaggieFrame magnetic hoop; users report improved fabric grip and reduced hoop contact with delicate textures.
Check alignment before you begin stitching: the hoop should sit flat, with fabric taut but not stretched. MaggieFrame tools can help maintain even tension and reduce hoop-induced marks, which makes the first sample easier to evaluate for puckering or misalignment.
STEP 3: Select design from built‑in library or Artspira (7, 000+ patterns) or iBroidery (1, 000+)
With the SE700, you can pull patterns from the built-in library, Artspira, or iBroidery. Built-in designs are ready to go, while Artspira offers thousands of options and regularly refreshed content via the Brother ecosystem. iBroidery provides access to a large catalog (thousands of designs), including Disney and other licensed collections. For planning and variety, you’ll often cycle between these sources to find a motif that fits your fabric and hoop size.
If you’re using Design Database Transfer, designs can be moved between software and the machine more fluidly, helping you keep a consistent design library across your workflow. This cross-compatibility is especially handy when you’re testing multiple layouts and need to re‑use a pattern without re-importing from scratch.
STEP 4: Use on‑screen editing to place design; design database transfer can move patterns between software
Import the chosen design to the machine’s workspace and use the on-screen editing tools to place, resize, and rotate. The SE700’s editing features let you center the motif, adjust orientation for fabric grain, and verify that the design will fit within the hoop’s bounds before you stitch. If you’re juggling multiple patterns, the on-screen editor helps you preview how each will look when stitched on your chosen fabric.
DDT can facilitate moving edited designs back to your computer software or cloud storage, making it easier to reuse edits across sessions. This two-way workflow supports iterative testing, you can adjust placement, re-save, and reload without re-exporting the initial artwork every time.
STEP 5: Set stitch speed between model bounds (SE600 ~400 SPM, SE2000 ~850 SPM; start around 600 SPM)
Begin stitching with a mid-range speed to balance control and efficiency. For mixed fabrics, a starting point around 600 SPM gives you a stable balance, with adjustments based on fabric behavior. Use the reference points from Brother’s ecosystem to calibrate expectations: the SE600 typically runs around 400 SPM for embroidery tasks, while higher-end models like the SE2000 approach 850 SPM. The SE700 sits in between, enabling steady performance on a variety of materials.
Experiment with moderate speed first, especially when working with textured or stretchy fabrics. If you notice skipped stitches or inconsistent tension, you can slow down slightly and confirm hoop alignment and stabilizer choice before increasing speed again.
STEP 6: Enable automatic jump‑stitch trimming and automatic needle threading
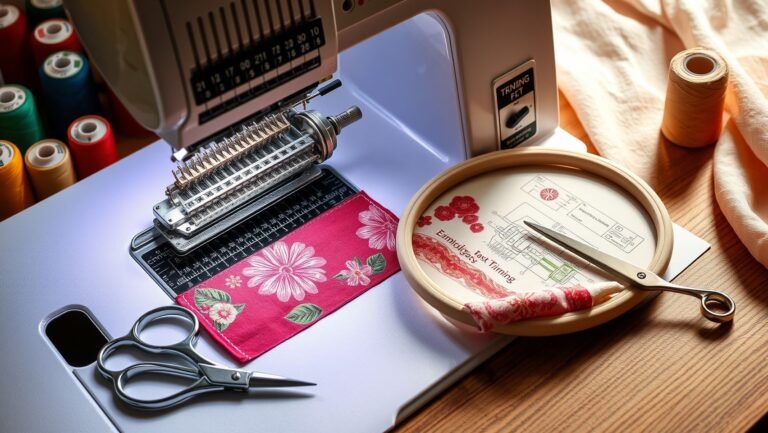
Turn on automatic jump‑stitch trimming to clean up thread tails between color changes, which keeps your workspace tidy and reduces manual trimming time. The SE700’s automatic needle threading helps you set up faster, especially when you’re stitching multiple colors or swapping threads. These automations streamline the process and reduce repetitive fiddling, which is especially valuable for beginners who want reliable results with less setup friction.
As you enable these features, do a quick dry-run without fabric to confirm the mechanism engages smoothly and the thread paths clear correctly. Then you’ll be ready for a proper test on fabric with a full sequence of color changes.
STEP 7: Run a test stitch, inspect for puckers or thread breaks, adjust hoop or stabilizer as needed
Before you dive into a full project, run a small test design to verify tension, hooping alignment, and thread paths. Watch for puckering, skipped stitches, or thread breaks, particularly around the inner edges of the hoop. If you observe puckering, evaluate stabilizer choice and consider a slight increase in stabilizer weight or a minor readjustment of fabric tension; re-hoop and re-test until the sample stitches cleanly.
Keep a short checklist: confirm the design fits within the hoop, verify thread tension, ensure automatic features are active, and confirm transfer method selection. A successful first stitch sets you up for predictable results on subsequent projects and reinforces a confident, repeatable workflow.
Maximize design resources and ecosystem compatibility
Related reading: how the SE700 compares with the app-driven Brother Skitch PP1
When you’re setting up the Brother SE700, tapping into expansive design libraries and a broad ecosystem is a practical way to expand your options without slowing down your workflow. Artspira opens a vast design library, and iBroidery adds another layer of diversity, while PE‑DESIGN 11 and respected third‑party tools keep advanced customization within reach. The embroidery market’s continued growth, driven by designer-driven projects and small‑shop customization, underscores the value of building a robust, easily transferable design library you can rely on across projects and seasons.
A clear, repeatable setup process helps ensure compatibility across tools and files, minimizes transfer friction, and keeps Mac workflows stable. In practice, that means planning a monthly design kit and testing transfers with simple motifs before you scale up. With the SE700, you’re not limited to built‑in designs; you’re empowered to assemble a design ecosystem that fits your style and production pace.
DESIGN LIBRARIES
Access to a broad pattern catalog is a powerful multiplier for your projects. Artspira offers more than 7, 000 patterns, giving you a sizable buffer for seasonal shoots, themed collections, and client requests. iBroidery adds another 1, 000+ designs, helping you diversify projects beyond your core library and experiment with licensed themes and motifs. The goal is to curate a monthly pattern kit that aligns with your current clients or personal design goals, so you always have fresh options ready to test in PE‑DESIGN 11.
From a pricing and access perspective, Artspira and iBroidery complement the PE‑DESIGN 11 workflow rather than replace it. Subscriptions or per‑design purchases let you scale your pattern library to match client demand, seasonal campaigns, or personal experiments. This evolving ecosystem responds to market trends where subscription boxes and monthly design kits are gaining traction, keeping designers inspired and ready to pivot quickly as trends shift.
COMPATIBILITY & TRANSFER
Compatibility remains the backbone of a smooth setup. PE‑DESIGN 11 connects with major digitizing ecosystems and third‑party tools such as Wilcom, Embird, and Hatch, enabling advanced editing, digitizing, and color management before you push designs to the SE700. The Design Database Transfer (DDT) workflow gives you a centralized way to manage designs from your computer to the machine, while USB transfers offer a reliable physical conduit for file movement, especially important for Mac users who value stability in offline transfers.
In practice, you’ll typically prepare designs in PE‑DESIGN 11, enrich or tweak them with Wilcom/Embird/Hatch if needed, and then move the final PES files to the SE700 via Design Database Transfer or USB. DDT excels for design management and cloud‑like libraries, while USB provides a straightforward, firmware‑agnostic method that minimizes hiccups during large sessions.
IMPLEMENTATION & WORKFLOW
Build a small, testable design library by importing patterns into PE‑DESIGN 11 and exporting to the machine via USB or Design Database Transfer. Start with a simple motif to verify stitching behavior and compatibility with your machine’s hoop sizes and thread types. As you grow, organize your library by theme, project type, and client, then batch export groups of files to USB sticks or to the DDT library for quick access during client sessions.
Steps to implement your workflow:
- Access Artspira and iBroidery to assemble a starter kit (target 20–40 designs across typical motifs).
- Import patterns into PE‑DESIGN 11; assign color settings and stitch types in the software’s Fabric Selector if needed.
- Test a small motif via USB transfer to the SE700 to verify compatibility with hoop size and machine fonts.
- If you use Design Database Transfer, organize designs in the PE‑DESIGN 11 library and push batches wirelessly to the machine; verify a second simple motif before expanding.
- Rotate a monthly design kit to maintain a steady workflow and avoid bottlenecks when new clients come in.
MAC USERS & RELIABILITY
For Mac users, USB transfers are the preferred route to maximize reliability and minimize the risk of network hiccups interrupting a run. Plan a workflow that minimizes Wi‑Fi dependency: keep a dedicated USB drive with a small starter library, plus a separate USB for monthly kit updates. If you rely on Design Database Transfer, run periodic backups to a local drive or cloud service to protect against library loss during large projects.
In the broader craft economy, current data indicates a robust embroidery market with strong demand for customized goods and education, highlights that support investing in a scalable, library‑driven setup. Practically, that means investing in reliable transfer methods and a curated monthly pattern kit will pay off as you grow your SE700 capabilities and client base.
Price, features, and value: how to choose among SE600, SE1900, and SE2000
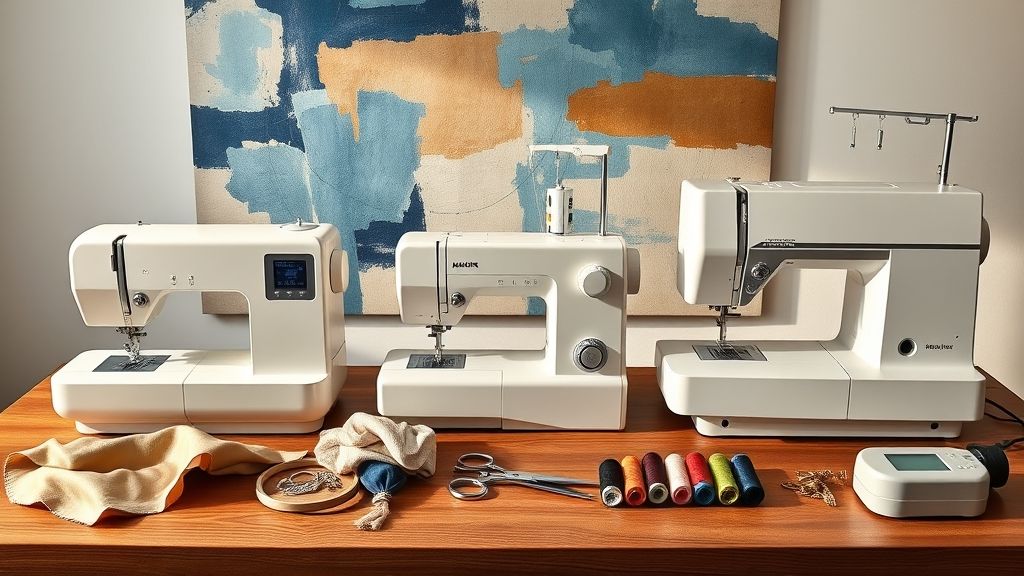
The decision about which Brother machine to pair with your SE700 setup isn’t just about sticker price. It’s about aligning cost with features, hoop versatility, and real‑world value, especially if you plan to run projects through a Mac workflow or rely on a broad library of designs. This section breaks down current price points, built‑in design counts, and how speed, hoops, and ecosystem support translate into day‑to‑day productivity. The goal is to help you gauge return on investment without overspending.
Beyond the upfront cost, you’ll want to weigh how the company’s design ecosystem, third‑party digitizers, and workflow options fit your projects. Artspira and iBroidery expand your design library, while third‑party digitizers from Wilcom, Embird, and Hatch can dramatically extend what you can stitch. We’ll also cover reliability considerations for USB versus Wi‑Fi, which matter for Mac users and for keeping projects on schedule.
Price snapshot and what it buys
At the entry level, the SE600 sits in the roughly $500–$550 range, delivering a compact yet capable introduction to machine embroidery. The SE1900 is positioned around $989.99, offering a larger built‑in library and more robust sewing/embroidery capabilities. The SE2000 tends to trade around the low‑to‑mid $1000s when discounted, yielding the most versatile feature set and the largest built‑in collection among the trio. In practice, the SE600 is best for budget projects and small‑hoop work; the SE1900 is a strong all‑rounder for learning and mid‑size kits; the SE2000 targets higher throughput and more ambitious embroidery libraries, especially for streamlining production. When you’re evaluating, consider whether you’ll primarily hoop small designs, or routinely push larger, faster jobs that justify the higher purchase price.
Built‑in designs, hoop options, and tension improvements
Built‑in design libraries scale with each model: the SE600 offers about 80 designs, the SE1900 expands to roughly 138, and the SE2000 peaks at around 193. That library size matters when you’re chasing variety without immediately turning to third‑party sources. Hoop options also evolve across the lineup. All three machines support standard hoops, with MaggieFrame magnetic hoop options touted for better tension control and a reduced risk of hoop burns. In real‑world use, magnetic hoops can speed up hooping and deliver more consistent fabric tension, especially on smaller garments or tricky fabrics.
From a practical standpoint, you’ll consider whether you want the convenience of a larger built‑in library and faster throughput (SE2000), versus the affordable entry point (SE600) or the balanced mid‑range capabilities (SE1900). The MaggieFrame advantage is often discussed in studios that run long sessions, since the magnetic system can cut hooping time and reduce repetitive strain. If you’re evaluating ROI, those time savings can matter, though they’re not a guaranteed outcome in every workflow.
Speed, productivity, and how that translates to ROI
Speed matters when you’re stitching more designs per hour. The SE600 operates around 400 stitches per minute (SPM), which is adequate for small, quick projects but can bottleneck larger runs. The SE2000 runs up to about 850 SPM, a meaningful leap that translates into faster production for medium‑to‑large designs. For context on higher end options, a machine like the VM5200 can push around 1, 050 SPM, illustrating the speed range available in the broader market. If your goal is to maximize output or handle a busy client load, speed differentials become a primary ROI consideration alongside library size.
However, speed isn’t the only ROI lever. Library breadth, design versatility, and your Mac workflow setup all influence overall efficiency. If your projects rely on a wide design catalog (Artspira, iBroidery, and third‑party designs), you’ll want to ensure you have a streamlined workflow for design transfer and embroidery, preferably via USB for reliability on Mac systems. The faster hardware helps, but the payoff depends on how quickly you can move from idea to finished item.
Ecosystem and design flexibility
The Brother design ecosystem extends beyond the machine itself. Artspira provides thousands of patterns and on‑device design tools to create or edit embroidery prior to stitching. iBroidery adds access to a broad library, tens of hundreds to thousands of designs, sitting alongside third‑party digitizers from Wilcom, Embird, and Hatch. This ecosystem matters because it directly affects how quickly you can fill a project queue without hunting for designs elsewhere. On connectivity, USB transfers are typically the most reliable workflow on Mac; Wi‑Fi can be convenient but may introduce occasional hiccups in emergency deadlines or high‑volume runs.
In practice, a well‑connected setup uses USB for primary transfers and reserves Wi‑Fi for light, on‑the‑go design browsing or off‑line syncing. The Artspira catalog and iBroidery availability give you a robust starting point, while third‑party tools expand capabilities as your projects scale up. This combination, library breadth, reliable transfers, and flexible connectivity, tends to correlate with faster turnaround times and more repeat customers.
ROI considerations and buying guidance
ROI isn’t a single number you can pin down to a formula. MaggieFrame claims about tension improvements and hoop burn reductions are widely discussed in industry circles, but documented ROI data for MaggieFrame claims remains unverified. When weighing options, balance the price delta with how much you’ll gain from speed, library size, and Mac‑friendly workflows. If your budget is tight and you primarily do smaller, simple designs, the SE600 remains an attractive entry point. If you anticipate frequent production runs and a need for a broader design library, the SE1900 or SE2000 can deliver meaningful value over time.
For buyers who prioritize speed and design breadth, a used or discounted SE2000 can offer a compelling mix of features at a lower effective price. Also consider your longer‑term workflow needs: if you foresee expanding into more complex digitizing or larger embroidery jobs, investing in the higher‑SKU models now can prevent a future hardware upgrade cycle. The right choice depends on your project mix, your tolerance for ongoing design sourcing, and how important on‑machine speed is to your bottom line.
Troubleshooting and best practices for smooth embroidery
When you’re dialing in the Brother SE700 for reliable, high‑quality embroidery, small setup tweaks can prevent a lot of headaches. This section blends practical fixes with real‑world data points about workflow, software compatibility, and the design ecosystem around Artspira and iBroidery. Expect actionable steps you can apply on a typical sewing day to keep stitches crisp and projects moving forward.
We’ll cover hoop burns and tension, Mac transfer reliability, on‑screen design cleanup, speed and tension tuning, and how to build a durable design library that travels with you, from dedicated USB drives to Design Database Transfer workflows.
HOOP BURNS/TENSION
Hoop burns and tension problems typically start when the stabilizer and hoop size don’t match the design area. For dense fills or designs that push to the edges of a 4\” x 4\” field, swapping to a more supportive stabilizer and a MaggieFrame can dramatically reduce hoop marks and puckering. Always verify that the hoop size matches the design area before stitching.
- Confirm the design bounding box fits comfortably inside the 4\” x 4\” hoop area. If it’s near the edge, switch to MaggieFrame or a heavier cut‑away stabilizer appropriate for the fabric.
- Choose stabilizer density based on fabric type: tear‑away for woven or lighter designs, cut‑away for knits or dense fills, and stabilize with an extra layer if needed.
- Hoop the stabilizer and fabric together flat and taut, then run a quick test on scrap to check tension and burn marks before committing to the final piece.
- Keep an eye on thread density in dense areas; if you notice shading or thread breaks, reduce density slightly or trim a few stitches in tighter zones via on‑screen editing.
Real‑world practice shows MaggieFrame’s magnetic hoop system often reduces hoop movement and aligns designs more evenly, which helps prevent indentations and burns on delicate fabrics. When hooping issues persist, re‑evaluate stabilizer choice and the hoop’s compatibility with the design area rather than blasting through with higher speed.
MAC TRANSFER
Transferring designs from a Mac can be reliable, but many users report USB transfers outperforming Wi‑Fi workflows for critical designs. Use USB transfers for anything you can’t risk losing in transit, and keep PE‑DESIGN 11 or the Design Database Transfer (DDT) workflow in mind for cross‑device compatibility.
- For critical designs, save directly to a USB drive from PE‑DESIGN 11 and load the file from the machine’s USB port, ensuring your PES file version matches the SE700’s firmware expectations.
- When using wireless transfer, verify your machine supports Design Database Transfer (DDT) and that the design files are compatible with PE‑DESIGN 11’s export options; update software as needed.
- Avoid relying solely on Wi‑Fi transfers if Mac compatibility issues persist; use USB for reliability and plan to re‑export designs if you switch machines.
- Keep a small set of core designs in both PE‑DESIGN 11 and the machine’s library, plus a backup on a USB stick to speed up future projects.
Industry discussions emphasize pairing PE‑DESIGN 11 with a USB workflow for steady Mac‑to‑machine transfers, and using DDT only when the wireless path is proven stable on your setup. This approach minimizes surprises during final stitching.
DESIGN CLEANUP
Design cleanup is all about catching issues before the needle starts. Use on‑screen editing to verify placement and scale, then enable automatic jump‑stitch trimming to reduce post‑stitch cleanup time.
- Preview placement, scale, and rotation on screen; adjust as needed until the design sits squarely within the hoop area.
- Enable automatic jump‑stitch trimming in your embroidery software so minor jumps are trimmed during embroidery rather than requiring manual cleanup afterward.
- Run a quick test stitch on scrap fabric to confirm that the center aligns with the hoop marks and that the jump stitches disappear as expected.
- When working with dense fills, consider slight size reductions or repositioning to avoid clipping threads or creating bulky jump stitches.
On‑screen editing plus automatic jump‑stitch trimming saves time and yields crisper designs, especially for small motifs that live in the SE700’s 4\” x 4\” field. Verifying placement before stitching is a small step that yields big results in finished projects.
SPEED/TENSION
Starting at a mid‑range speed helps you gauge how fabric density behaves during embroidery. A baseline around 600 SPM is a practical starting point; then tune speed and stabilizer up or down based on fabric density and stitch complexity.
- Dense designs often benefit from slower speeds and extra stabilizer to maintain stitch integrity and prevent thread breaks.
- The SE600 family sits at slower speeds (roughly 400 SPM in some configurations), while machines like the SE2000 push toward ~850 SPM; translate this to your SE700 workflow by dialing speed lower for dense designs and higher for light fabrics.
- Pair speed adjustments with stabilizer decisions: ensure the fabric is well supported to prevent distortion, shimmer, or puckering as stitch density increases.
In practice, start at ~600 SPM as a baseline, then reduce to 500–450 SPM for dense motifs or thick fabrics, using a stronger stabilizer as needed. This approach helps maintain consistent stitch quality across materials and project types.
LIBRARY MANAGEMENT
Building a dependable design library from trusted sources keeps projects moving without constant re‑downloads. A focused library from Artspira and
- Assemble a compact library from Artspira and iBroidery; curate designs by stitch count and application (appliqué, monogram, dense fill, etc.).
- Test export/import with Design Database Transfer to confirm compatibility and prevent format issues when moving between PE‑DESIGN 11 and the machine.
- Keep a dedicated USB drive for critical designs and frequently used motifs to speed up on‑the‑fly production.
- Schedule regular library maintenance, remove outdated files, re‑test key designs, and refresh with fresh third‑party sources to expand your repertoire.
Industry data shows the craft space continues to grow as hobbyists and small shops adopt digital design libraries and online marketplaces. A robust library workflow paired with DDT and USB backups helps maintain consistency and reduces design‑related delays in everyday embroidery practice.
Frequently asked questions about SE700 and Brother ecosystem
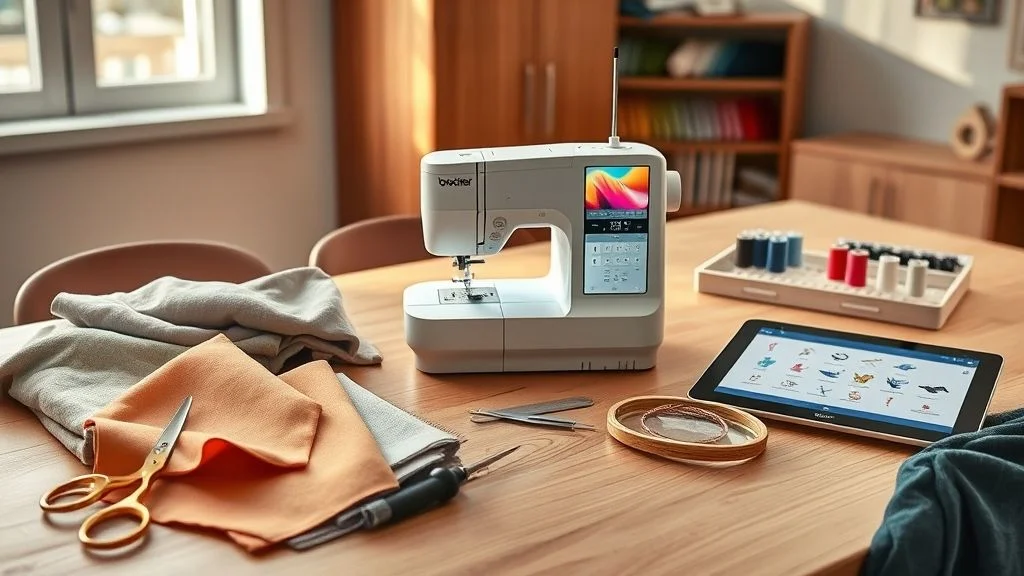
The SE700 sits at the center of a broad Brother ecosystem that includes additional entry points, design libraries, and cross‑software transfer tools. This section addresses practical questions you’re likely to have when setting up the machine, choosing accessories like MaggieFrame, and expanding your design library, with actionable takeaways you can use right away. Market trends show steady growth in home and small‑shop embroidery, so understanding how to leverage built‑ins, resources, and transfers can pay off in faster start‑ups and smoother workflows.
Below are concise, decision‑oriented answers drawn from current model capabilities and widely used industry resources. Keep in mind that entry‑level learning paths often start with SE600 and upgrade as needs and volumes grow.
Q: Is the SE700 beginner-friendly or should I start with SE600?
The SE700 is capable and beginner‑friendly, but entry models like the SE600 are commonly recommended for learning basics first. A common progression is to start with the SE600 (priced around $500–$550) to master threading, hooping, and quick edits, then upgrade to higher‑end models with more built‑in designs and faster speeds. This approach helps you build confidence and avoid overinvestment before you know your typical workflow and volume. Learn on the lower end first, then upgrade as your needs grow.
Q: Is MaggieFrame worth it?
MaggieFrame is promoted for improved fabric tension and reduced hoop burns, which can translate to crisper results and less fabric distortion on many projects. However, ROI claims aren’t independently sourced, so evaluate the cost against your project volume and typical hooping tasks. If you run lots of dense designs or delicate fabrics, the faster, more even tension can pay off over time; if your output is light, the payoff may be slower. Assess your typical workload before investing.
Q: Can I transfer designs on Mac via Wi‑Fi or USB?
USB transfers are generally more reliable for critical designs on Mac, offering consistent performance and fewer compatibility quirks. Wi‑Fi transfers are supported in Brother’s ecosystem but can face compatibility issues or slower speeds depending on your network and software setup. If a design is mission‑critical, prefer USB for transfers and keep Wi‑Fi as a convenience workflow option. USB first, Wi‑Fi as a backup.
Q: How many built‑in designs do SE models have?
The built‑in design counts help set expectations for immediate projects without extra purchases. SE600 has about 80 built‑in designs, SE1900 about 138, and SE2000 about 193. The SE700 sits in the middle with 135 built‑in designs, reflecting a balance between entry‑level access and expanded options. Built‑in libraries vary by model, so plan around your typical project variety.
Q: What design resources can I use beyond built‑ins?
Beyond built‑ins, you can access a wealth of designs and tools to fuel creativity and efficiency. Artspira offers thousands of patterns (7, 000+), and iBroidery provides a large catalog (1, 000+ designs) for Brother users. Third‑party digitizers and software such as Wilcom/Embird/Hatch expand your design capabilities, while Design Database Transfer helps move designs between software and the machine. This ecosystem supports both on‑machine editing and cross‑platform design workflows. Leveraging these resources can dramatically expand what you can stitch.
Conclusion
Starting with a concrete setup plan: pick a hoop size, assemble a starter design library, and run a test stitch. Track speed, tension, and cleanup time to establish your baseline for future upgrades.
The SE700 family sits at an approachable price point with a clear upgrade path through bigger built-in libraries, faster speeds, and a broad ecosystem of designs and accessories. Prioritize USB transfers for reliability on Mac, test with a MaggieFrame if tension and hoop cleanliness are recurring issues, and build a design library from Artspira and iBroidery to shorten setup time.
Use the step-by-step workflows to validate your setup before committing to larger projects.
Sew with confidence and momentum, your next project starts now.