How to Reduce Dense Embroidery Stitch Count Effectively
Are your dense embroidery designs causing puckering or taking too long to stitch? If you’ve ever struggled with bulky stitches, machine strain, or compromised quality, you’re not alone. Many embroidery enthusiasts face challenges when their designs are overly dense, leading to unwanted fabric distortion and longer production times. Optimizing stitch count isn’t just about saving time, it’s about achieving cleaner, more professional results. For instance, adjusting density settings on your embroidery machine can dramatically reduce puckering while maintaining design integrity. Understanding the balance between stitch density and quality is essential, especially as market data shows the embroidery industry is expected to reach a market size of over USD 5.7 billion by 2030, driven by innovations in embroidery software and equipment. Whether you’re working on intricate logos or dense decorative patterns, this article will guide you through practical tips to effectively lower stitch count without sacrificing detail, helping you create flawless projects with less strain on your machine. Ready to enhance your embroidery skills? Keep reading for actionable insights that will transform your approach to dense designs.
What Dense Embroidery Designs Reveal About Common Challenges
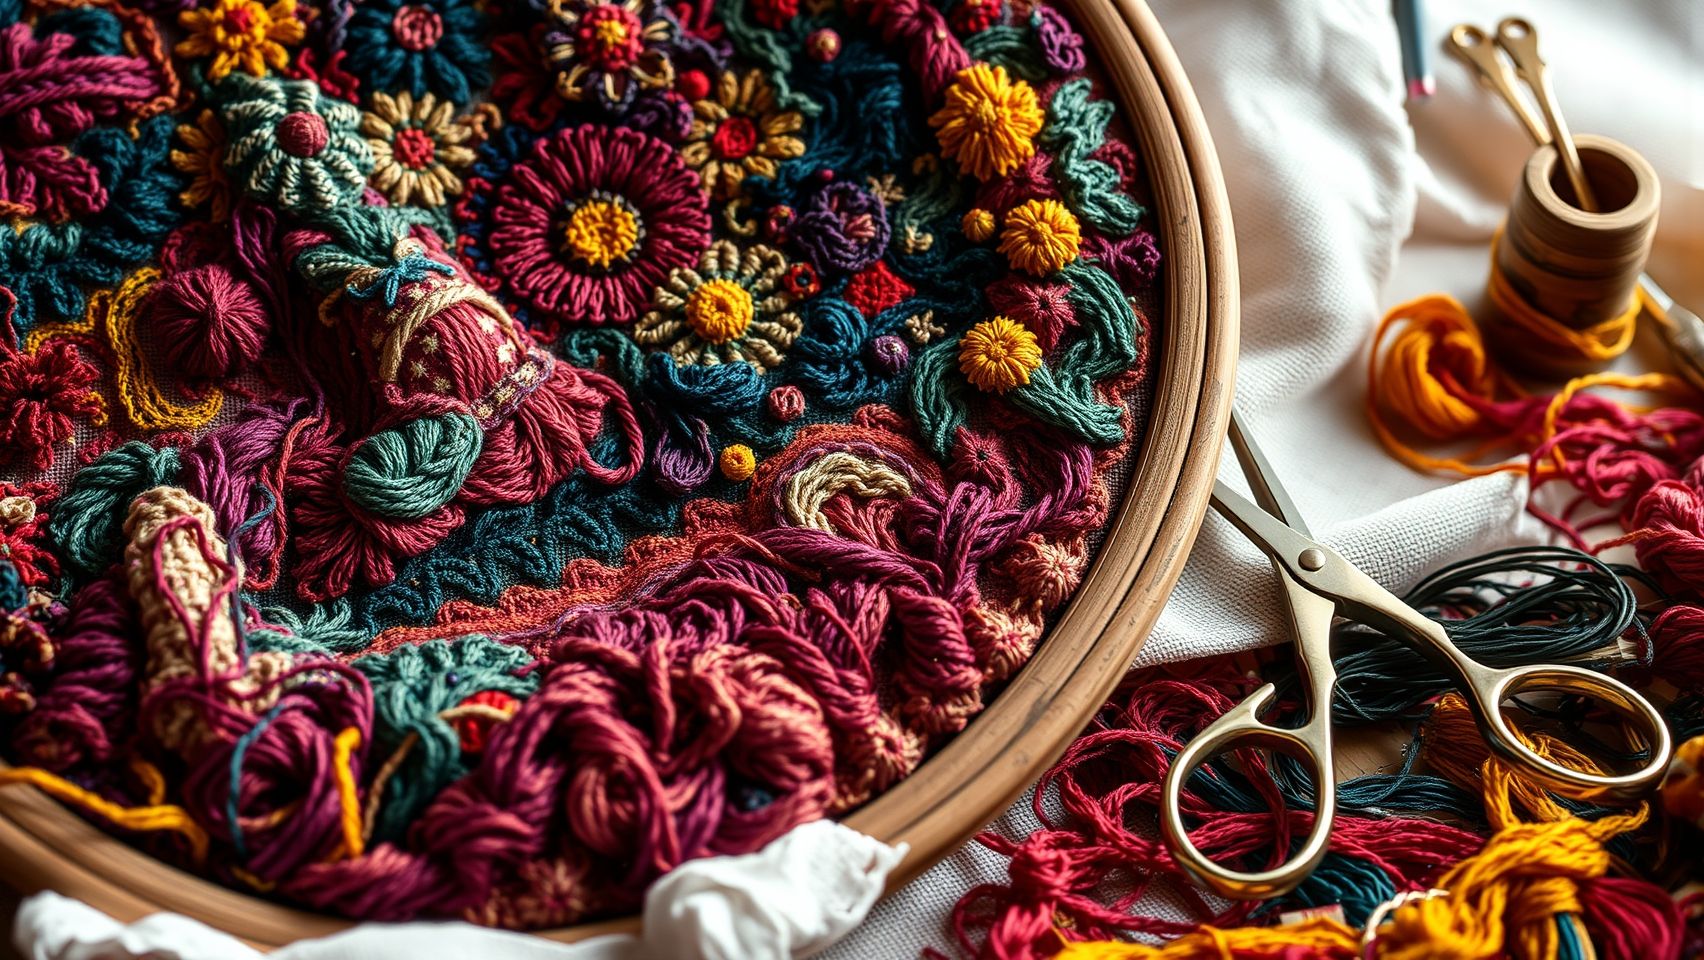
Dense embroidery designs often appear visually impressive, with intricate details and textures, but they come with inherent challenges that can compromise quality and workflow efficiency. Research indicates that excessive stitch count can cause fabric puckering and increase machine fatigue, leading to stitching failures and reduced durability of the finished product. Specifically, studies show that high stitch density in dense designs not only hampers design clarity but also slows down production times, impacting overall productivity and profitability.
Approximately 70% of embroiderers report encountering quality issues directly related to unoptimized density. These issues include fabric puckering, thread breakage, and machine overheating, all of which diminish the final product’s quality and customer satisfaction. By carefully managing design density, embroiderers can improve stitch quality, extend machine lifespan, and reduce downtime. Recent advancements in embroidery software and machine technology emphasize the importance of density optimization, especially when using textured designs or eco-friendly threads, which demand more precise control to prevent puckering and maintain design integrity.
Benefits of Density Optimization
Research shows that optimizing stitch density can lead to a 15% increase in sales, as better quality designs enhance brand reputation and customer satisfaction. Proper density adjustment not only improves stitch clarity but also minimizes machine wear, reducing maintenance costs and prolonging equipment life. This optimization allows producers to handle complex textures and delicate fabrics effectively, ensuring high-quality outputs while maintaining an efficient workflow.
Implementing density management as a core part of the embroidery process is essential for both small-scale boutiques and large manufacturing facilities aiming for consistent, high-quality results. As embroidery technology continues to evolve, adopting best practices in density optimization is increasingly vital to stay competitive and meet customer expectations.
Step-by-Step Guide to Reducing Stitch Count in Dense Designs
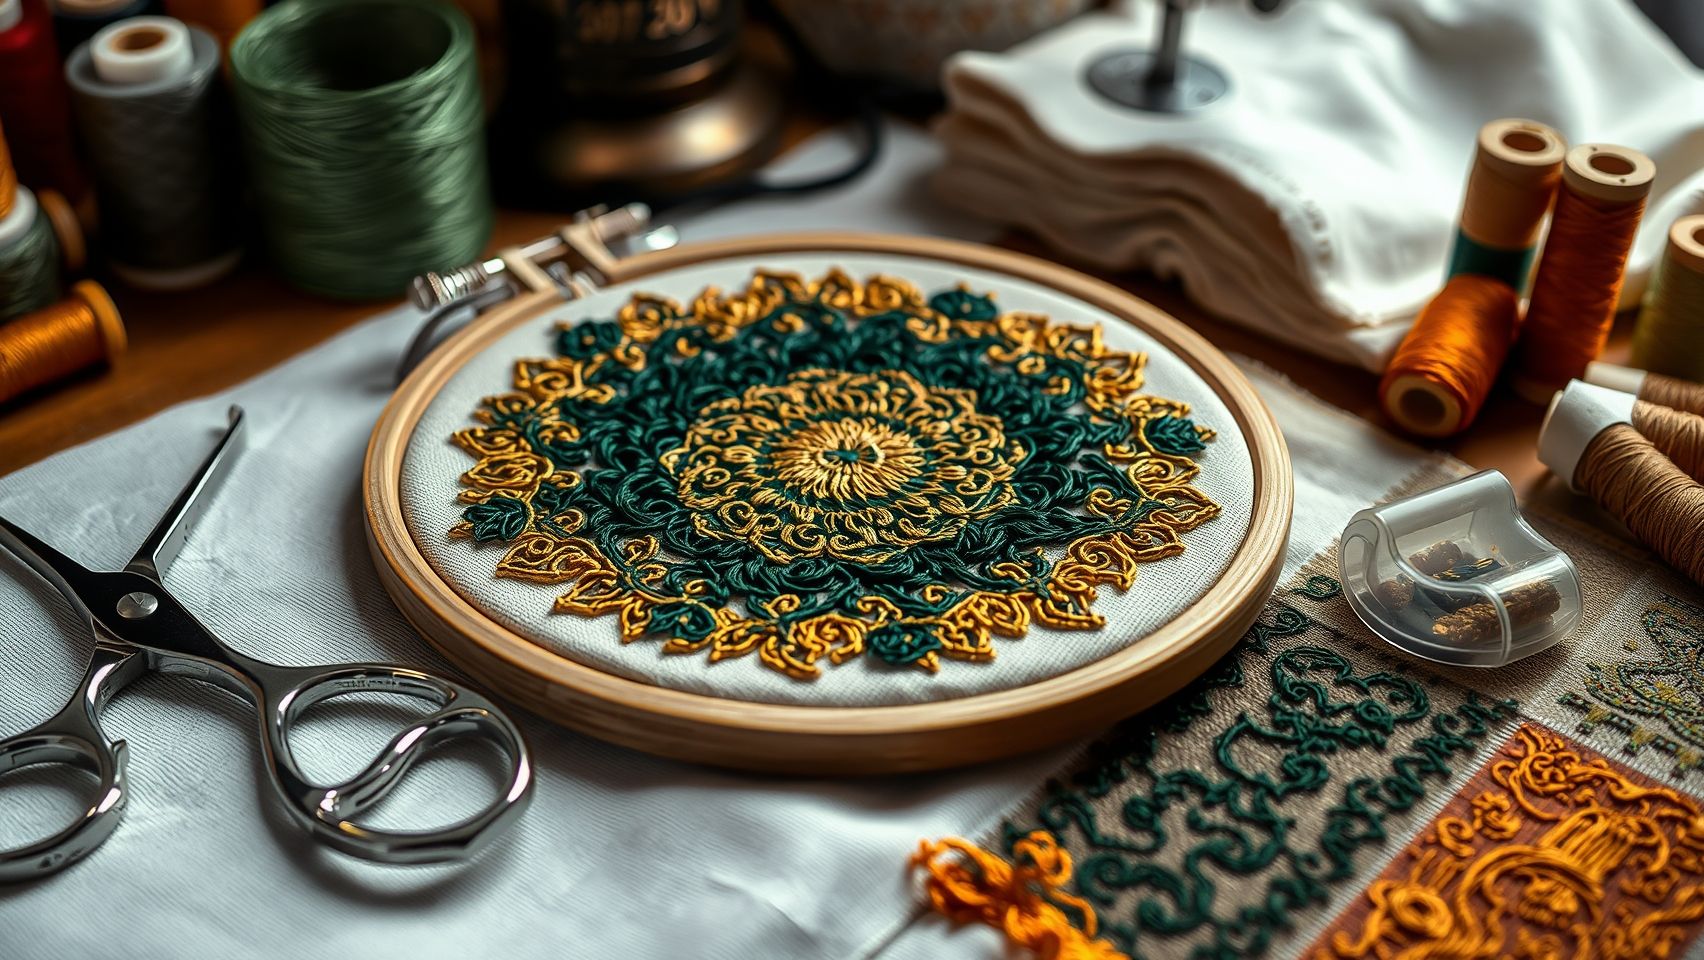
Dense embroidery designs can be visually stunning but often come with increased stitch counts that can strain your machine and fabric. Reducing the stitch count effectively requires a strategic approach during the digitizing process to maintain quality while optimizing efficiency.
Select Appropriate Digitizing Software
Begin by choosing professional digitizing software such as Wilcom Embroidery Studio or Stitch Delight. These programs offer advanced tools like reduce stitch functions and automatic underlay options that are essential for optimizing dense areas without sacrificing detail.
Identify and Reduce Dense Areas
Open your design in the software and pinpoint areas with the highest stitch density. Use the reduce stitch function to decrease the stitch count by 20-30%, applying the adjustment selectively to prevent loss of detail. This targeted reduction helps maintain the design’s sharpness and clarity.
Apply Effective Underlay Settings
Enable automatic underlay types such as tatami or slash underlay, which provide stability and support for reduced stitches. These underlays distribute the stitches more evenly across fabric, minimizing puckering and distortion during stitching.
Test and Adjust
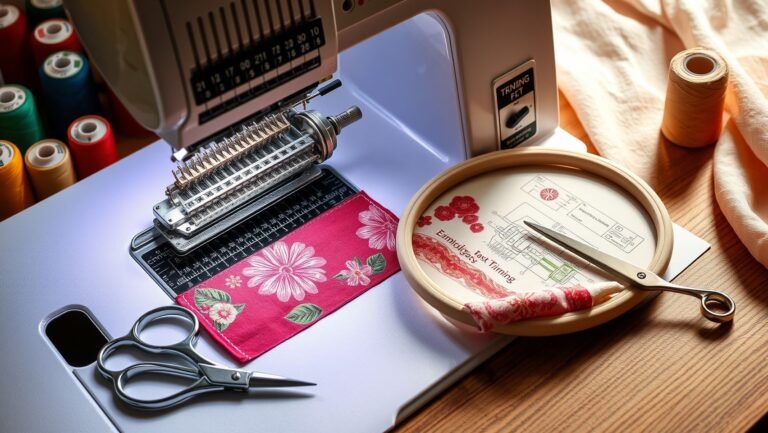
Run test stitches on scrap fabric, observing thread tension and fabric puckering. Gradually decrease the density, e.g., from 0.8 mm to 0.5 mm, and increase underlay overlap if necessary. Incorporate pull compensation settings to counteract fabric distortion, ensuring a smooth, professional finish.
How to Utilize Underlay and Pull Compensation for Dense Designs
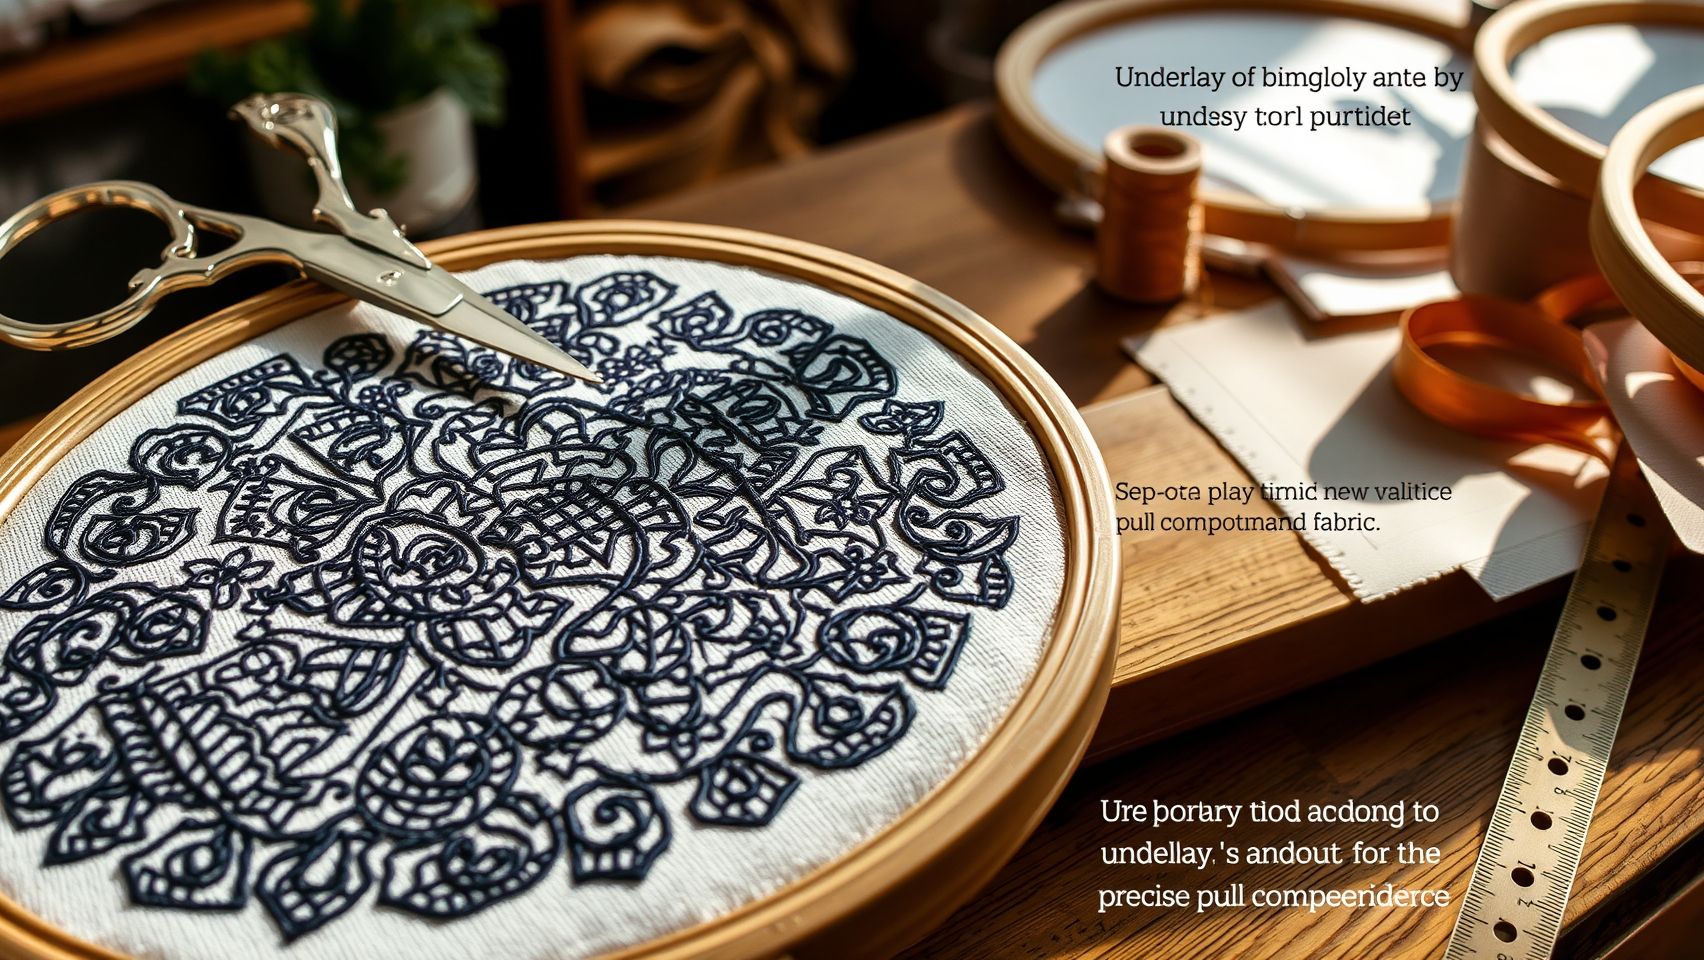
Reducing stitch density in machine embroidery while maintaining quality requires strategic use of underlay and pull correction techniques. Proper implementation of these methods can significantly improve the appearance of dense designs, reduce fabric puckering, and prevent stitch sinking. Modern embroidery machines and software offer a range of features to support these adjustments, allowing for refined control during digitizing and stitching.
Choosing the right underlay style is crucial. Employing stability-focused underlays such as zigzag, tatami, or slash helps prevent fabric shifting and puckering. Tatami underlay with a 50% overlap, for example, effectively stabilizes fabric while supporting stitch count reduction. Ensuring overlapping underlay lines prevents stitch sinking, which can cause distortions and uneven surfaces. Additionally, activating pull compensation features within software like Bernina ArtLink or Brother Design Center allows for automatic correction of fabric distortion, especially beneficial with dense fills.
Practical Techniques for Density Reduction
Perform test runs on scrap fabric to observe how fabric reacts to reduced density and pull compensation settings. Fabric types, such as silk, cotton, or synthetics, dictate specific adjustments; silk may require less underlay tension, while cotton benefits from moderate correction. Iteratively adjusting underlay density and pull parameters ensures optimal results. Consistent tension settings are also vital, as irregular tension can negate the benefits of these adjustments and lead to puckering or stitch sinking.
Modern software updates provide enhanced tools for managing dense designs effectively. Utilizing features like lighter underlays, which use 1.5–2 mm spacing, can stabilize fabric without hindering flexibility or stitch quality. Regular testing and incremental adjustment of these settings lead to professional results, minimizing fabric distortion and achieving cleaner, flatter embroidery surfaces.
Choosing the Right Equipment and Materials for Dense, Quality Embroidery
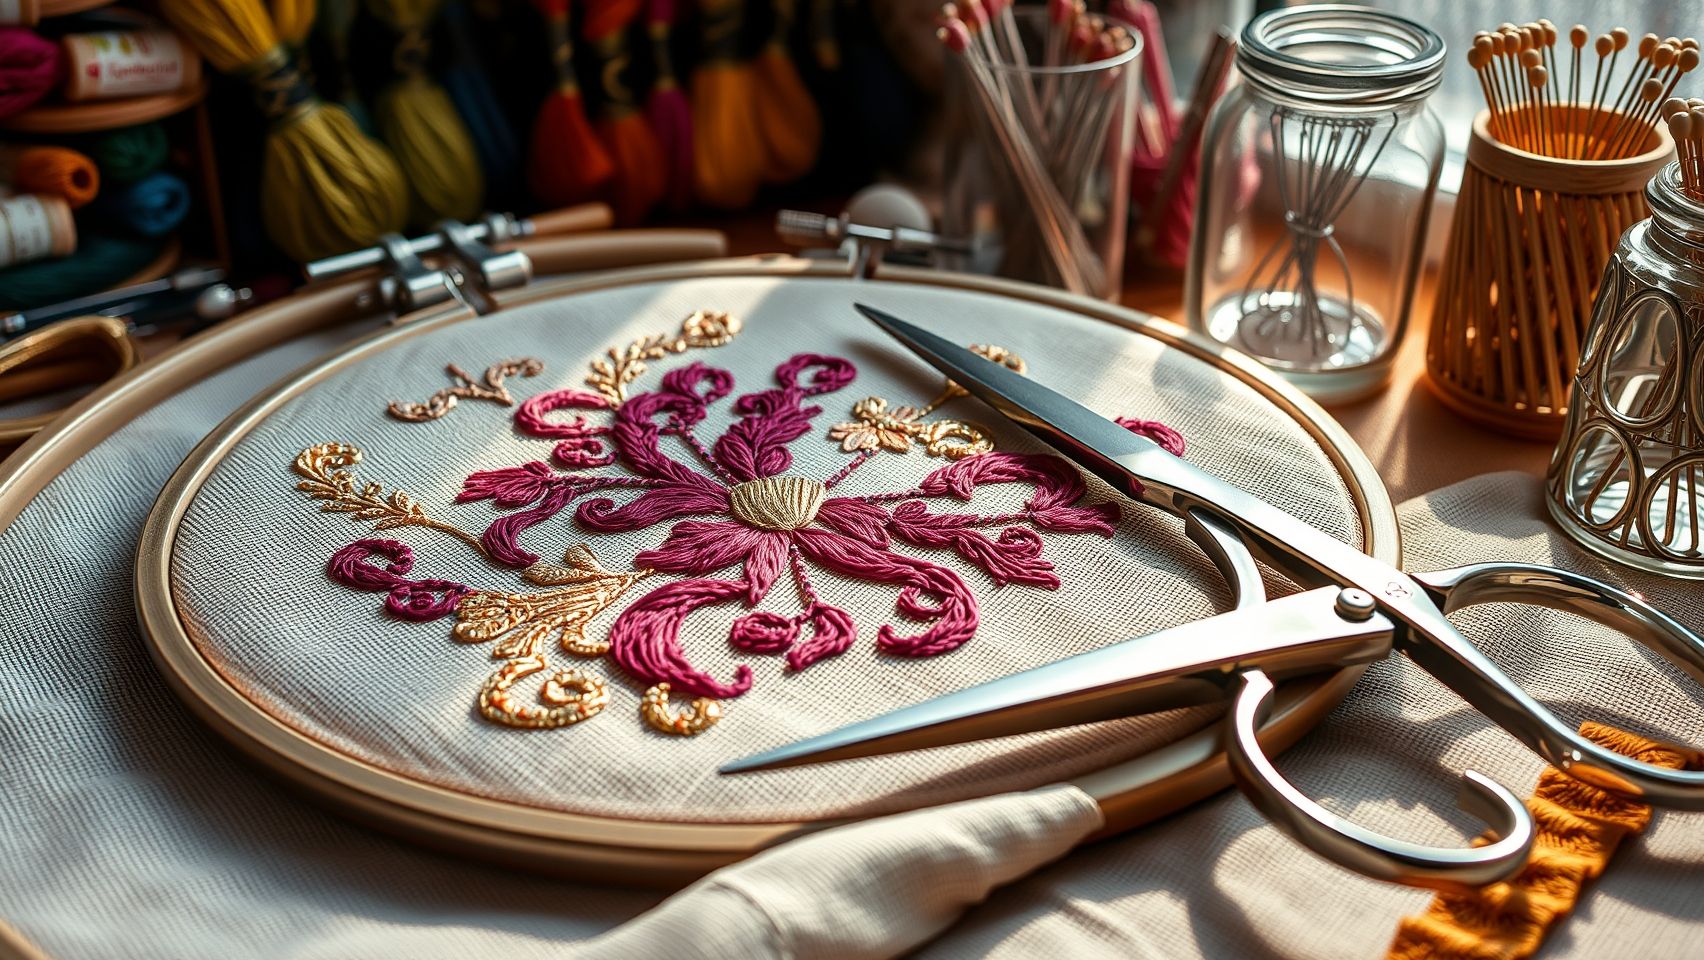
Effective dense embroidery requires the right combination of advanced machinery, high-quality stabilizers, and specialized threads. Selecting equipment that offers features like automatic tension and adjustable underlay controls simplifies the process, ensuring consistent stitch quality even in complex, dense designs.
Moreover, the choice of stabilizers and threads plays a crucial role in supporting dense stitch work without sacrificing durability or visual appeal. Proper tools and materials can significantly enhance embroidery outcomes, making your projects look professional and withstand regular use.
Embroidery Machines Supporting Density Optimization
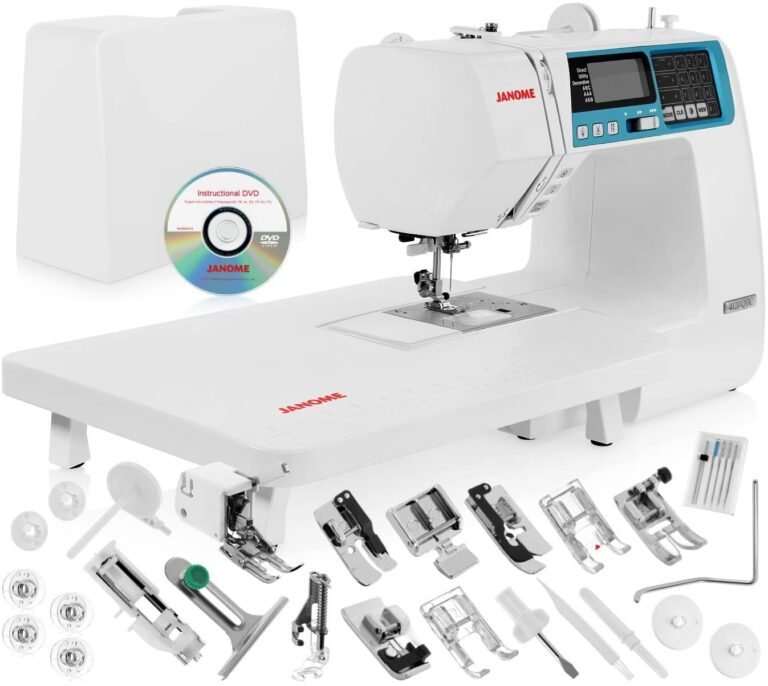
Trending machines like the Brother Stellaire, Bernina 880 Plus, and Janome MC15000 are equipped with features specifically designed for dense embroidery work. These machines offer automatic tension adjustment and adjustable underlay settings, allowing embroiderers to control stitch density precisely and reduce thread breakage. For example, the Brother Stellaire, priced at roughly $4, 999, provides a large embroidery area and enhanced automatic tension controls, perfect for intricate dense designs. Similarly, the Bernina 880 Plus and Janome MC15000, costing around $5, 099 and $3, 999 respectively, feature advanced tension adjustments and large hoops, essential for complex projects.
Supporting Materials: Stabilizers and Threads
Using high-quality stabilizers such as cut-away or tear-away is critical for dense embroidery. These stabilizers provide a durable foundation, reducing puckering and thread breakage. Costing approximately $15-25 per yard, cut-away stabilizers ensure stability in intricate, layered stitches. Complement this with premium threads like Madeira Polyneon and Sulky Holoshimmer, priced around $6 per spool, which offer excellent tensile strength and vibrant color retention for specialty effects.
Thread choice influences both durability and visual impact. Eco-friendly textured threads are increasingly popular, adding dimensional effects that enhance the overall design quality. Proper material selection supports not only aesthetic goals but also longevity of the finished embroidery.
Troubleshooting Dense Design Issues and Ensuring Consistent Quality
High stitch density in embroidery can often lead to problems like puckering, thread breakage, and uneven stitches. Addressing these issues involves a systematic approach to machine setup, design management, and material support. By following clear, actionable strategies, embroiderers can greatly improve their final outcomes and achieve professional-quality results.
Check Tension Settings and Adjust for Fabric and Thread
Begin by verifying your machine’s tension settings. Mismatched tension often causes puckering, especially with dense designs. Adjust tension by increments of 0.2 units and test on scrap fabric similar to your project. Using high-quality threads also reduces breakage; switching to threads designed for dense stitching can minimize stress and enhance stitch uniformity.
Use Test Fabrics and Modify Stitch Density
Employ test fabrics to locate puckering points. If puckering occurs, reduce stitch density or modify underlay patterns to better support the top stitches. Increasing stabilizer support is vital. For fabrics prone to shifting, switching to a stronger stabilizer or layering multiple stabilizers provides added stability, preventing puckering during stitching.
Break Down Designs and Maintain Machine Cleanliness
For complex, dense designs, break the pattern into smaller sections to reduce machine stress and improve control. Regularly clean machine parts, especially bobbins and tension discs, to avoid thread jams that can cause uneven stitches. Proper cleaning also ensures smooth operation, which is crucial for maintaining consistent stitch quality.
Monitor Stitch Times and Optimize Settings
Keeping an eye on stitch times helps prevent machine overheating and stress. Optimizing sewing parameters, such as stitch speed and tension, ensures consistent stitches and reduces thread breakage. Properly balanced settings provide a smoother stitching process, crucial for dense designs.
Conclusion
Optimizing the density in dense embroidery designs is essential for achieving professional results while reducing strain on your machine. By adjusting stitch count through software, employing proper underlay and pull compensation techniques, and selecting the right equipment and materials, you can significantly improve both design quality and operational efficiency.
Remember, these actionable steps are designed to help you create cleaner, more durable embroidery while saving time and resources. The future of embroidery digitizing is increasingly driven by AI and automation, making it easier than ever to perfect your designs with confidence.
Start applying these density optimization techniques today on your next embroidery project and see immediate improvements in quality and efficiency. Your skill and precision will grow with each project, turning challenges into opportunities for excellence.
Embrace these strategies, and watch your embroidery work reach new heights of excellence!