Embroidery Design Editing Software: Free vs Paid for Better Results
This post contains affiliate links. As an Amazon Associate, Latest Embroidery earns from qualifying
purchases, at no extra cost to you. Learn more.
Are you tired of spending hours fixing embroidery designs or getting inconsistent results with free tools? If so, you’re not alone. Many embroiderers face common pain points like design errors, limited features, and workflow inefficiencies, especially when relying on basic or free software. Whether you’re a hobbyist or running a small business, choosing the right design editing software can make a huge difference in the quality of your output and your overall efficiency.
This article aims to help you compare free and paid options, highlighting their practical capabilities, costs, and output quality. With the embroidery industry expected to reach a market size of over USD 5.7 billion by 2030, understanding which software best fits your needs is more important than ever. You’ll discover actionable insights to streamline your workflow, improve design precision, and ultimately create better embroidered products.
Let’s dive into the key differences between these options and find the ideal solution for your embroidery projects. Ready to make an informed decision? Keep reading:
Key Findings on Embroidery Software Capabilities in 2025
In a hurry? Jump to our recommended digitizing picks ↓
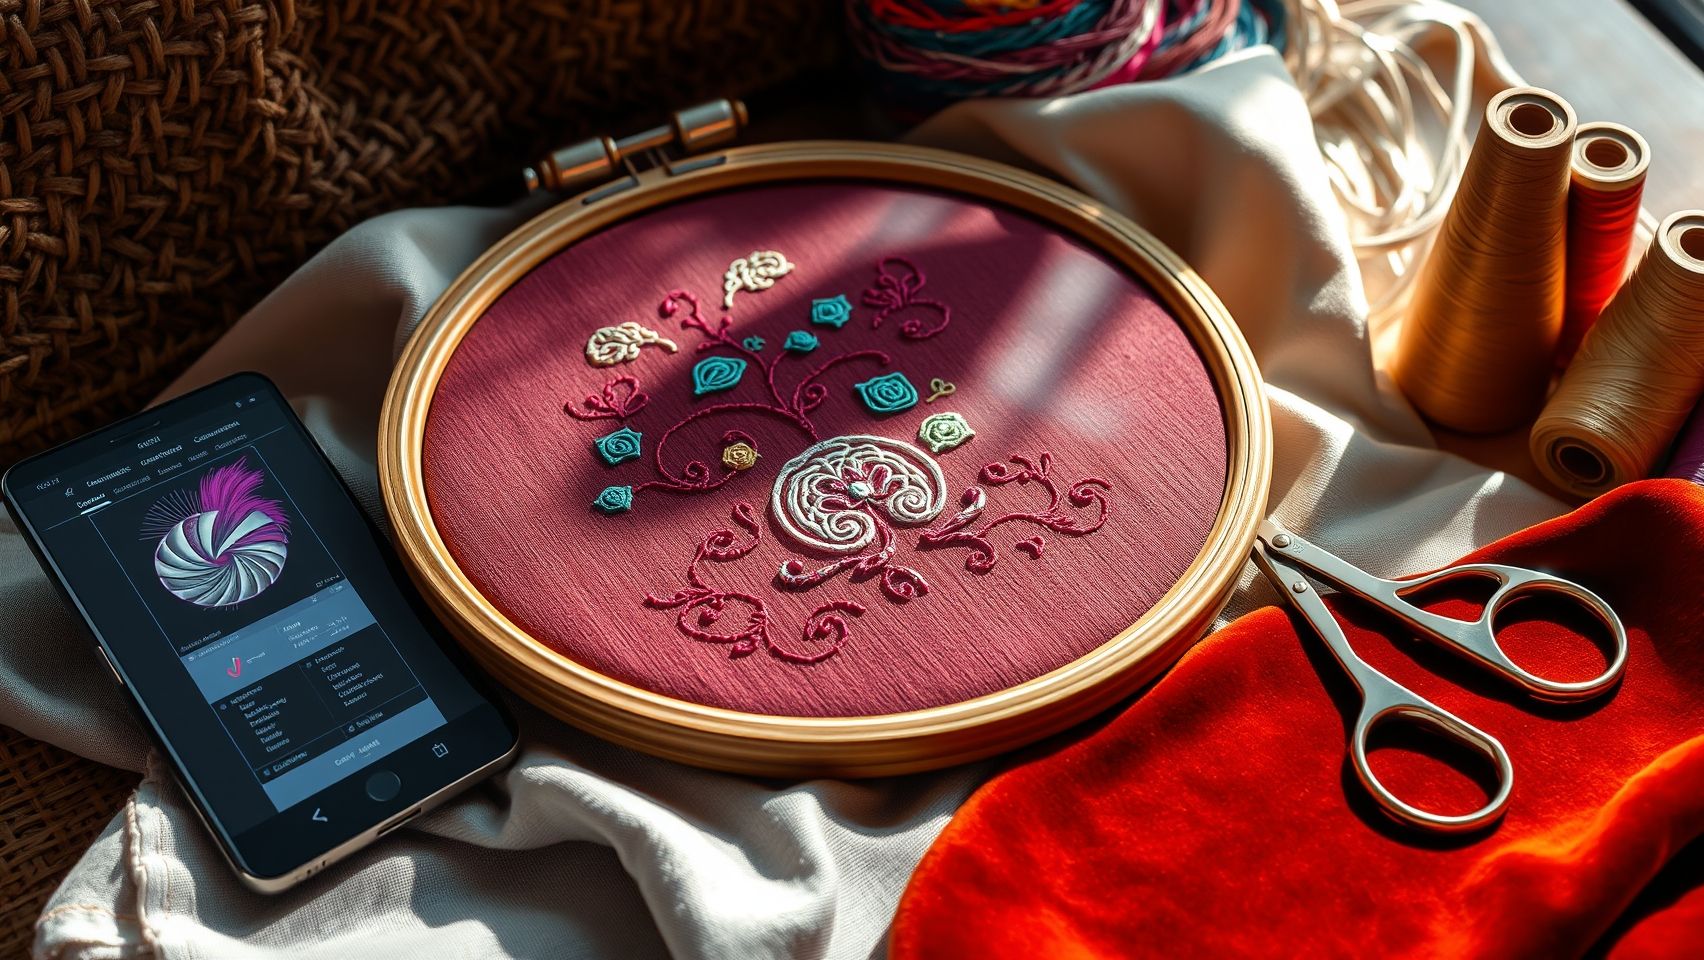
As the embroidery industry advances, understanding the capabilities of free versus paid editing software is crucial for making informed investment decisions. Recent industry data highlights significant trends in software features, support, and user preferences, shaping the landscape in 2025.
Industry leaders such as Wilcom and Hatch now support over 228 and 200 file formats respectively, enabling compatibility with high-volume projects. Meanwhile, free tools like Ink/Stitch offer vector support and cross-platform functionality, appealing to beginners and budget-conscious users. Adoption rates show that approximately 70% of embroidery shops utilize advanced software, boosting ROI through faster turnaround times and reduced error rates. Automation features like auto-digitizing can reduce design time by up to 30%, which is vital for scaling production efficiently. Furthermore, platforms such as Hatch Academy and Udemy provide essential learning resources, with about half of users reporting increased confidence in their skills. Hardware enhancements, including Sewtalent hoops and magnetic tension tools, further improve output quality by minimizing fabric distortion.
Practical Insights and Industry Data
Supporting this growth, recent updates from industry leaders emphasize the importance of multi-format support and automation. Wilcom’s support for over 60 formats and 228 fonts facilitates versatile project handling, while automation features streamline workflows. Additionally, the integration of hardware like tension-adjusting hoops significantly enhances stitch consistency. Overall, those investing in advanced software experience higher efficiency, better quality, and more streamlined production processes, confirming the ongoing shift towards professional-grade tools in the embroidery industry.
Step-by-Step Guide to Digitizing and Editing Embroidery Designs
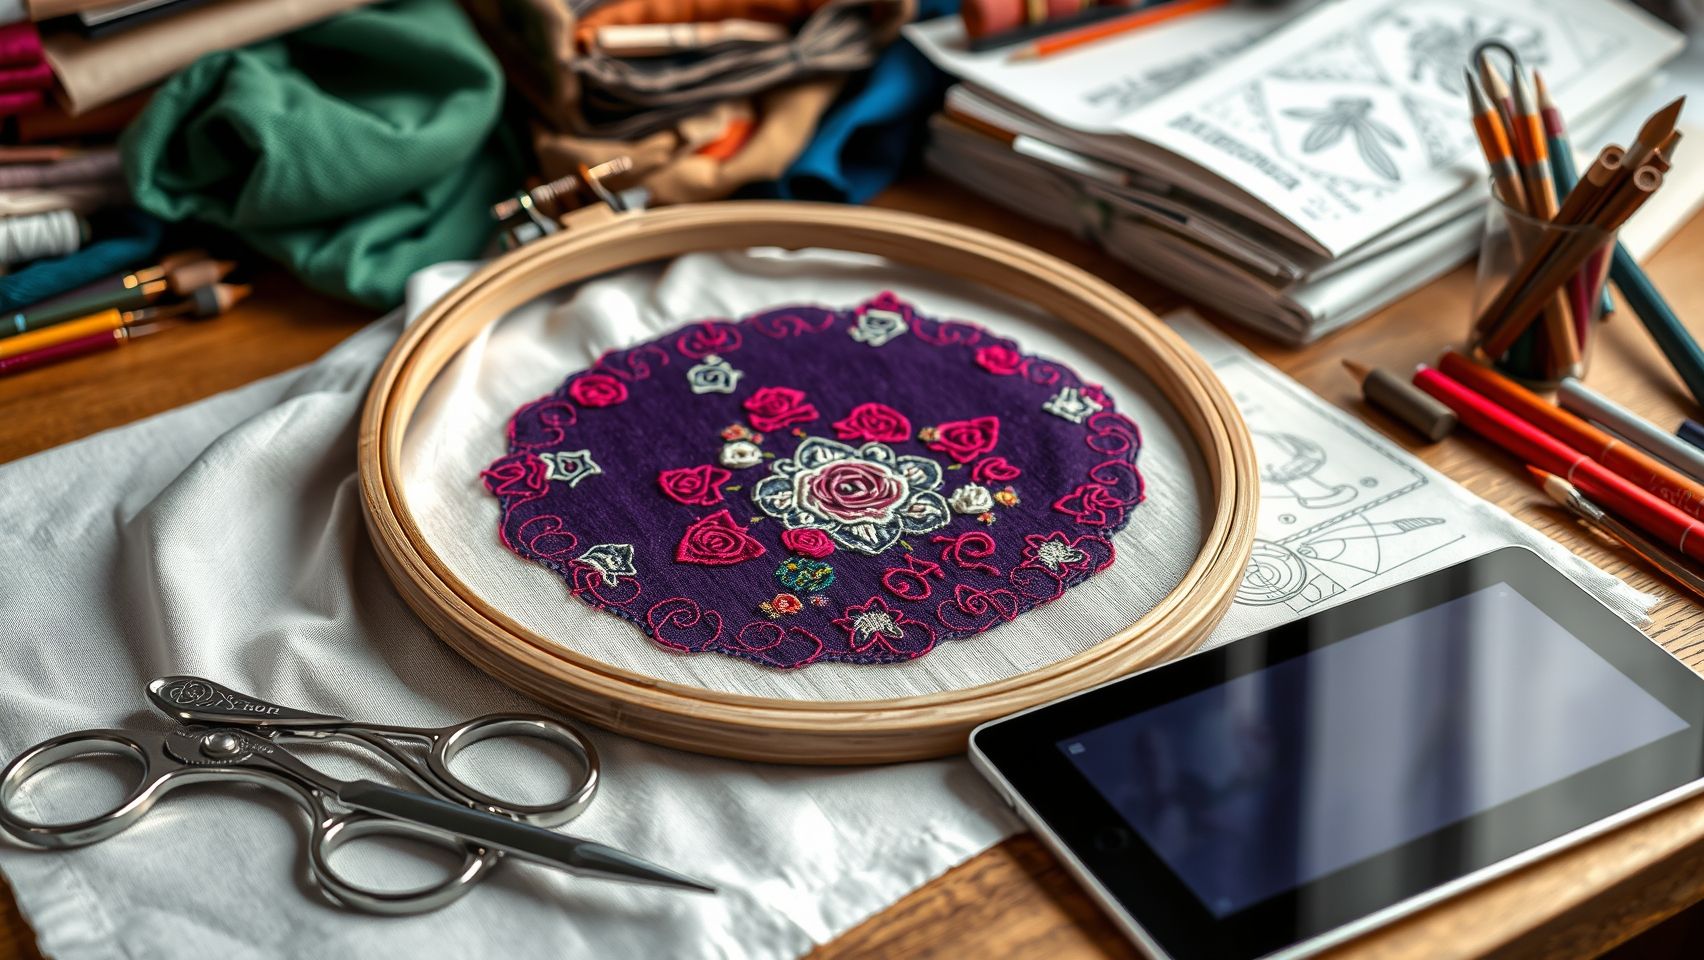
Creating or refining embroidery patterns requires a systematic approach to ensure professional results. Whether you’re using free software like Ink/Stitch or investing in paid options like Wilcom, understanding the workflow helps streamline the process and improve output quality.
This guide provides clear, actionable steps to assist you in setup, digitizing, and troubleshooting your embroidery designs efficiently and effectively.
Choosing Appropriate Software
Select software based on your project scope and budget. For small projects or hobbyists, free options such as Ink/Stitch offer basic editing and digitizing tools, making them suitable for casual use. Paid software like Wilcom or Hatch provides advanced features, auto-digitizing, and greater precision, ideal for high-volume production or professional work.
Preparing Your Design
Start by importing images or sketches into your software. Set up thread colors that match your intended palette and specify fabric types for accurate stitch simulation. Proper setup ensures that digitizing aligns well with your materials and design intentions.
Digitizing the Design
Use auto-digitizing tools where available (e.g., Hatch supports automatic conversion of images into embroidery files). For more control, manually place nodes with editing tools to refine the pattern. This step is crucial for achieving smooth, balanced stitches and accurate design replication.
Adjusting Stitch Types and Density
Apply different stitch types such as satin, fill, or run stitches based on design elements and fabric type. Optimize stitch density to prevent puckering or incomplete coverage, especially when working with complex or detailed designs.
Testing and Troubleshooting
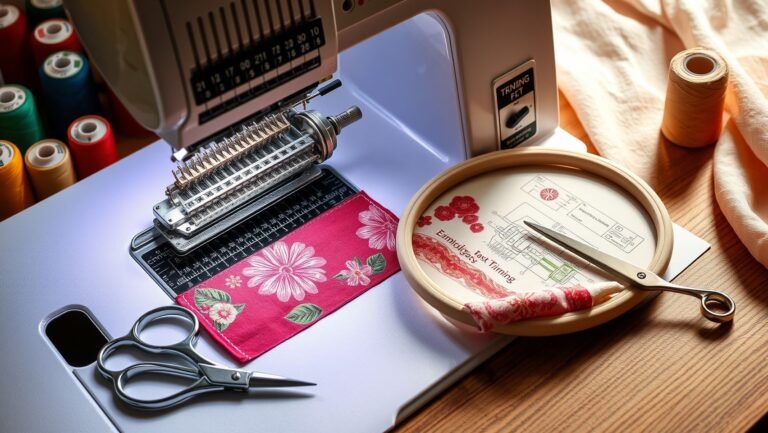
Conduct test stitches on sample fabric to evaluate tension, stitch quality, and overall appearance. Adjust tension settings as needed, using tools like Sewtalent hoops or magnetic tension devices to improve fabric stability and stitch consistency. Troubleshooting early helps prevent costly errors in final production.
Finalizing and Saving
After confirming the design quality, export your embroidery pattern in compatible formats such as DST, PES, or EXP. Ensure file compatibility with your embroidery machine to facilitate a smooth stitching process. Saving your files properly preserves your work for future edits or reproductions.
Recommended Equipment and Tools for Optimized Embroidery Editing
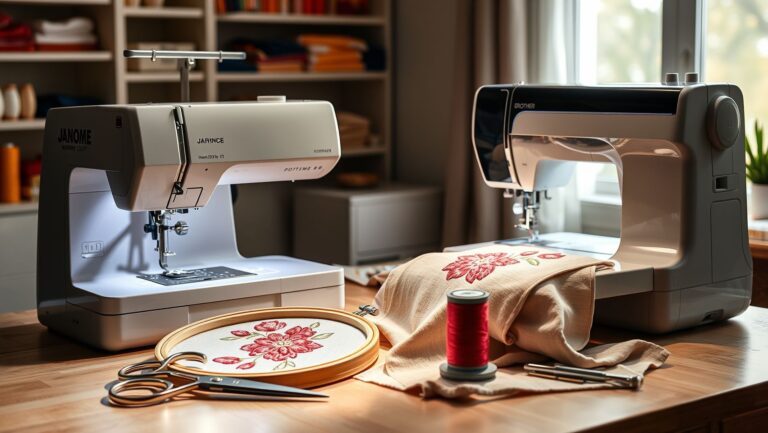
Enhancing your embroidery design editing workflow involves choosing the right hardware and accessories that integrate seamlessly with your software. Industry-grade embroidery machines like Ricoma Chroma, Brother, Bernina, and Janome support high-volume projects and are known for their compatibility with advanced editing software, ensuring efficiency and precision. Proper equipment setup not only streamlines production but also reduces errors, leading to higher-quality outputs.
Hardware for Embroidery Design Editing
Selecting a powerful computer with a fast processor and large monitor is essential for handling complex design files. A larger display facilitates detailed editing and workspace organization, while high-speed hardware minimizes lag and processing delays. Combining this with reliable embroidery machines ensures a smooth transition from digital design to physical product. Additionally, utilizing Sewtalent hoops with tension control features helps reduce fabric distortion during editing and production. Magnetic hoops with adjustable sizing provide flexibility, accommodating various project sizes effectively.
Accessories and Setup Tips
Choosing compatible cutting mats and stabilizers according to project complexity is crucial. Tear-away stabilizers work well for simple designs, while cut-away and water-soluble options suit intricate, detailed projects. Proper application of stabilizers and tension calibration of embroidery machines ensure the design retains its quality during stitching. Firmware updates and software configurations should be regularly maintained to optimize performance. Support resources such as online tutorials, community forums, and official courses like Hatch Academy or Udemy are invaluable for mastering design techniques and troubleshooting common issues, which can reduce errors by up to 40%.
Practical Techniques for Editing and Refining Embroidery Designs
Editing and refining embroidery designs is crucial for achieving professional-quality results. Whether using free or paid software, mastering specific techniques can significantly improve design accuracy, stitch quality, and overall appearance. This section provides step-by-step instructions and best practices for common editing tasks that enhance your embroidery projects.
Refining Stitch Density
Adjust stitch density to prevent puckering and ensure balanced thread usage. In software like Wilcom or Hatch, locate the stitch density slider within the properties panel. Start by decreasing the density if the fabric shows puckering or increasing it for more intricate details. Always run test stitches on scrap fabric to fine-tune the density, especially for dense fills or satin stitches. This balance ensures your design maintains durability without sacrificing smoothness.
Correcting Design Flaws
Utilize node editing tools to smooth curves and eliminate overlaps. Select the nodes along the problematic areas, then use the smooth or curve adjustment tools to refine the shape. Overlapping stitches can be corrected by deleting redundant nodes and adjusting the stitching order to prevent overlaps. Running a simulation or mock-up on test fabric helps identify and correct flaws before final production, reducing costly rework.
Adding Custom Fills or Textures
Leverage vector support within embroidery software to create complex fill patterns. Import or draw vector shapes, then convert them into custom fills. Applying textured fills can add flair to motifs, such as floral or geometric patterns. This technique is ideal for adding unique embellishments or achieving a more textured, dimensional look that stands out on garments or accessories.
Optimizing Multi-Hooping Designs
Plan stitching sequences carefully for multi-hooping projects. Use software features to mark overlap zones and segment the design logically. Overlap segments slightly to ensure seamless joins, and consider the stitch order to minimize repositioning. Testing on fabric with your specific hoops, such as Sewtalent, ensures seamless continuity and high-quality large designs.
Color Management
Use the software’s palette tools to match thread colors precisely. Import or create color palettes that correspond to your thread collections, and assign them to specific design elements. Consistent color matching prevents mismatches during stitching and enhances the overall professional appearance of your embroidery.
Testing with Mock-ups
Always run sample stitches on test fabrics before committing to final production. Adjust tension, stitch order, and density based on the test results. This proactive approach minimizes defects like thread breaks, fabric puckering, or misaligned stitches, ensuring the final product meets high-quality standards.
Comparing Free and Paid Embroidery Editing Software: Which Is Better?
Choosing the right embroidery design editing software is crucial for achieving professional results, whether you’re a hobbyist or a professional. The landscape offers a range of options from free tools like Ink/Stitch to premium solutions such as Wilcom and Hatch. Understanding their differences in features, output quality, learning curve, and cost can help you make an informed decision tailored to your needs.
Paid software generally provides advanced functionalities and polished outputs suitable for high-volume and commercial projects. Meanwhile, free tools typically serve hobbyists or those beginning their embroidery journey, offering basic editing capabilities without financial commitment. This comparison aims to clarify these distinctions and highlight real-world implications of each choice.
Features
Paid embroidery software like Wilcom offers a comprehensive suite of features including auto-digitizing, multi-format support, and sophisticated editing tools. Wilcom supports over 60 file formats and 228 fonts, reducing design errors by up to 40%. It also includes advanced stitch control and extensive customization options. Conversely, free tools such as Ink/Stitch support basic vector import, simple editing functions, and some automation, but lack the depth of professional features. Ink/Stitch excels in extracting vector images for embroidery but may require technical troubleshooting, especially for complex designs.
Output Quality and Industry Impact
Professional-grade software produces high-quality stitches with fewer errors, crucial for commercial production and large-volume projects. Wilcom’s advanced algorithms support precise stitch density and underlay techniques, ensuring durable and aesthetically pleasing outcomes. Free tools are suitable for smaller projects, hobbyists, or prototypes, but their output might include errors or inconsistencies, which can increase manual correction time. Industry data shows that using premium software reduces project turnaround times and enhances overall quality, especially in high-demand environments.
Learning Curve and Cost Considerations
Paid software like Wilcom requires a significant investment, typically over $1, 200 for a perpetual license, with monthly subscriptions around $50 for Hatch. These solutions have steeper learning curves but provide extensive tutorials, dedicated customer support, and robust functionality. Free tools such as Ink/Stitch are more accessible for beginners, with minimal initial costs, but may involve technical challenges that extend learning time and troubleshooting efforts. The initial savings of free software might be offset by additional manual corrections and time losses, especially for complex designs.
Professionals often find that investing in paid software enhances project efficiency and output quality, especially in high-volume or commercial settings. Conversely, hobbyists usually prefer free tools for smaller-scale projects, with the understanding that their outputs may require more manual refinement.
Final Tips for Choosing and Implementing the Right Embroidery Software
Choosing the appropriate embroidery design editing software requires careful evaluation of your project scope, budget, and technical needs. Whether you’re a hobbyist working on small projects or a professional aiming for large-scale production, selecting the right tool can significantly impact your results. Additionally, integrating compatible accessories and planning for ongoing support will ensure smooth workflow and high-quality outcomes.
Assess Your Project Scale
For small projects, free tools like Ink/Stitch may be sufficient, offering basic editing features without financial investment. However, large-scale production or complex designs benefit from paid solutions such as Wilcom, which provide advanced auto-digitizing capabilities, faster workflows, and higher precision. Understanding your project’s complexity and volume helps determine whether an investment in professional software is justified.
Evaluate File Format Support
Compatibility with your embroidery machine is critical. Confirm the software supports the specific file formats your device requires, such as PES, DST, or EXP. Ensuring seamless file transfer prevents costly errors and saves time during production.
Leverage Community Resources & Training
Platforms like Udemy and Hatch Academy offer tutorials and community support that can accelerate mastery of your chosen software. Access to expert advice and troubleshooting tips minimizes learning curves and enhances skill development, making your investment more effective.
Conclusion
Choosing the right embroidery design editing software, whether free or paid, is a crucial decision that impacts your project’s quality, efficiency, and overall workflow. While free tools are ideal for hobbyists and beginners, offering valuable features without cost, paid solutions excel in providing advanced features, faster processing, and greater customization options, especially for high-volume or professional embroidery shops.
Recent trends in 2024 highlight a growing emphasis on sophisticated design capabilities, automation, and sustainability, making paid software increasingly appealing for those seeking to push creative boundaries and optimize productivity. Additionally, investing in quality hardware accessories can significantly streamline your workflow, enhance design precision, and improve overall output, leading to a higher return on investment.
- Evaluate your project requirements and production volume before choosing software.
- Try free demos to gain hands-on experience and assess compatibility with your needs.
- Consider hardware accessories and training resources to maximize your embroidery results and operational efficiency.
Don’t hesitate, your next level of embroidery quality and productivity is within reach! Evaluate, experiment, and invest today to unlock stunning results that set your work apart. Take action now and turn your embroidery visions into reality.