How to Use Embroidery Symmetry Tools for Faster, Better Designs
Imagine creating perfectly symmetrical embroidery designs in just minutes, no more tedious manual adjustments or painstaking mirror work. If you’ve ever struggled to get those flawless mirrored patterns or spent hours trying to align intricate motifs, you’re not alone. The good news is, today’s embroidery software and machinery now come equipped with powerful symmetry tools that can transform your workflow. These tools, like the Mirror Merge in Wilcom or Hatch’s advanced editing features, make it easier than ever to produce professional-quality designs with minimal effort.
By leveraging semi-automated and automated features, you can significantly boost design quality and consistency, while also opening doors for more creative experimentation. Whether you’re a hobbyist or a seasoned professional, understanding how to effectively use these symmetry options can save you hours, and take your embroidery projects to the next level. Curious how these tools actually work in real-world applications? Keep reading, because we’re about to explore the ins and outs of the best embroidery symmetry tools out there and how they can streamline your creative process.
Step-by-step guide to creating symmetrical embroidery designs using software
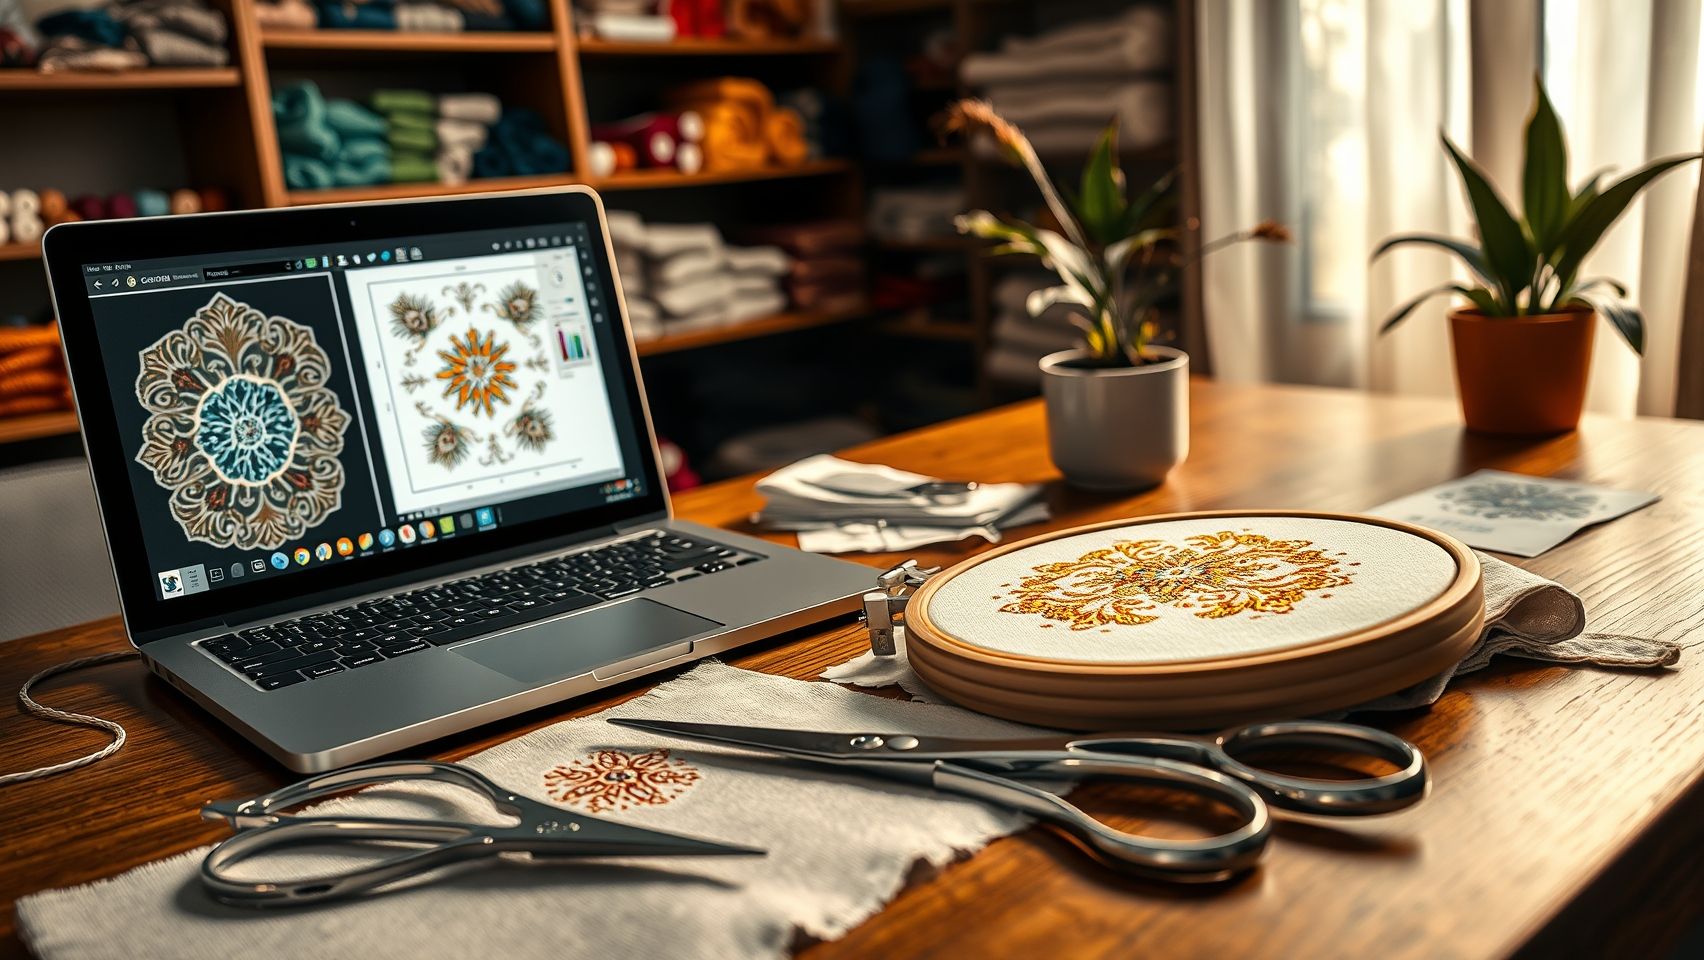
Designing perfectly symmetrical embroidery can be time-consuming if done manually. However, with modern embroidery software like Wilcom and Hatch, leveraging built-in symmetry tools dramatically speeds up the process while enhancing precision. This guide walks you through the entire workflow, from importing your initial design to finalizing a polished, symmetrical pattern ready for stitching.
1. Import Your Initial Design and Set Up the Workspace
Begin by importing your raw design into your chosen embroidery software. Both Wilcom and Hatch support a wide range of file formats, ensuring compatibility with your existing projects. Once imported, set up your workspace for optimal viewing and editing. Adjust the zoom level and enable gridlines or guidelines as needed to facilitate precise adjustments.
2. Activate Automatic Symmetry Features
Locate the symmetry tools within the software’s toolbar, these often include options for vertical, horizontal, or radial mirroring. For instance, in Hatch, you can select the “Symmetry” button and choose the axis or type of symmetry desired. Activate the feature, and the software will generate a mirrored copy of your design instantly. This automatic process reduces manual effort and ensures consistent symmetry across the pattern.
3. Manually Refine the Mirror Areas
Automatic symmetry may introduce minor distortions or imperfections, especially around complex node connections. Use node editing tools to manually fine-tune these areas. In Wilcom, for example, you can select specific nodes and reposition or reshape them to correct pixel-level inaccuracies. Manual adjustments are crucial for achieving a professional and seamless finish, particularly in detailed or complex designs.
4. Preview and Assess Symmetry Quality
Utilize the real-time preview modes available in both Hatch and Wilcom. These previews enable you to visualize how the design will stitch out, allowing assessment of stitch overlap, density, and alignment. Make incremental adjustments while previewing to optimize the symmetry and ensure there are no unwanted gaps or overlaps. This step helps prevent surprises during the actual stitching process.
5. Save and Export Your Symmetrical Design
Once satisfied with the symmetry, save your creation as a template. This step streamlines future projects with similar design elements. When ready, export the design with optimized stitch settings tailored for your embroidery machine, whether Brother, Janome, Bernina, or others. Check the exported file against your machine’s specifications for compatible formats and stitch density requirements, ensuring optimal quality during production.
Incorporating these tools into your workflow can cut project completion times from an average of 4 hours down to under 3 hours, while elevating the quality of your embroidery work. Manual fine-tuning ensures pixel-perfect precision, turning automatic symmetry into a reliable shortcut that complements your craftsmanship.
Tools & equipment to achieve perfect symmetry in embroidery
Achieving perfect symmetry in embroidery designs requires more than just artistic talent; the right tools and equipment play a vital role in streamlining the process and ensuring precise results. From advanced machines with multi-needle controls to specialized software and accessories, knowing what to use can significantly enhance your workflow and design accuracy.
Investing in the right setup not only saves time but also reduces errors, especially when working with complex symmetrical patterns. Below, we explore essential devices, software options, and accessories that support embroidery symmetry, along with setup tips and troubleshooting advice to keep your projects on track.
Embroidery Machines with Multi-Needle Controls
Multi-needle embroidery machines like the Brother SE1900 and Janome Memory Craft 500E are game-changers for creating symmetrical designs. These machines enable synchronized multi-area stitching, which is critical for maintaining consistent symmetry across different sections of a design. Features such as large touchscreens facilitate easy design viewing, editing, and real-time adjustments, while wireless file transfer simplifies workflow.
Setup typically involves hooping the fabric tightly with adjustable clamps to prevent movement and selecting multi-needle mode in the machine’s menu. Regularly check tension settings and hoop tightness to avoid misalignments. Troubleshooting common issues like skipped stitches or misregistration often involves software updates and ensuring fabric and stabilizer are properly positioned.
Entry-level multi-needle models start at around $600, with professional options reaching $1, 300 or higher. These machines often come with performance features like automatic stitch regulation, which ensures consistent stitch quality, especially important for symmetric designs.
Design Software for Symmetry and Preparation
Software like Hatch Embroidery (versions 2 and 3), Wilcom Embroidery Studio, PE-Design, and even Adobe Illustrator are powerful tools for preparing and editing symmetrical embroidery patterns. Wilcom, in particular, offers automatic symmetry setup, which reduces manual correction work after automation. These programs allow precise manipulation of design elements, mirroring, and grid alignment, ensuring high accuracy before stitching.
Setup involves importing your artwork, selecting the symmetry tool or grid, and confirming alignment with your hoop and fabric. Regular software updates and a calibrated touchscreen interface enhance ease of use. When troubleshooting, verify that design properties are correctly set, and run test stitches to check for distortions or misalignments.
Many of these software solutions range from $500 to over $2, 000, with free trial versions available for testing compatibility with your workflow.
Accessories and Extra Equipment
Accessories such as adjustable embroidery hoops and high-quality stabilizers are essential for accuracy. Adjustable hoops with clamps help maintain fabric tautness and prevent shifting, which is crucial for symmetrical work. Stabilizers, like tear-away or cut-away types, support even tension and prevent puckering during long or intricate stitches.
Touchscreen-compatible accessories improve control and facilitate design adjustments on the fly. Additionally, high-quality LED lighting and magnification tools assist in precise fabric placement and alignment.
Proper setup involves ensuring hoops are securely fastened and fabric is evenly tensioned. Troubleshooting common problems like fabric slippage can often be resolved by replacing worn stabilizers or re-hooping for tighter fabric engagement.
Techniques for Refining and Customizing Symmetrical Designs
Creating perfectly symmetrical embroidery designs involves a combination of automated tools and manual adjustments. While symmetry tools in embroidery software automate much of the process, fine-tuning is essential to achieve professional results. Utilizing node editing and point manipulation allows for precise correction of minor asymmetries, ensuring that each element aligns flawlessly. Additionally, layering different textures and threads can add depth and visual interest, even within symmetrical patterns.
Experimentation with creative effects, such as textured stitches and selective thread placement, can transform basic symmetrical designs into eye-catching textile art. Managing layers separately enables the designer to adjust individual components without disturbing the overall balance, providing flexibility for complex projects. This approach is particularly useful when incorporating metallic or specialty threads, which often require tension adjustments to prevent distortion.
Manual Fine-Tuning with Node Editing and Point Manipulation
One of the most effective methods for perfecting symmetry is detailed node editing. By zooming into the design and manipulating anchor points, embroiderers can correct slight deviations caused by automatic pattern generation. Fine-tuning points ensures that curves and edges mirror each other exactly, which is crucial for designs with intricate details. Software like Wilcom, Hatch, or Brother’s Palette offers robust node editing tools, facilitating precise adjustments that improve stitch accuracy and overall visual harmony.
Enhancing Visual Appeal with Textured Stitches and Layer Management
Adding textured stitches like satin, fill, or metallic threads brings tactile richness and visual complexity to symmetrical designs. For example, metallic thread accents on one side of a pattern can be mirrored precisely by managing layers separately. By designing each element in its own layer, adjustments to color, texture, or stitch density can be made independently, then combined seamlessly. This layered approach allows for sophisticated customization, such as applying glow-in-the-dark or textured threads selectively, for instance, on borders or focal points, helping the pattern stand out in both daylight and low light conditions.
Creating Variations and Using Real-Time Feedback for Final Adjustments
Developing multiple versions of a design with slight variations allows you to compare and select the most symmetrical and visually balanced outcome. Employing real-time preview features within embroidery software helps to identify asymmetries or distortions before stitching begins. Adjustments can be made on the fly, saving time and reducing errors, resulting in a more professional final product. This iterative process is especially beneficial when working with complex, multi-layered designs that combine different stitch effects and thread types.
Comparing embroidery symmetry tools and software features
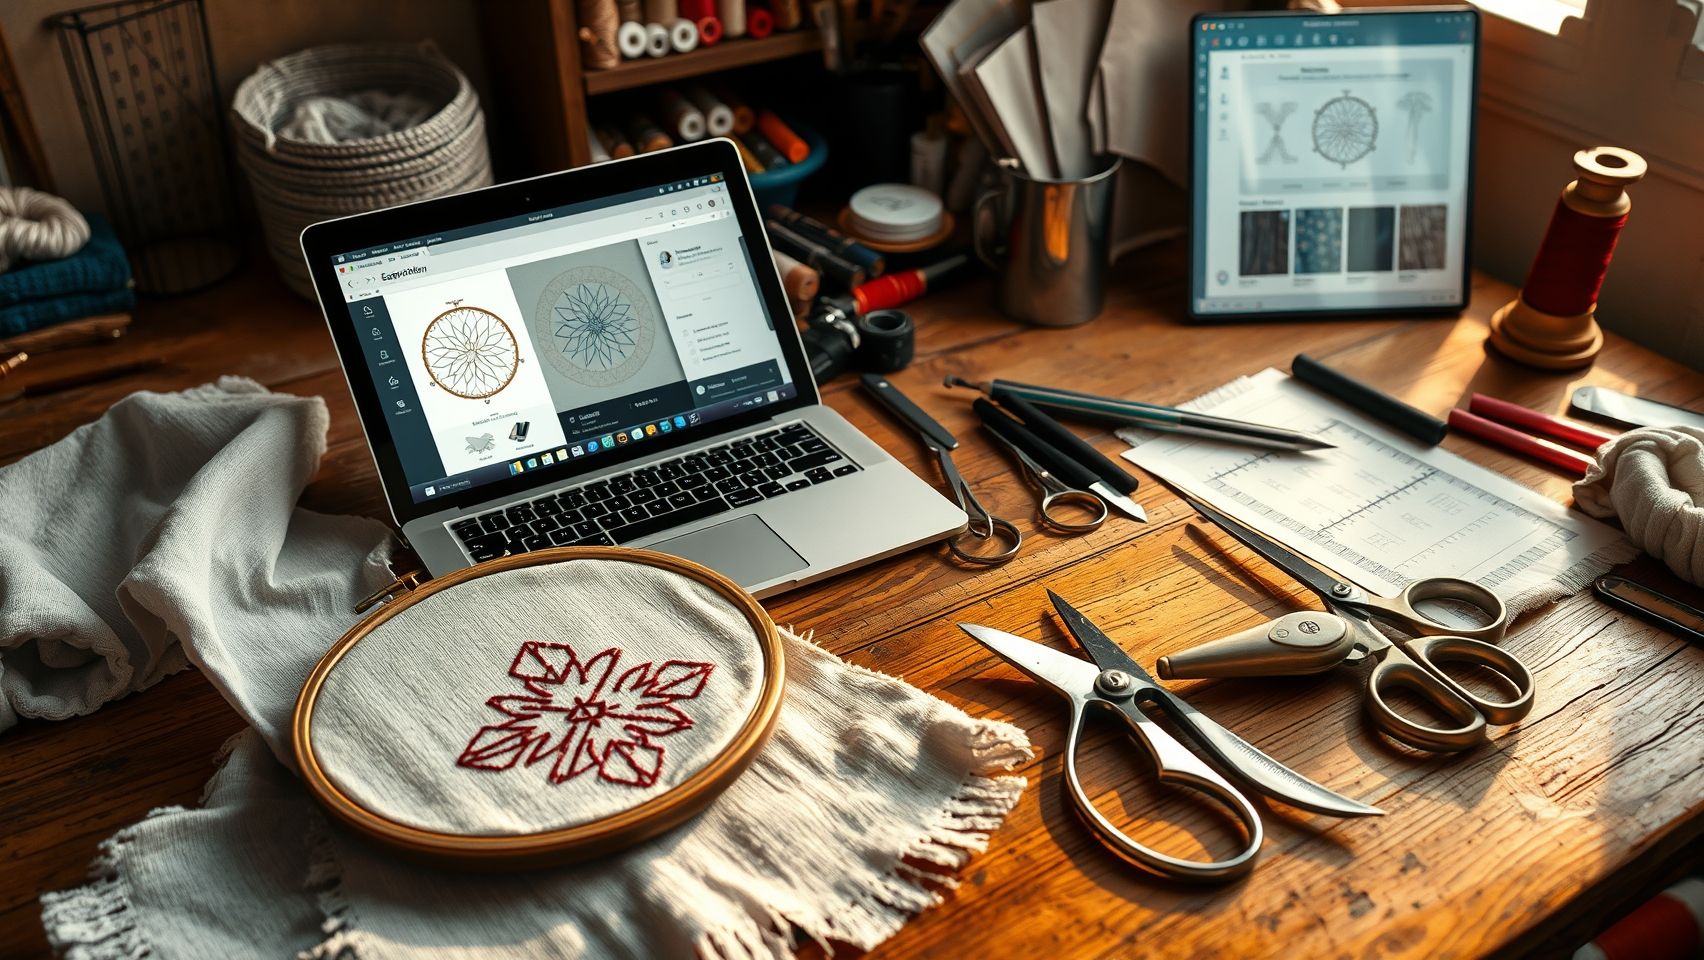
Choosing the right embroidery design software hinges on understanding the key features, costs, and user experience that align with your project needs. Symmetry tools are critical for creating balanced, professional-looking designs efficiently. Here, we compare three leading options: Wilcom Embroidery Studio, Hatch Embroidery, and Brother PE-Design. Each caters to different skill levels and budgets, making it essential to analyze their capabilities and limitations.
Feature comparison: Wilcom Embroidery Studio vs Hatch Embroidery vs Brother PE-Design
Wilcom Embroidery Studio is renowned for its advanced control over symmetry, offering multi-axis symmetry and detailed node editing, making it ideal for complex, precision work. Hatch provides semi-automatic symmetry with real-time previews, making it a popular choice for hobbyists and small businesses. Brother PE-Design strikes a balance with basic symmetry tools, suitable for beginners and casual users.
Pros and cons
Cost-benefit analysis
Investing in Wilcom Embroidery Studio provides unmatched precision and versatility, suitable for professional applications with complex symmetry requirements. However, its high price ($1, 600+) and learning curve mean it’s best for experienced users or commercial studios. Hatch offers a balanced approach, with powerful semi-automatic tools at around $700, ideal for small businesses and hobbyists seeking ease of use with quality results. Brother PE-Design, priced at approximately $400, provides sufficient basic symmetry functions for casual or beginner embroiderers but may fall short for more advanced projects. Your choice depends on project complexity, budget, and your technical comfort.
Practical tips for improving symmetry quality and speed
Achieving perfect symmetry in embroidery can be a time-consuming and meticulous process, but leveraging effective tools and workflow hacks can streamline your projects significantly. Consistent fabric tension and stable hoop setup are foundational, preventing distortions that compromise symmetry. Modern embroidery software’s automatic symmetry features can reduce setup time by nearly 50%, allowing you to focus more on fine-tuning details for optimal results.
Previewing designs in your software before stitching is essential, especially when checking for overlaps and alignment along symmetry lines. Use automatic tools as a first pass, then manually adjust critical areas, such as complex motifs or metallic threads, to ensure precision. Regularly inspecting thread tension, especially with textured or metallic threads, helps maintain material consistency and reduces errors during sewing.
Pre-stretch fabric and ensure hoop stability
Before starting, always pre-stretch your fabric and tighten the hoop adequately to prevent any movement or slack. A well-secured and evenly tensioned fabric produces more accurate symmetry and reduces the need for costly corrections later. This step minimizes distortions that can occur during stitching, which often lead to asymmetries that are difficult to correct post-process.
Preview, fine-tune, and batch process designs
Always preview your embroidery in the software with close attention to symmetry lines and overlaps. This step allows you to catch mistakes early, saving time and material. After automatic symmetry tools do their job, manually fine-tune critical sections for absolute perfection. For multiple similar designs, batch processing helps craft a quick, repeatable workflow, boosting efficiency without sacrificing quality.
Implement quick quality checks and troubleshoot
Post-stitching, conduct a rapid quality inspection for asymmetries or thread issues. Common problems such as thread shifting or tension inconsistencies are more easily corrected before starting a new project. Continuing this routine builds a habit that improves overall output, ensuring each design maintains professional-level symmetry and aesthetic appeal.
Research indicates that maintaining consistent fabric tension and hoop stability, supported by the software’s automatic symmetry features, can dramatically improve the accuracy of intricate embroidery. Regular inspection of thread tension, particularly when working with metallic or textured threads, reduces errors and enhances symmetry quality, resulting in a more polished final product.
Conclusion
Harnessing the power of embroidery symmetry tools can dramatically enhance your design process, making it faster, more precise, and creatively limitless. Whether you’re a hobbyist or a professional, combining automated symmetry features with manual adjustments allows you to achieve impeccable results that stand out. Remember, the right tools not only save time but also open new horizons for your artistic expression.
To truly elevate your embroidery projects, start experimenting with free trials of leading embroidery software today. Investing in reliable, high-quality equipment further ensures your designs are executed flawlessly and efficiently. Don’t let hesitation hold you back, taking these practical steps now will quickly translate into stunning, professional-grade creations.
Unleash your creativity with confidence and turn your embroidery ideas into beautiful realities. The time to transform your designs is now, start exploring and creating today!