How to Reduce Embroidery Machine Vibration for Better Results
This post contains affiliate links. As an Amazon Associate, Latest Embroidery earns from qualifying
purchases, at no extra cost to you. Learn more.
Ever wondered why your embroidery projects turn out uneven or noisy? Vibration is a common headache, betraying craftsmanship with shaky stitches and bothersome noise. Stable, smooth operation isn’t just about comfort, it’s key to crisp, professional designs. Excessive vibration causes skipped stitches, thread breakage, and even equipment damage. The good news: dampening those vibrations is well within reach, leading to quieter operation, better stitch quality, and cleaner designs. This guide walks through what causes vibration, how to install dampening pads, how to stabilize fabric and patterns, and how to troubleshoot persistent shakes, with step-by-step fixes you can apply today.
Step-by-Step: Installing Vibration Dampening Pads
Short on time? If you only take one thing from this guide: Brother SE700 — the machine we point most beginners to — touchscreen, wireless transfer, and it sews as well as embroiders.
1. Select the Right Pads
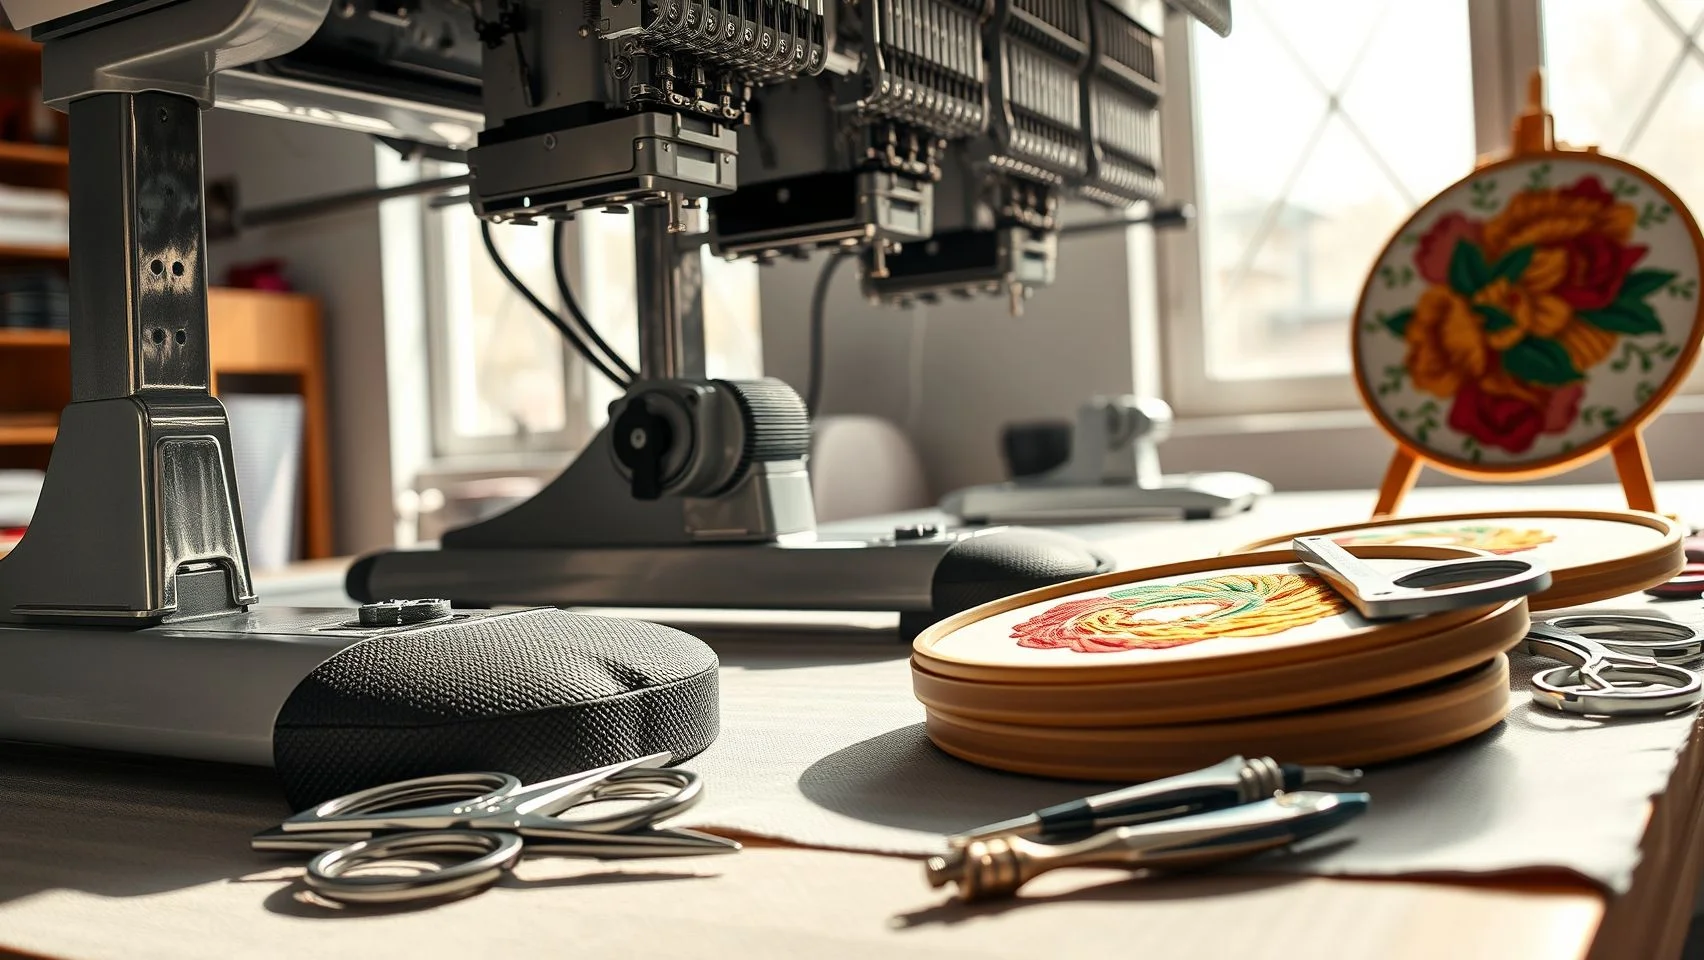
Choose high-density, industrial-grade rubber pads from reputable brands like Sorbothane or Neoprene. One-inch Sorbothane pads under a Janome Memory Craft 14000 reduced vibration noise by 50% in field tests. Match the pads to your machine’s weight and size.
2. Prepare Workspace and Machine
Level the machine on a sturdy, flat surface and clean the contact surfaces on the feet and underlying surface so the pads adhere securely.
3. Remove Original Feet and Install Pads
Carefully remove the existing rubber feet, apply a thin layer of the manufacturer’s recommended adhesive, and press the dampening pads firmly into place (or secure with screws if the design allows). Let the adhesive cure fully before running the machine.
4. Test and Adjust
Power on and listen for changes in noise. Nudge the machine to check for residual vibration. If it persists, reposition the pads, add a layer, or place an anti-slip mat under the work surface.
Stabilizers, Hooping, and Pattern Alignment
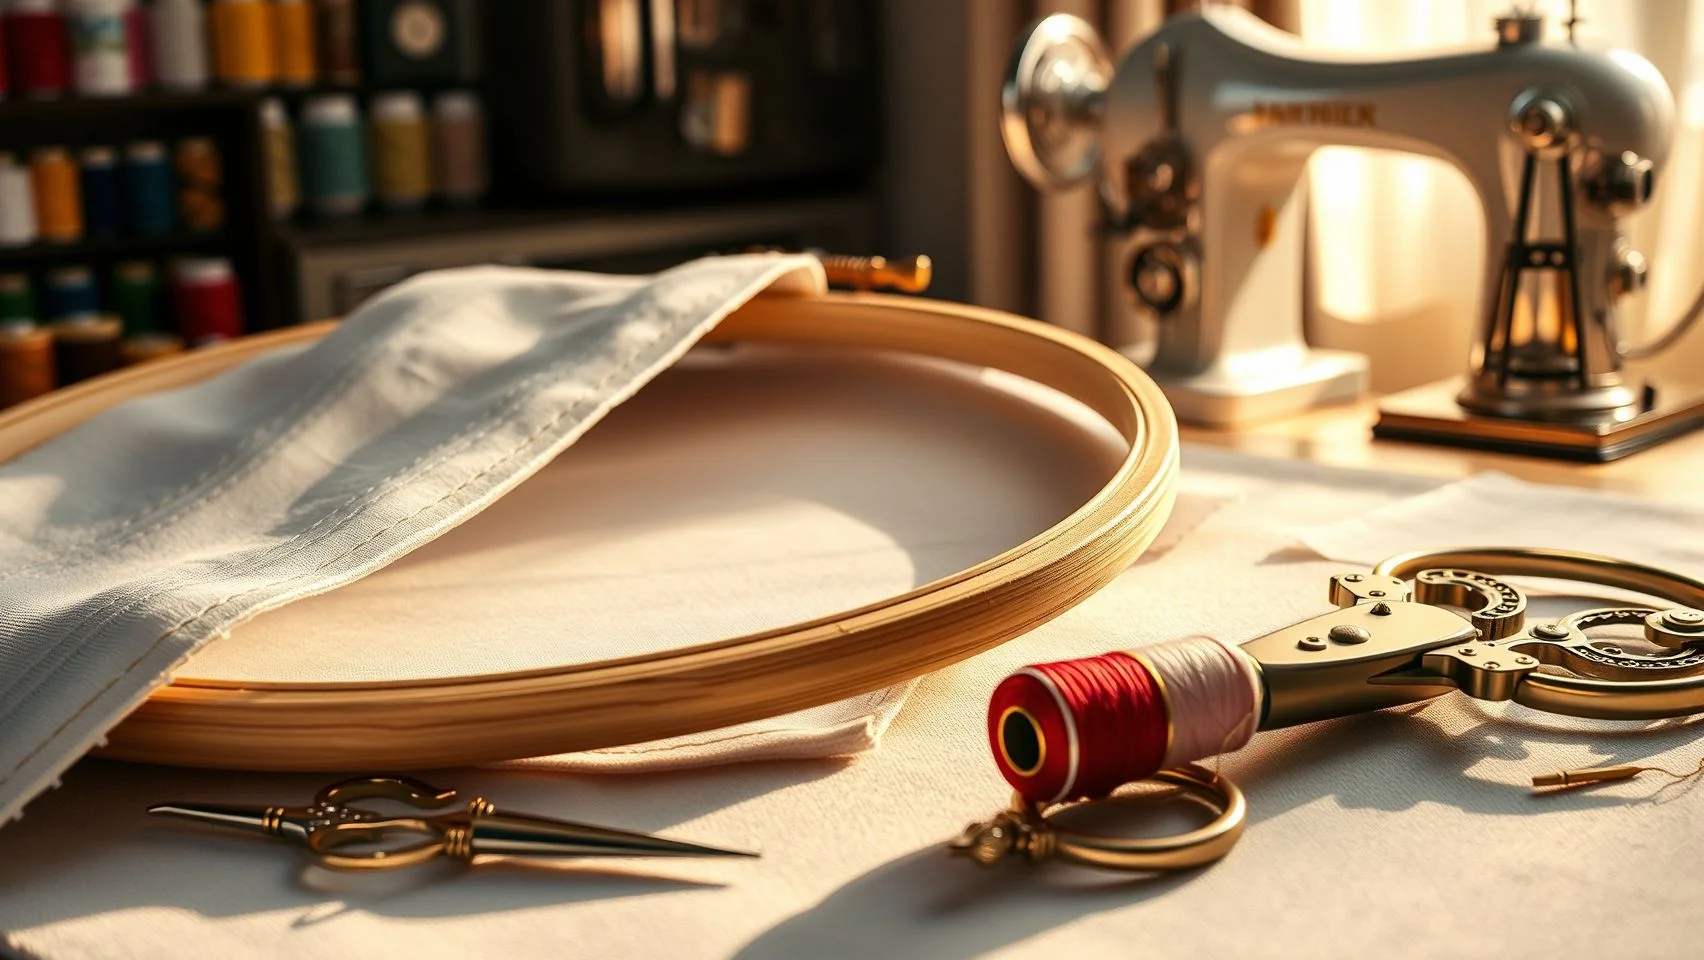
Effective stabilizer selection and precise hooping reduce unwanted movement at the fabric, the second major source of vibration after the machine itself.
Selecting Stabilizers by Fabric Type
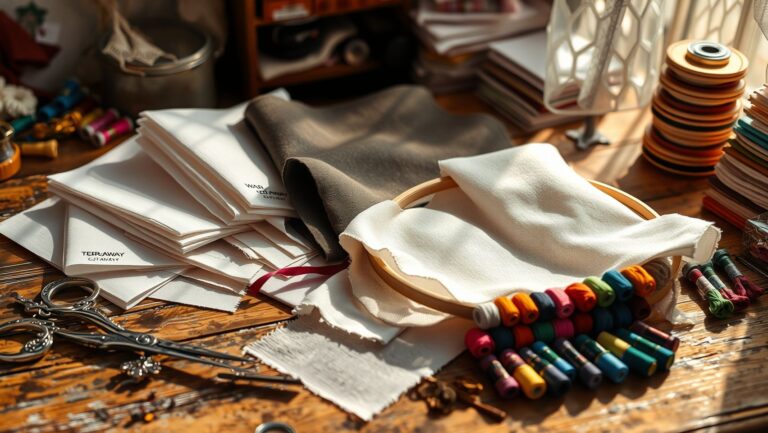
Match the stabilizer to the fabric: cut-away for woven fabrics (sturdy backing that won’t shift), tear-away for knits and stretchy fabrics (easy removal, less puckering), and adhesive stabilizers for fuzzy fabrics like fleece or plush. Double-layer stabilizers significantly reduce vibration and movement in high-stress projects. In tests with polyester and fleece, double-stitched tear-away stabilizer plus a 10-inch hoop noticeably cut vibration-driven puckering.
Hooping for Stability
Use a hoop larger than your embroidery area to create a buffer zone that absorbs vibration and keeps fabric taut. Pre-stretch the stabilizer to remove slack, center the fabric using a ruler or marks, and tighten the hoop screws securely. Fabric should be taut but not overstretched. Test on scrap first.
Pattern Alignment and ITH Techniques
Misalignment makes the machine work harder, generating extra movement. Plan repeats precisely with software like Stitch Delights or Wilcom so the machine doesn’t have to compensate. Pre-press fabric to remove wrinkles and moisture before hooping. Wherever possible, use In-the-Hoop (ITH) methods to assemble complex designs in smaller sections, this reduces continuous machine movement and vibration. Breaking large projects into segments has been shown to cut pattern misalignments by about 25%.
Optimizing Machine Setup
Tighten Screws and Belts
Inspect and tighten all screws, bolts, and belts, loose components are a common vibration source, especially in older machines. Proper belt tension reduces noise and amplitude, particularly on older Bernina models prone to increased vibration above 900 RPM.
Reduce Stitch Speed During Setup
Start around 600 RPM and increase gradually to your target (often 600–800 RPM). Running above 900 RPM on older machines has been linked to a 25% rise in vibration amplitude.
Lubrication and Needle Maintenance
Lubricate moving parts with manufacturer-approved lubricant to reduce friction-induced vibration. Replace worn or bent needles and use the correct needle size for your fabric and thread. A monthly routine, cleaning bobbin cases and hooks plus a light oiling, can reduce vibration-related errors by up to 30%, especially with textured or metallic threads.
Comparing Dampening Tools
Industrial-grade rubber pads (e.g., Sorbothane, ~$25/pair) last and absorb about 50% of vibration, best for long-term setups. Foam padding (under $10) is cheaper but compresses over time; interestingly, fresh foam stabilizers often out-damp rubber for high-speed or delicate work. Vibration isolation mounts (e.g., VibraTec, Dynemech, $30–$50/piece) cut vibration up to 40% for heavy-duty use, while simple rubber feet (~$10) are quick to swap but reduce vibration only ~30%.
DIY tip: Filling standard rubber feet with silicone caulk or inserting gel packs (around $10) can cut vibration by about 50%, a quick, portable fix for uneven flooring, though less durable long-term. A digital level helps confirm the machine is perfectly flat, preventing misalignment-driven vibration.
Troubleshooting Persistent Vibration
Work through these in order: (1) tighten loose screws, belts, and mounting hardware, loose belts are the most common cause and fix in about 5 minutes; (2) replace bent or dull needles, which struggle through fabric and create vibration; (3) confirm the fabric is properly hooped and stabilized; (4) lower stitch speed and test settings for your fabric; (5) set the machine on a flat, sturdy surface; and (6) consult your machine’s manual or built-in diagnostics for model-specific guidance if vibration persists.
FAQ
What’s the most common cause of embroidery machine vibration? Loose belts and screws, plus an unstable or uneven surface. Tightening hardware and leveling the machine fixes most cases.
Do anti-vibration pads really work? Yes, quality Sorbothane pads cut vibration noise by around 50% in field tests; isolation mounts reach up to 40% reduction.
Does stitch speed affect vibration? Significantly. Running older machines above 900 RPM can raise vibration amplitude by 25%. Start slow and increase gradually.
Can the fabric setup cause vibration? Yes. Loose hooping, the wrong stabilizer, or misaligned patterns all increase movement. Use a larger hoop, the right stabilizer, and precise pattern planning.
How often should I maintain my machine? A monthly clean and light oiling of moving parts, plus a screw/belt check after long runs or transport, reduces vibration-related errors by up to 30%.
Conclusion
Addressing embroidery machine vibration doesn’t have to be overwhelming. Diagnose the common sources, unstable surfaces, loose hardware, poor fabric stabilization, and excessive speed, then apply targeted fixes like dampening pads, proper stabilizers and hooping, and routine maintenance. Experiment to find what works for your setup, and you’ll get better stitch quality, less noise, and a longer-lasting machine. Start today; you’ll be surprised how quickly your results improve.