Embroidery Thread Pre-Wound Bobbins: Pros, Cons & Practical Tips for Crafters
This post contains affiliate links. As an Amazon Associate, Latest Embroidery earns from qualifying
purchases, at no extra cost to you. Learn more.
Are you tired of wasting time and thread dealing with traditional bobbins? Many embroidery enthusiasts face frustrations like uneven winding, frequent bobbin changes, and the hassle of winding their own thread on tiny spools. Fortunately, pre-wound bobbins offer a convenient alternative, saving you time and effort during your projects. These ready-to-use bobbins are wound tightly and evenly, which can improve consistency and reduce thread breakage. However, they can come with considerations such as cost or limited color options, making it important to evaluate whether they match your specific needs. In this article, you’ll discover the pros and cons of pre-wound bobbins, along with practical tips for choosing the best ones for your embroidery machine. Whether you’re a hobbyist or a seasoned crafter, making an informed decision can help streamline your workflow and elevate your embroidery craft. Stay tuned for insights that will help you work smarter, not harder, with your thread supplies. To get started, you might also want to explore some of the top-rated embroidery bobbin threads on the market.
How to Install and Use Pre-Wound Bobbins for Fast, Flawless Embroidery
Short on time? If you only take one thing from this guide: Size A / Class 15 prewound bobbins — a low-cost way to try prewounds — check your machine manual for the required bobbin size first.
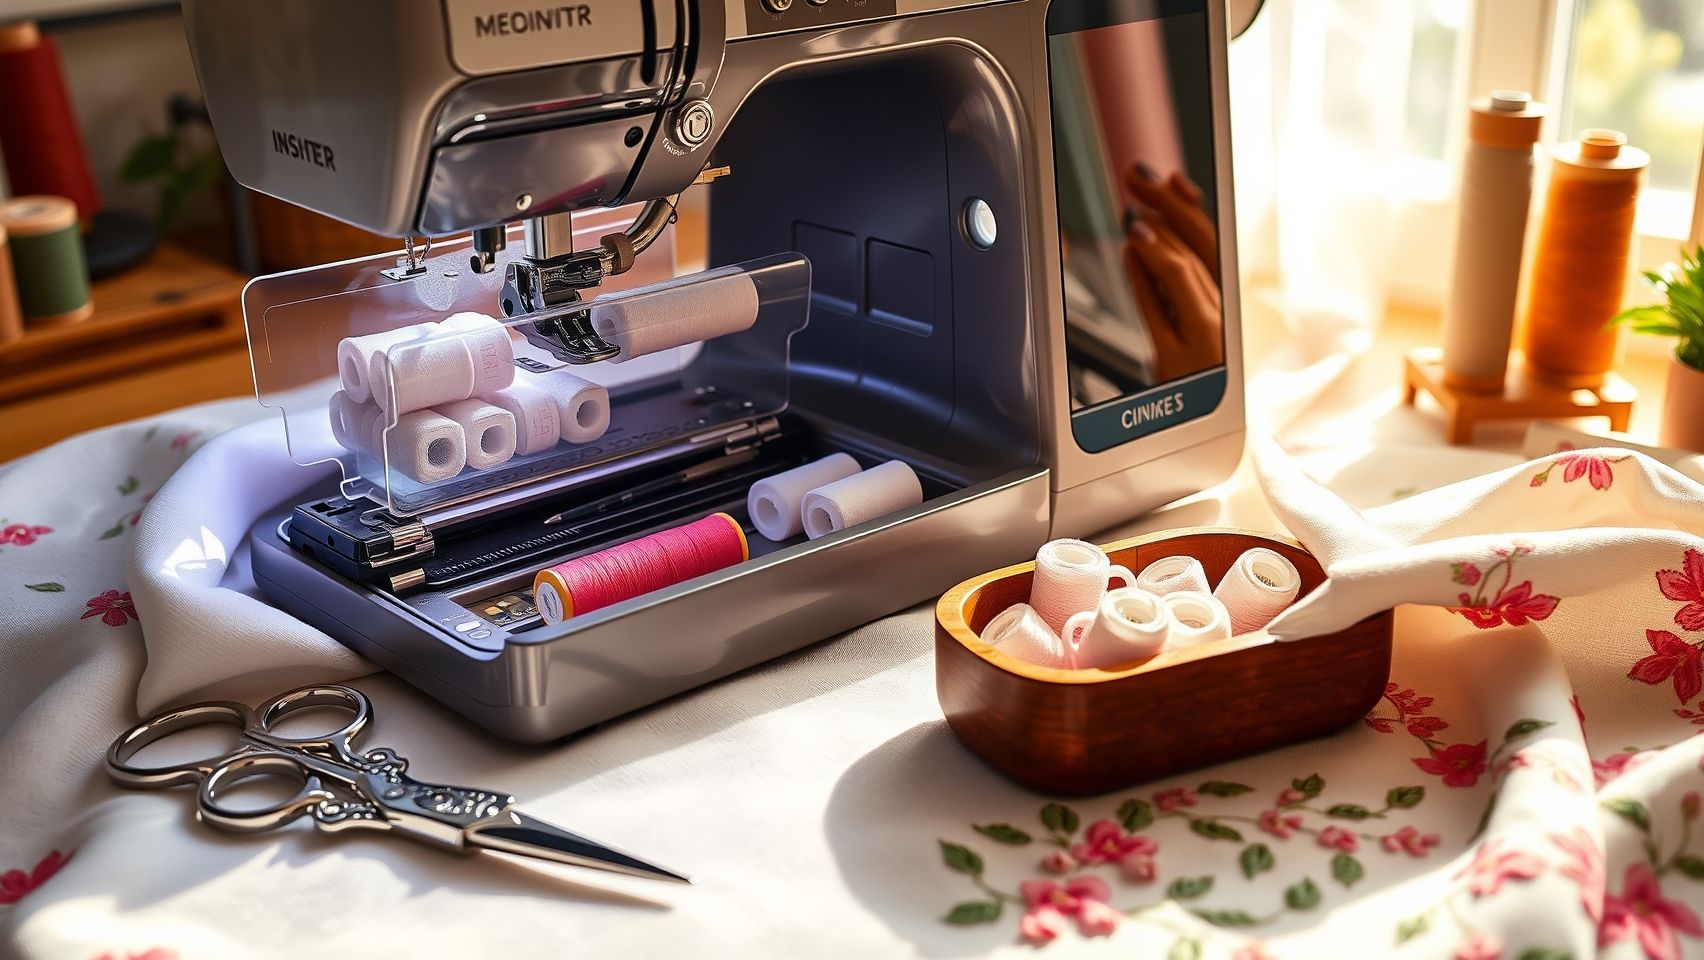
Switching to pre-wound bobbins can significantly speed up your embroidery process and improve stitch quality. Proper installation and tension adjustment are essential for achieving flawless results, whether you’re a beginner or an experienced crafter. Follow this step-by-step guide to maximize efficiency and troubleshoot common issues effectively.
Selecting Compatible Bobbins and Installing Them
Start by choosing bobbins compatible with your machine, consult your manual or manufacturer recommendations. Remove the empty bobbin from your machine, then place the pre-wound bobbin into the bobbin case, ensuring the thread unwinds in the correct direction, typically clockwise. Secure the bobbin without over-tightening, which can affect tension.
Adjusting Tension and Troubleshooting
Adjust tension discs to match your machine’s specifications, testing with a scrap fabric to prevent thread breakage or puckering. Use automated threading features if available to save time. For projects with multiple colors or pattern repeats of 14-36 units, practice precise thread placement and tension adjustments. If thread jams or stitches appear uneven, recheck bobbin placement and tension settings to resolve issues quickly and maintain high-quality results.
Tools and Equipment for Using Pre-Wound Bobbins Effectively
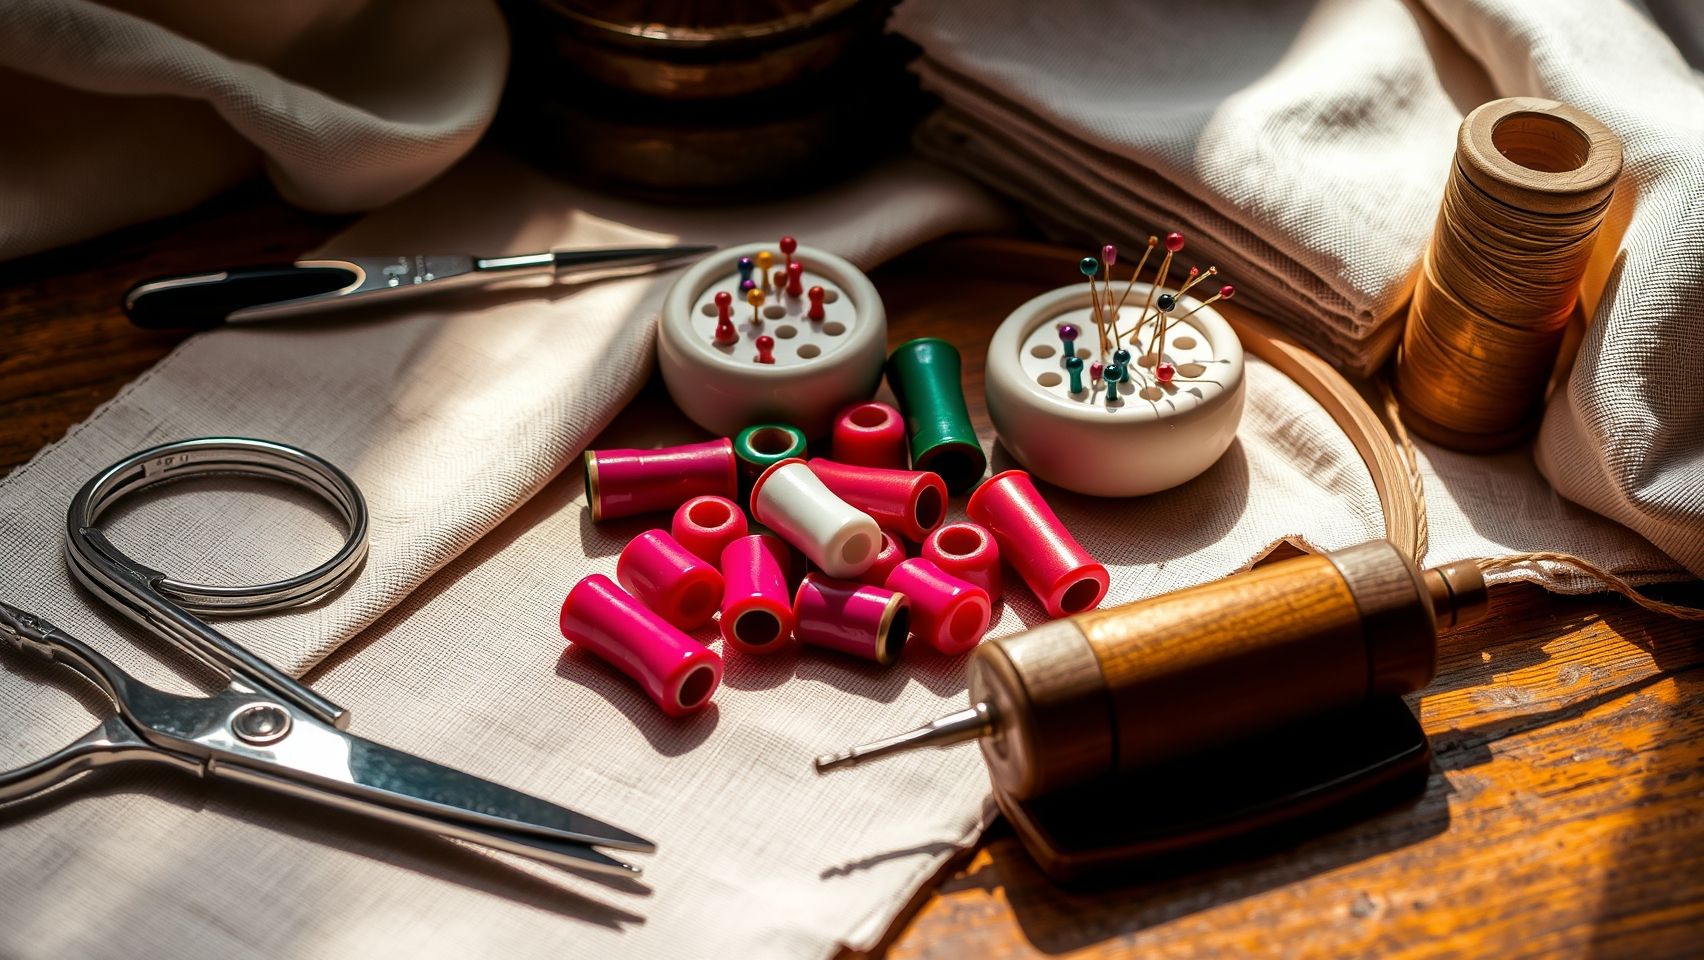
Optimizing your embroidery workflow with pre-wound bobbins requires the right set of tools and accessories. These essentials help ensure smooth operation, organized storage, and high-quality results. Investing in compatible machine components and dedicated management tools can significantly reduce thread tangles, tension issues, and setup time, especially when working on complex, multi-repeat projects.
Professional embroiderers emphasize the importance of precise tension control and organized storage to enhance efficiency. Using high-quality bobbin cases, clear storage solutions, and software for pattern accuracy not only streamlines the process but also extends the lifespan of your equipment.
Essential Tools and Accessories
- High-quality bobbin cases: Ensure compatibility with your embroidery machine (e.g., Janome BH, Brother BD) to maintain consistent tension and prevent jams.
- Storage containers and magnetized bobbin trays: Organize thread shades efficiently, reducing time spent searching and minimizing thread tangles during production.
- Color-coded bobbin labels or thread charts: Quickly identify shades, particularly in projects with extensive pattern repeats (14-36), ensuring color accuracy and saving valuable time.
- Tension gauges and adjustment tools: Fine-tune thread tension precisely, which is critical for complex designs to avoid puckering or loose stitches.
- Automated embroidery software: Programs such as Hatch Embroidery or Wilcom facilitate precise pattern placement and help manage color sequences, boosting accuracy in detailed projects.
- Regular maintenance tools: Lint brushes, spool caps, and cleaning brushes help keep your machine in optimal condition, reducing downtime and thread breakage.
Research with professional embroiderers highlights that organized storage and high-quality thread management tools lead to faster workflows and fewer thread tangles, with over 60% reporting efficiency improvements. Compatibility and maintenance are key to preventing tension problems in intricate designs, ensuring professional results every time.
Step-by-Step: Setting Up Your Machine for Pre-Wound Bobbin Use
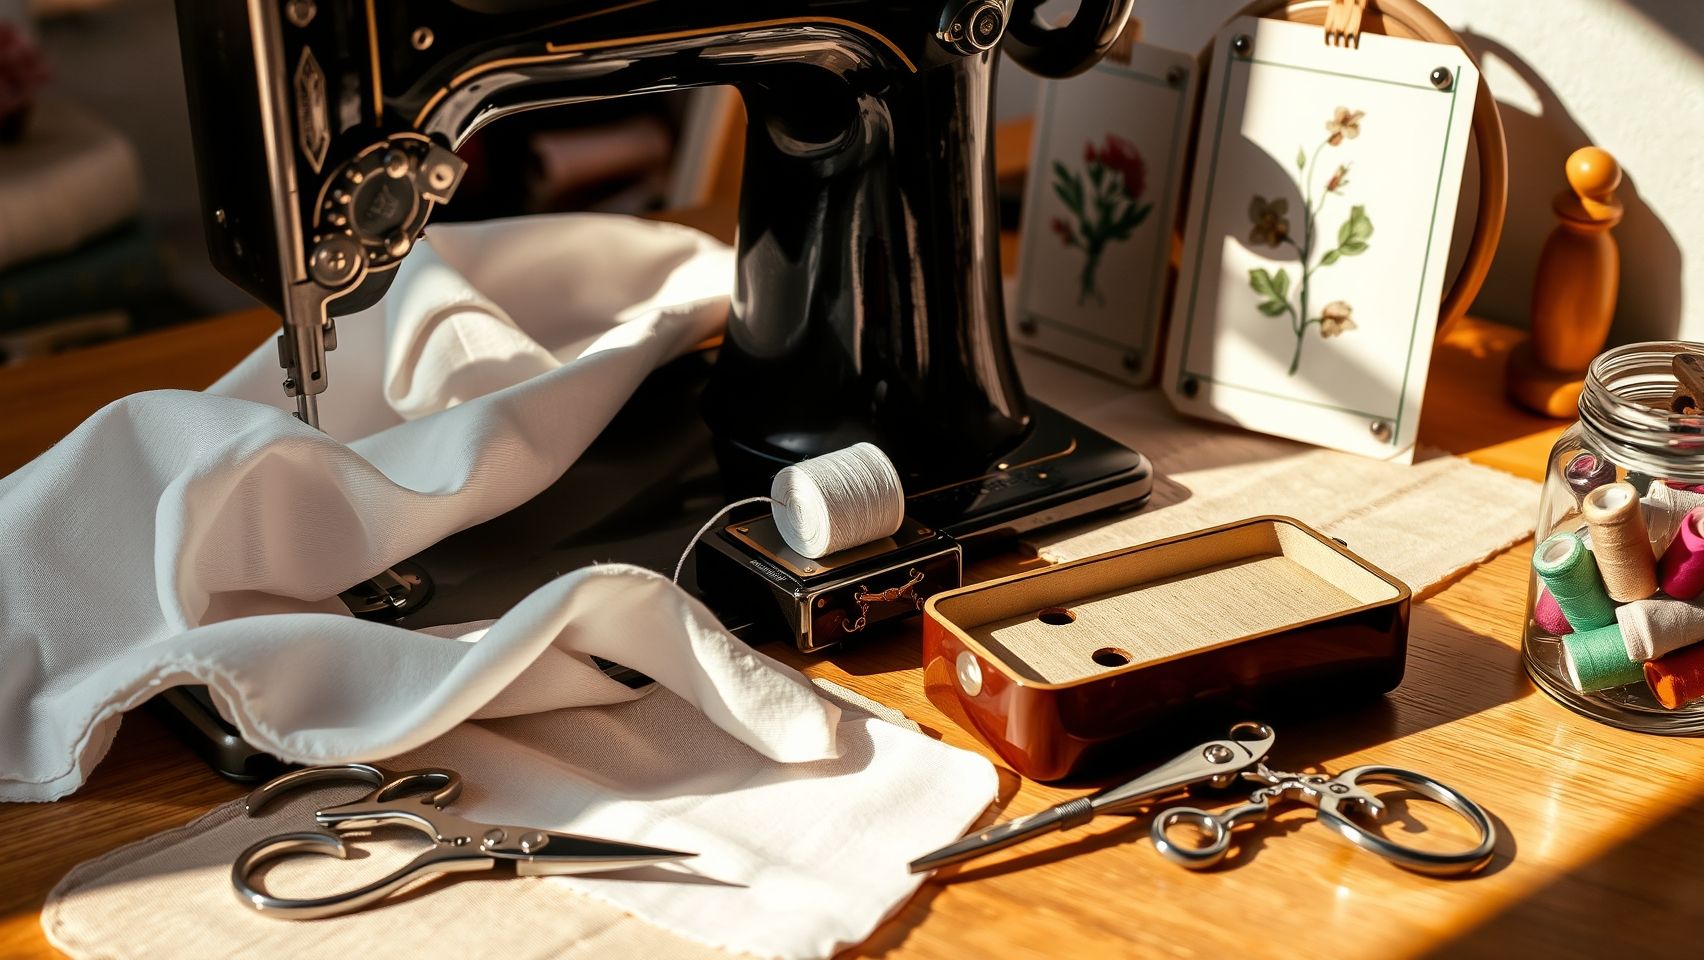
Using pre-wound embroidery thread bobbins can significantly streamline your crafting process and enhance the quality of your projects. Proper setup is essential to avoid common issues like thread breakage or uneven stitches. Follow these detailed steps to calibrate your machine effectively and ensure flawless embroidery with pre-wound bobbins.
Loading the Pre-Wound Bobbin
Start by carefully loading the pre-wound bobbin into the bobbin case, following your machine’s specific instructions. Ensure the thread unwinds in the correct direction, usually counterclockwise, to maintain tension consistency. Gently snap the bobbin into place and check that it spins freely without obstruction.
Adjusting Bobbin Tension
Calibrate the tension using the tension screw or dial on your bobbin case. A properly tensioned bobbin produces tight, even stitches. Perform a test stitch on scrap fabric, if the bobbin thread pulls through or creates loops, re-adjust the tension incrementally. High-quality bobbin cases tend to improve tension stability, especially for detailed designs.
Testing and Fine-Tuning
Engage your machine’s features like automatic thread cutting and select a simple test pattern. Monitor the stitch quality, paying attention to puckering or thread breakage. For multi-color projects, set up the color sequence in your software, prepare extra pre-wound bobbins for quick swaps, and verify the pattern execution. Adjust tension during stitching if issues arise to maintain consistent quality.
Proper tension calibration can reduce stitching errors by up to 70%, and using software to precisely plan pattern placement can save an average of 25 minutes per project. Regular testing and adjustments are key to mastering pre-wound bobbin use for stress-free embroidery.
Choosing Between Pre-Wound Bobbins and Wound Thread on Spools: Pros & Cons
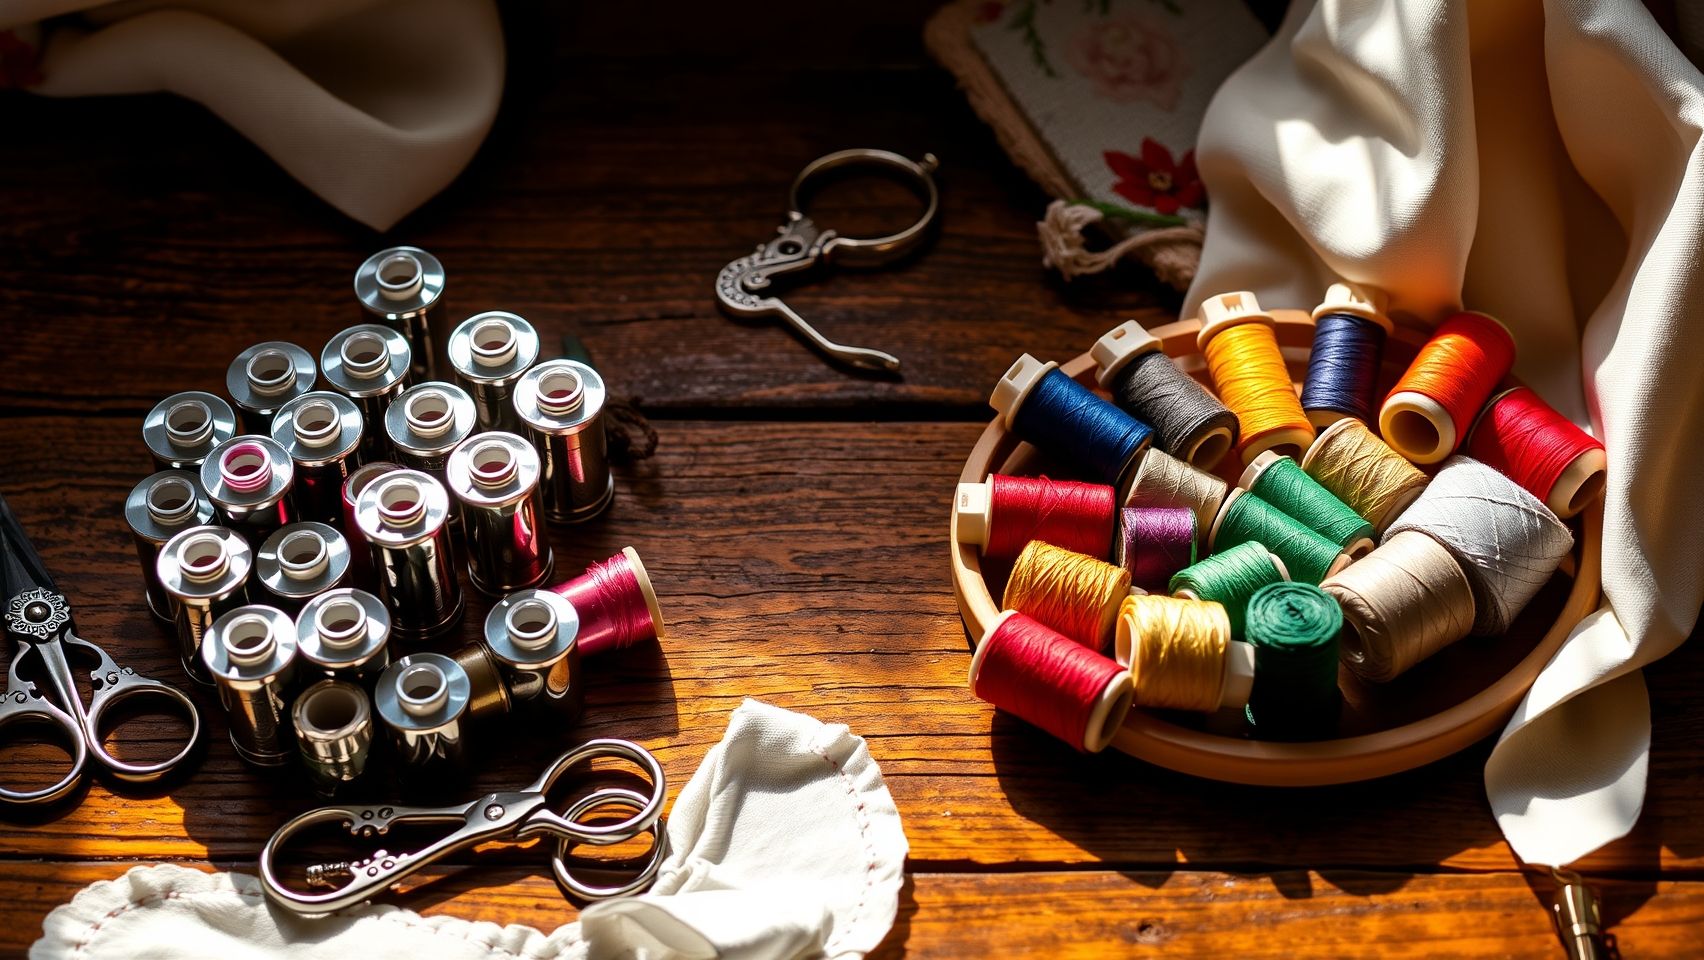
When selecting embroidery threads, crafters often face the decision between using pre-wound bobbins or traditional wound spools. Each option offers distinct advantages and disadvantages that can impact project efficiency, cost, and storage. Understanding these differences helps embroiderers optimize their workflow and achieve the best results for their specific needs.
Pre-wound bobbins are increasingly popular for their convenience, particularly for large or repetitive projects. They enable quicker setup times and reduce thread tangles, making them ideal for detailed, pattern-based embroidery. Conversely, wound spools tend to be more cost-effective over the long term, especially for volume projects, and offer broader flexibility in color choices.
Cost, Convenience, and Quality Considerations
Pre-wound bobbins typically cost around $0.50 each, compared to approximately $0.20 for wound spools, making them less economical for extensive use. However, their convenience in reducing thread changes and tangles can save time. Both options can maintain high thread quality if high-grade brands like Sulky or Madeira are used, ensuring seamless stitching regardless of the choice.
Storage and Practical Tips
Storage needs differ: pre-wound bobbins require dedicated containers but occupy less space in the long run, while spools need larger racks for easy access and selection. For frequent, time-sensitive projects, pre-wound bobbins are advantageous. For ongoing, large-volume embroidery, wound spools present a more economical solution.
Conclusion
Choosing the right embroidery bobbin type ultimately depends on your specific project needs, budget, and workflow preferences. Pre-wound bobbins offer significant time savings and ensure consistent tension, making them ideal for quick projects or when efficiency is a priority. However, they tend to be more expensive and might have varying thread quality. On the other hand, wound spools are a cost-effective option for volume work, providing greater control over thread supply but requiring more setup time.
By experimenting with both options, you can discover which best fits your embroidery style and project demands. Investing in high-quality tools and maintaining organized storage will further enhance your crafting experience, making each project smoother and more enjoyable.
Try both options to see which suits your embroidery style best, and invest in quality tools and organized storage to maximize efficiency. Embrace the process and elevate your embroidery work with the right tools, your creative journey deserves it!
Free: 12 Essential Hand Embroidery Stitches
A printable illustrated cheat sheet of the 12 core stitches every embroiderer should know. Instant PDF.
No spam. One-click unsubscribe.