How to Optimize Embroidery Thread Path for Faster, Tangle-Free Results
This post contains affiliate links. As an Amazon Associate, Latest Embroidery earns from qualifying
purchases, at no extra cost to you. Learn more.
Imagine cutting your embroidery time by 30% while still achieving flawless, professional-looking results. Frustrated by tangled threads, inconsistent stitches, or wasted effort on complicated setups? You’re not alone. Many embroiderers struggle with thread paths that lead to uneven tension or messy tangles, which slow down progress and compromise quality.
This is where the power of thread path optimization comes into play. By understanding and improving how your machine guides thread, you can streamline your workflow and minimize those pesky snags. Don’t worry, there are practical tips and techniques you can apply today. Plus, some industry statistics reveal that embracing technical advancements can significantly boost efficiency in the embroidery craft market, making it easier than ever to achieve rapid, tangle-free results.
In this article, you’ll discover step-by-step strategies for optimizing your thread path, learn from successful embroidery businesses, and explore how modern tools and techniques can elevate your craft to the next level. Ready to make thread tangling a thing of the past? Keep reading, you’ll be stitching faster and smarter in no time.
Step-by-Step Guide to Analyzing Your Current Thread Path
Short on time? If you only take one thing from this guide: 40wt polyester thread set — the single cheapest fix for shredding and thread breaks.

Optimizing your embroidery thread path begins with a clear understanding of how your machine currently guides the thread during operation. By meticulously observing and documenting this route, you can identify inefficiencies that cause tangles, long thread crossovers, or tension issues. This practical process transforms a seemingly complex problem into actionable steps for smoother, faster embroidery projects.
Start this process with your smartphone or camera to record a typical project in progress, focusing on how the thread moves from the spool to the needle. Ensure the machine is set up as you normally would, so the recording reflects real-world conditions. Capturing a clear, detailed video provides an invaluable resource for later analysis and helps you spot areas where improvements are needed.
Observing and Recording Your Current Thread Route
Watch the recording carefully, noting any points where the thread crosses over itself unnecessarily or takes an excessively long route to the needle. Pay close attention to sections where the thread tends to get caught or where tangles and thread breaks frequently occur. Mark these problematic points mentally or on a physical diagram. This initial step is crucial as it grounds your optimization efforts in real evidence, not just assumptions.
Mapping Your Thread Path
Transfer the recorded route onto paper or a digital diagram
Tools, Equipment, and Software for Improving Thread Path
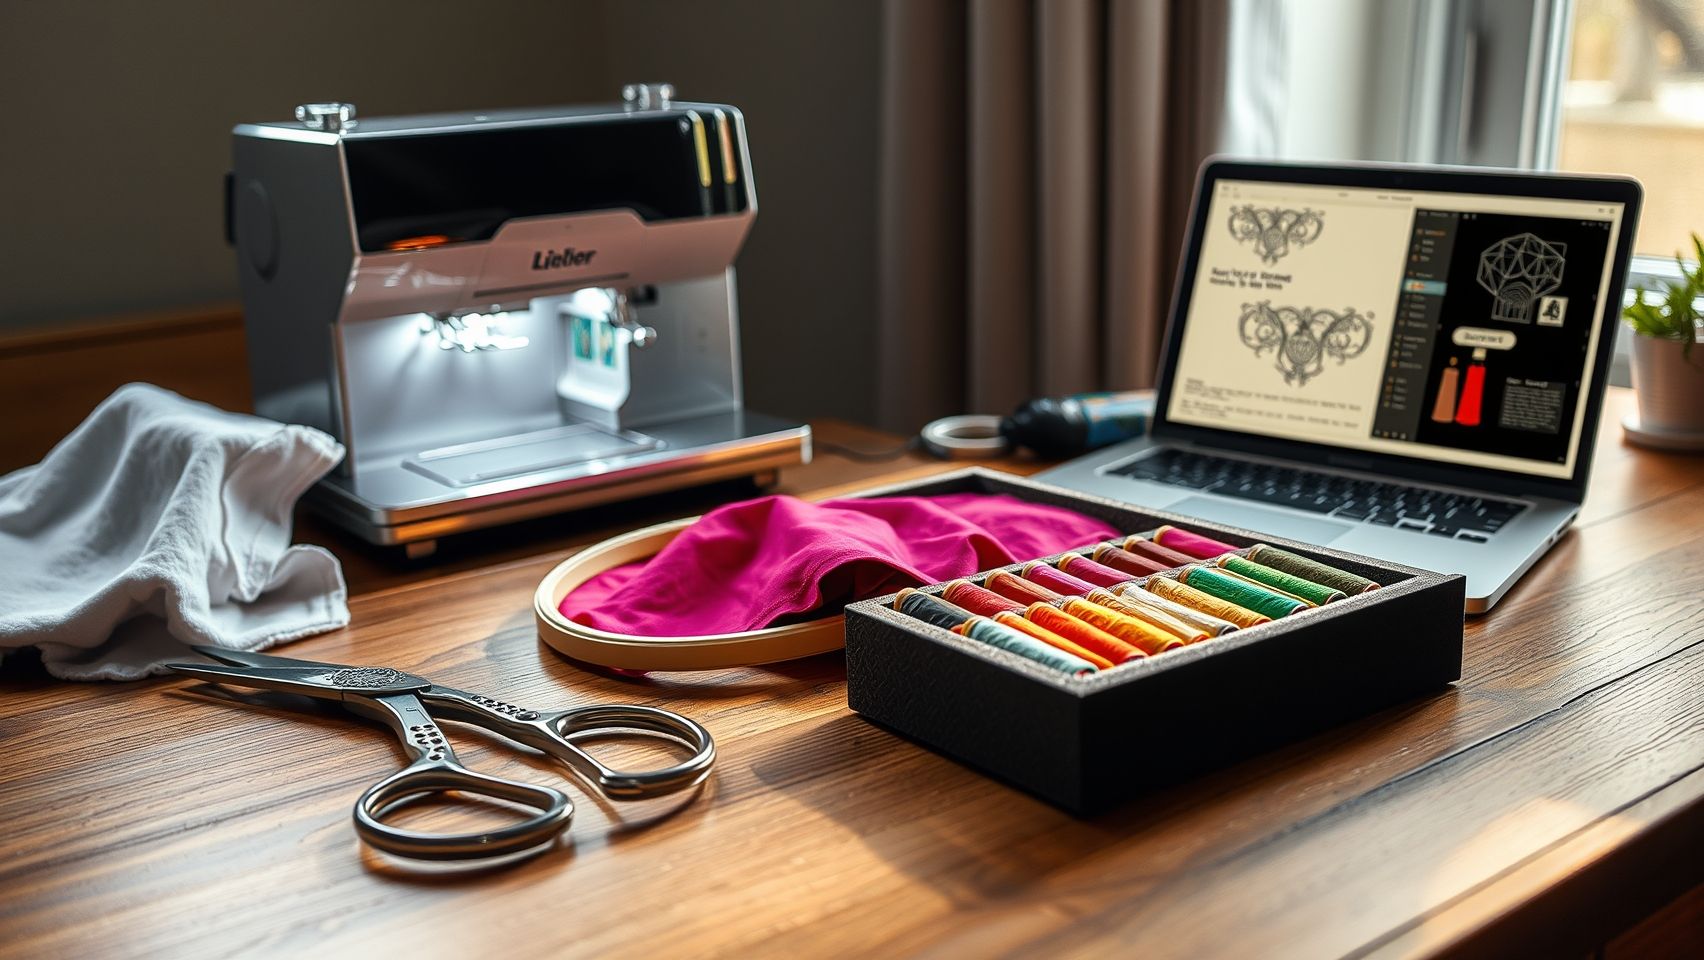
Optimizing the embroidery thread path is essential for achieving faster, cleaner, and more professional results. The right mix of hardware upgrades, accessories, and digital planning tools can significantly reduce tangling, crossing, and thread breaks. Investing in specific tools not only streamlines the workflow but also extends the lifespan of your embroidery machine and enhances design accuracy. Here’s a comprehensive guide to what’s available and how these solutions can elevate your embroidery projects.
Thread Guides: Magnetic, Bead, or Roller Types
Thread guides are pivotal in directing thread smoothly and minimizing crossing and friction. Magnetic guides are popular due to their affordability (around ~$20) and ease of installation, allowing quick adjustments without laborious re-threading. Bead and roller guides offer a more controlled path, especially for dense or intricate designs, reducing wear and tangling. Combining magnetic guides with custom path templates created using software like Wilcom allows users to pre-visualize potential improvements in thread routing, reducing trial-and-error during machine setup.
Thread Tension Devices: Auto-tensioners and Digital Tension Meters
Consistent thread tension is critical for uniform stitching and avoiding breaks. Upgrading to an automatic tensioner, costing roughly $150-$300, eliminates the need for manual adjustments, which can vary with thread type or fabric. Digital tension meters offer precise control and real-time feedback, helping you fine-tune tension settings for each project. These devices are especially beneficial when working with specialty threads or complex multi-layered designs, ensuring a smoother, tangle-free operation.
Threading Jigs and Guides
For complex or dense embroidery, threading jigs and guides assist in achieving exact routes, reducing errors that cause thread crossing or slack. These tools are customizable and often adjustable to fit different machine models, providing consistent threading paths. Proper threading directly impacts overall efficiency and fabric tension, and well-designed guides can cut threading time by up to 50%, especially for frequent switchovers or multi-color projects.
Software Solutions: Wilcom Embroidery Studio, Hatch Software, and Brother’s PE-Design
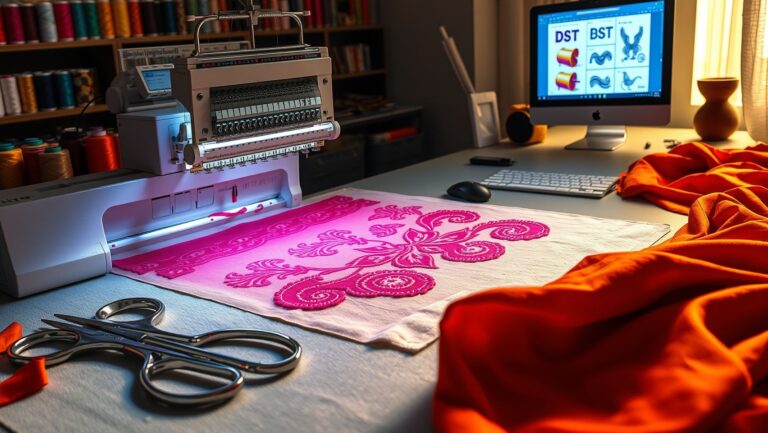
Digital planning plays a crucial role in thread path optimization. Wilcom Embroidery Studio and Hatch Software offer advanced simulation features, allowing embroiderers to preview and adjust thread routes virtually before running the machine. Brother’s PE-Design enables detailed path planning as well, helping avoid crossing points and detect potential tangles early. These tools often include features to generate custom path templates that can be imported into embroidery machines, drastically reducing setup time and errors.
Embroidery Hoops and Maintenance Tools
Choosing the right hoop, preferably multi-part or adjustable, ensures fabric tension remains uniform, facilitating smoother thread flow. Proper tension prevents puckering, which can cause unwanted crossing or slack in the thread path. Regular maintenance like using anti-fray thread conditioners, cleaning kits, and machine lubricants keeps both the machine and thread guides functioning optimally, reducing wear and the likelihood of tangles or thread breaks over long-term use.
Comparing Embroidery Machines and Software for Path Optimization
When it comes to achieving faster, tangle-free embroidery results, the choice of machine and software plays a pivotal role. Whether you’re a hobbyist or a professional, understanding the features, costs, and suitability of various options can help optimize thread paths effectively. Cost, automation capabilities, and ease of use are major factors influencing long-term productivity and error reduction.
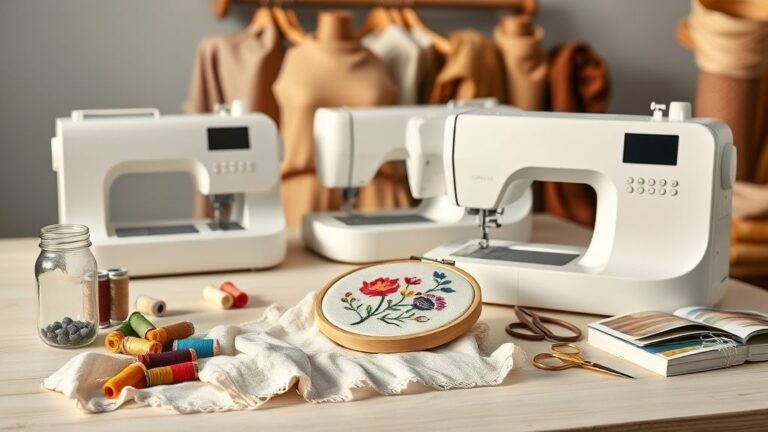
In this section, we compare popular embroidery machines like the Brother SE600 and Janome Memory Craft 15000, alongside advanced software options such as Wilcom Embroidery Studio and Hatch Embroidery. We’ll highlight automation features like thread path planning, tension control, and troubleshooting support, which are essential for streamlining operations and minimizing manual adjustments.
Brother SE600 vs Janome Memory Craft 15000: Feature-by-Feature Comparison
The Brother SE600 and Janome Memory Craft 15000 are both prominent choices catering to different needs. The SE600, priced under $600, is ideal for hobbyists with basic guides and software integration, making it suitable for straightforward projects. Conversely, the Janome Memory Craft 15000, with a price point closer to $1500, offers extended features such as automatic guides, superior tension control, and extensive build quality suitable for complex designs.
Wilcom Embroidery Studio vs Hatch Embroidery
Performance and user friendliness play significant roles when choosing embroidery software. Wilcom Embroidery Studio is renowned for its advanced automation, reducing manual thread path adjustments by around 40%, and handling complex design intricacies with ease. It generally costs around $1500, reflecting its sophisticated features suited for professional studios. Hatch Embroidery, priced between $700 and $2000, offers intuitive interfaces and comprehensive design tools that appeal to a broader range of users, from hobbyists to small businesses.
Investing in higher-end machines and software delivers substantial long-term savings through fewer errors and faster setup times. While entry-level options are accessible, they may lack automation features that significantly reduce manual adjustments, especially in complex projects. Balancing initial costs with productivity gains is key for sustainable growth in embroidery projects.
Troubleshooting Common Thread Path Problems and How to Fix Them
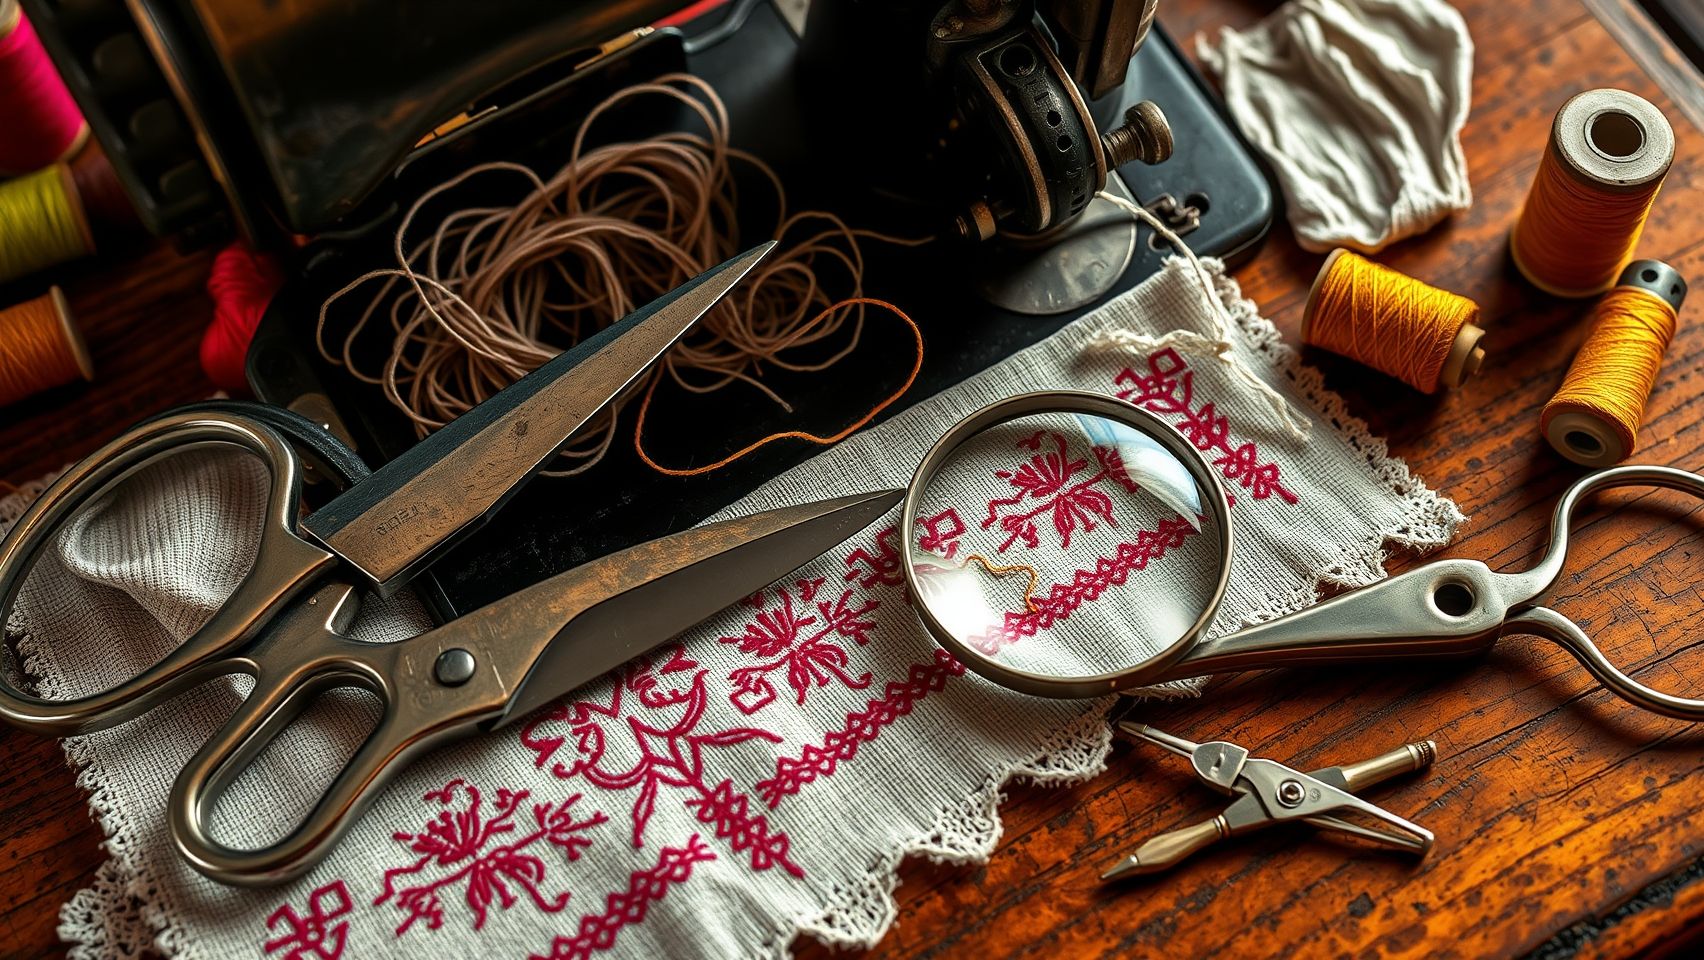
Achieving smooth, tangle-free embroidery requires careful attention to your thread path. Even experienced crafters encounter issues like tangles, thread breaks, or misalignments that disrupt workflow and delay projects. Understanding the root causes and applying quick, effective fixes can save time and produce cleaner results. Let’s explore common problems and straightforward solutions to keep your embroidery machine humming smoothly.
Identifying Causes of Thread Tangles and How to Fix Them
Tangles often occur due to improper guiding, overly long thread routes, or high tension settings. When thread guides are misaligned or damaged, it increases friction, leading to tangles. Long routes may also cause the thread to loop or twist excessively, especially if tension is too tight. To fix this, start by checking and adjusting the thread guides, ensuring they are clean, properly aligned, and free of wear or damage. Shortening the thread path by rerouting or trimming excess thread can significantly reduce tangling. Using high-quality, anti-fray thread and verifying spool orientation also minimizes the risk of tangles and breaks. Regular cleaning of thread guides and tension disks prevents buildup that causes misrouting, keeping the path clear and smooth.
Recent industry data shows that replacing worn guides and optimizing tension settings, often available through the machine’s built-in control panels, restores optimal operation. For instance, studies have found that in cases where thread jams increased by 15%, such adjustments returned performance to normal. Incorporating proper spool orientation and choosing thread specifically designed to resist fraying can cut tangles and breaks by up to 20%, making maintenance both simple and effective.
Fixing Thread Breaks Quickly and Effectively
Thread breaks are frustrating but often easy to resolve. Start with inspecting the thread spool for damage or irregularities that may cause breaks mid-embroidery. Re-thread your machine carefully, ensuring the thread passes smoothly through all guides and tension disks without twisting or snagging. Double-check that the tension is set correctly, if too tight, it can cause stress on the thread and increase breakage. Using threads with reliable consistent diameter and high tensile strength can also improve performance. Adjust the tension settings via your machine’s control panel according to the specific thread and fabric type. Proper re-threading and tension adjustment usually resolve most break issues efficiently.
Routine cleaning of the bobbin area and thread guides drastically reduces debris that may cause misrouting and tension inconsistencies. Consulting the machine manual for model-specific maintenance schedules ensures that you keep components in top condition. Many users report that these simple measures lead to fewer thread breaks and longer-lasting thread life, saving both time and materials over the course of projects.
Addressing Fabric Skewing and Uneven Stitches
When fabric skews or stitches are uneven, it’s often related to incorrect fabric placement or hoop tension. Properly aligning the fabric within the hoop and ensuring it is taut but not overstretched is key. Slight adjustments to hoop tension can keep the fabric stable, preventing shifting during embroidery. Some machines offer fine-tuning options for fabric grip; use these to achieve even tension around the hoop. Correct positioning prevents misalignment of stitches and maintains the intended pattern accuracy. Regularly check the hoop’s tightness and re-position fabric as needed to avoid skewed or uneven stitching.
Adopting consistent fabric and hooping techniques, along with precise tension control, can drastically improve stitch quality and pattern consistency, leading to professional-looking results every time.
Preventing Spool Tangles and Ensuring Consistent Tension
Prevention starts at the source, your spool. Use thread cones to promote smooth unwinding and orient spools correctly to prevent tangling. Maintaining consistent tension throughout the machine ensures smooth feed and reduces slack that can cause loops or tangles. Regularly checking and adjusting tension with your machine’s built-in controls enhances overall thread flow. When storing spools, keep them in a clean, dry area to avoid dust accumulation that could interfere with unwinding. Employing these preventive measures consistently minimizes tangling and maximizes thread lifespan.
Many embroidery professionals emphasize routine cleaning of thread guides and tension disks, which prevents debris buildup and clears routing paths, further reducing jams and mishaps. Staying ahead with maintenance, and adopting proper spool practices, ultimately leads to faster, cleaner embroidery without frustrating tangles or breakages.
Conclusion

Optimizing your embroidery thread path is a powerful step toward achieving faster, more reliable results with less tangling and higher stitch quality. Throughout this article, we’ve explored how precise thread path analysis, regular maintenance, and the use of specialized planning tools can transform your workflow. These strategies not only save time but also reduce errors, making your embroidery projects more enjoyable and professional-looking.
Now is the moment to take action. Begin your path optimization today by auditing your current setup, experimenting with recommended guides, and exploring digital planning tools. Implementing these steps will lead to immediate improvements that you can see and feel in your work. Don’t let inefficiencies hold you back, your next perfect design is just a few adjustments away.
By taking confident steps now, you’ll boost your embroidery efficiency, enhance stitch quality, and enjoy more stress-free crafting sessions. Get started today and see how small changes can produce big results, your best embroidery work is within reach!