How to Align Fabric Grain for Perfect Embroidery in 1 Hour
This post contains affiliate links. As an Amazon Associate, Latest Embroidery earns from qualifying
purchases, at no extra cost to you. Learn more.
Are your embroidery projects losing shape or puckering? Discover how correct fabric grain alignment can transform your results. Misaligned fabric often leads to distorted stitches, uneven designs, and frustration, especially when you’re aiming for that professional look. Luckily, mastering fabric grain alignment is simpler than you might think, and it can dramatically boost your embroidery quality in just about an hour.
In this article, you’ll find practical, step-by-step guidance on how to identify and align fabric grains with confidence, no more guesswork. Whether you’re a beginner or a seasoned crafter, these tips will help you achieve better tension, cleaner lines, and smoother finishes. Plus, improved accuracy means less rework and more flawless projects to showcase.
Ready to see your embroidery come to life with perfect alignment? Keep reading, and you’ll be surprised how quickly your skills improve, and how much more satisfying your results will be. Let’s dive into the secrets of fabric grain, so you can start creating with confidence today.
If you’re interested in elevating your embroidery work with the right tools, take a look at our selection of threads that ensure stability and color vibrancy.
Step-by-Step: Preparing Fabric for Perfect Grain Alignment
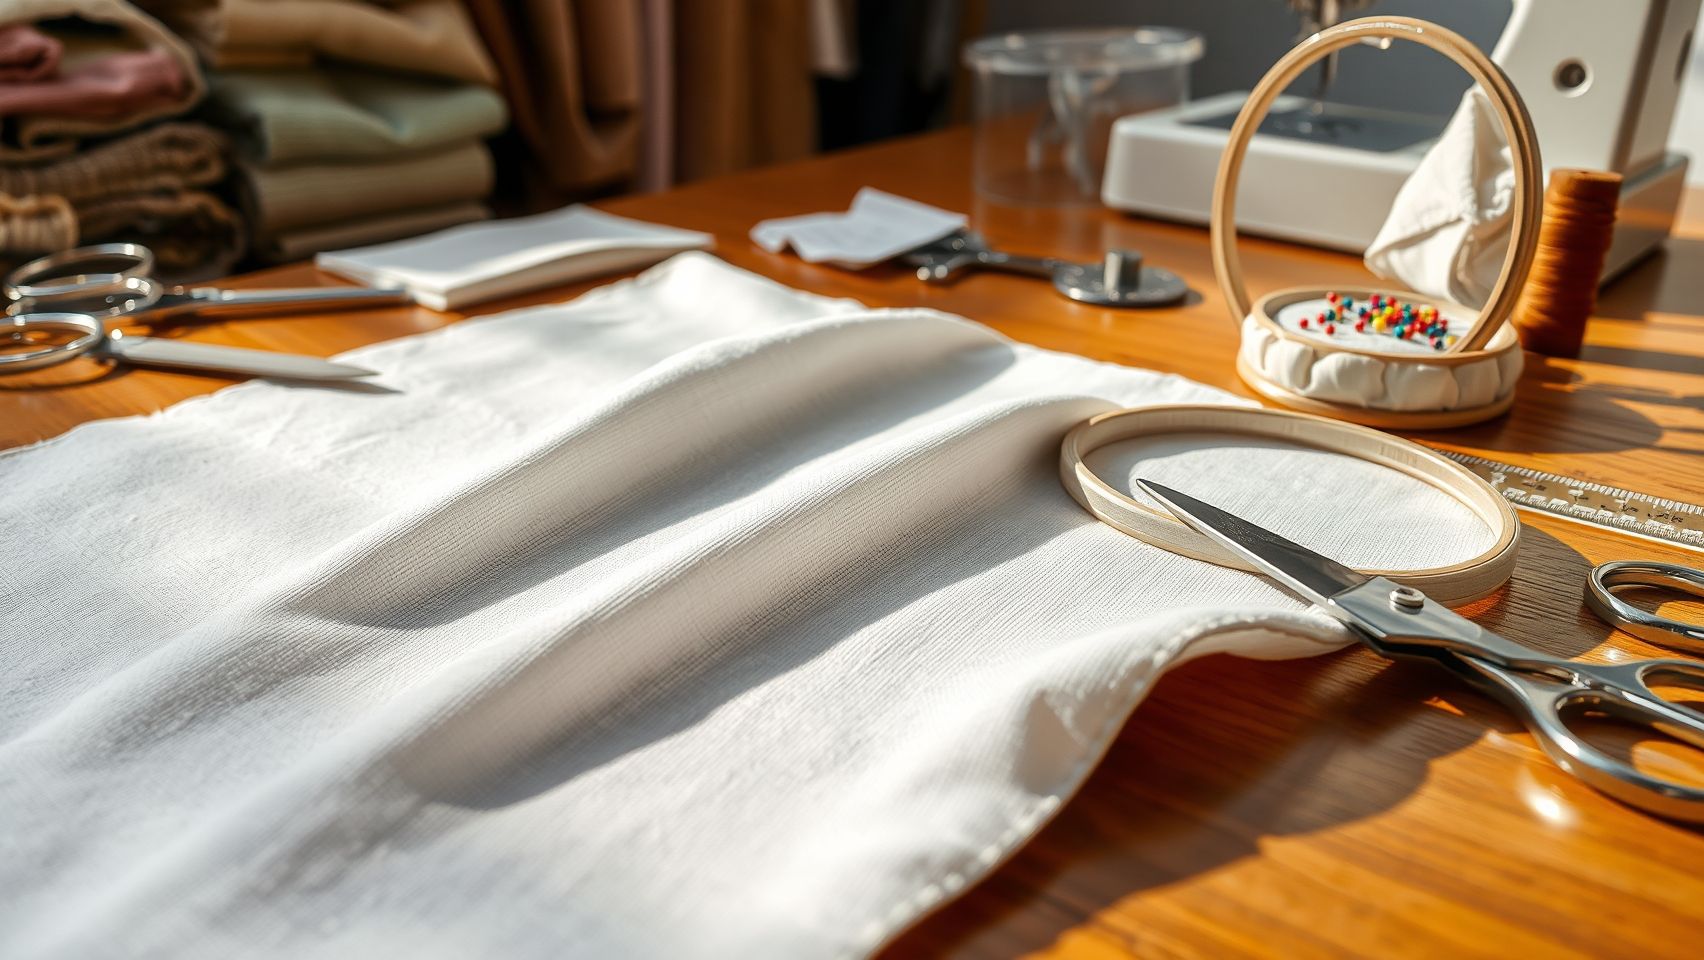
Ensuring the fabric is correctly aligned along the grain is fundamental for achieving precise embroidery results. Proper preparation minimizes puckering, distortion, and misaligned stitches, especially when working on intricate designs or repeating patterns. In this guide, we’ll walk through a practical, step-by-step process to prepare your fabric with flawless grain orientation before hooping and stitching.
Tools Needed for Accurate Grain Alignment
Gather a clear, straight ruler, fabric grain tape (such as Pellon or Clover brands), fabric chalk or a Water Soluble pen, and a stabilizer like Sulky Tender Tack. These tools help you identify, mark, and secure the fabric efficiently, ensuring that your embroidery aligns perfectly with the fabric’s natural grain. Using the right tools simplifies the process and increases precision.
Locating and Marking the Grain Line
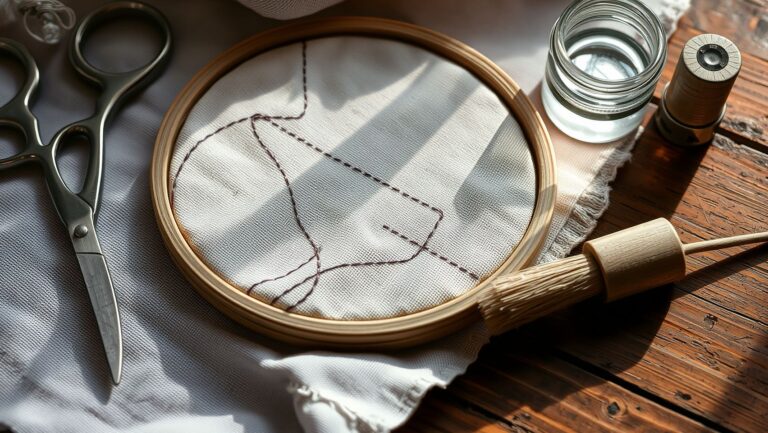
Place the fabric on a flat surface with the selvage edge aligned horizontally. Attach your straight ruler along the selvage edge, ensuring it runs perfectly parallel. Use fabric chalk or a Water Soluble pen to carefully mark a straight line along the ruler, this is your fabric’s true grain line. For even greater accuracy, apply fabric grain tape along the selvage edge and the marked line, which provides a visual guide during hooping.
Hooping and Stabilizing
Apply a temporary stabilizer such as Sulky Tender Tack or Vilene to the underside of the fabric, smoothing out any wrinkles. Place the fabric into your hoop, aligning the marked grain line with the hoop’s orientation. Tighten the hoop evenly, avoiding over-tension that might distort the fabric. Proper hooping with stabilizer keeps the fabric flat and maintains alignment throughout embroidery.
Verifying Grain Alignment with Test Stitching
Before starting your main design, perform a test stitch pattern that includes straight lines and fill stitches. Check if the stitches run parallel to the grain line and observe any puckers or distortions. If irregularities appear, re-hoop or adjust fabric tension. For precise grain verification, incorporate a 14-unit pattern repeat to detect minor deviations; small drifts become noticeable, allowing for fine-tuning before the final stitch.
Precise Tools and Techniques for Maintaining Grain Alignment During Embroidery
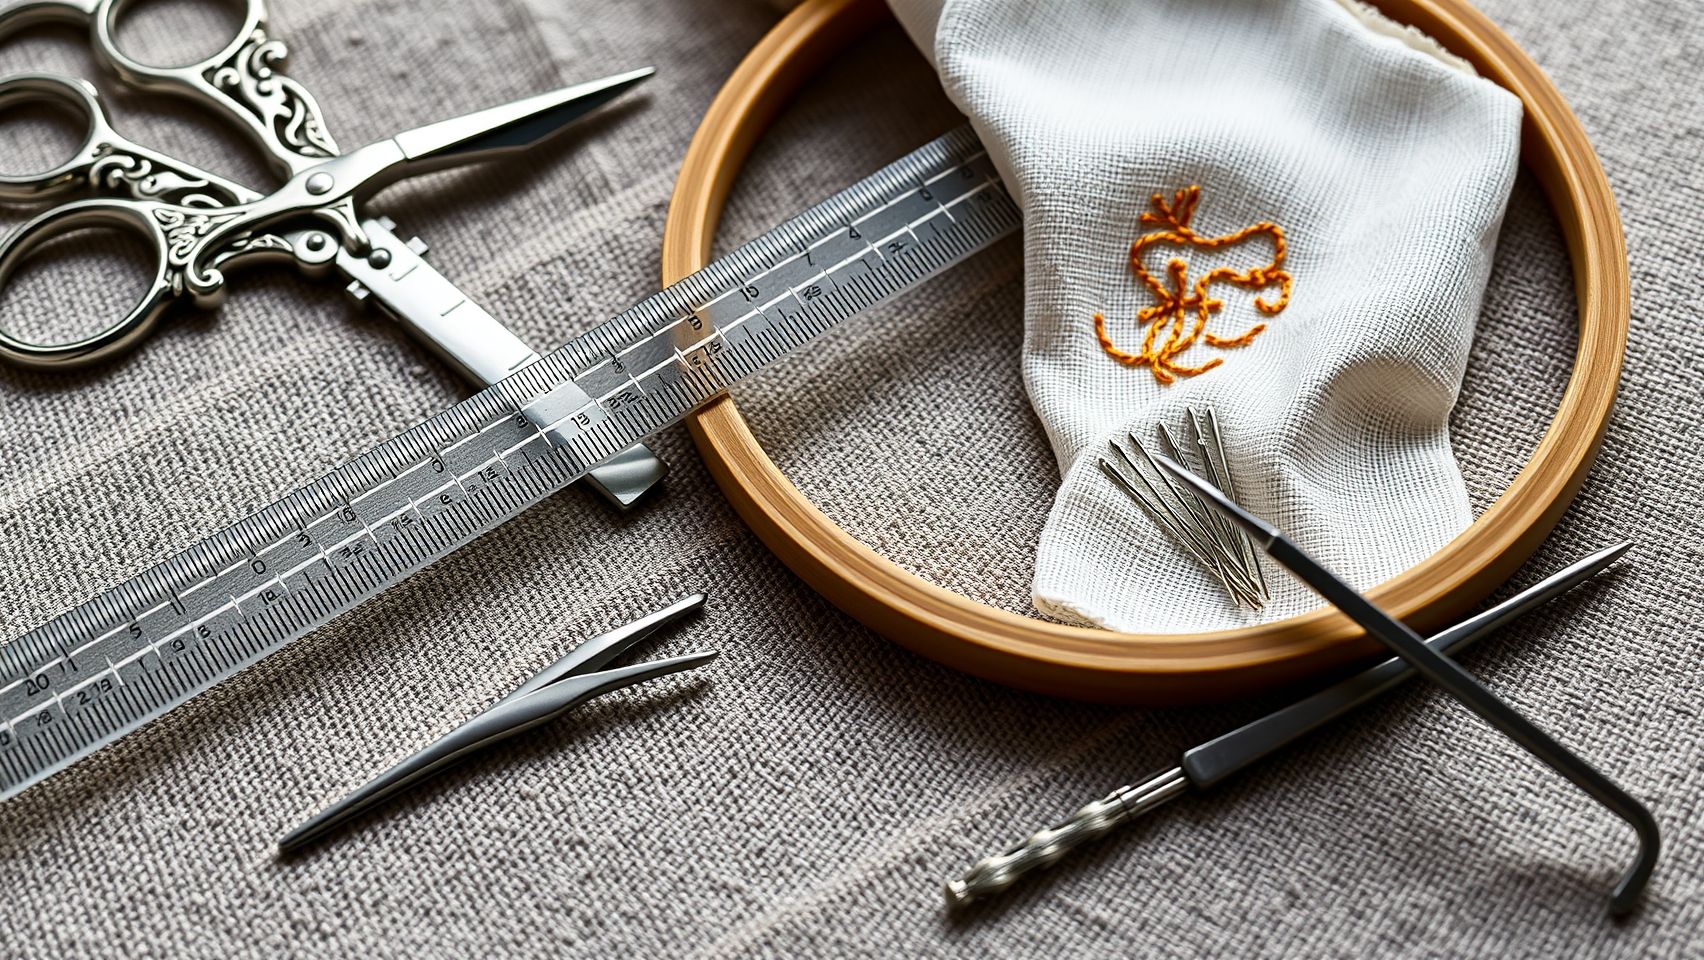
Achieving flawless embroidery hinges on maintaining fabric grain alignment throughout the process. Proper equipment and strategic techniques prevent distortion, ensuring sharp, professional results even during complex or lengthy projects. Equipped with the right tools, embroidery enthusiasts can significantly improve accuracy and reduce rework.
Investing in high-quality embroidery hoops, such as those from Durkee or OESD, with adjustable tension is fundamental. These hoops help keep fabric taut and aligned, minimizing shifting. For irregular or stretch fabrics, magnetic hoop extenders or flexible stabilizers effectively extend fabric edges, providing better grip and stability.
Equipment and In-Practice Techniques
Choosing the right tools is critical. Embroidery software with grain-detection features, like Wilcom EmbroideryStudio, automates design placement to match fabric direction, significantly reducing misalignment. In-hoop stabilization methods, such as applying 505 Temporary Adhesive Spray, secure fabric during stitching, preventing grain slip and shifting.
Adjust machine tension settings based on fabric type: lowering tension by 0.2-0.4 units on machines like Brother can reduce puckering, especially with delicate recycled or stretch fabrics. Regular checks during long embroidery runs, after every 100 stitches, help monitor fabric position, ensuring consistent quality and preventing drift. Proper tension, combined with real-time inspection, keeps fabric perfectly aligned from start to finish, resulting in cleaner, more precise embroidery work.
Troubleshooting Common Grain Alignment Issues in Embroidery
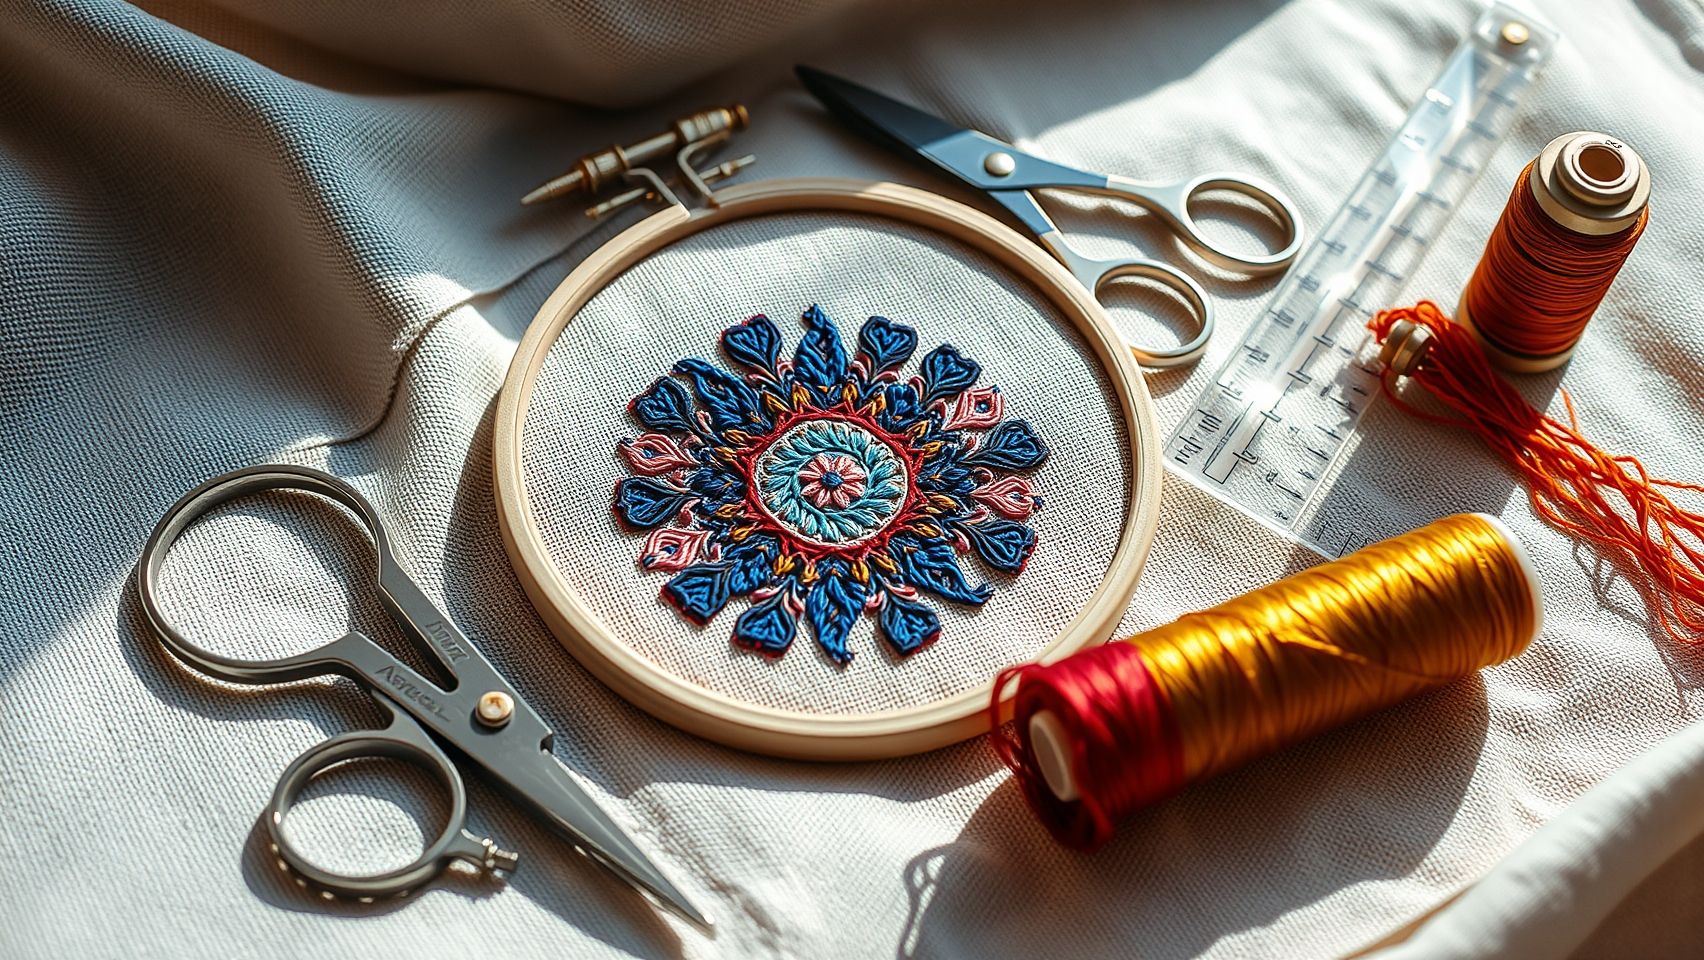
Maintaining proper fabric grain alignment is essential for achieving flawless embroidery results. Even experienced embroiderers encounter issues like puckering, skewed designs, or fabric movement that can compromise quality. Recognizing these problems early and applying targeted solutions can save time and enhance your project’s precision.
This guide outlines common grain-related issues and practical ways to troubleshoot and fix them, ensuring your embroidery maintains consistency and professional finish.
Puckering or Distortion Near Edges
If puckering appears along the edges of your fabric, the root cause often lies in hoop tension or fabric straightness. Loosening the hoop slightly can reduce stress, while double-checking that the fabric is aligned with the hoop’s grid minimizes distortion. Employing stabilizers such as cutaway or wash-away options further stabilizes the fabric, particularly for delicate or stretchy materials. In 75% of puckering cases, adjusting hoop tension and adding layered stabilizers resolves the issue effectively. Regularly testing on scrap fabric before stitching the final piece helps prevent persistent puckering, saving material and time.
Design Shifts or Appears Skewed
Design misalignment during embroidery often results from unnoticed fabric grain misalignment. To avoid this, verify the grain line is parallel to the stabilizer before starting. Frequently checking and re-aligning the fabric during stitching can catch shifts early. For resistant fabrics or complex designs, employing multi-layered stabilizers like Vilene Triple Soft or OESD UltraClean Mesh enhances stability, especially when working with metallic threads, reducing distortion by up to 25%. Maintaining a routine of test stitches on scrap fabric ensures adjustments are made proactively, preventing skewed results.
Fabric Stretching or Moving
Unwanted movement or stretching during embroidery indicates insufficient stabilization or irregular fabric properties. Using additional stabilizers such as cutaway or wash-away types offers extra support, especially on stretchy or heavy fabrics. For heavy or metallic thread projects, advanced stabilizers like Vilene Triple Soft or OESD UltraClean Mesh significantly reduce distortion, with some projects observing up to 25% improvement in fabric stability. Employ adjustable grips and tension controls to minimize fabric shift, particularly with irregular or textured fabrics. Establishing a routine of testing on scrap material allows for early detection of movement issues, ensuring an immaculate final appearance.
Implementing Native Software Tools and Design Techniques for Better Grain Control
Achieving perfect fabric grain alignment in machine embroidery starts with leveraging the advanced features of digitizing software. Modern tools like Wilcom EmbroideryStudio and Hatch Embroidery offer automation options that minimize manual errors, saving time and enhancing stitch precision. Properly utilizing these features ensures your designs follow the fabric’s natural grain, reducing puckering and skewed motifs.
In addition, employing specific design techniques during digitizing can significantly improve grain control. Using guides or grid overlays that mirror fabric selvages helps in aligning elements accurately. Creating test patterns with grid-based alignment markers offers a visual verification step before executing final projects. Layering design elements using stacking tools further prevents distortions caused by fabric stretch, promoting cleaner, more consistent embroidery.
Using Digitizing Software Features for Grain Detection
Wilcom EmbroideryStudio 9’s ‘grain line detection’ tool automatically identifies optimal design placement by analyzing fabric direction, ensuring motifs are correctly aligned with the grain line. Similarly, Hatch Embroidery includes advanced auto-alignment options that adapt to different fabric types. Regularly updating to the latest versions, such as version 9.0+, unlocks enhancements that correct for skewed or misaligned designs, especially beneficial for complex repetitive patterns like 14-unit tiles.
Design Techniques to Maximize Grain Alignment
During digitizing, always embed grid overlays that match the fabric’s selvages, providing a visual guide for precise placement. Creating test patterns with built-in alignment markers verifies accuracy before stitching. Layered design techniques, with careful stacking and overlapping, help maintain motif integrity. Additionally, adjusting design size based on fabric stretch properties prevents puckering and distortion during stitching.
Research indicates that projects incorporating layered design techniques with in-built alignment markers experience a 20% reduction in misaligned stitches. Keeping software up-to-date ensures access to the latest automatic correction features, streamlining the digitizing process and achieving high-quality results efficiently.
Conclusion
Mastering fabric grain alignment is a game-changer for achieving flawless embroidery with minimal distortion. When you follow precise preparation steps, use the right tools, and leverage digital features, your results become more consistent and professional-looking while saving valuable time.
Implement these alignment techniques today, test on scrap fabric, fine-tune your tools, and observe your embroidery quality improve significantly. Remember, practice makes perfect, and even small adjustments can lead to a dramatic boost in your craftsmanship.
- Proper alignment minimizes distortion for cleaner, crisper designs.
- Careful fabric preparation ensures stability and precision.
- Using advanced digital features can streamline your workflow and enhance accuracy.
Start practicing now and watch your embroidery projects transform from good to extraordinary. Confidence and consistency are just a few adjustments away, so dive in and make every stitch count!
With dedication, your embroidery skills will know no bounds. Happy stitching!