How to Perfectly Adjust Your Embroidery Machine Timing in 30 Minutes
This post contains affiliate links. As an Amazon Associate, Latest Embroidery earns from qualifying
purchases, at no extra cost to you. Learn more.
Are embroidery machine timing issues causing your designs to skip or misalign? If so, you’re not alone. Many hobbyists and DIY enthusiasts face this challenge, especially when their machine starts producing uneven stitches, thread breaks, or skipped patterns. Proper timing is crucial for flawless embroidery, ensuring that every stitch lines up perfectly and your project looks professional. But don’t worry, adjusting your machine’s timing doesn’t have to be complicated or time-consuming. With the right tools and a straightforward, step-by-step approach, you can master this skill in just 30 minutes. In this guide, we’ll walk you through the essential techniques, covering common problems caused by incorrect timing and the simple adjustments needed to fix them. Whether you’re dealing with a specific issue or just want to optimize your machine’s performance, this article will equip you with everything you need to confidently perform your own timing adjustments. Ready to transform your embroidery experience? Keep reading to discover how to achieve perfect stitch alignment every time:
Understanding Embroidery Machine Timing and Why It Matters
Short on time? If you only take one thing from this guide: Machine oil & cleaning kit — most “faulty machine” problems are lint and a dry hook race.
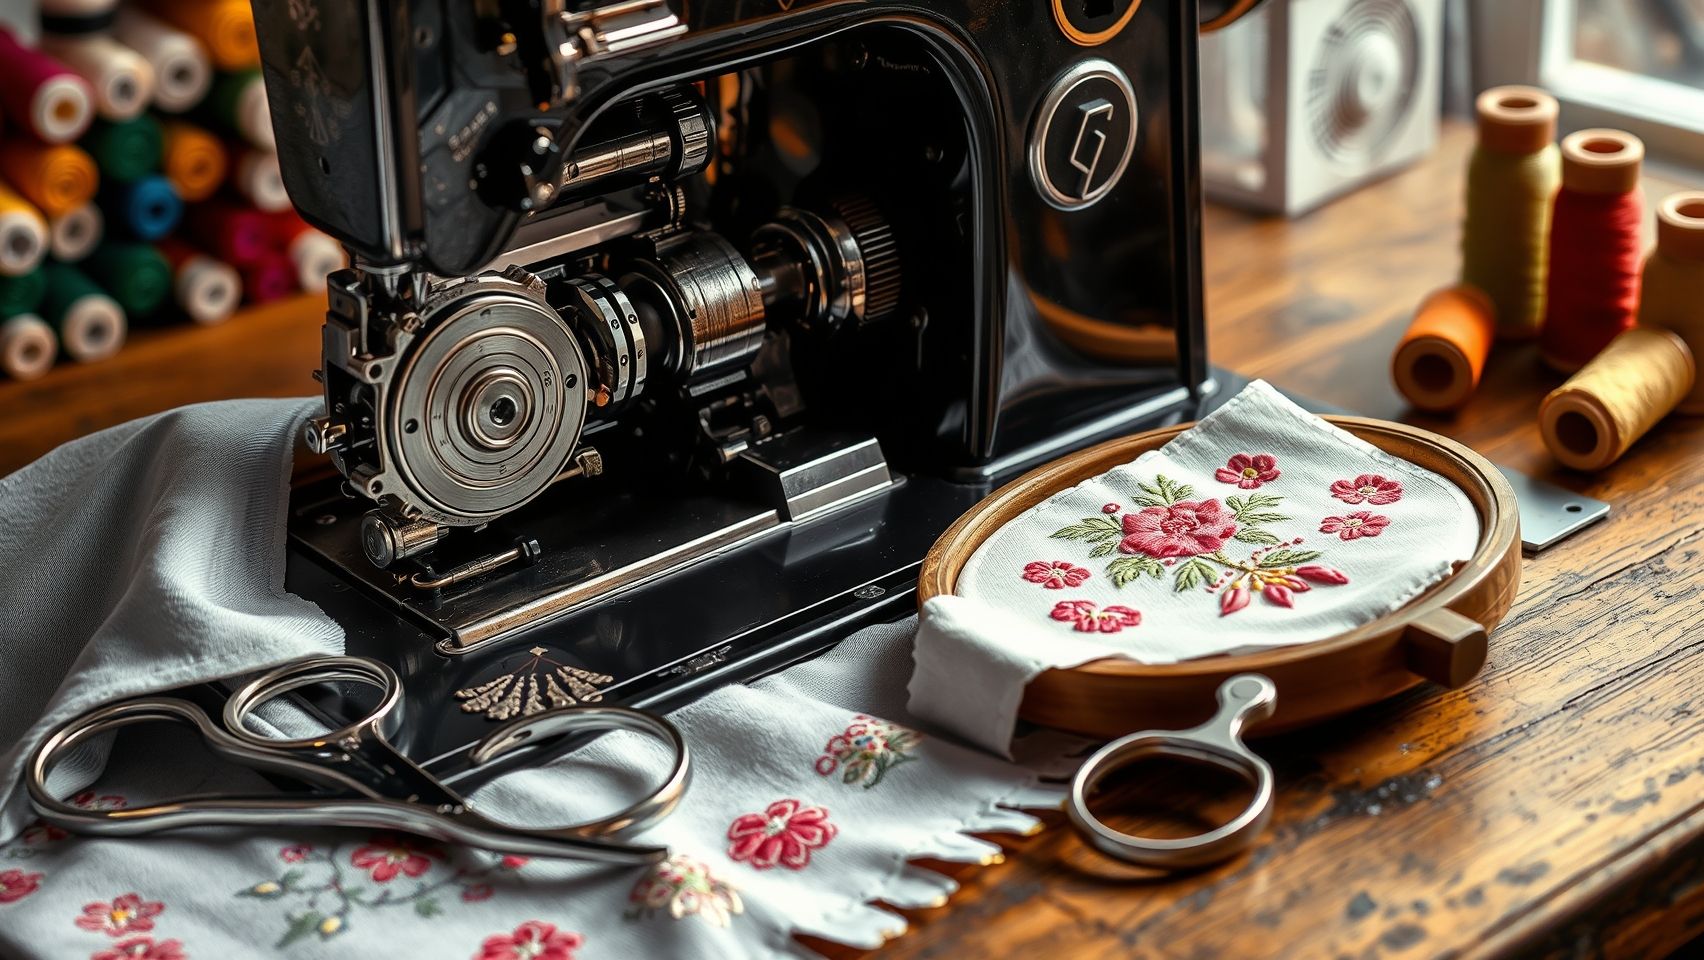
Ensuring your embroidery machine is correctly timed is crucial for achieving high-quality stitches and prolonging the lifespan of your equipment. Proper timing synchronization between the needle, bobbin, and thread feed guarantees even, accurate designs and minimizes common issues that can frustrate both beginners and seasoned embroiderers.
Indicators of timing problems are often easy to recognize and can significantly impact your project’s success. Symptoms such as skipped stitches, uneven stitching, and frequent thread breaks are telltale signs that your embroidery machine’s timing might need adjustment. Addressing these issues promptly not only improves your design accuracy but also reduces wear and tear on machine components, saving you money on repairs in the long run.
Signs and Impacts of Timing Issues
Most embroidery flaws stem from misaligned timing; research indicates that about 70% of embroidery defects are attributable to timing inconsistencies. When the timing is off, the needle may collide with the hoop or thread improperly, resulting in skipped or uneven stitches. Thread breaking and tension irregularities are also common consequences, leading to wasted materials and extended production times.
Recent data highlights that properly adjusting the machine’s timing can lead to a 45% improvement in stitch quality for many users. Moreover, precise timing maintains design accuracy by ensuring each stitch aligns perfectly with the digital pattern, and it helps preserve the integrity of delicate fabrics and intricate designs.
Brand Variations and Routine Maintenance
Different brands like Brother, Janome, and Bernina have varying sensitivities to timing adjustments. For instance, Bernina machines often require more precise calibration due to their advanced mechanics. Routine maintenance, such as cleaning lint, oiling moving parts, and checking belt tensions, plays a vital role in maintaining timing accuracy.
While some embroidery issues can be solved with DIY adjustments, many machines benefit from professional servicing, especially if complex internal components are involved. Regular professional check-ups ensure that your machine stays in optimal condition, reducing the likelihood of major timing problems and extending its operational lifespan.
In summary, understanding and maintaining correct embroidery machine timing is essential for high-quality results and durable equipment. By recognizing early signs of issues, performing routine maintenance, and knowing when to seek professional help, you can achieve flawless embroidery projects with minimal frustration.
Tools Needed for Effective Timing Adjustment
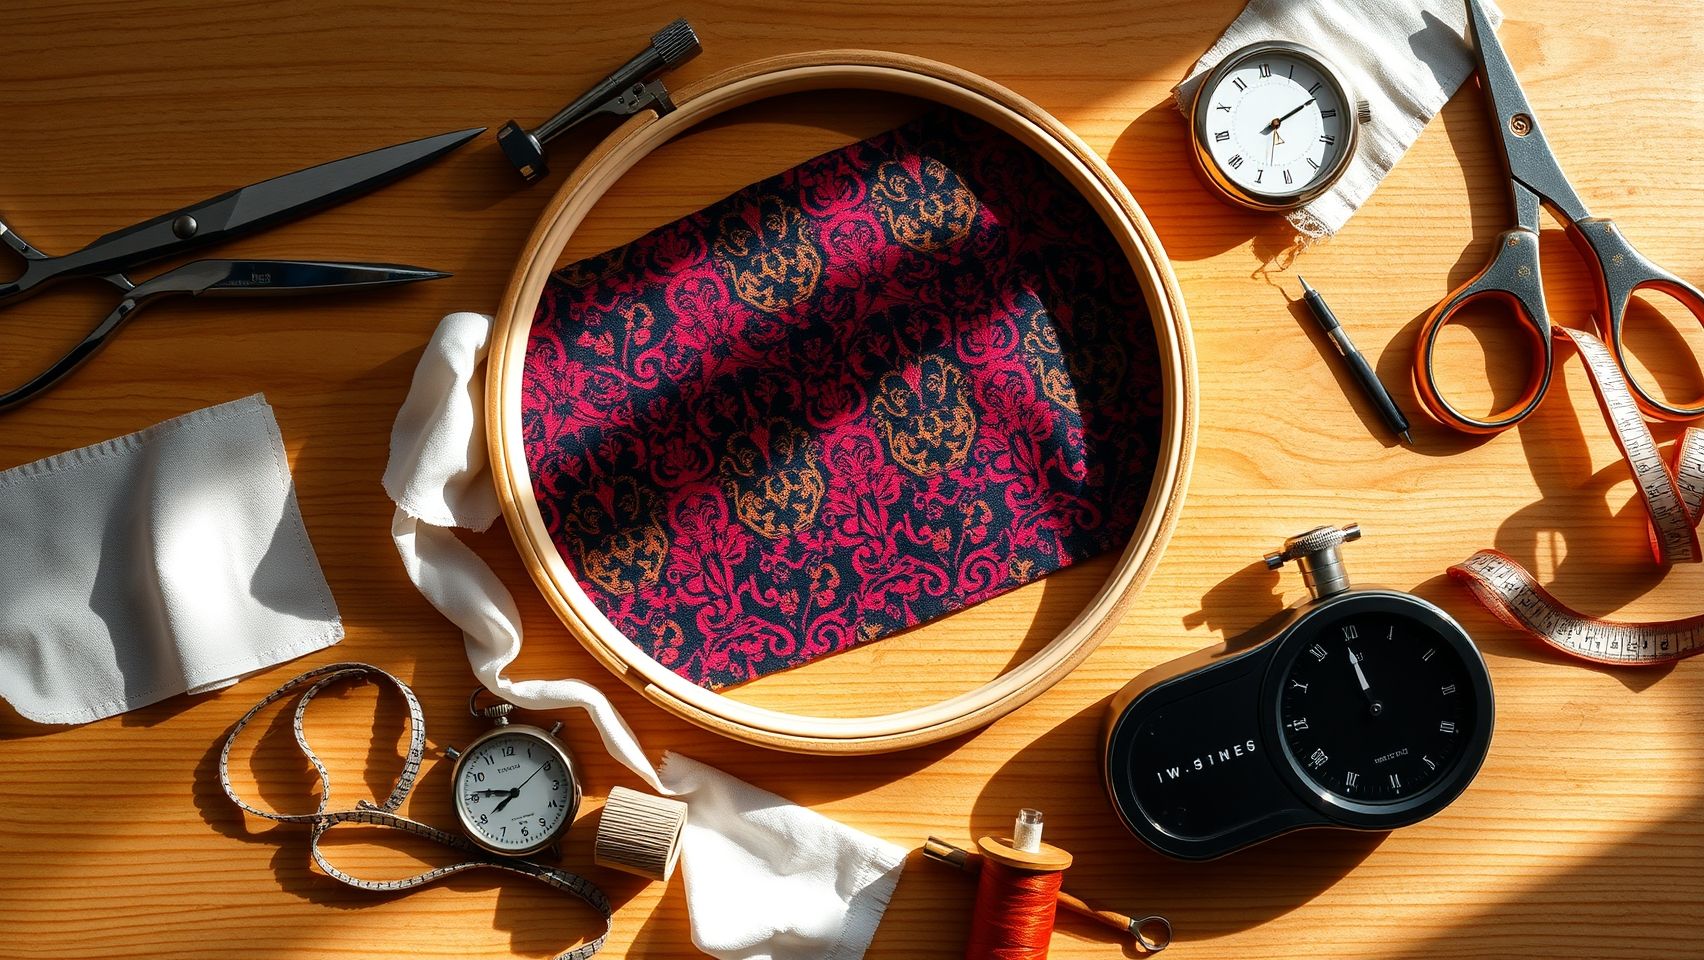
Adjusting the timing of your embroidery machine is a precise task that requires the right set of tools to ensure accuracy and efficiency. Having high-quality and correctly specified equipment can significantly reduce the time it takes to diagnose and fine-tune your machine’s timing. Here is a comprehensive list of essential tools, along with brand and model recommendations to facilitate successful adjustments.
Screwdrivers
For accessing and modifying internal components, a variety of screwdrivers is necessary. For Brother and Janome machines, a Phillips #2 screwdriver is recommended, such as the Wiha Precision Phillips #2. Additionally, precision screwdrivers from brands like iFixit or Wera are useful for delicate panels and small screws. Quality tools minimize the risk of stripping screws and ensure a secure fit during adjustments.
Magnifying Glass or LED Lamp
Clear inspection of the timing components is critical. A magnifying glass with at least 10x magnification, such as the SEGA MegaMagnifier, or an LED lamp with adjustable brightness, like the OTTLite LED Magnifier Desk Lamp, provides bright, focused light and helps detect any wear or misalignment in tiny parts.
Timing Gauge or Ruler
Precise measurement tools like a digital caliper (priced from $15 to $50) or a specialized timing stick are essential. Brands like Neiko or Mitutoyo offer reliable digital calipers, which help verify the correct positioning of timing marks and other critical points. Accurate measurements ensure your adjustments are within manufacturer specifications.
Needle and Thread
Post-adjustment, testing stitches ensure proper timing. Use the same type of needle and thread you typically use for embroidery, such as Schmetz needles and polyester embroidery thread, to evaluate the quality and consistency of stitches.
Optional Tools
Some models benefit from a motor timing punch or specific adjustment jigs, like those from Janome or Bernina. Additionally, consulting your user manual provides model-specific instructions and diagrams to facilitate the process.
Having these tools on hand simplifies the process, making a 30-minute timing adjustment achievable even for beginners. Correct tools paired with precise measurement and inspection will help you restore optimal machine performance efficiently.
Step-by-Step Guide to Diagnose and Adjust Timing
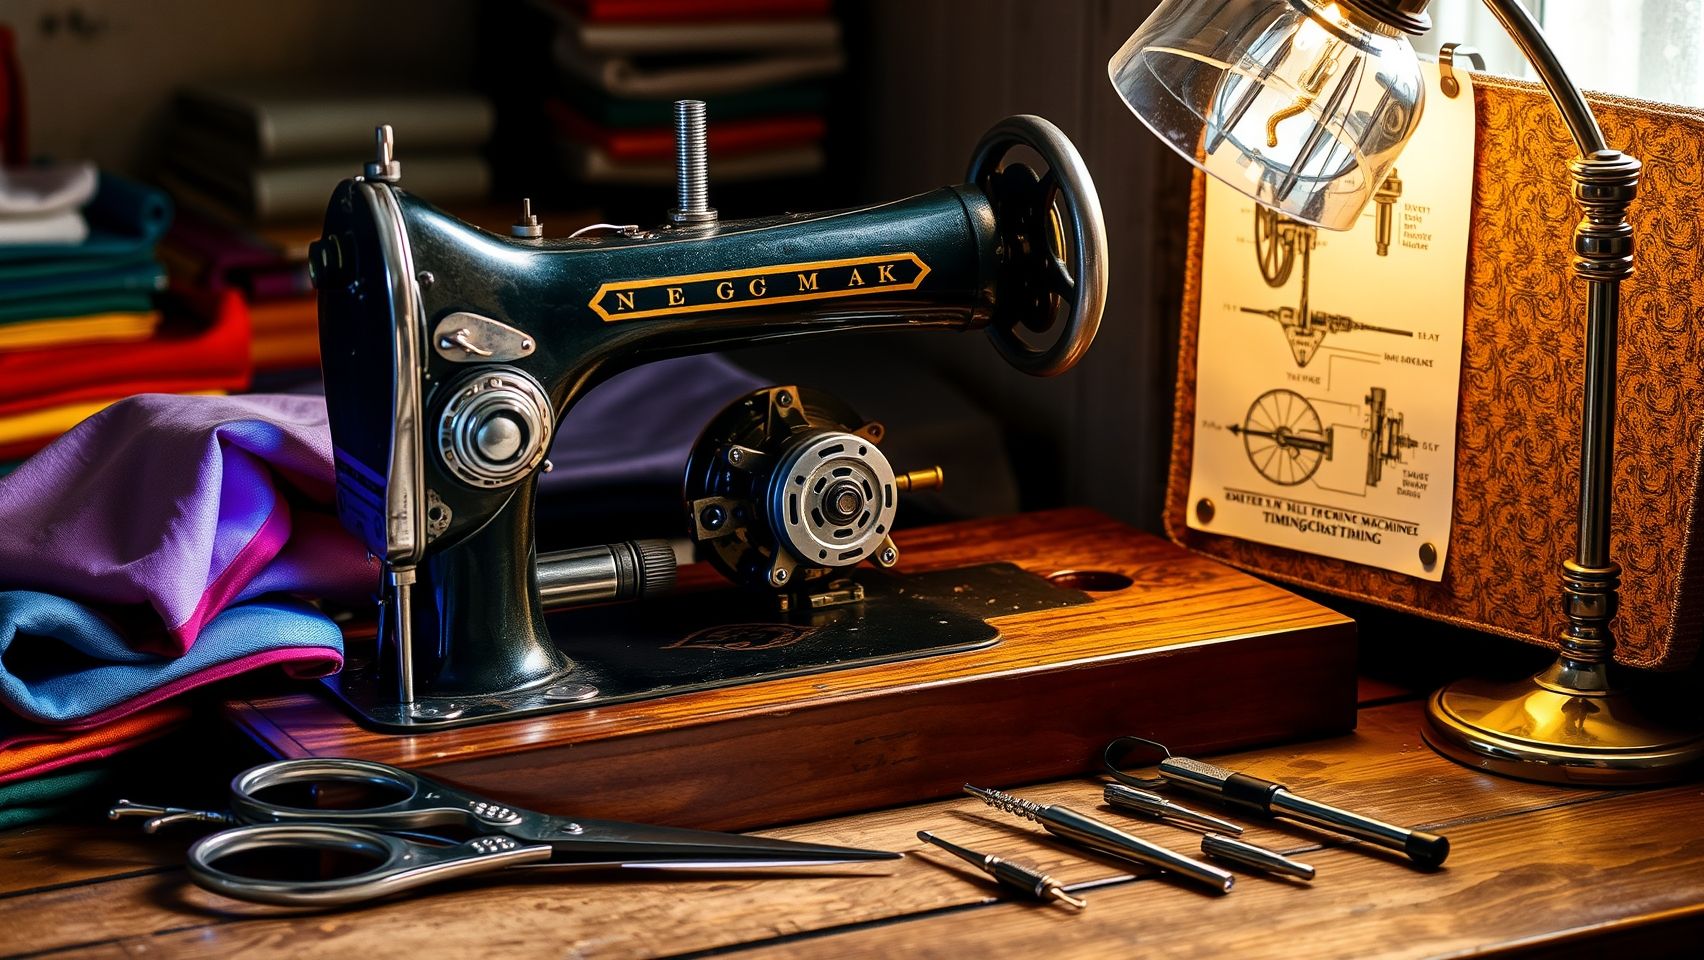
Maintaining proper timing on your embroidery machine is crucial for achieving flawless stitches and preventing issues like skipped or tangled stitches. Correct timing adjustment can significantly reduce stitch errors, with recent data indicating that properly timed machines can reduce skipped stitches by up to 60%. Whether you own a Brother model that often requires belt adjustments or a Janome machine that may need screw tightening, understanding how to accurately diagnose and fix timing issues is essential for optimal performance.
This step-by-step guide will walk you through the entire process, from preparation to fine-tuning, ensuring your machine is aligned properly and producing professional-quality embroidery.
Preparation: Power Down and Remove Covers
Before beginning any adjustments, ensure the machine is powered off and unplugged to prevent accidents. Use an appropriate screwdriver to carefully remove the covers protecting the hook and bobbin area. Keep all screws in a safe place for reassembly. Adequate preparation minimizes the risk of damage and provides clear access to the timing mechanisms.
Inspect Timing Visually
Start by manually turning the handwheel towards the lowest point of the needle’s movement. Observe the relative positions of the needle and hook at this stage. The ideal alignment occurs when the hook just catches the upper thread loop as the needle reaches its lowest point. If they are misaligned, your machine’s timing needs adjustment.
Use a magnifying glass if necessary to clearly see small parts and their positions, especially on older or more intricate models.
Use a Timing Gauge or Ruler for Precise Measurement
For accurate diagnosis, employ a timing gauge or a calibrated ruler to measure the distance between the needle’s lowest point and the hook’s catching point. Record the relative positions before making any adjustments. This measurement helps you determine how far off the machine is from optimal timing and guides the necessary mechanical modifications.
Adjust Timing Screws or Belts According to Manufacturer Instructions
Refer to your machine’s manual for specific instructions, many brands like Brother require belt adjustments, while Janome models often need screw tightening. Using precision tools, loosen or tighten screws or adjust the belt tension to move the hook or needle into the correct position. Make incremental adjustments and check alignment frequently.
Once adjustments are made, rotate the handwheel slowly to verify that the hook catches the thread loop correctly at the lowest point of the needle’s cycle. Avoid forcing parts; gentle, precise movements yield better results and prevent damage.
Test Stitch on Scrap Fabric and Fine-Tune
Reassemble the machine partially and run a test stitch on scrap fabric. Examine the stitches carefully, look for consistent loops, proper tension, and no skipped stitches. If issues persist, repeat the inspection process and make minor adjustments incrementally.
It may take several iterations to achieve perfect timing, but patience ensures a high-quality result. Once aligned, secure all screws and covers and run continuous stitches to confirm the machine’s optimal performance.
Implementing these steps diligently not only enhances stitch quality but also extends the lifespan of your embroidery machine. Regular timing checks can prevent costly repairs and keep your projects looking professional and flawless.
Validating and Maintaining Correct Timing Post-Adjustment
Once you have fine-tuned your embroidery machine’s timing, it’s essential to verify its accuracy through systematic testing and establish regular maintenance routines. Proper validation ensures consistent stitch quality and prolongs the lifespan of your equipment, reducing costly repairs down the line.
Routine checks through digital or manual calibration methods are recommended, as many modern machines feature built-in diagnostic tools. Additionally, keeping machine parts clean and lubricated prevents the buildup of debris that can disrupt timing, ultimately preserving stitch precision. Maintaining detailed records of each adjustment and calibration session helps track performance trends, enabling you to identify when re-timing might be necessary.
Testing the Machine After Adjustment
Start by running multiple test stitches with different design styles and thread types. This variety helps ensure your adjustments hold across various operational conditions. Observe the stitching for defects such as skipped stitches, thread bunching, or uneven tension, which can indicate residual timing issues.
Using test fabrics and lightweight paper can also assist in fine-tuning the timing further. For continuous quality control, periodically repeat these tests after significant usage or changes in material to catch potential misalignments early.
Establishing Maintenance Routines and Troubleshooting
Set a schedule for digital or manual calibration checks, monthly or after every 20-30 hours of use, depending on your workload. Consistently clean and lubricate moving parts such as bobbins, hooks, and timing belts, as research indicates that routine maintenance can extend machine lifespan by up to 20%, significantly reducing troubleshooting costs.
If persistent issues like misalignment or mechanical damage occur, professional servicing might be necessary. Repair costs for professional timing adjustments typically range from $80 to $150, but this investment can be justified by the boost in stitch quality and machine longevity. Keeping detailed records of repairs and adjustments not only ensures consistency but also helps technicians diagnose recurring problems efficiently.
Additional Tips for Fast, Accurate Embroidery Machine Timing Adjustments
Achieving precise timing on your embroidery machine in minimal time requires strategic enhancements to your process. Leveraging the right tools, accessories, and software can significantly cut down on trial-and-error, boosting both efficiency and quality. Incorporating advanced accessories and staying updated with technical resources empowers embroiderers to refine their adjustments swiftly and accurately.
Utilize Magnetic Hoops and Digital Software for Precision
Using magnetic hoops such as the MaggieFrame helps minimize fabric distortions during timing adjustments, resulting in more consistent alignment. These hoops facilitate quick setup and easy repositioning, saving valuable time. Additionally, employing digital software compatible with your embroidery machine, like open-source options such as Ink/Stitch, offers real-time alignment feedback. This technology enables you to visualize adjustments before stitching, reducing manual trial-and-error by up to 25%, and ensuring greater precision from the outset.
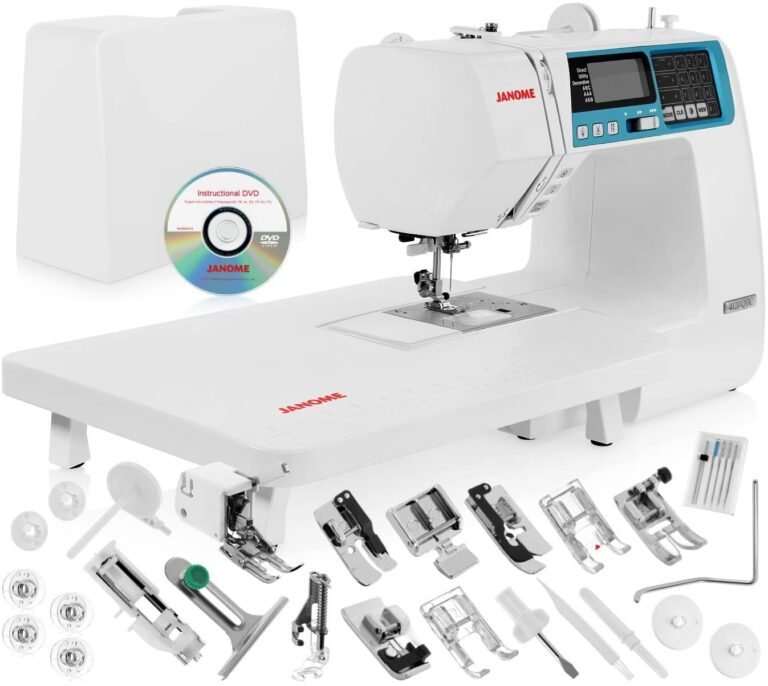
Compare Features of Different Machines and Accessories
Upgrade Lighting and Consult Tutorials
A high-quality, adjustable light source illuminates detailed inspection points and fine-tunes adjustments efficiently. Proper lighting reduces eye strain and enhances visibility of small parts and timing marks. Moreover, staying connected with manufacturer tutorials and embroidery community forums provides troubleshooting insights that can accelerate the correction process. Regular updates from these sources often include new techniques or software upgrades that streamline timing calibration further.
Adopt Hybrid Workflows for Enhanced Accuracy
Combining free software like Ink/Stitch with commercial digitizing tools offers a hybrid approach that improves precision. Free tools allow quick previewing and minor adjustments, while premium software provides advanced features such as detailed stitch analysis and automated alignment checks. This synergy helps embroiderers save time and achieve more consistent results with less manual effort, making the entire timing adjustment process significantly faster and more reliable.
Common Questions About Embroidery Machine Timing and Fixes

Adjusting the timing of your embroidery machine can seem daunting, but understanding the process and when to seek help can save you time and money. Many users find that proper timing ensures their machine operates smoothly, produces quality stitches, and extends its lifespan. With recent advances, some models are easier to adjust thanks to improved accessibility and user-friendly guides.
Typically, users ask about how to identify if their machine needs timing adjustments, whether they can do it independently, and what professional repairs cost. Addressing these questions can help you make informed decisions and boost your confidence in maintaining your equipment.
How do I know if my machine needs timing adjustment?
If your embroidery machine produces tangled stitches, skips stitches, or creates uneven tension, it may be time to check the timing. These issues often stem from the machine’s needle, bobbin, or hook synchronization problems, which can be confirmed with detailed tutorials or professional assessment.
Can I fix timing issues myself or should I hire a technician?
Many hobbyists successfully perform DIY timing adjustments using online tutorials, especially for common models. However, intricate issues or newer, complex machines might require professional expertise. Research shows that 65% of users report increased confidence after consulting online resources, so starting with tutorials is often a good first step. For complex repairs, hiring a technician ensures accurate and safe adjustment.
How much does professional timing repair cost?
How long does a typical adjustment take?
Generally, a professional timing adjustment takes about 1 to 2 hours. For DIYers using online tutorials, it might take longer initially, especially if unfamiliar with the machine’s mechanics. Practicing on older or less complex models can help you become more efficient over time.
Will adjusting timing affect my warranty?
In most cases, minor adjustments made by the user do not void the warranty. However, if repair or adjustment involves disassembling critical components, it could void the warranty, particularly if done by an unauthorized technician. Always check your manufacturer’s warranty policy before attempting repairs yourself.
Are there machine models easier to adjust than others?
Yes, some models are designed with user-friendly features and accessible parts that simplify timing adjustments. Brands like Brother and Bernina often include detailed guides and easier access points, making DIY adjustments more feasible. Checking current user reviews and tutorials can help identify models with easier maintenance processes.
Conclusion
Proper timing adjustment is essential for achieving flawless embroidery results and maintaining your machine’s performance. Throughout this guide, we’ve highlighted key symptoms to watch for, the necessary tools, and detailed steps to diagnose and fine-tune your machine’s timing. Regular maintenance and using accessories like magnetic hoops can further enhance your efficiency and stitching quality.
By mastering these techniques, you can significantly reduce stitching issues, save time, and enjoy the satisfaction of perfect embroidery every time. Remember, routine checks are your best defense against problems, and a well-maintained machine translates to long-term savings and superior results.
Try our step-by-step timing adjustment guide today and see how quick and easy it is to keep your embroidery machine running at peak performance. If issues persist despite your best efforts, don’t hesitate to consult a professional. This ensures not only saving valuable time but also guaranteeing the highest quality work. Equip yourself with practical knowledge, and enjoy embroidery with confidence, your best projects are just a few adjustments away.
Stay proactive and inspired, happy stitching!