Is Baby Lock Flourish 2 Worth It?
This post contains affiliate links. As an Amazon Associate, Latest Embroidery earns from qualifying
purchases, at no extra cost to you. Learn more.
How We Research
Every machine, thread, and accessory we cover is researched in depth, not reprinted from a spec sheet. Here is what goes into a Latest Embroidery review:
- Specs, cross-checked. We verify manufacturer specifications against multiple retailers and official manuals, so the numbers you read are accurate and current.
- What owners actually report. We read through verified buyer reviews, warranty complaints, and community threads to surface the real-world issues, threading, hooping, bobbin changes, noise, and jams, that owners run into after the first few weeks.
- Value, not hype. We weigh each pick against its closest alternatives and tell you who a product is, and isn’t, for.
- Kept current. Prices and models move fast, so every review carries a last-updated date.
- Independence. We earn affiliate commissions if you buy through our links, but that never decides our recommendation. Read our disclosure.
Compiled by the Latest Embroidery editorial team · Last updated July 2026
If you’re evaluating an embroidery upgrade for a home studio, boutique, or commercial shop, the Baby Lock ecosystem (Destiny II, Flare, Array) packs speed, field versatility, and integrated wireless tools that can shift throughput and ROI. The ecosystem’s wireless transfers and on‑screen editing let you move from idea to finished piece faster: Destiny II and Flare.
For dedicated embroidery work, Flourish II delivers a 6-1/4\” x 10-1/4\” field, 181 built‑in designs, 13 fonts, and a color LCD touchscreen for on‑machine edits: Flourish II Embroidery-Only Machine.
Industry context shows steady growth in the embroidery market, with credible forecasts signaling multi‑billion dollar momentum into the 2030s. See the market outlook from Fortune Business Insights.
Setup in practice is about matching throughput to need: plan a phased upgrade, and lean on software ecosystems for digitizing and design management.
Keep reading for a clear upgrade framework, side‑by‑side model comparisons, and ROI math you can apply today.
Ready to compare options:
Shop embroidery machines on Amazon →
Is Baby Lock Flourish 2 Worth It in 2025?
Buying note: Baby Lock Flourish 2
Baby Lock sells this model through dealers, and we did not find a verified Amazon listing for the machine. We will not send you to an unrelated product.
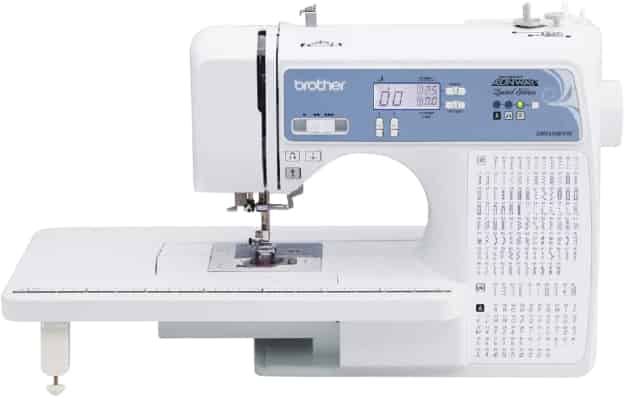
Current Amazon-listed embroidery-only alternatives: Brother NQ1700E (6×10 field) or the lower-cost Brother PE900 (5×7 field).
Set up MaggieFrame hoops and a wireless workflow can transform throughput on Baby Lock systems. This section walks through a practical, step-by-step approach to hooping, design transfer, and placement so you can move from design to stitch faster and with fewer misalignments.
Real-world numbers underpin the workflow: MaggieFrame claims the magnetic hoops are roughly 40x faster than traditional screw hoops, with hooping times of about 2 seconds versus 1.5 minutes. A typical 20, 000-stitch logo can run in 19 minutes on Destiny II, 23.5 minutes on Flare, and 26.6 minutes on Array, shaping your test-assembly timing and setup routines.
Hoop selection and initial alignment
Choose MaggieFrame magnetic hoops sized to your model, Destiny II, Flare, or Array, to enable rapid hooping. Attach the MaggieFrame, then perform initial alignment on the touchscreen to establish a precise origin before loading the design. Run a test hoop on scrap fabric to verify fabric grip, alignment, and needle clearance. This quick calibration is the foundation for repeatable stitchouts and minimized waste.
- Verify hoop size matches the machine’s supported formats ( Destiny II, Flare, or Array ).
- Attach MaggieFrame securely and center the fabric in the hoop area.
- Do a dry run on scrap to confirm alignment and stitch progression before committing to production.
Design transfer and placement tweaks
Enable Design Database Transfer and connect to your network; designs auto-convert older formats into current compatible formats to streamline library management. Open IQ Intuition on a tablet or the machine’s interface for on-screen design placement tweaks and portable adjustments. Place the design on the hoop, fine-tuning horizontal and vertical offsets, rotation, and scale until the motif sits exactly where you want it.
- Use Design Database Transfer to wirelessly sync designs to the machine.
- Rely on IQ Intuition for precise, touch-based placement tweaks in real time.
- Test a small placement change on scrap to confirm absence of collisions or fabric distortion.
Multi-hoop management and curved-surface adapters
Set up multi-hoop management to coordinate several hoops in a single run, and deploy curved-surface adapters for hats and 3D puff where applicable. This configuration supports rapid production adjustments and broader design possibilities without re-hooping. Curved-surface adapters especially help maintain consistent tension on irregular surfaces, reducing misalignment during stitch-out.
- Configure multiple MaggieFrame hoops to reduce punch-in time between designs.
- Attach curved-surface adapters for hats and 3D puff projects when needed.
Test production run and measurement
Run a test production example to quantify setup time, stitch-out time, and any misalignment events. Record the setup time from hoop attachment to the first perfect stitch, the total stitch-out time for a 20, 000-stitch logo, and any hiccups to inform iterative optimizations. A practical benchmark: Destiny II around 19 minutes, Flare around 23.5 minutes, and Array around 26.6 minutes for a 20k logo, guiding your line-by-line adjustments and workflow pacing.
Increase throughput: from logos to hats and 3D puff, step-by-step
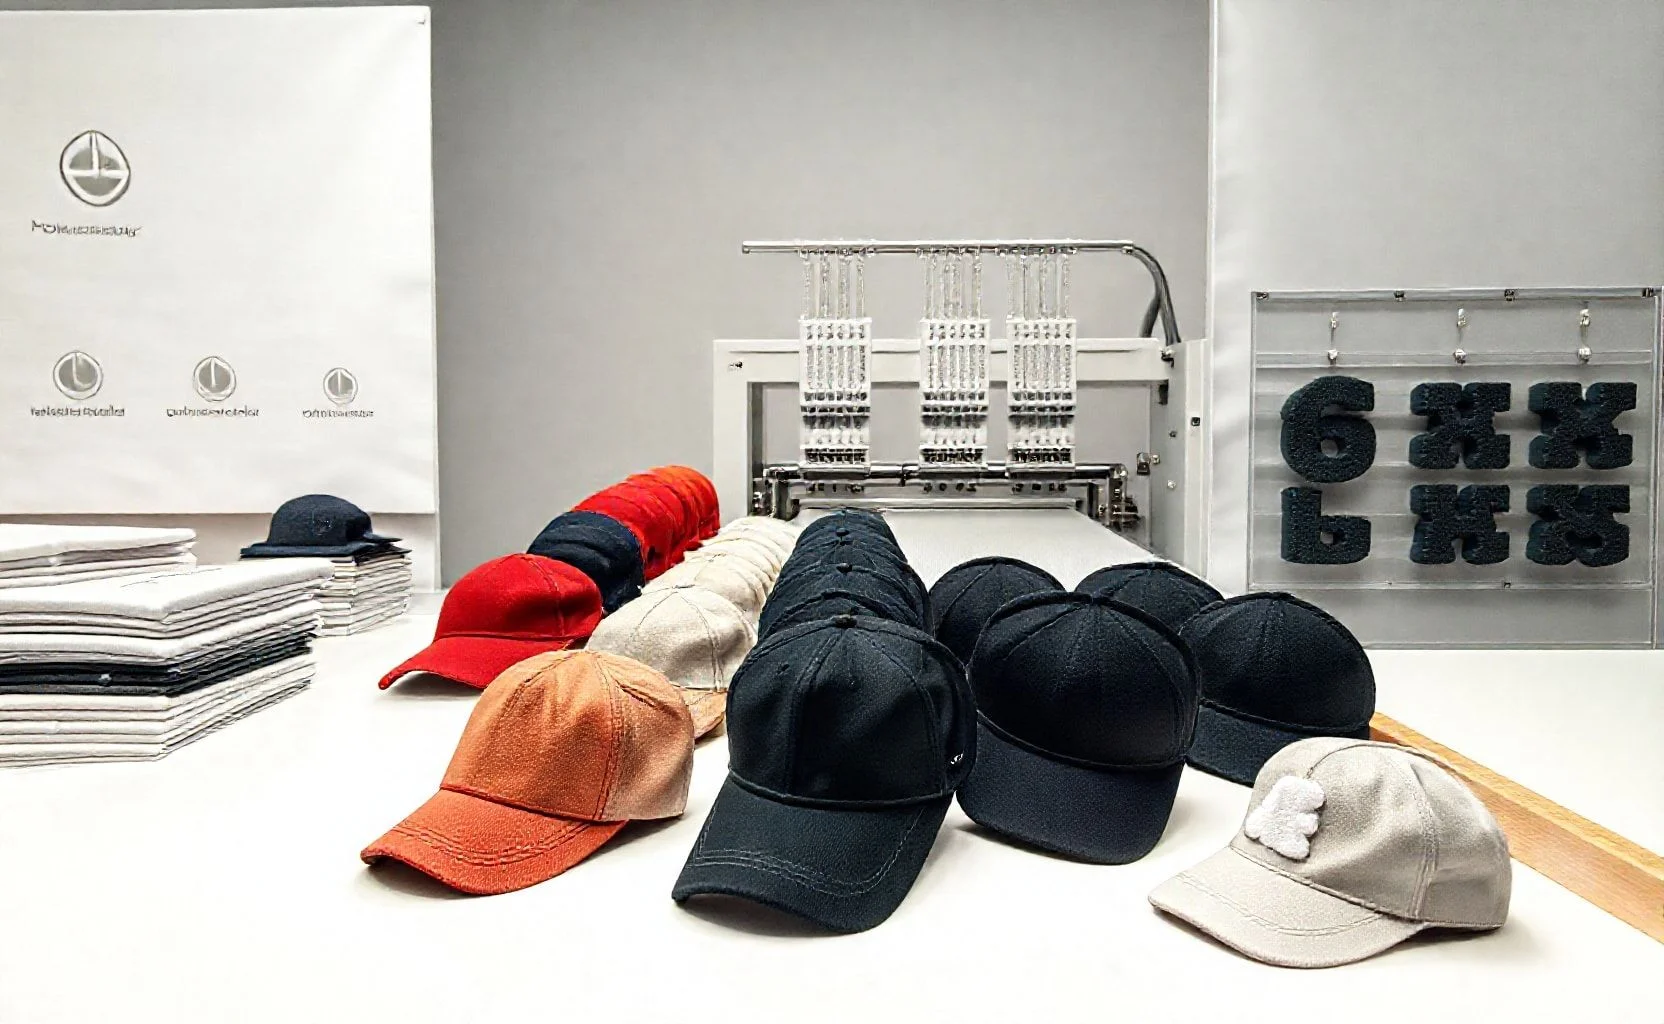
This section lays out a practical, stage-by-stage workflow to maximize embroidery throughput across logo runs, hat work, and 3D puff accents. By planning production around the fastest field sizes for each model while staying within the library limits (Destiny II 661 designs, Flare 293, Array 303), shops can shave minutes off per job and reclaim idle machine time. In real-world terms, the fastest 20, 000-stitch logos fall on Destiny II, Flare, or Array depending on hooping setup, making deliberate model selection a core throughput lever.
Leaning on MaggieFrame for streamlined hooping, curved-surface adapters for hats and 3D puff, and disciplined multi-hoop management, you’ll move from logos to hats with confidence. Pair that with scrap-test runs to lock in alignment and tension, and you’ll see measurable gains week over week while keeping fabric waste low. Industry trends show embroidery remains a fast-growing segment as customization drives demand for quick-turn, high-accuracy production targets.
Plan production around the fastest field sizes for 20, 000-stitch logos
Target 20, 000-stitch logos within the tightest feasible window by selecting the model with the fastest field for that specific job. Section data shows: Destiny II achieves ~19 minutes, Flare ~23.5 minutes, and Array ~26.6 minutes for the same 20k-stitch logo, enabling substantial time savings per machine over a typical shift. To optimize throughput, assign each logo run to the machine whose embroidery field best fits the design’s bounds and the project’s timing window; this keeps production within the 19–26.6 minute range and unlocks ~38.5 hours saved per machine across a typical week. Remember, the fastest field choice is a major throughput accelerator, especially when combined with efficient hooping workflows.
Hats and 3D puff: using curved-surface adapters with MaggieFrame
Hats and 3D puff embossing benefit from curved-surface adapters that maintain consistent fabric tension on curved profiles. MaggieFrame accelerates hooping and fabric handling with magnetic, quick-change setups. In practice, expect significantly reduced hooping time, MaggieFrame hooping speeds of 2 seconds dramatically cut setup time when switching between caps and irregular surfaces. Plan two-step prep: pre-hoop the curved adapter and then mount the hat on the machine, leveraging magnets to minimize repositioning and avoid repeated pinning. This approach shortens the path from pattern to product and improves repeatability on puff stitches.
Multi-hoop management to reduce idle time
Split large runs into sequential hoopings so the machine never sits waiting for a single design to finish. Multi-hoop management reduces idle time and increases effective output per hour. Start with two hoops in the same design field, then expand to three if needed, coordinating the software to advance to the next hoop without manual intervention. This method aligns well with the demo results from broader shop data, where streamlined multi-hoop workflows contribute to higher daily outputs and smoother shift transitions.
Scrap-test runs for alignment and calibration
Run repeated tests on scrap fabric to verify alignment, stitch pull-out, and tension before committing to production. Record needle size, thread type, and stabilizer combo, then tweak pull-out settings to minimize re-stitches. A disciplined scrap-test protocol reduces rework and improves batch consistency, translating into fewer surprises when jobs scale up.
Weekly production tracking and targets
Track jacket production to gauge throughput gains with throughputs like denim jackets reaching up to 22/day and jacket backs up to 214/day when combining Array+MaggieFrame. These improvements contribute to a measurable reduction in hours-per-piece and establish a predictable cadence for entire runs. If you’re aiming for consistent gains, monitor weekly jacket output and push toward reducing the overall hour-per-piece, even a modest weekly improvement compounds into meaningful yearly savings.
Equipment lineup and how to compare Flourish 2 options vs PE800
Decision-focused framing helps you map production goals to equipment specs, then validate those choices with real-world data. This section compares Baby Lock Destiny II, Flare, and Array against a baseline Brother PE800, focusing on field sizes, speed, built-in libraries, and wireless capabilities, so you can align a Flourish 2 upgrade plan with actual throughput and cost savings.
Using current market signals and machine-spec data, you can project which option best fits your workload. Destiny II offers high-speed capability and a robust design library, while Array emphasizes large fields and magnetic hoop efficiency. Flare presents a compact, cost-conscious alternative. The PE800 remains a useful reference point for 5\”x7\” workflows and entry-level budgets. The numbers below reflect recent spec sheets and ROI estimates drawn from current industry data.
Feature-by-feature comparison
Pros and cons analysis
Cost-benefit breakdown
Performance considerations and timelines
Field size and speed translate to project timelines. Destiny II’s 9.5×14″ field supports large, multi‑design runs fast, compressing cycle times in turbo mode. Array’s 7.875×12″ area, paired with Magnetic Hoops, can dramatically reduce re-hooping and setup time for mid-size runs, pushing throughput well above baseline. Flare’s compact footprint suits quick-turn projects with Wi‑Fi transfer for rapid design updates, while the PE800 provides a solid baseline for smaller jobs. Across these options, larger fields and magnetic hoops tend to shorten project timelines in real-world production by enabling longer uninterrupted runs and faster setup shifts.
Implementation steps: staged upgrade plan and go/no-go decision
- Map current monthly embroidery volume by field size and design complexity to identify top 20% of jobs driving most revenue.
- Run a 60–90 day pilot: compare one Destiny II, one Array with Magnetic Hoops, and one Flare against your baseline PE800 on representative workloads.
- Quantify ROI using the provided indicators: aim for Destiny II’s ~+$28k revenue over five years or Array’s >$162k throughput gain to justify expansion pipelining.
- Assess wireless transfer needs and library growth; ensure staff can leverage Design Database Transfer and monitoring apps.
- Stage 1 upgrade: add one Flourish 2 option that best fits the pilot results; monitor throughput, setup time, and design utilization.
- Go/No-Go decision: if the combined real-world throughput and savings meet or exceed your ROI targets within 12–18 months, proceed with broader Flourish 2 deployment; if not, reallocate to a different option or refine workflow and design mix.
Design, patterns, and software: converting designs and placement
In 2025, the Flourish 2 lineup blends streamlined design handling with smarter placement tools. This section offers a concrete, repeatable approach to converting designs, placing them precisely, and creating patterns that scale from hats to garments. By leveraging the Design Database Transfer ecosystem and MaggieFrame-compatible accessories, shops can boost consistency and expand capabilities.
Market dynamics show embroidery continuing to grow as consumers demand customization, driving more small runs and frequent design changes. A well-defined workflow that leverages auto-conversion, on-screen tweaks, and modular libraries keeps production predictable and ready for rapid iteration across product lines.
Leverage Design Database Transfer for auto-conversion
Open Design Database Transfer and connect to your design library. Use auto-conversion to translate older formats (.pes.phc.phx.dst) to current compatibility, then organize designs into Destiny II, Flare, and Array folders. Design Database Transfer enables auto-conversion of older formats for seamless workflow integration.
Standardize file naming so projects, clients, and dates stay discoverable, and verify a sample batch to confirm stitch quality before queueing larger runs. This minimizes guesswork when transitioning between archives and live production.
IQ Intuition on-screen placement tweaks
With IQ Intuition, place designs on-screen before hooping, using the placement grid to align features to seams or crown lines. Save placement presets for hats, fronts, and sleeves for repeatability, reducing setup time on subsequent orders.
Across jobs, tweak scale and density on the touchscreen and push updates to the Flourish 2 so every copy stitches the same. The app streamlines placement across multiple machines and operators.
Hat and 3D puff patterns with curved-surface adapters and MaggieFrame
Plan curved-surface hat designs using curved-surface adapters together with MaggieFrame magnetic hoops. This setup improves stabilization for curved fronts and supports foam-backed 3D puff, expanding design territory beyond flat surfaces.
Test foam density and stitch types on a few sample hats to dial texture before committing to full production. MaggieFrame compatibility helps adapt to a wider range of cap styles and fabrics.
Centralized design library and standardized workflow
Centralize the design library: Destiny II (661 designs), Flare (293), Array (303). Create a shared folder structure and assign access so the team imports designs consistently and without duplication.
Adopt a disciplined checklist for each file to ensure consistency: validate import integrity, confirm placement, run a short stitch-out, then approve or adjust as needed. This practice minimizes errors and speeds up production across the team.
Test runs and stitch-out verification
Always start with a small sample run to verify alignment on curved surfaces and foam-backed textures. Use the IQ Intuition monitor to track progress and capture tweaks for future jobs.
Document outcomes and refine the workflow so future runs benefit from fewer iterations and more predictable results, helping maintain quality through 2025 and beyond.
Maintenance, reliability, and long-term planning

Regular upkeep of the Flourish 2 guards uptime and ROI as production scales. A clear preventative schedule minimizes unplanned downtime and protects the machine’s core capabilities, including the embroidery heads, bobbin areas, and tension systems. In 2025, embroidery ecosystems are maturing, making disciplined maintenance a practical driver of throughput and long-term value.
Gaps exist in published total cost of ownership data, but core maintenance steps, regular nozzle and bobbin checks, tension calibration, and timely software updates, are essential. ROI projections often cite a five-year horizon and noticeable throughput gains; applying ongoing metric tracking helps refine these cost-benefit projections.
Preventative maintenance schedule and checklists
Adopt a structured routine that scales with your workload. A practical approach is to layer daily, weekly, and monthly tasks to keep the Flourish 2 performing at peak efficiency. Emphasize consistency in checks to protect embroidery head alignment, bobbin condition, and tension integrity.
- Embroidery heads: run a quick diagnostic embroidery test, inspect needle plates, and tighten any loose screws; clean lint from accessible areas.
- Bobbin area: remove the bobbin case, clear lint, verify bobbin tension with a gauge, and reload with fresh bobbins as needed.
- Tension: verify top thread tension and bobbin tension against a reference test; document adjustments for traceability and repeatability.
- Documentation: log all adjustments and test results in a maintenance log for trend analysis.
Tracking performance metrics to benchmark ROI
Set a simple KPIs runway to quantify ROI over time. Track metrics that directly influence throughput and waste, and use them to validate five-year ROI expectations.
- Log time per design and machine uptime to measure throughput shifts.
- Field usage hours to gauge wear patterns and maintenance cadence needs.
- Waste rate per run to assess material efficiency and trimming opportunities.
- Overall equipment effectiveness (OEE) and average changeover times to reveal bottlenecks.
Ongoing metric tracking helps refine cost-benefit projections as software and hardware evolve, reinforcing data-driven planning instead of static forecasts.
Document costs of consumables and maintenance
Capture a rolling view of every cost item to improve TCO estimates. By isolating consumables and maintenance, you can model scenarios and adjust procurement to protect margins.
- Consumables: thread, bobbins, stabilizers, and needles by SKU and supplier.
- Maintenance: parts replacements, cleaning supplies, and any service visits or paid firmware updates.
- Software: licenses and optional updates for Design Database Transfer and IQ Intuition.
Schedule quarterly reviews of software tools (Design Database Transfer and IQ Intuition)
Plan quarterly audits to confirm compatibility with firmware, library synchronization, and feature updates. Regular reviews prevent surprises during peak cycles and keep workflows aligned with current best practices.
- Verify design transfer reliability and supported formats (pes, phc, phx, dst) and wireless LAN stability.
- Test IQ Intuition features and positioning updates to ensure alignment with current projects.
- Document findings and schedule any recommended updates or training with the team.
Plan for learning curve and staff training to maximize throughput
Invest in onboarding and continuous training to translate maintenance discipline into real-world gains. A structured training plan reduces learning friction and accelerates throughput improvements, contributing to the five-year ROI narrative.
- Initial hands-on onboarding covering head maintenance, bobbin handling, and tension calibration.
- Quarterly refreshers on software tools, design transfer workflows, and IQ Intuition positioning.
- Short, design-specific practice runs to build muscle memory and reduce setup time.
Frequently asked questions
As the Baby Lock Flourish 2 sits within a growing embroidery ecosystem, practical ROI and production planning matter as much as feature lists. Market signals in 2025 show the craft and embroidery sectors expanding, with the broader handmade/craft market continuing to push more orders and higher throughput. Real-world ROI hinges on combining the Flourish 2 with compatible Destiny II, Flare, Array setups, and intelligent hooping aids like MaggieFrame.
Notably, ROI figures in the current framework come from five-year or throughput-focused gains: Destiny II, Flare, and Array each contribute meaningful time savings and revenue improvements, and MaggieFrame can dramatically accelerate hooping. These numbers are designed to help you plan capacity, pricing, and lead times for bulk embroidery orders.
Q: What ROI can I expect from the Baby Lock ecosystem (Destiny II, Flare, Array)?
The Destiny II ecosystem projects approximately +$28, 000+ in revenue over five years. The Array with Magnetic Hoops delivers substantial throughput gains, cited as +$162, 000+ in throughput improvements. Flare contributes DIY efficiency, with an estimated savings of about +$3, 200. When you frame ROI this way, consider how production lanes, order mix, and hourly throughput translate into cash flow. These figures help map out break-even timelines and capacity planning.
Q: Do I need MaggieFrame to realize ROI gains?
MaggieFrame offers a 40x faster hooping option, roughly 2 seconds per hoop versus about 1.5 minutes with traditional methods, driving meaningful throughput increases. In practical terms, that speed boost compounds across bulk runs and multi-hoop projects, enhancing overall ROI when combined with Destiny II, Flare, or Array workflows.
Q: How long does it take to sew a 20, 000-stitch logo on each model?
Destiny II typically completes a 20, 000-stitch logo in about 19 minutes. Flare clocks in around 23.5 minutes. Array delivers roughly 26.6 minutes. For shops aiming to shrink production clocks, MaggieFrame’s hooping speed improvements can further reduce setup and changes between logos.
Q: Which machine is best for hats and 3D puff?
All three models handle hats and curved surfaces with the appropriate curved-surface adapters, and MaggieFrame can accelerate hooping to keep pace with high-volume runs. Your choice should balance logo complexity, fabric types, and your typical order size.
Q: How do I start with design conversion?
Use Design Database Transfer to auto-convert older embroidery formats and IQ Intuition for placement tweaks. This pairing streamlines your library migration and helps you place designs with precision, minimizing rework during production ramps.
Conclusion
In 2025, the Baby Lock Flourish 2 sits in a practical, ROI-ready ecosystem. The Destiny II, Flare, and Array platforms, when paired with MaggieFrame hoops and wireless design tools, translate design integrity into throughput. This review shows how data-driven indicators can guide staged upgrades rather than big-bang overhauls.
- Staged upgrade path: begin with a Flourish 2 model matched to your field needs and scale up as results appear.
- MaggieFrame workflow adoption to improve hooping accuracy and throughput.
- Workflow tools Design Database Transfer and IQ Intuition to streamline design handling and placement.
- Measurement and validation track logo timings, jacket production, and waste to validate ROI over time.
Use the built-in ROI-style benchmarks and an in-house test run to estimate your shop’s potential gains, then schedule a live demo or trial run with your preferred Baby Lock distributor to confirm fit and workflow.
Here’s to turning every stitch into measurable value.