Convert JPG to PES for Embroidery Free: Step-by-Step Methods
This post contains affiliate links. As an Amazon Associate, Latest Embroidery earns from qualifying
purchases, at no extra cost to you. Learn more.
Are you looking to turn your digital images into beautiful embroidery designs without spending a dime? If so, you’re not alone. Many hobbyists and professionals alike face the challenge of converting their favorite JPG images into PES files, an essential format for Brother and Bernina embroidery machines, without breaking the bank. Fortunately, there are free tools and methods that can help you achieve high-quality results easily. From open-source software like Ink/Stitch to trial versions of digitizing programs such as SewArt, you can now create your own custom embroidery files at no cost. In this article, you’ll discover step-by-step instructions to convert JPG images into PES files, along with tips for getting the best stitch quality. Whether you’re a beginner or a seasoned embroiderer, these tested techniques will help you produce your first PES file quickly, opening up new possibilities for your creative projects. Ready to get started? Let’s get started.
The rest of this guide walks through the exact workflow, the best free tool for each stage, the mistakes that ruin most first attempts, and the questions beginners ask most. If you want to weigh paid options too, see our comparison of 8 digitizing programs from free to $2000. If your machine reads DST instead of PES, use the PNG to DST guide, and if you want the cleanest possible result from a photo, see converting JPEG to PES without quality loss.
Step-by-Step Guide to Convert JPG to PES Using Free Software
Free PNG / JPG → DST Converter
Turn your image into a machine-ready embroidery file right in your browser. Instant stitched preview, thread colors, and a free .DST download.
Try the free converter →In a hurry? Jump to our recommended digitizing picks ↓
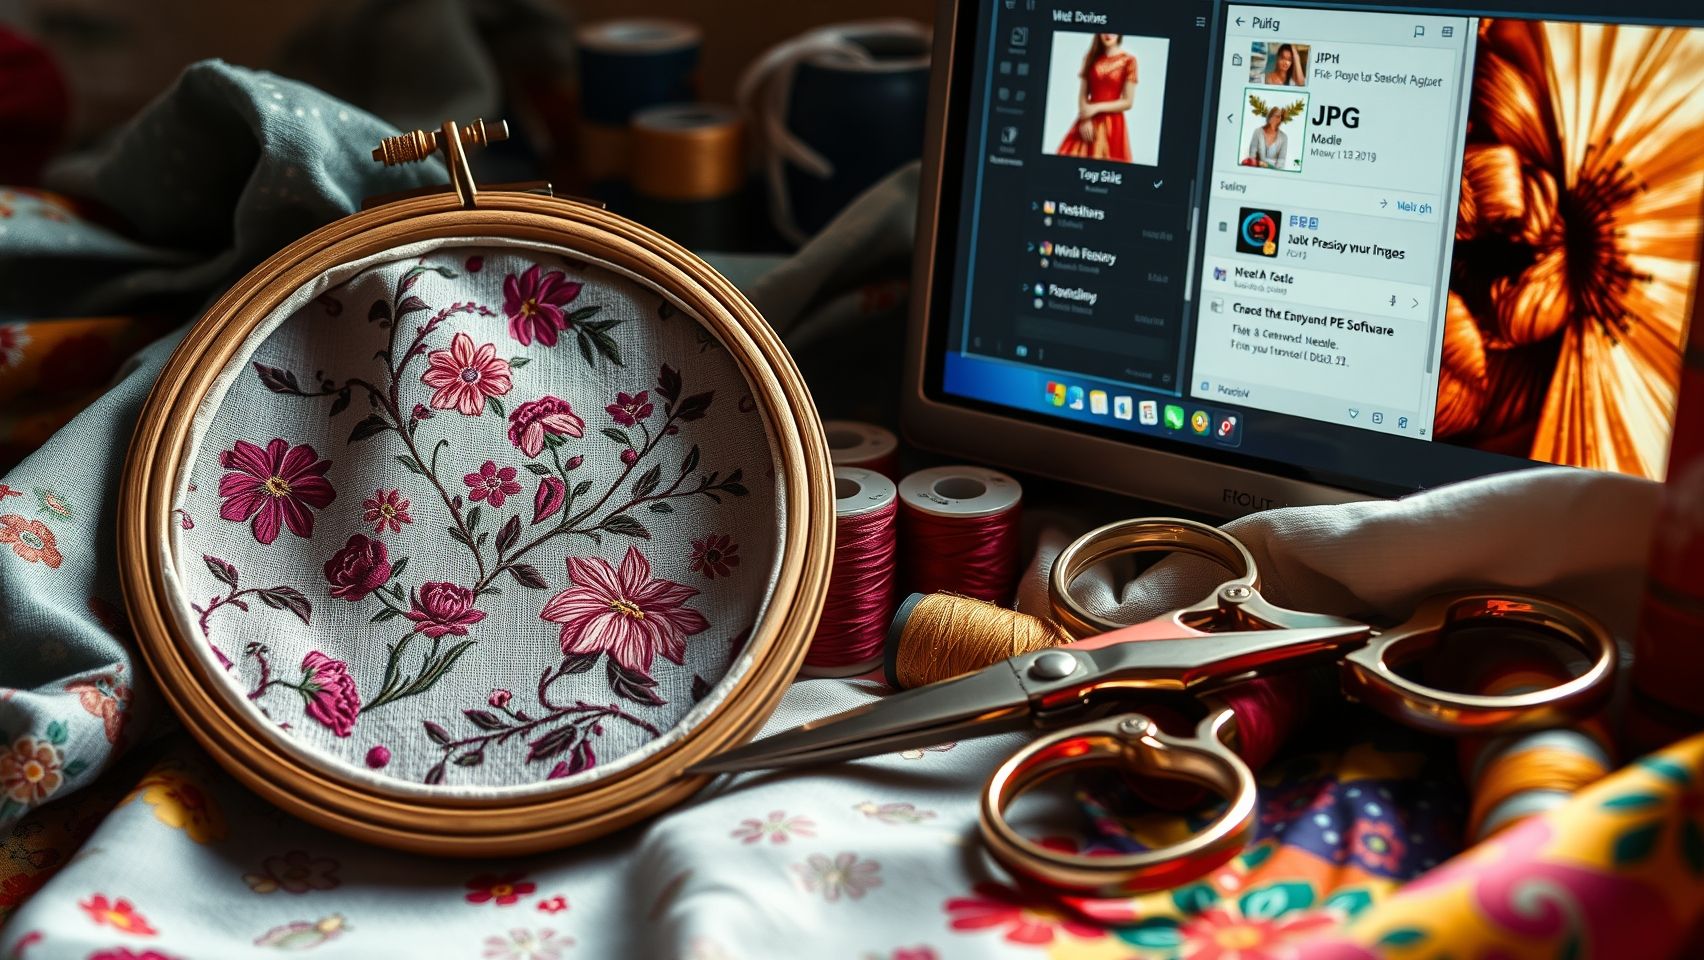
Converting a JPG image to a PES file for embroidery can seem intimidating, but with the right free tools and clear steps, it’s easily achievable. This process involves preparing your image, tracing it for clean outlines, converting it into stitches, adjusting parameters, and finally exporting your design for embroidery machines.
By following this guide, you’ll learn how to transform a simple photo into a professional-quality PES embroidery file without any cost, making it accessible for hobbyists and small businesses alike. The entire process typically takes around an hour for beginners, including setup and refinement.
Prepare Your JPG Image
Start with selecting a high-resolution JPG image that fits your embroidery project. Resize it to an appropriate size, ideally no larger than 200×200 pixels, to ensure efficient stitching and readability. Overloading stitches or overly detailed images can cause issues like bulky designs or misaligned stitches. Use free tools like GIMP or Paint.NET to resize and adjust contrast for better tracing results.
Trace and Clean the Image in Inkscape
Import your resized JPG into Inkscape, a free vector graphics editor. Use the “Trace Bitmap” feature to convert the raster image into a scalable SVG format. Adjust the tracing settings to capture clear outlines, then clean up any extra details or noise using Inkscape’s editing tools. This step ensures your design is ready for conversion and reduces errors during stitching.
Convert SVG to Stitches Using Stitch Eleven or SewArt
Next, import the cleaned SVG into free versions of Stitch Eleven or SewArt. These programs automatically generate stitch patterns from your vector design. Adjust stitch density, especially around curves and details, to prevent overloaded stitches that can cause puckering or thread breakage. Typically, about 30 minutes is sufficient for initial conversion and adjustments.
Configure Stitch Settings and Export as PES
Configure the stitch type, fill, satin, or run stitches, according to your fabric and design needs. Set thread colors and types to match your embroidery setup. Preview the design within the software to confirm stitch balance and density. Finally, export the design as a PES file compatible with popular embroidery machines, completing your transformation from JPG to stitch-ready format.
Essential Free Tools and Software for JPG to PES Conversion
Converting JPG images into PES embroidery files can seem complex, but several free tools and software streamline the process for hobbyists and professionals alike. These applications typically involve image editing, digitizing, and stitching steps to ensure high-quality embroidery outcomes. Here, we evaluate popular free options, their functions, advantages, and limitations to help you craft a smooth workflow.
Inkscape: Free Vector Editing
Inkscape is a powerful, open-source vector graphic editor ideal for cleaning and tracing images before conversion. It supports exporting SVG files that can later be imported into embroidery digitizing software. Its main advantage is free access combined with reliable editing capabilities, though it requires some learning curve for beginners.
GIMP: Image Enhancement
GIMP offers advanced image editing features such as resizing, color correction, and background removal. It supports exporting images in formats compatible with digitizing programs. Its flexibility makes it excellent for preparing JPG images, but it doesn’t generate embroidery files directly, requiring additional software for conversion.
SewArt (Free Trial): Image to Stitch Conversion
SewArt facilitates direct conversion of images into embroidery formats, supporting PES export. The free trial allows limited exporting, usually up to six colors. Its user-friendly interface simplifies the digitizing process, but post-trial, it requires purchase for continued use.
Stitch Eleven (Free Version): Stitch Creation & Parameter Adjustment
This program simplifies stitch creation with adjustable parameters, supporting PES files. The free version offers basic features, ideal for simple projects. Limitations include fewer design options and stitch types, making it better suited for beginners.
Embroidery i2 Lite: Basic Digitizing
The lite version of Embroidery i2 provides essential digitizing functions, including pattern creation and editing, with PES export support. Its intuitive interface is suited for amateurs, though advanced features are locked in the full version.
For optimal results, combining these tools, using Inkscape for vector tracing, GIMP for enhancing images, SewArt for conversion, and Stitch Eleven or Embroidery i2 for editing, can create an efficient workflow. Tutorials from official websites offer step-by-step guidance to maximize your success in converting JPG to PES files for free.
New to digitizing software in general? Our guide to embroidery digitizing software for beginners explains how to pick and learn a program without the usual frustration.
Common Mistakes to Avoid When Converting JPG to PES for Embroidery
Converting JPG images to PES files for embroidery can be a straightforward process if approached correctly. However, many users encounter issues that compromise the quality of the final stitchout. Understanding common pitfalls and how to avoid them ensures professional-looking results with minimal frustration.
This section highlights typical errors users make, offering quick fixes and practical tips to help you achieve optimal outcomes during conversion and embroidery preparation.
Over-complex Images
Including highly detailed or complex images often results in overly dense stitching, which can cause puckering and unsightly finishes. Simplifying your JPG files prior to conversion can significantly improve stitch quality. Tools like GIMP or Inkscape allow you to reduce detail, remove unnecessary color variations, and simplify line work, making your design more manageable for embroidery machines.
Research shows that effective image simplification translates into smoother stitching and reduces the risk of thread breakage or fabric damage.
Incorrect Sizing
Sizing your design appropriately for your embroidery machine is crucial. Rescaling images without regard to your machine’s maximum embroidery area can lead to scaling issues, distortions, or cropping. Always verify dimensions against your machine specifications and resize your JPG accordingly before conversion. This step ensures your final PES file matches the intended embroidery size and maintains design integrity.
Poor Stitch Density Settings
Incorrect stitch density, either too high or too low, can cause various problems like puckering or weak stitches. Use the recommended density values for your fabric type, thread, and design complexity. Many embroidery software programs provide suggested settings or allow you to manually adjust density, ensuring stitches are optimized for the specific project.
Proper density improves durability and appearance, preventing common issues like thread bunching or fabric pulling.
Ignoring Fabric and Thread Type
Different fabrics and threads require specific tension, stitch length, and density adjustments. Ignoring these factors leads to subpar results, such as thread distortion or inconsistent stitches. Always calibrate your machine settings to suit the particular materials you’re working with, and consider testing with scrap fabric first.
Not Previewing Design
Simulating your design in embroidery software can reveal issues related to density, overlaps, or color changes before stitching. Always preview your design thoroughly, which helps identify and fix potential problems early, saving time and fabric resources.
Skipping Test Stitches
Running initial test stitches on scrap fabric is a critical step to validate your design’s quality and make necessary adjustments. This practice allows you to check tension, density, and overall appearance, reducing the risk of errors on your final project and ensuring professional results. Proper testing ultimately saves material costs and time effort.
Frequently Asked Questions About Converting JPG to PES for Embroidery
Many beginners wonder how to convert their digital images into PES files suitable for embroidery. This process can seem complex at first, but with the right tools and understanding, it becomes much easier. In this section, we’ll answer common questions to help you start your embroidery projects confidently and effectively.
Which free software is best for beginners to convert JPG to PES?
For beginners, free tools like Inkscape and SewArt are popular choices. Inkscape is primarily a vector graphics editor but can be used to prepare images for embroidery with some additional steps. SewArt is specifically designed for converting images into embroidery files, including PES, and offers a user-friendly interface ideal for newcomers. Both options provide sufficient features without cost, making them excellent starting points for learning the conversion process. According to recent user surveys, many beginners spend around 1 hour on their initial projects, gaining confidence as they go.
Can I use any JPG image for embroidery conversion?
While technically you can try converting any JPG, the quality and complexity of the image significantly influence the final outcome. High-contrast, simple images with clear outlines are easier to convert effectively. Detailed or low-resolution images may require additional editing to optimize stitch results. It’s recommended to resize and simplify images before conversion to ensure good results, especially for beginners.
How much time does it typically take to prepare and convert a design?
The entire process, from image selection to final PES output, generally takes around 1 hour for beginners. This includes steps like resizing, cleaning up the image, setting stitch density, and running the conversion. As users gain experience, the process becomes quicker and more intuitive.
Do I need prior experience with design software?
Not necessarily. Basic familiarity with image editing tools can be helpful but is not mandatory. Most free conversion programs offer tutorial guides or simple interfaces designed for beginners. Learning the fundamentals through practice and tutorials can significantly improve your results over time.
What are the common issues faced during conversion, and how to fix them?
Common problems include ignoring proper scaling and stitch density, which can lead to bulky or sparse embroidery. Printing test runs on fabric can reveal issues early. Adjusting image size, simplifying complex details, or tweaking stitch parameters in the software usually fixes these issues. Experimentation and test stitching are key to achieving high-quality results.
Is it possible to convert multiple images at once?
Most free software options, like SewArt, support batch processing allowing multiple images to be converted simultaneously. However, batch processing might require a bit more initial setup and is best suited for users with some basic experience. For beginners, converting images one at a time helps ensure quality and understanding of each step.
Conclusion
Converting JPG images to PES files for embroidery is now more accessible than ever, especially with free tools like Inkscape, SewArt, and Stitch eleven. By focusing on proper image editing, adjusting settings carefully, and testing your designs, beginner embroiderers can achieve professional-quality results without spending money. These methods empower you to bring your creative ideas to life with ease and confidence. Remember, starting your journey is just a step away, your first custom PES design could be ready in under an hour!
Start experimenting with your images today, download the recommended free software, follow the tutorials, and create stunning embroidery files effortlessly. Don’t let doubts hold you back, your next beautiful embroidery project is within your reach. Get creative and enjoy the process!
Happy stitching, and let your imagination soar!