Brother SE1950 Review: How to Maximize Stitch Quality & Features
This post contains affiliate links. As an Amazon Associate, Latest Embroidery earns from qualifying
purchases, at no extra cost to you. Learn more.
How We Research
Every machine, thread, and accessory we cover is researched in depth, not reprinted from a spec sheet. Here is what goes into a Latest Embroidery review:
- Specs, cross-checked. We verify manufacturer specifications against multiple retailers and official manuals, so the numbers you read are accurate and current.
- What owners actually report. We read through verified buyer reviews, warranty complaints, and community threads to surface the real-world issues, threading, hooping, bobbin changes, noise, and jams, that owners run into after the first few weeks.
- Value, not hype. We weigh each pick against its closest alternatives and tell you who a product is, and isn’t, for.
- Kept current. Prices and models move fast, so every review carries a last-updated date.
- Independence. We earn affiliate commissions if you buy through our links, but that never decides our recommendation. Read our disclosure.
Compiled by the Latest Embroidery editorial team · Last updated July 2026
Are you on the hunt for a reliable sewing machine that not only simplifies your embroidery projects but also elevates their quality, all without draining your wallet? The Brother SE1950 check Brother SE1950 price on Amazon → promises a blend of user-friendly features and impressive performance, making it an attractive choice for hobbyists and seasoned crafters alike. Still, many face common hurdles like inconsistent stitch quality or complex interface frustrations.
This review dives into the key features of the SE1950, explores typical pain points, and offers actionable tips to help you get the most out of your machine. Whether you’re aiming for perfectly smooth embroidery or seeking easier ways to design custom stitches, you’ll find practical solutions to boost your craft game. Ready to turn your ideas into stunning fabric art? Keep reading, because with the right techniques, the SE1950 can be your ultimate embroidery partner.
Step-by-Step: Setting Up Your Brother SE1950 for Perfect Embroidery
Short on time? If you only take one thing from this guide: Brother SE700 — the machine we point most beginners to — touchscreen, wireless transfer, and it sews as well as embroiders.
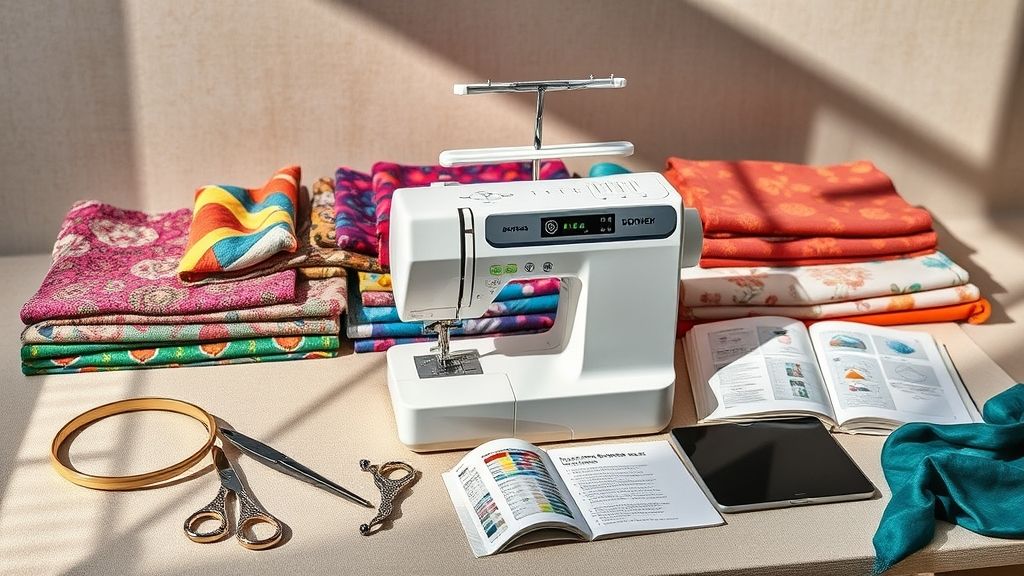
Getting your Brother SE1950 ready for embroidery involves a series of precise setup steps that ensure optimal stitch quality and machine performance. Proper initial calibration, correct accessory assembly, and test runs are crucial to achieving professional-looking designs. In this guide, we walk you through a detailed process to set up your machine efficiently, minimizing frustration and maximizing productivity.
Unboxing and Assembling Accessories
Start by carefully unboxing your Brother SE1950 and laying out all accessories, including various hoops, threads, stabilizers, and tools. Inspect each component for any damage or missing parts. Attach the appropriate hoop based on your project size, ensuring it’s clean and smooth. Use high-quality embroidery threads, and thread the machine according to the manual, preparing stabilizers for fabric support. Proper hooping and stabilizer use are key to preventing puckering and achieving smooth, consistent stitches.
Installing the Needle and Calibration
Insert a size 75/11 embroidery needle for general projects, this is the recommended size for most fabrics and designs. To install, turn off the machine, raise the needle bar, and carefully thread the new needle, ensuring it’s fully seated. Adjust the tension settings by navigating to the touchscreen; default tension is typically sufficient, but fine-tune based on test stitches to eliminate loose threads or puckering. Testing on a scrap fabric helps identify issues early, allowing adjustment before starting your main project.
Loading Designs and Setting the Machine
Load your preferred design via USB or select from the machine’s built-in options. Resize the design on the touchscreen to match the hoop size for precise stitching. Utilize the automatic thread cutter and needle threading features to streamline the setup process, reducing setup time and enhancing stitch consistency. Conduct a test stitch on scrap fabric to verify tension, stitch density, and overall quality. Make final adjustments until stitches are perfectly balanced, then proceed with your embroidery project confidently.
Tools and Accessories to Enhance Your Embroidery with the Brother SE1950
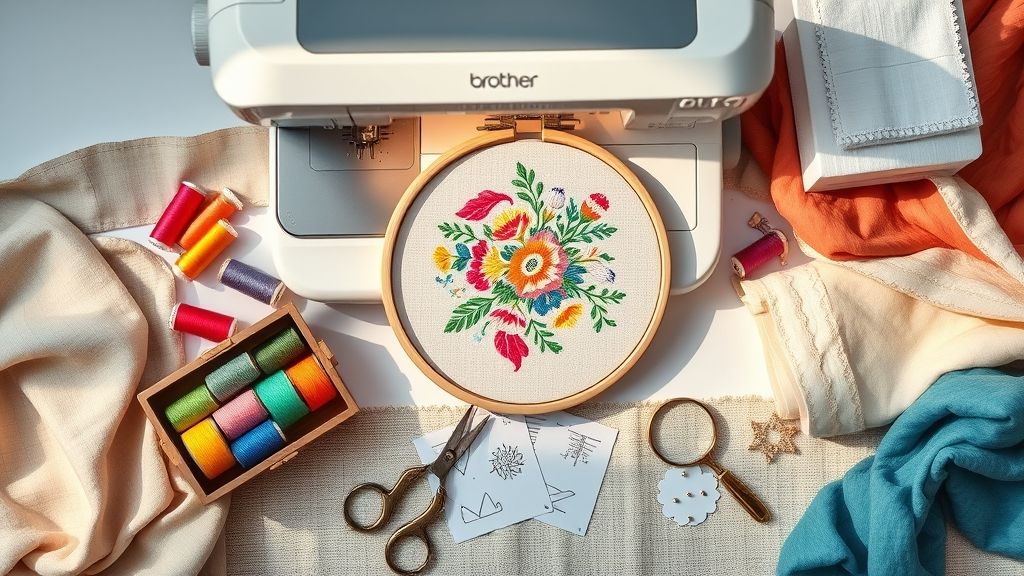
Maximizing the potential of your Brother SE1950 involves more than just mastering its built-in features, selecting the right tools and accessories can significantly improve stitch quality, efficiency, and project versatility. From fabric stabilization to design creation, investing in carefully chosen items transforms your embroidery experience into a seamless, professional process.
Key accessories such as specialized hoops, stabilizers, and quality threads directly impact the final look and durability of your embroidered projects. Routine maintenance tools ensure your machine runs smoothly, preventing common stitch issues and reducing downtime. Here’s a practical overview of must-have tools to elevate your embroidery game.
Essential Tools and Accessories for Ideal Embroidery Results
Using the right tools each step of the way ensures consistent stitch quality. Magnetic hoops and specialty hoops are highly recommended for different fabric types, as they provide excellent fabric stability and reduce hooping time. Magnetic hoops, in particular, allow quick attachment and repositioning, which is ideal for complex and multi-position designs.
Stabilizers are vital for achieving precise, clean stitches, especially on delicate or stretchy fabrics. A variety of stabilizers, including cut-away, tear-away, and water-soluble, allow you to choose the perfect option based on fabric and design complexity, preventing puckering and distortion.
Quality threads, like Madeira or Sulky, offer vibrant color payoff and durability, elevating the professional appearance of your projects. Pairing high-grade threads with good tension settings maximizes stitch fidelity and finish longevity.
Proper lighting can drastically reduce errors. Incorporating LED embroidery lights ensures excellent visibility in low-light environments. Meanwhile, design software such as Wilcom or Hatch unlocks extensive creative freedom, allowing for custom patterns and easy design importing directly into your machine.
Regular maintenance tools, like brushes, lubricants, and spare needles, are essential for keeping your Brother SE1950 in top condition. A clean and well-oiled machine minimizes stitch inconsistencies and prolongs its lifespan, maintaining high-quality output with less effort.
Comparison of Popular Accessories and Their Impact
Troubleshooting Common Embroidery Stitch Issues with the Brother SE1950
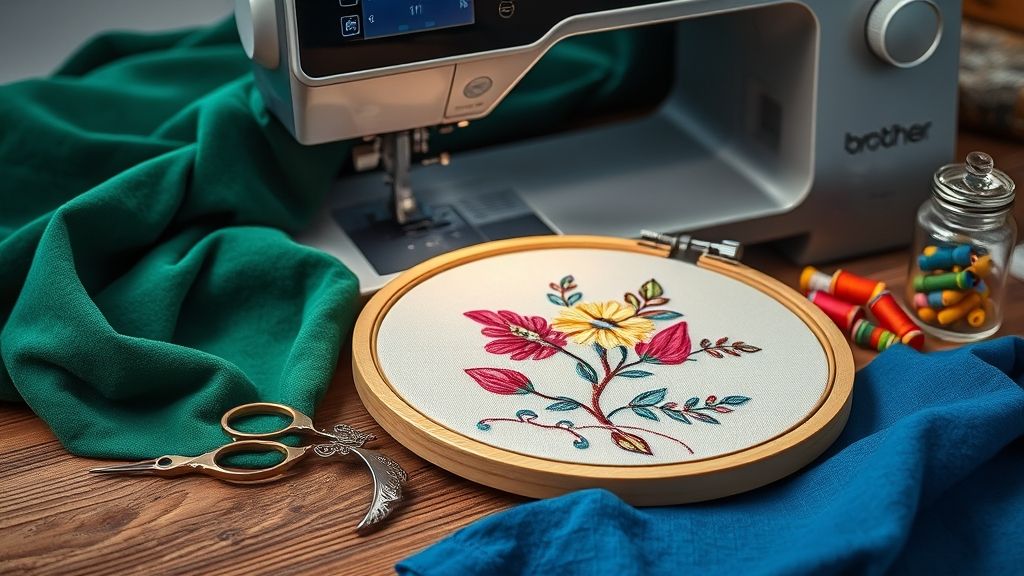
Embroidery projects on the Brother SE1950 can sometimes encounter common issues like puckering, thread breakage, or misalignment. Addressing these problems promptly ensures your designs come out flawless and saves time and frustration. With the right techniques and adjustments, you can maximize stitch quality and maintain the machine’s performance for every project.
Puckering Fix: Use Stabilizer and Tighten Tension
To prevent puckering, start by selecting the appropriate stabilizer for your fabric type. Heavier fabrics benefit from sturdier stabilizers, while delicate materials need lighter ones. Tighten the top tension gradually until stitches lay smoothly without pulling or gathering fabric. Always test on a scrap piece before working on your final item to fine-tune settings and avoid puckering.
Thread Breakage: Check Thread Path and Adjust Tension
Thread breakage often results from lint buildup, tangled thread, or dull needles. Carefully examine the entire thread path for tangles or lint and clean it with a soft brush or compressed air. Replace dull or bent needles immediately, as they cause stress on the thread. Increasing the upper tension slightly or adjusting for the type of thread used can also help prevent breaks during stitching.
Design Misalignment: Re-hoop and Calibrate
Misaligned designs are typically due to improper hooping or a loose hoop. Re-hoop the fabric tightly, ensuring it is flat and taut without wrinkles. Confirm the design origin point via the touchscreen and calibrate if necessary to align the pattern precisely. Proper hooping and calibration are vital to achieving accurate embroidery placement.
Uneven Stitches & Color Mismatch
Uneven stitches can stem from imbalanced tension between upper and bobbin threads. Adjust stitch density settings and check that tension is balanced in both threads for even, professional results. For color bleeding or mismatched threads, opt for high-quality, colorfast threads, double-check the thread path for correctness, and select tension settings suited to the specific thread type and fabric. Routine cleaning of the bobbin case and needle plate minimizes lint buildup that can cause stitch errors.
By following these step-by-step solutions, you can troubleshoot and resolve the most frequent embroidery issues with confidence, ensuring consistent, high-quality results with your Brother SE1950.
Comparing Tools and Techniques: What Enhances Stitch Quality?
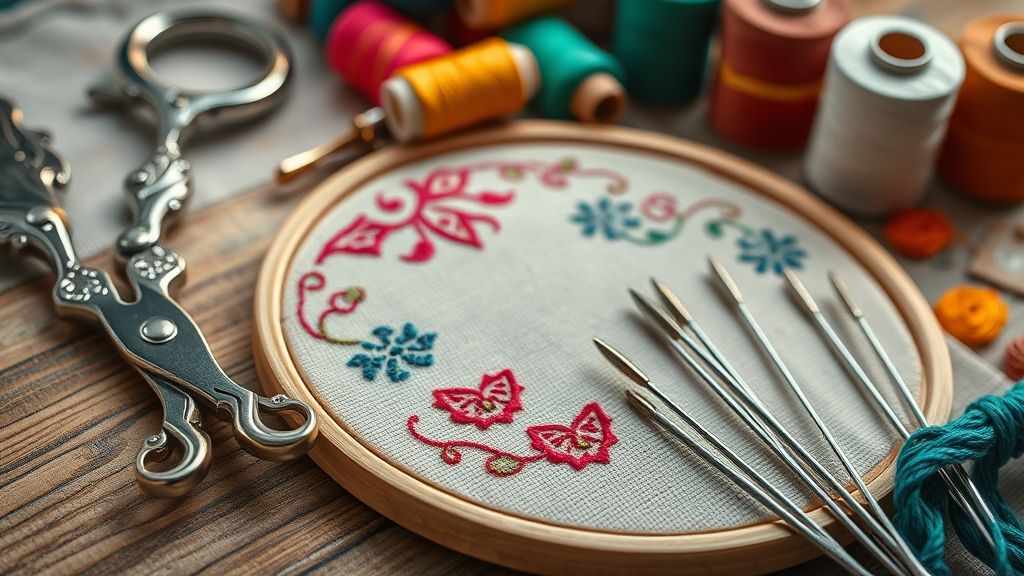
Achieving optimal stitch quality with the Brother SE1950 depends heavily on the choice of equipment and methods employed. With advancements in embroidery technology, selecting the right tools, from hoop types to software, can significantly influence durability, precision, and overall finish. To make informed decisions, it’s essential to compare the strengths and limitations of various options rooted in current research and market trends.
This section provides an analytical overview of key equipment and techniques that impact stitch quality, emphasizing real-world implications for embroiderers aiming to elevate their craft.
Magnetic vs. Traditional Hoops
Magnetic hoops have gained popularity due to their rapid setup and reduced fabric distortion. Unlike traditional hoops that require precise tensioning and multiple adjustments, magnetic hoops use magnets to hold fabric taut, streamlining the hooping process and minimizing puckering. Research indicates that this ease of use results in more consistent stitch placement, especially for complex designs, across various fabric types.
However, magnetic hoops may struggle with thicker or highly textured fabrics, where the magnetic force could be insufficient, risking shift or inadequate tension. Traditional hoops, while slightly more time-consuming to set up, still provide superior stability for heavy or layered materials, making them more versatile in some scenarios.
Stabilizer Types
Thread Quality and Its Impact
High-quality polyester and rayon threads are critical for ensuring stitch durability, color fidelity, and resistance to breakage. Research shows that low-grade threads tend to fray, cause thread breakage, and fade quickly, negatively affecting the final appearance and longevity of embroidery. Premium threads provide smoother extrusion through the needle, enabling finer detail and consistent tension, which is vital for complex designs.
Software Options and Their Influence on Digitizing
Wilcom Embroidery Studio stands out for its advanced digitizing capabilities, giving users comprehensive control over stitch placement, density, and overlap. Unlike basic or entry-level software, Wilcom enables professional-level customization, resulting in stitches that are both precise and efficient. Industry experts have demonstrated that better digitizing software correlates with fewer errors, optimized stitch paths, and faster production times, ultimately enhancing stitch quality.
Conclusion
Equipping yourself with a clear understanding of the Brother SE1950’s features, setup, and troubleshooting empowers you to produce professional-quality embroidery with confidence. By choosing the right tools, fine-tuning your machine settings, and following a systematic approach, you can achieve consistent, beautiful stitches and streamline your creative workflow.
Now is the perfect moment to start your embroidery journey. Whether you’re enhancing personal projects or exploring new design possibilities, applying these tips will elevate your results. Consider investing in quality accessories to further refine your creations and unlock even more potential from your machine.
Don’t hesitate to dive right in, your embroidery greatness begins today. Keep experimenting, keep learning, and watch your skills flourish. The best projects are just around the corner, so get stitching and make every detail count!