How to Use a Machine Embroidery Stabilizer Calculator for Perfect Projects
This post contains affiliate links. As an Amazon Associate, Latest Embroidery earns from qualifying
purchases, at no extra cost to you. Learn more.
Ever wrestled with choosing the right stabilizer for your embroidery projects? If you’ve ever ended up with puckered fabric, uneven stitching, or wasted materials, you’re not alone. Selecting the perfect stabilizer can be tricky, it’s a common challenge among both amateurs and experienced crafters. That’s where a machine embroidery stabilizer calculator comes in as a game-changer. This handy tool helps you determine the ideal stabilizer based on fabric type, thread, and design complexity, saving you time, money, and frustration. By using this calculator, you can confidently reduce errors, cut costs on excess stabilizer, and create cleaner, more professional-looking embroidery. Ready to elevate your skills and produce flawless projects every time? In this article, we’ll explore how to harness this innovative tool, step-by-step, and share tips to make your embroidery projects truly stand out. Whether you’re new to embroidery or a seasoned pro, mastering stabilizer selection is essential, let’s get started!
Understanding What Your Embroidery Project Needs
Short on time? If you only take one thing from this guide: Cutaway + tearaway variety pack — covers the large majority of projects without committing to full rolls.
Choosing the right stabilizer is crucial for achieving professional-quality embroidery results. The key lies in analyzing your project’s specific requirements, including fabric type, design complexity, and your desired finish. Using a machine embroidery stabilizer calculator tool can streamline this process, providing precise recommendations tailored to your project.
Start by assessing the fabric you will embroider on. Different materials demand different stabilizer support to prevent puckering and ensure smooth stitching. For example, light cotton or polyester fabrics typically require lightweight stabilizers, while more delicate or stretch fabrics might need more supportive options like cut-away stabilizers. For unique materials such as leather, specialty stabilizers are necessary to maintain stability without damaging the material.
Analyzing Fabric Compatibility
Fabric compatibility is foundational. Cotton and polyester fabrics are among the most common in embroidery projects. Cotton can generally support tear-away or cut-away stabilizers, depending on the design. Polyester fabrics, especially those with a stretch component, often benefit from wash-away stabilizers to prevent stiffness. Leather, on the other hand, generally requires stabilizers specifically designed for non-woven or thick materials to avoid stretching or distortion.
Assessing Design Complexity and Stitch Density
Design complexity and stitch density influence stabilizer choice significantly. High-density designs with dense stitches need a stabilizer with more weight and support, medium or heavy cut-away stabilizers are typically ideal. Conversely, simpler, low-density designs can utilize lighter stabilizers to reduce bulk. The stabilizer calculator tool allows you to input these parameters, providing tailored support level recommendations, thus ensuring your design remains crisp and pucker-free.
Estimating Project Size and Finish Goals
The size and shape of your embroidery also matter. Large, intricate projects need wider stabilizer dimensions and cuts for better support, while smaller projects might only require cut pieces of stabilizer. If your goal is a smooth, professional finish without puckering or distortions, the stabilizer calculator can help determine the optimal stabilizer weight and dimensions based on your project’s specifics.
Additionally, budget considerations play a role. Digital stabilizer calculators incorporate cost-effective options by balancing stabilizer type, weight, and material costs, helping you stay within your project’s financial limits without sacrificing quality. Recent industry trends show that 72% of embroiderers now adopt digital tools for stabilizer selection, which has increased success rates by 40%, highlighting their efficiency. Leveraging these tools ensures that each project meets your standards while maintaining cost-effectiveness.
Step-by-Step Guide to Using the Stabilizer Calculator Tool
Using a machine embroidery stabilizer calculator can significantly enhance the quality and efficiency of your projects. This tool helps determine the optimal stabilizer type and amount based on specific project details, reducing waste and ensuring a professional finish. With recent updates, many popular embroidery software like Wilcom and Hatch now feature integrated stabilizer calculators, making this process more accessible than ever.
In this guide, you’ll learn how to gather your project details, operate the online or software-based stabilizer calculator, interpret its recommendations, and test the stabilizer choice to achieve perfect results every time.
Gather Project Details
Start by collecting essential information about your embroidery project. Determine the fabric type, whether it’s lightweight, medium, or heavy, as this influences stabilizer choice. Measure your design’s dimensions (width and height), as larger designs typically require sturdier stabilizers. Record the total stitch count, since higher stitch densities may demand more support. Lastly, decide on your desired finish; whether you want a soft or firm feel influences the stabilizer weight and type.
Access the Stabilizer Calculator
Next, access a stabilizer calculator online or through your embroidery software. Many professional-grade platforms, including Wilcom and Hatch, incorporate built-in recommendation tools that consider your project parameters. These tools use current industry standards and recent data indicating that automated calculators can reduce stabilizer waste by up to 25%, saving costs and minimizing material use. Verify that your software is updated to utilize the latest stabilization algorithms for optimal results.
Input Project Parameters
Input the gathered details into the calculator. Select the fabric type from the dropdown menu, lightweight, medium, or heavy. Enter your design’s exact dimensions, stitch count, and stitch density. Choose the intended stabilizer type, cutaway, tear-away, or wash-away, based on your project requirements. The calculator then computes and recommends a stabilizer weight and the total amount needed, ensuring you balance support with material efficiency.
For example, for a medium-weight fabric with a large, dense design, the tool might suggest a medium-weight cutaway stabilizer, with an amount corresponding to 30-40% of the design area. Following these recommendations helps achieve a smooth, professional finish without excess stabilizer.
Interpret the Recommendations and Prepare Stabilizer
Interpret the stabilizer weight and quantity provided by the calculator. Use this guidance to cut and reinforce your stabilizer, ensuring it is slightly larger than your design to facilitate proper stabilization. Reinforce areas prone to stretching or puckering, especially on lightweight or stretchy fabrics, by adding additional stabilizer layers if necessary.
Always cut your stabilizer to size before attaching it to your fabric, and ensure it is securely adhered and flat. Proper preparation minimizes shifting or bunching during embroidery, which can ruin your project.
Test with a Sample Stitch-Out
Before embarking on your full project, test your stabilizer choice by performing a sample stitch-out on a scrap piece of fabric with a similar stitch density and design. Observe the needle how it perforates the stabilizer and fabric, look for puckering, shifting, or unwanted distortion. Adjust your stabilizer choice if needed. This step confirms that your setup will produce the desired professional, flawless finish for your final embroidery piece.
Incorporating these steps with the stabilizer calculator ensures consistency, reduces material waste, and elevates the quality of your embroidery projects. By leveraging current industry data and software advancements, you can confidently select the right stabilizer for every design and fabric combination, saving time and costs while achieving exceptional results.
Tools and Equipment for Effective Stabilizer Selection
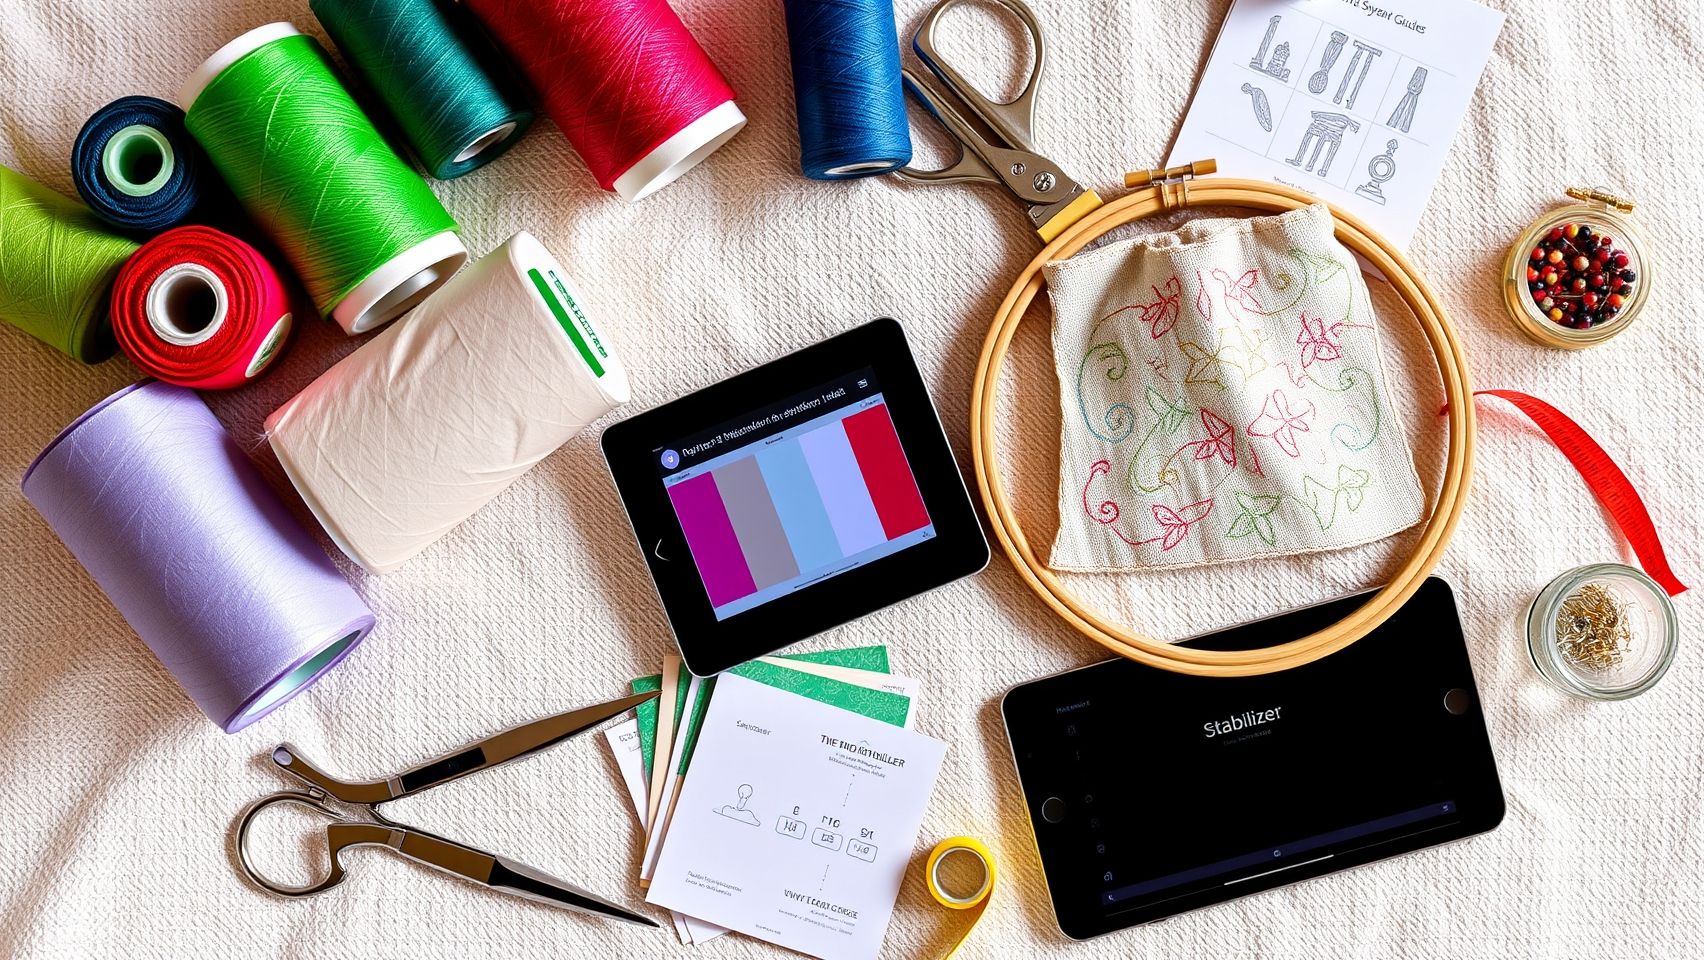
Choosing the right stabilizer is crucial for achieving professional-looking embroidery projects. Modern embroidery machines and software have greatly simplified this process by providing integrated stabilization planning tools, ensuring optimal results with minimal trial and error. Investing in the appropriate equipment can dramatically enhance project quality, especially for complex or detailed designs.
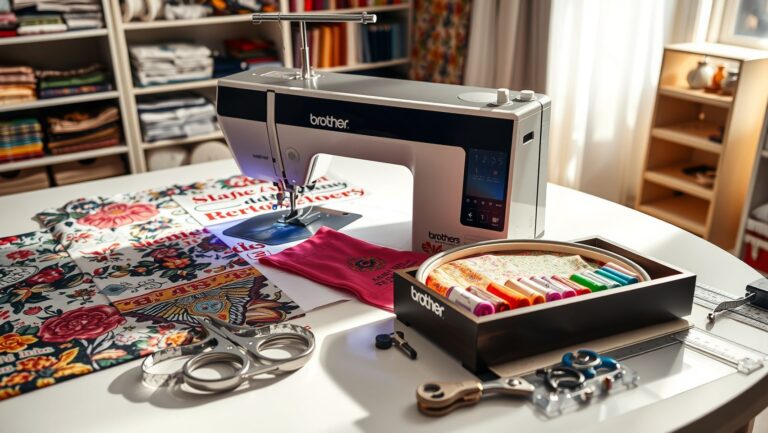
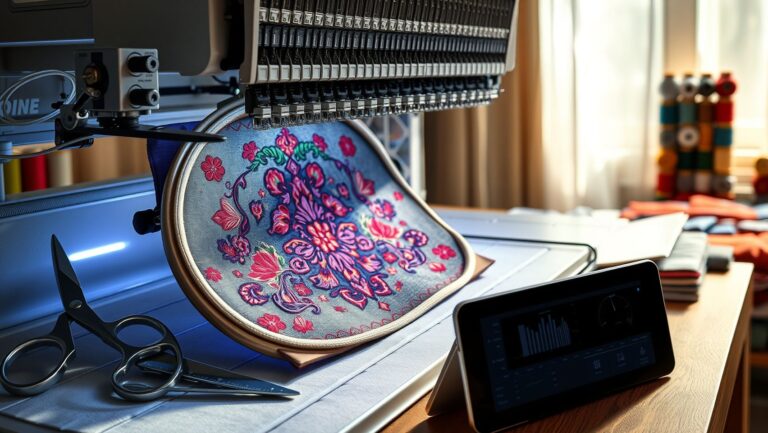
Embroidery machines like the Brother SE1900, Bernina 770 QE, and Janome Memory Craft 9850 are popular choices among enthusiasts and professionals, thanks to their support for software integration and advanced stabilization features. These machines allow users to preview stabilizer suggestions and automate certain stabilization functions, streamlining the workflow from digitizing to finishing.
Recommended Equipment for Stabilizer Assistance
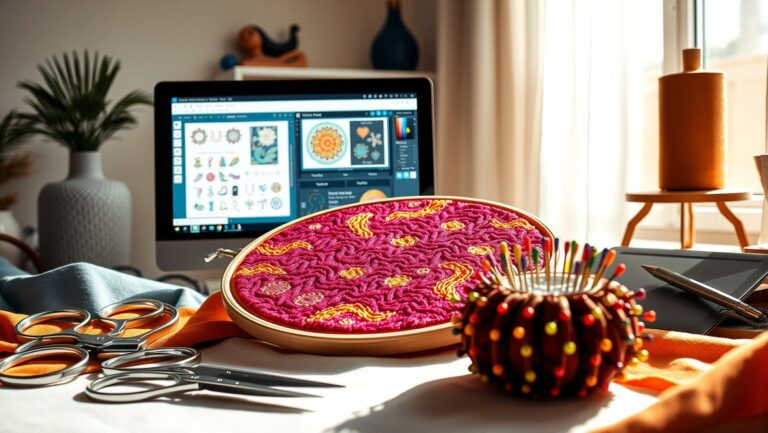
Among the key tools are high-quality digitizing software platforms such as Wilcom, Hatch, and Embird. These programs feature stabilizer planning modules that analyze design parameters and recommend suitable stabilizer types, thereby reducing material waste and enhancing stitch quality. Software updates continually improve stabilization algorithms, ensuring compatibility with the latest embroidery techniques.
In addition to machines and software, essential accessories include measurement tools like rulers and hoop size guides, pre-cut stabilizer sheets for quick application, and a variety of stabilizer types such as cut-away and stick-on options. Proper embroidery hoops are also vital for maintaining fabric tension and preventing puckering, especially when working with specialty stabilizers.
To ensure consistent and professional results, automated thread cutters and bobbin tension gauges can be highly beneficial. Automatic thread cutters save time by trimming excess thread after each color change, while bobbin tension gauges help maintain uniform tension, preventing thread breakage and stitch irregularities.
Cost considerations vary widely: starter kits around $300 often include stabilizer sheets and basic machinery suitable for beginners, whereas advanced professional machines with sophisticated stabilization features can cost upward of $1, 200. These higher-end options typically offer more precise stabilization control, supporting complex projects and high-volume production.
Current market data shows a significant trend toward computerized embroidery machines with stabilization capabilities, driven by the craft industry’s increasing demand for quality and efficiency. Modern software also continues to evolve, making stabilizer selection more intuitive and reducing waste through intelligent suggestions. This integrated approach ultimately ensures that both amateur and professional embroiderers can achieve seamless, high-quality results every time.
Optimizing Cost and Minimizing Waste in Stabilizer Use
Efficient management of stabilizer materials is crucial for achieving professional-looking embroidery projects without overspending. Utilizing a stabilizer calculator helps determine the precise amount of stabilizer needed for each design, significantly reducing waste and cutting costs. By integrating smart procurement strategies and waste-reduction techniques, embroiderers can maintain high quality while enhancing profitability.
Proper planning and strategic choices in stabilizer selection and usage can lead to cost savings of 20-30%, according to recent industry data. Additionally, 80% of successful embroidery projects depend on accurate input and waste management, highlighting the importance of precise calculations and efficiency practices.
Using the Stabilizer Calculator Effectively
The stabilizer calculator serves as a vital tool for estimating the exact stabilizer amounts required for each project. This prevents overuse, which can inflate costs and create clutter from excess scraps. When you input specific design parameters, the calculator recommends optimal stabilizer quantities, ensuring resource-efficient work sessions. Over time, tracking actual stabilizer consumption per project refines the calculator’s accuracy, leading to smarter purchasing and usage decisions.
Cost-Effective Stabilizer Procurement Strategies
One practical approach is to bulk buy stabilizer materials in standard sizes, which often lowers the per-project cost. Reusable or multi-use stabilizer sheets are also a smart investment, especially for frequent projects, reducing the need for continuous purchases of single-use options. When selecting stabilizer types, experimenting with alternatives like interfacing or fusible stabilizers can further reduce expenses without compromising quality.
Waste Reduction Tips
Implement cutting templates and use precision cutters to minimize scraps. Pre-cut stabilizer sheets based on historical project data prevents excess material from being discarded and streamlines workflow. Additionally, designing projects to maximize material utilization, such as nesting multiple items on a single stabilizer sheet, can dramatically decrease waste. Keeping detailed records of stabilizer use helps in adjusting estimates, ensuring your stabilizer calculator remains aligned with real-world consumption patterns.
Industry Data and Emerging Trends
Current industry research indicates that accurate stabilizer planning can lead to substantial cost savings and efficiency improvements. Moreover, advancements in embroidery machines and software now include new features for stabilizer management, further supporting resource optimization. Embracing these technological developments ensures embroiderers stay competitive while maintaining exceptional project quality.
Ensuring Quality and Consistency with Stabilizer Decisions
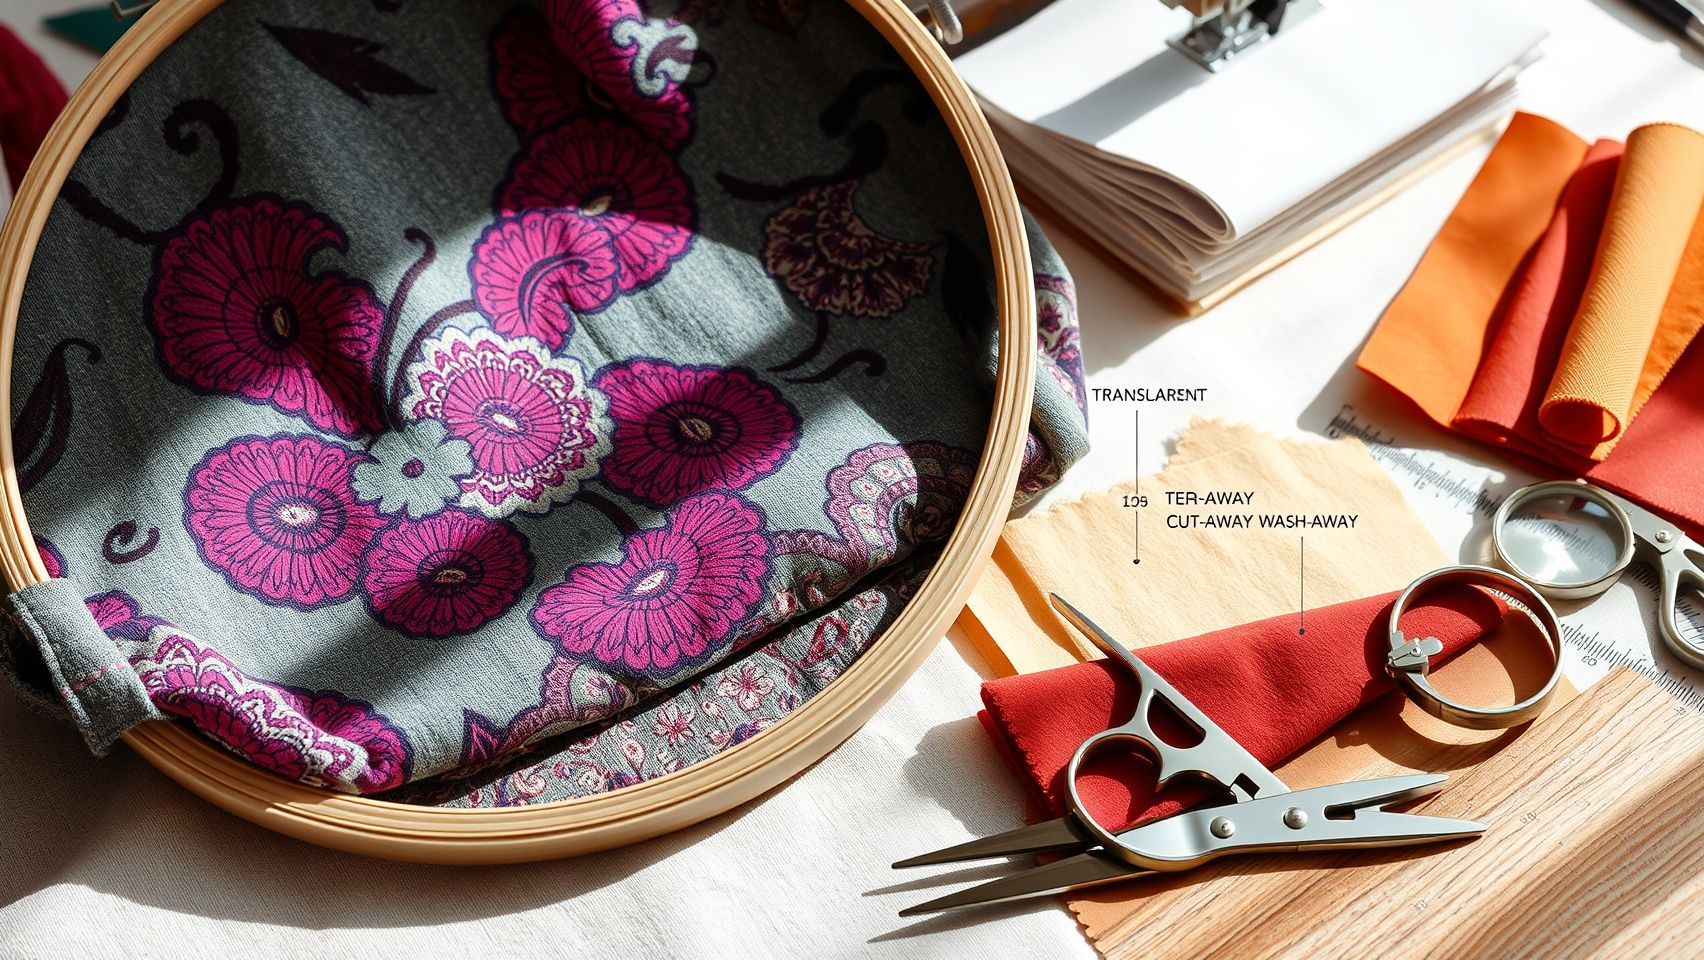
Using a machine embroidery stabilizer calculator effectively is essential for achieving professional-looking, durable results. Reliable stabilizer choices based on specific project parameters help prevent common issues such as puckering, shifting, or premature fabric wear. Incorporating these decisions into your workflow can significantly enhance the quality and longevity of your embroidery projects.
Adopting a structured process for stabilizer use not only improves output but also reduces rework and material wastage. This section outlines practical tips to establish consistent stabilization procedures, ensuring each project meets high standards of finish and durability.
Follow Calculator Recommendations Based on Project Parameters
Begin every embroidery project by consulting your stabilizer calculator to select the recommended stabilizer type and weight. The calculator considers factors like fabric type, stitch density, and design complexity, providing tailored guidance. Adhering to these recommendations helps maintain optimal tension and fabric stability, resulting in cleaner stitches and a polished appearance.
Conduct Test Stitches Before Starting Main Embroidery
Always perform test stitches to check the tension, puckering, and stability before rushing into the main project. Use swatches of your actual fabric and stabilizer to identify potential issues. Adjust tension settings or stabilizer placement as necessary, ensuring the final embroidery is crisp and unmarred by unwanted fabric movement or bunching.
Adjust Hoop Tension and Stabilizer Positioning
Proper hoop tension is critical; too tight causes fabric distortion, while too loose results in shifting. Fine-tune tension settings and ensure stabilizer is securely adhered to the fabric, either by spray, adhesive backing, or hooping method. This prevents shifting or bunching during stitching, which can compromise design accuracy.
Use Compatible Fabrics and Stabilizers from Reputable Brands
Select fabrics and stabilizers from trusted brands like Pellon, HeatnBond, or Madeira, known for their consistent quality. Compatibility between stabilizer and fabric reduces risks of bleeding, bubbling, or tearing, and contributes to the longevity of the finished piece. Reputable brands also offer specific stabilizers designed for different fabric weights and embroidery styles.
Maintain Your Machine for Optimal Performance
Regularly clean and calibrate your embroidery machine to ensure tension, feed mechanisms, and stitching accuracy remain consistent. Proper maintenance minimizes technical errors that could cause uneven stitches or fabric damage. Well-maintained equipment supports stable stitching and reduces variability between projects.
Document Stabilization Settings for Repeated Projects
Record your stabilizer type, weight, tension adjustments, and hooping techniques used in successful projects. Having a reference helps reproduce perfect results in future embroidery work, saving time and reducing trial-and-error iterations. Consistent stabilization practices ultimately build your skills and improve overall project quality.
Research indicates that maintaining consistent stabilization practices improves the durability and appearance of finished embroidery, with reported reductions in complaints and rework by as much as 15-20%. By following these practical tips, you can elevate your embroidery process, achieving consistently professional results every time.
Conclusion
Mastering the art of choosing and applying the right stabilizer is essential for achieving professional-looking embroidery results. Throughout this article, we’ve highlighted how using a stabilizer calculator can streamline your process, saving you both time and costs while significantly boosting the quality of your projects. Implementing a step-by-step approach ensures your designs stay stable, crisp, and free from puckering or distortion, regardless of fabric type or complexity.
Start using a stabilizer calculator today with your next project, experiment, make adjustments, and observe how your embroidery quality improves. Don’t hesitate to share your results and refine your process for even better outcomes. The proactive management of stabilizers empowers you to create beautifully professional embroidery every time, so unlock its full potential now and elevate your craft to new heights. Remember, precision begins with the right stabilizer!
Free: 12 Essential Hand Embroidery Stitches
A printable illustrated cheat sheet of the 12 core stitches every embroiderer should know. Instant PDF.
No spam. One-click unsubscribe.