Brother innov-is NV1800Q Embroidery Review: Practical Tips for Better Results
This post contains affiliate links. As an Amazon Associate, Latest Embroidery earns from qualifying
purchases, at no extra cost to you. Learn more.
How We Research
Every machine, thread, and accessory we cover is researched in depth, not reprinted from a spec sheet. Here is what goes into a Latest Embroidery review:
- Specs, cross-checked. We verify manufacturer specifications against multiple retailers and official manuals, so the numbers you read are accurate and current.
- What owners actually report. We read through verified buyer reviews, warranty complaints, and community threads to surface the real-world issues, threading, hooping, bobbin changes, noise, and jams, that owners run into after the first few weeks.
- Value, not hype. We weigh each pick against its closest alternatives and tell you who a product is, and isn’t, for.
- Kept current. Prices and models move fast, so every review carries a last-updated date.
- Independence. We earn affiliate commissions if you buy through our links, but that never decides our recommendation. Read our disclosure.
Compiled by the Latest Embroidery editorial team · Last updated July 2026
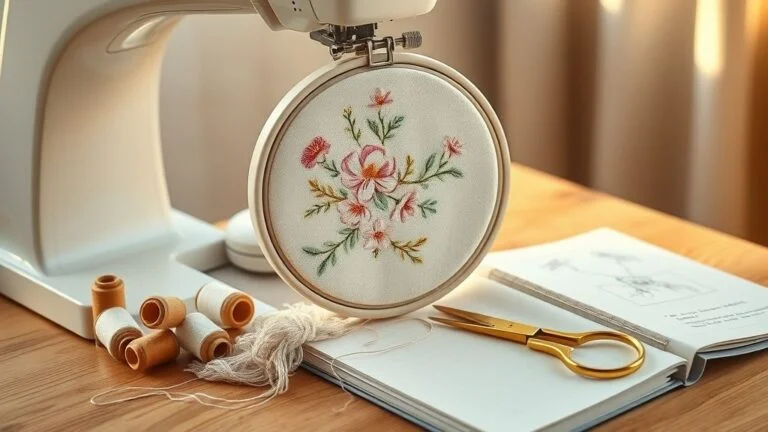
Are you looking to upgrade your embroidery projects with a reliable machine that delivers professional results? Many embroiderers face common challenges like inconsistent stitches, limited design options, or complex setup processes that can hinder their creativity. The Brother innov-is NV1800Q stands out as a versatile solution, offering advanced features tailored for both beginners and seasoned sewists. This review explores how this machine can transform your embroidery experience, focusing on its setup, design quality, and seamless performance.
With the embroidery market consistently expanding, according to industry data, the global craft market is projected to reach hundreds of billions by 2025, investing in a top-tier machine makes sense for serious hobbyists and professionals alike. The NV1800Q’s intuitive interface and robust capabilities aim to reduce frustration while boosting your creative output. Whether you’re tackling intricate patterns or simple monograms, this machine promises accuracy and durability. Ready to discover how it stacks up against industry giants? Keep reading for expert insights that will help you achieve better results in your projects.
Step-by-Step Guide to Setting Up Your Brother NV1800Q for Optimal Embroidery
Important model correction
The Brother NV1800Q is a sewing and quilting machine, not an embroidery machine. We removed the unrelated generic embroidery-machine table while this article is being corrected. For a currently listed sewing-only option, see the Brother PS500; if you need embroidery, see the Brother NQ1700E.
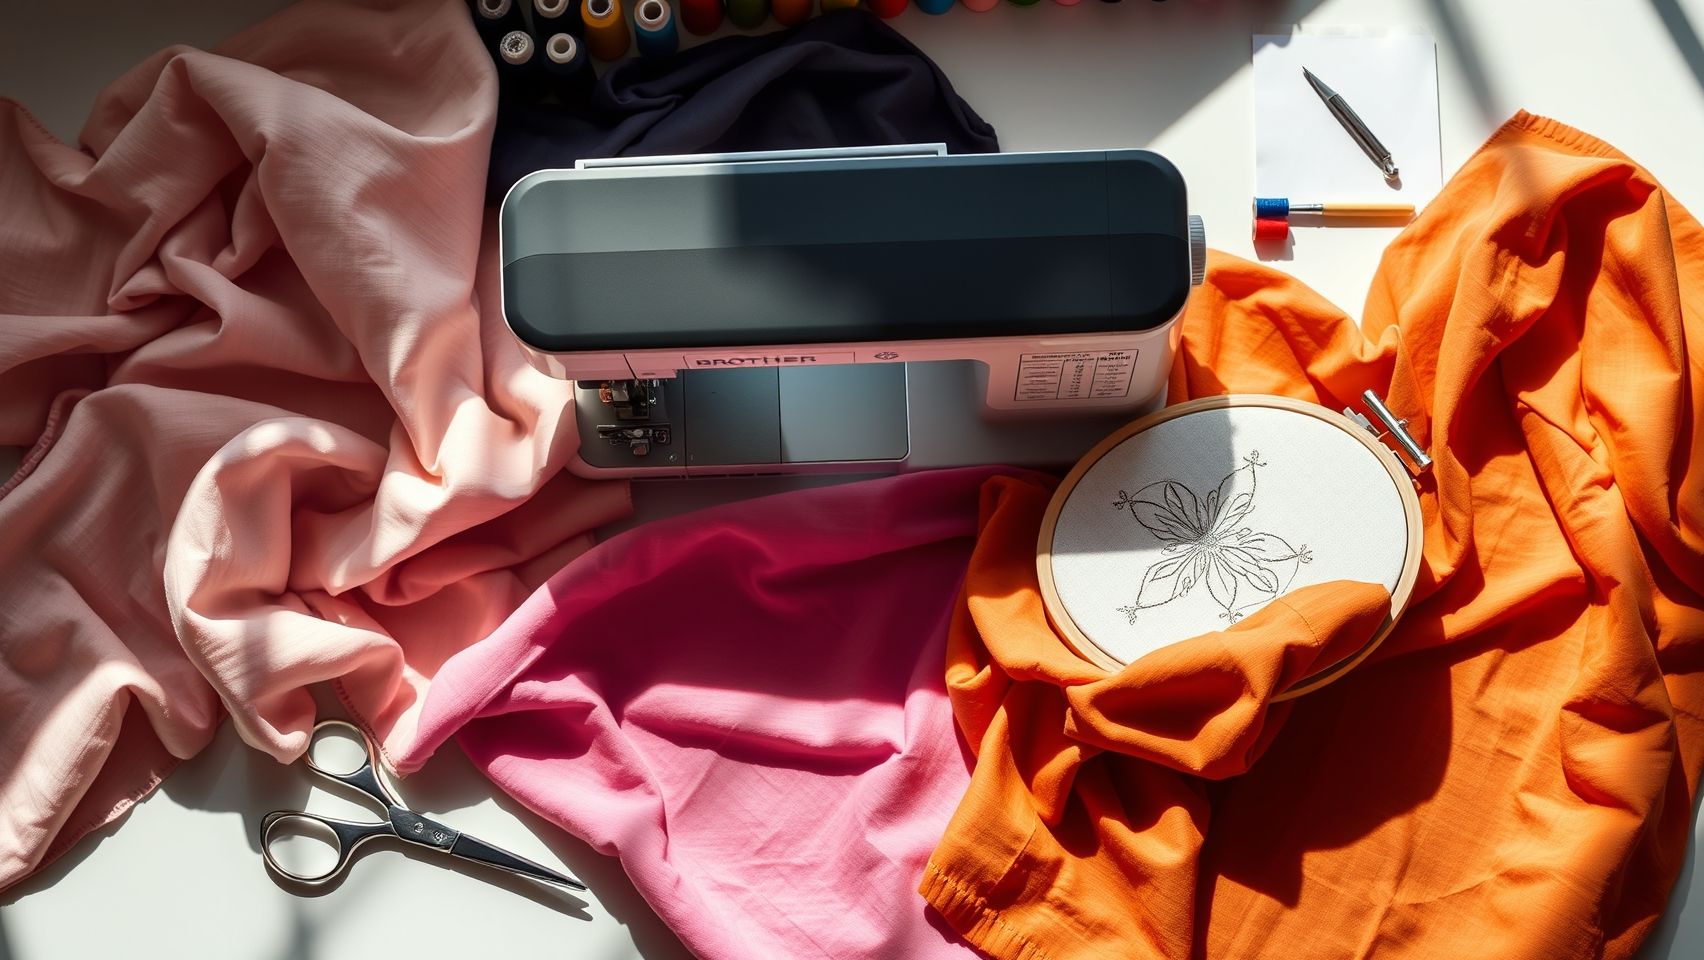
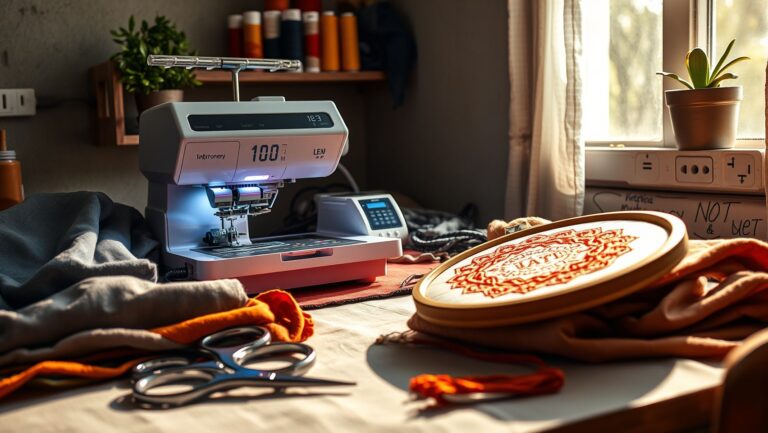
Getting the most out of your Brother innov-is NV1800Q embroidery machine requires a proper setup that ensures smooth operation and high-quality results. This detailed guide will walk you through each essential step, helping you minimize common issues like thread breakage, skipped stitches, or uneven design placement. Follow these practical tips to enhance your embroidery experience in 2025.
Prepare Your Workspace
Start by creating an organized, well-lit workspace. Clear a flat surface free from clutter, and ensure your lighting is bright enough to see intricate details. Gather all supplies beforehand, including threads, hoops, stabilizers, and scissors. Using a neat setup reduces the risk of fabric slippage or accidental thread tangles, which can compromise your stitching quality.
Thread the Machine Correctly
Follow the manufacturer’s threading instructions carefully, paying close attention to thread tension. For optimal results, test tension on a scrap piece of fabric, aim for a balanced stitch where the top and bobbin threads interlock neatly. Set tension around 4-6 on the dial as a starting point, and adjust incrementally if you notice issues such as puckering or loose stitches.
Hooping Techniques
Use the appropriate stabilizer for your fabric, tear-away stabilizer works well for stable fabrics like quilting cotton, while cut-away is better for stretchy or delicate textiles. Ensure the fabric is taut within the hoop without puckering; this prevents design distortion. Center your design using the machine’s position markers, or lightly mark the fabric with water-soluble pens for accurate placement.
Loading Designs and Calibration
Transfer your embroidery designs via USB or direct connection, then use the machine’s positioning markers to precisely align your design on the fabric. Double-check the placement before starting. Calibrate design placement by stitching an outline or test pattern to confirm accuracy, which saves time and fabric in the long run.
Perform a Test Run
Before executing your main project, sew a small sample on scrap fabric. This allows you to evaluate tension, stitch quality, and speed. Adjust tension as needed based on the test results, small incremental changes can significantly improve stitch uniformity and minimize issues like thread breakage or skipped stitches.
Troubleshooting Common Issues
Master quick fixes for typical problems. For thread jams, turn off the machine, remove the bobbin, and clear any tangled threads. For skipped stitches, rethread the machine, ensuring the needle is inserted correctly and not bent. Address bobbin issues by reloading or cleaning the bobbin area, and consult the troubleshooting guide for persistent issues.
Implementing these setup steps will maximize your NV1800Q’s performance, delivering professional embroidery results with fewer interruptions and errors. Consistent preparation and testing will boost your confidence and enjoyment in every project you undertake.
Best Tools and Accessories to Enhance Your Brother NV1800Q Embroidery Experience
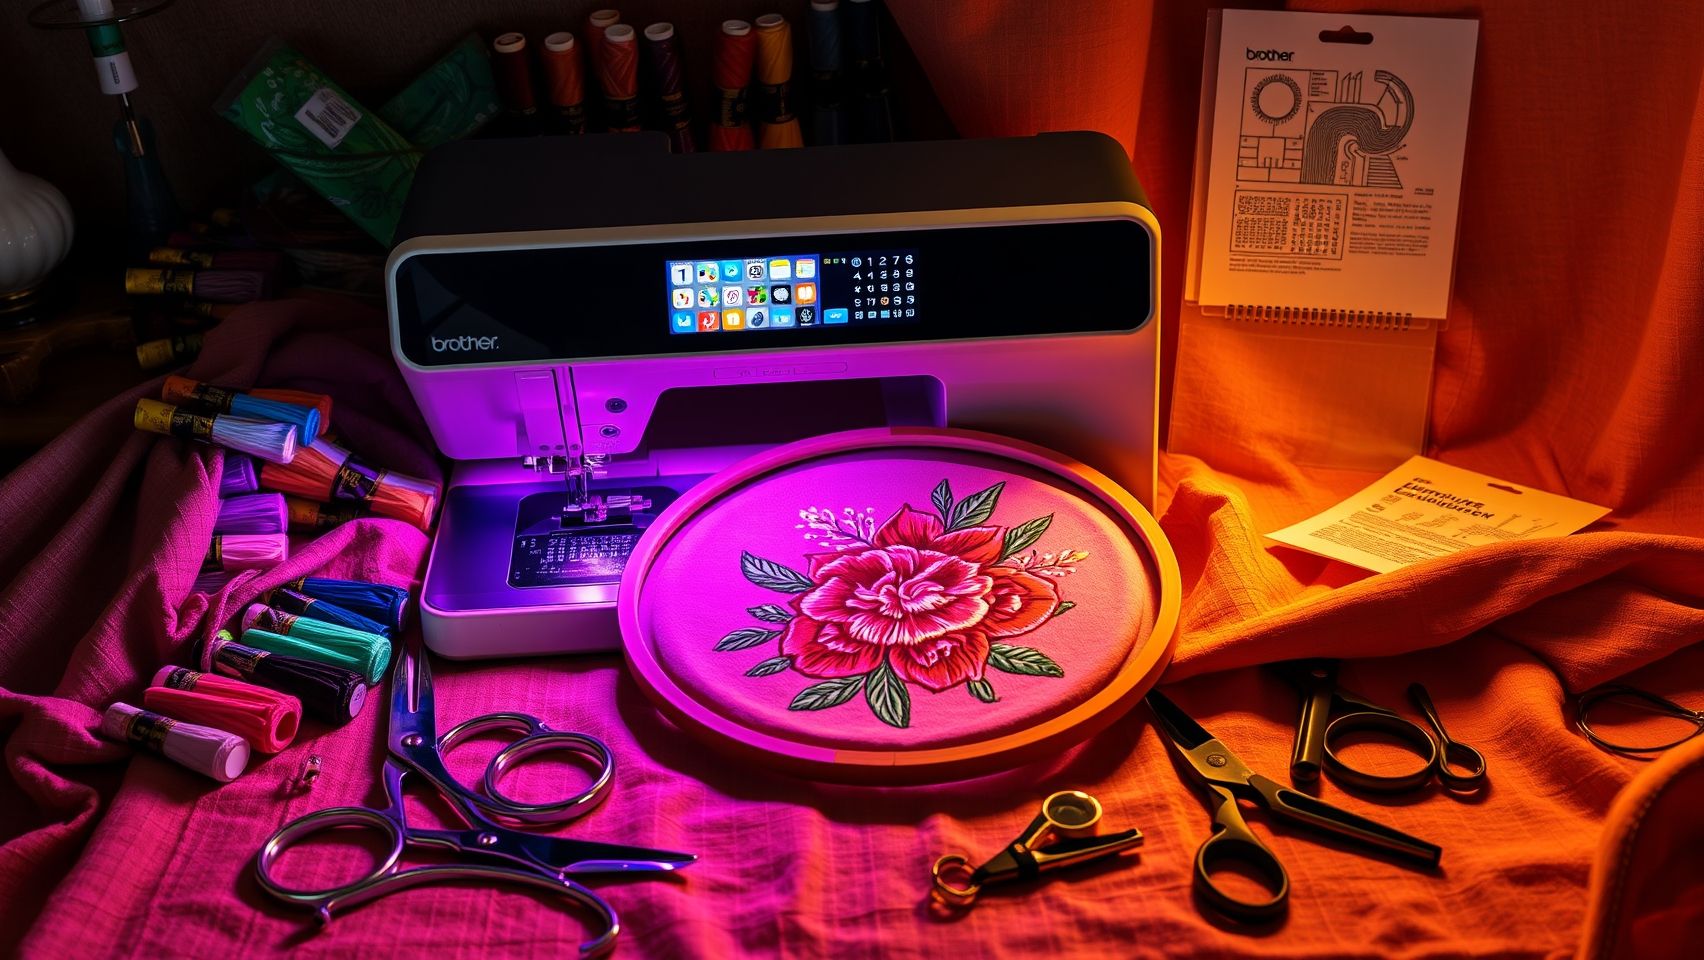
Enhancing your Brother innov-is NV1800Q embroidery machine with the right tools and accessories can significantly improve the quality of your projects, streamline workflow, and reduce errors. Investing in high-quality stabilizers, threads, and specialized equipment ensures each embroidery piece turns out polished and professional. Whether you’re working on detailed lace designs or large, intricate projects, selecting the right accessories makes all the difference.
In this section, we explore essential tools for optimal embroidery results, from stabilizers to software, and optional accessories that elevate your creativity and efficiency.
Quality Stabilizers and Thread
Using the appropriate stabilizer tailored to your project is crucial. For dense, intricate designs, tear-away stabilizers provide support without excessive bulk, while water-soluble stabilizers are ideal for delicate lace or 3D designs. For projects requiring a clean backing that dissolves, water-soluble stabilizers are a game-changer. High-quality embroidery threads such as Madeira or Sulky offer vibrant, durable stitching that resists fading and breakage, ensuring a professional finish.
Specialty Hoops and Digitizing Software
Expanding your hoop options, including larger hoops like 10.25″ x 6″, allows you to work on bigger projects seamlessly. Multi-needle options streamline multi-color designs by reducing thread changes, saving time. Digitizing software such as Hatch Embroidery or Wilcom enables custom design creation, giving you unique artistic freedom and precise control over stitch rules and effects. These tools significantly enhance creativity and productivity.
Visibility and Maintenance Tools
Enhance your workspace with LED lighting or magnifiers, which improve visibility during detailed stitching, reducing eye strain and errors. Regular maintenance, using cleaning brushes, replacement needles, and machine oil, keeps your NV1800Q running smoothly. Routine care prevents thread breakage and prolongs machine lifespan, maintaining consistent embroidery quality over time.
Comparing Embroidery Techniques and Design Quality: Practical Tips for Better Results
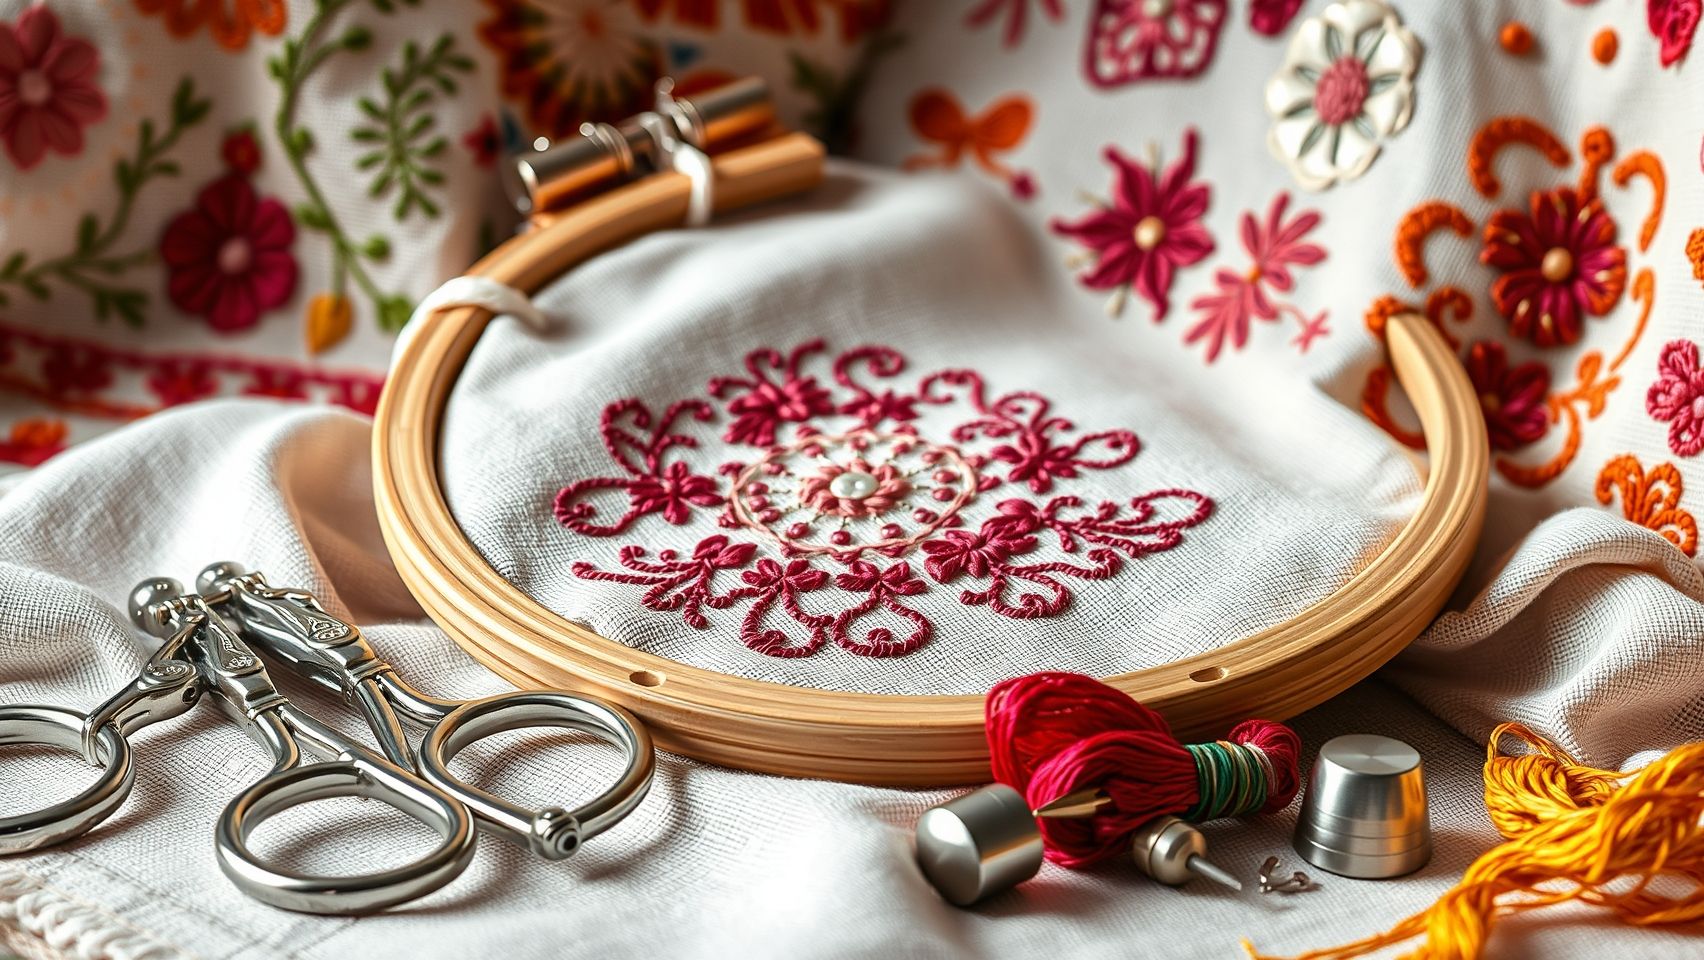
Evaluating design quality and selecting the right technique are crucial steps toward achieving professional embroidery results, especially with advanced machines like the Brother innov-is NV1800Q. Proper assessment of design complexity against your machine’s capabilities ensures your projects are both intricate and durable. Focus on balance, avoiding excessive stitch density that could lead to thread breakage while maintaining enough detail for a polished look.
Leveraging digitizing software such as Wilcom can greatly simplify complex designs by reducing stitch count without sacrificing quality. Testing different stitch types, satin, fill, and applique, on scrap fabric helps identify optimal settings for your specific project. For fill stitches, aim for a stitch density between 0.4-0.6 mm to prevent puckering, and tweak underlay patterns for added stability and cleaner edges.
Evaluating Design Quality and Adjusting Techniques
When inspecting your designs, check stitch density and fabric compatibility. Use underlay stitching to minimize puckering, especially on delicate or stretchy fabrics. Satin stitches should be tested at densities around 0.3-0.5 mm for smooth, even finish. Incorporate proper color blending techniques for multi-color designs to ensure seamless transitions, enhancing overall visual impact.
If issues like puckering or skipped stitches occur, adjust tension settings and optimize stabilizer use. High-quality stabilizers like cut-away or tear-away support smoother stitching and reduce distortions. Regular testing and adjustments are key to refining your process and producing consistently beautiful embroidery projects with the Brother innov-is NV1800Q.
Troubleshooting Common Embroidery Issues with the NV1800Q
Embroidery machines like the Brother innov-is NV1800Q offer impressive versatility, but users may encounter common issues such as thread breakage, skipped stitches, or fabric puckering. Addressing these problems promptly can save time and improve the quality of your embroidery projects. Here are practical, step-by-step troubleshooting solutions to ensure smoother operation and better results.
Thread Breakage
Thread breakage is often caused by incorrect tension settings or inferior threads. For most fabrics, maintain tension around 4-6, but adjust based on specific material and thread thickness. Carefully rethread the machine, ensuring the thread passes smoothly through all guides and sensors. Use high-quality embroidery threads to prevent snapping and to achieve more consistent stitching. Regularly check for burrs or rough spots in the threading path, which can also cause breakage.
Skipped Stitches
Skipped stitches occur frequently due to dull or improperly installed needles. Always use sharp needles compatible with your fabric, replace dull needles promptly. Ensure the needle is inserted correctly and fully pushed up into the needle holder. Confirm that the needle size matches the project requirements, especially when working on delicate or dense fabrics. Properly re-thread the machine, paying attention to the threading path, and select the appropriate stitch settings for your design.
Fabric Puckering and Design Misalignment
To prevent puckering, stabilize the fabric with suitable stabilizers and ensure the hoop is tightened without warping the fabric. Use stabilizers that match your fabric type; for delicate fabrics, tear-away or cut-away stabilizers are effective. When hooping, make sure the fabric is taut and flat, avoiding any distortion. For design misalignment, verify the placement markers and confirm the hoop is securely attached, with the design centered before stitching. Adjust the placement if necessary for precise results.
Speed and Maintenance Issues
Adjust sewing speed according to the complexity of the design, slower speeds reduce the risk of stretching or puckering, especially on dense patterns. Regular cleaning of the bobbin area and removing lint with soft brushes keeps the machine running smoothly. Lubricate moving parts as specified in the user manual to prevent jams or mechanical failures. Consistent maintenance prolongs the machine’s lifespan and ensures optimal performance during all projects.
Conclusion
In summary, mastering your Brother innov-is NV1800Q requires a good understanding of its extensive features, precise setup, and thoughtful troubleshooting. By focusing on practical application, such as practicing with sample projects, calibrating your machine carefully, and exploring advanced design options, you can unlock the full potential of this versatile embroidery machine.
Remember that consistent practice and experimentation are key to improving your results. Stay updated with emerging trends, such as textured embroidery, eco-friendly materials, and innovative design techniques, which can inspire fresh ideas for your projects in 2025 and beyond. Don’t hesitate to push your creative boundaries and refine your skills with each stitch.
Start implementing these tips today, practice regularly, fine-tune your settings, and explore new design possibilities. The more you experiment, the more confident and skilled you will become. With dedication and a mindful approach, you can elevate your embroidery craft to new heights and bring your creative visions to life. Take action now, and transform your embroidery journey into a truly rewarding experience, your future masterpieces await!