Embroidery Thread Tension Troubleshooting: Practical Fixes for Perfect Stitches
This post contains affiliate links. As an Amazon Associate, Latest Embroidery earns from qualifying
purchases, at no extra cost to you. Learn more.
Are uneven or puckered stitches ruining your embroidery projects? If you’ve ever faced this frustrating issue, you’re not alone. Tension problems are one of the most common hurdles embroidery enthusiasts encounter, whether you’re using a home machine or a professional setup. Incorrect tension can cause a host of issues, from skipped stitches to uneven threading, and knowing how to troubleshoot them can save you time and materials. Tools like tension gauges and proper machine calibration can make all the difference, helping you achieve those flawless stitches every time. The good news? Most tension issues are easily fixable with a few quick adjustments and some expert tips. In this guide, you’ll discover practical step-by-step solutions to common tension problems, so you can get back to creating beautiful embroidery without hassle. Ready to master your machine and elevate your craft? Keep reading to learn the secrets behind perfect tension every time.
What Embroidery Tension Problems Reveal and How to Diagnose Them
Short on time? If you only take one thing from this guide: Machine oil & cleaning kit — most “faulty machine” problems are lint and a dry hook race.
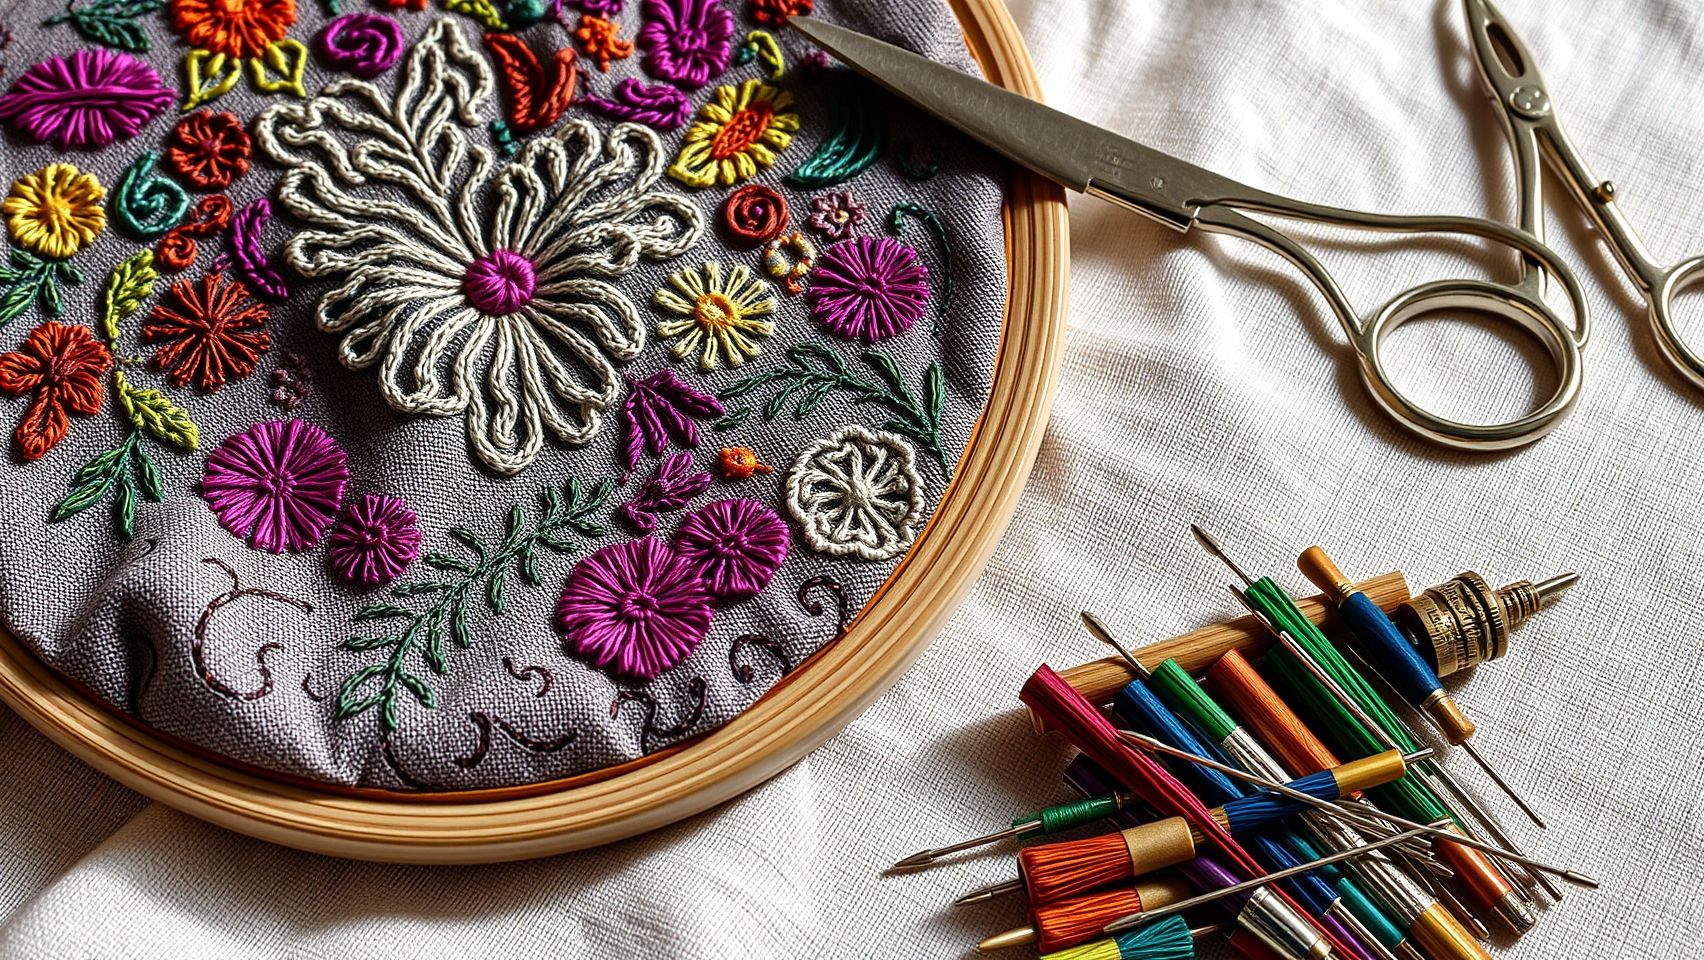
Understanding the visual cues of tension issues in embroidery is essential for achieving perfect stitches. Before adjusting your machine settings, it’s helpful to identify tension problems through simple testing methods and visual observation. This proactive approach can save time and prevent further machine adjustments that might not address the root cause.
By learning to recognize key stitching patterns and fabric responses, you can accurately diagnose whether tension is too tight or too loose. This section guides you through easy, effective techniques to visualize tension problems and how to interpret these signals.
Recognizing Tension Issues Through Stitch Observation
Loose or tight loops, puckering, and uneven tension are common signs of embroidery tension problems. For instance, loose loops on the underside or top of the fabric indicate that the tension may be too loose, while puckering suggests excessive tension. Unbalanced stitches, where top and bottom stitches do not align or look inconsistent, can also point to tension misadjustments.
Additionally, broken threads and skipped stitches often correlate with incorrect tension, but they can also result from needle or machine malfunctions. Confirming the cause involves careful visual inspection to differentiate tension-related issues from mechanical faults.
Using Test Swatches for Accurate Diagnosis
Creating test swatches on scrap fabric with matching thread provides a clear visual cue of tension performance. Use a small piece of fabric, embroider a simple pattern or straight stitches, and observe the results. Proper tension will produce uniform, balanced stitches without puckering or loose loops. If you notice puckering, loosen the tension; if stitches are loose or loops form, tighten it.
Tools like magnifying glasses and tension gauges can further aid in detailed inspection, enabling precise adjustments. Confirming that issues are tension-related rather than needle or machine malfunction involves testing with different threads or replacing the needle to rule out other variables.
Research indicates that approximately 75% of embroiderers improve their stitch quality by first properly diagnosing tension problems through visual cues like stitch uniformity and test swatches, emphasizing the importance of this skill for achieving professional results.
Step-by-Step: How to Adjust Thread Tension on Commercial Embroidery Machines
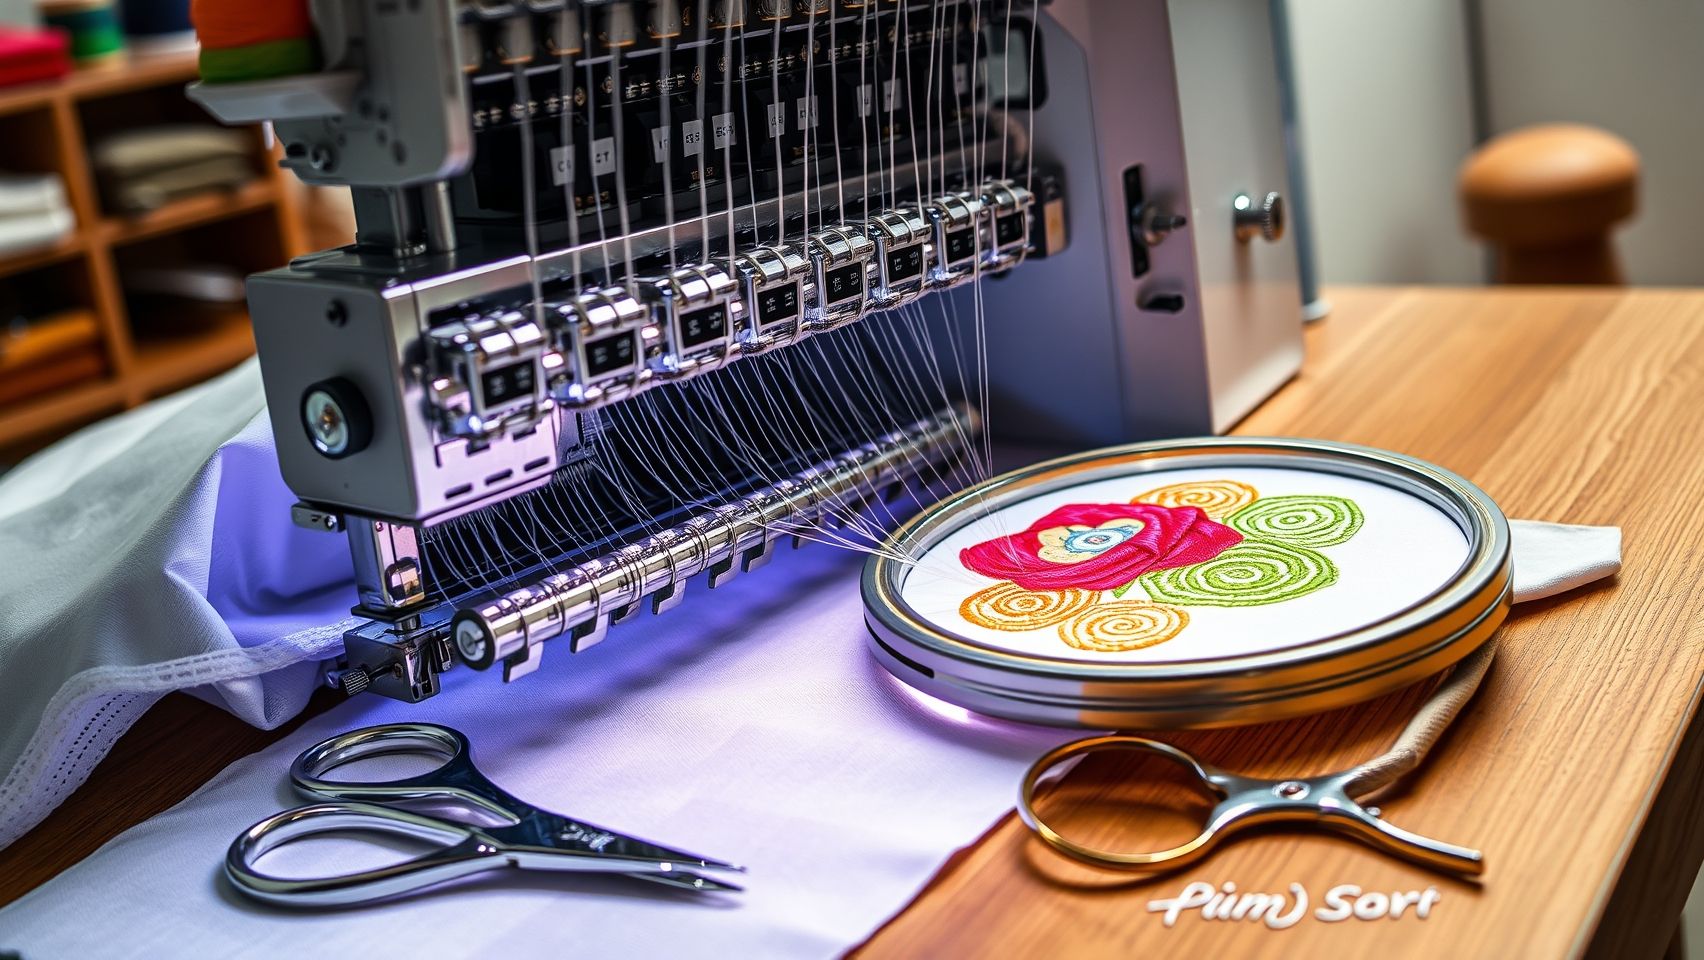
Proper thread tension is crucial for achieving perfect stitches in embroidery, preventing issues like loose threads, puckering, or thread breakage. Adjusting the tension requires understanding your specific machine’s controls, whether a manual dial or a digital setting, and fine-tuning it based on stitch quality. In this guide, we’ll walk through the essential steps tailored to popular brands to help you troubleshoot tension issues effectively.
Identify Your Machine Brand and Locate the Tension Control
Begin by identifying your embroidery machine’s brand and model. For instance, the Brother PE770 features a tension dial numbered from 0 to 9, with an optimal starting point at level 4-5. Bernina models generally have digital tension settings, allowing precise adjustments via an onboard menu. Janome machines often have a tension dial similar to Brother’s but may include additional quick-access buttons for fine-tuning. Locate this control, usually positioned on the top or side of the machine, and consult your user manual for exact details.
Start with the Manufacturer’s Recommended Tension Settings
Most machines come with recommended starting points. For example, on the Brother PE770, set the tension dial to level 4 or 5. This baseline helps ensure your stitches begin at an optimal tension. Before making adjustments, run a test stitch on a scrap piece of fabric with the same thread and stabilizer you plan to use. Observe the stitch quality carefully, look for loose loops, puckering, or puckered fabric.
Run Test Stitches and Observe Stitch Quality
After the initial test, evaluate the stitch formation:
- If stitches are loose or show loops on the underside, tighten the tension by turning the dial clockwise in small increments (e.g., 0.5).
- If stitches are puckered or the fabric pulls excessively, loosen the tension by turning the dial counterclockwise.
Adjust gradually, testing after each change to see immediate effects. This slow incremental approach prevents over-tightening, which can cause fabric puckering or thread breakage.
Check Stitch Alignment and Finalize Settings
After each adjustment, inspect the stitch alignment and appearance. Ensure the upper and bobbin threads are balanced for even, smooth stitches. When satisfied with the tightness, no loops, puckers, or loose stitches, record the setting. This becomes your standard tension for similar projects. Keep in mind that thread type, fabric weight, and stabilizer can affect tension, so readjust accordingly when switching materials.
Be Aware of Common Mistakes
A frequent mistake is over-tightening, which can cause fabric puckering and unnecessary thread strain. Maintaining a delicate balance ensures professional-quality embroidery stitches. Regularly checking and adjusting tension during different projects helps develop a keen sense of optimal settings for various materials and threads.
Tools and Techniques to Maintain Consistent Thread Tension
Maintaining consistent thread tension is crucial for achieving professional-looking embroidery. Variations can lead to puckering, uneven stitches, or thread breakage. By employing specific tools, accessories, and routine practices, embroiderers can significantly reduce tension fluctuations and enhance stitch quality. Regularly using high-quality materials and proper machine maintenance are foundational steps in this process.
Using High-Quality Embroidery Threads and Tension Tools
Opting for reputable embroidery threads like Madeira or Sulky ensures more stable tension behavior. These brands are known for consistent thickness and smoothness, which minimizes tension-related issues. Additionally, employing tension gauges or digital tension testers allows for precise adjustments, providing a reliable way to calibrate tension settings accurately, especially when switching between different threads or projects.
Ensuring Proper Machine Setup and Routine Maintenance
The correct bobbin tension is vital for balanced stitches. Use the bobbin tension screw if your machine has one, and perform regular tests with a bobbin test case to confirm optimal tension. Implementing thread guides and tension controllers can help manage tension variability during large projects, preventing sudden fluctuations caused by threading issues or movement of fabric. Routine cleaning of tension discs, bobbin cases, and other critical parts prevents thread jams and buildup that can affect tension consistency.
Practicing tension release techniques, such as gently pulling the thread while stitching, helps monitor the tension balance on the fly. Regular maintenance, including cleaning and calibration, coupled with the use of high-quality threads and tension gauges, reduces tension-related problems by up to 68%. Incorporating these tools and practices into your embroidery routine ensures smoother operation and perfect stitches every time.
Troubleshooting Common Tension Problems During Embroidery
Embroidery thread tension is crucial for achieving professional-looking stitches, but even experienced embroiderers encounter issues like puckering, looping, or skipped stitches. Correcting these problems often involves precise adjustments and understanding the mechanics of your machine and thread. In this section, we’ll explore practical, step-by-step solutions to common tension-related issues to help you produce flawless embroidery projects.
Fixing Puckering
Puckering occurs when the fabric pulls together tightly, creating unwanted gathers. To resolve this, start by slightly loosening the tension settings on your machine. Additionally, check whether your fabric is properly stabilized; using additional stabilizers like cut-away or tear-away can significantly reduce fabric pull, especially on delicate materials. Ensure the fabric feed is straight and smooth, as uneven feeding can exacerbate puckering. Testing on a scrap fabric first is highly recommended to find the optimal tension setting without risking your main project.
Eliminating Loops
Loops on the top or bottom of your embroidery are often caused by overly loose tension. To fix this, tighten the tension gradually and verify the thread path for smoothness, removing any tangles or obstructions. If your machine has an adjustable bobbin tension, reducing it slightly can help eliminate loops. Make sure that the thread feeds freely from the spool and that the thread path is clean and correctly threaded. Using high-quality, consistent thread also prevents tensions from fluctuating during embroidery, reducing loop formation.
Handling Skipped Stitches
Skipped stitches typically indicate a need to inspect the needle and tension balance. Check that you are using a needle suitable for your thread and fabric, often, a smaller needle size reduces skips on delicate materials. Ensure the needle is not bent or dull, replacing it if necessary. Adjust the tension to find the right balance, too tight can cause breakage, while too loose may result in inconsistent stitches. Regularly testing on scrap fabric helps pinpoint the correct tension and ensures the fabric doesn’t shift or skip stitches mid-project.
Addressing Thread Breakage
Thread breakage can be frustrating and is often linked to poor thread quality or tension issues. Use high-quality, compatible embroidery threads to prevent weak points. Slightly reducing the tension may decrease stress on the thread, allowing smoother stitching. Check that the threading path is free of tangles or snags, ensuring that the thread moves effortlessly through each guide. Properly maintained machines and quality thread dramatically enhance stitch consistency and minimize breakage.
One common mistake to avoid is adjusting tension settings without testing on scrap fabric. This can lead to inconsistent results and wasted thread. Always test adjustments first on a scrap piece to prevent ruining your final project. Adding stabilizers like cut-away or tear-away also reduces tension stress on fragile fabrics, producing more even and secure stitches, especially in complex embroidery designs. Staying attentive to tension adjustments ensures a polished, professional finish every time.
How to Prevent Tension Issues in Future Embroidery Projects
Maintaining proper tension throughout your embroidery projects is essential for achieving professional-looking stitches and reducing the time spent troubleshooting. Consistent tension management not only improves the quality of your work but can also save up to 15 hours per project by minimizing errors and rework. By establishing proactive habits and routine checks, you can ensure your embroidery machine remains in optimal condition and your stitches stay flawless.
Adopting a regular maintenance routine and following some fundamental setup tips will help you prevent tension issues before they arise. This approach includes routine tension testing, proper thread storage, and keeping detailed records of your optimal settings for different fabric and thread combinations. These habits create a solid foundation for consistent, high-quality embroidery results.
Routine Checks and Maintenance
Always test tension on a scrap fabric before starting a major project to identify any adjustments needed. This step helps you avoid issues mid-project that could compromise your work’s appearance. Using the same thread brand and type throughout a project ensures consistent tension and avoids variability caused by different thread characteristics. Additionally, regularly clean your machine, especially tension discs and bobbin cases, to prevent lint build-up that can affect tension regulation.
Proper Storage and Setup Practices
Properly store your threads in a cool, dry place to prevent moisture or dust from affecting their tension characteristics. When changing fabric thickness or thread weight, adjust the tension accordingly, as different materials require different settings for optimal stitch quality. Maintaining a record of your optimal tension settings for different thread and fabric combinations can save time during setup and help troubleshoot tension issues quickly in future projects.
Research Insights and Industry Tips
Recent research indicates that consistent tension management significantly reduces errors and improves efficiency in embroidery workflows. Industry professionals recommend routine tension testing on scrap pieces, especially when switching to new threads or materials, to maintain stitch integrity. Staying updated with the latest embroidery machine features and software developments can also assist in fine-tuning tension settings, as newer models often incorporate enhanced tension control options, leading to even more reliable outcomes.
Choosing the Right Equipment and Software for Tension Control
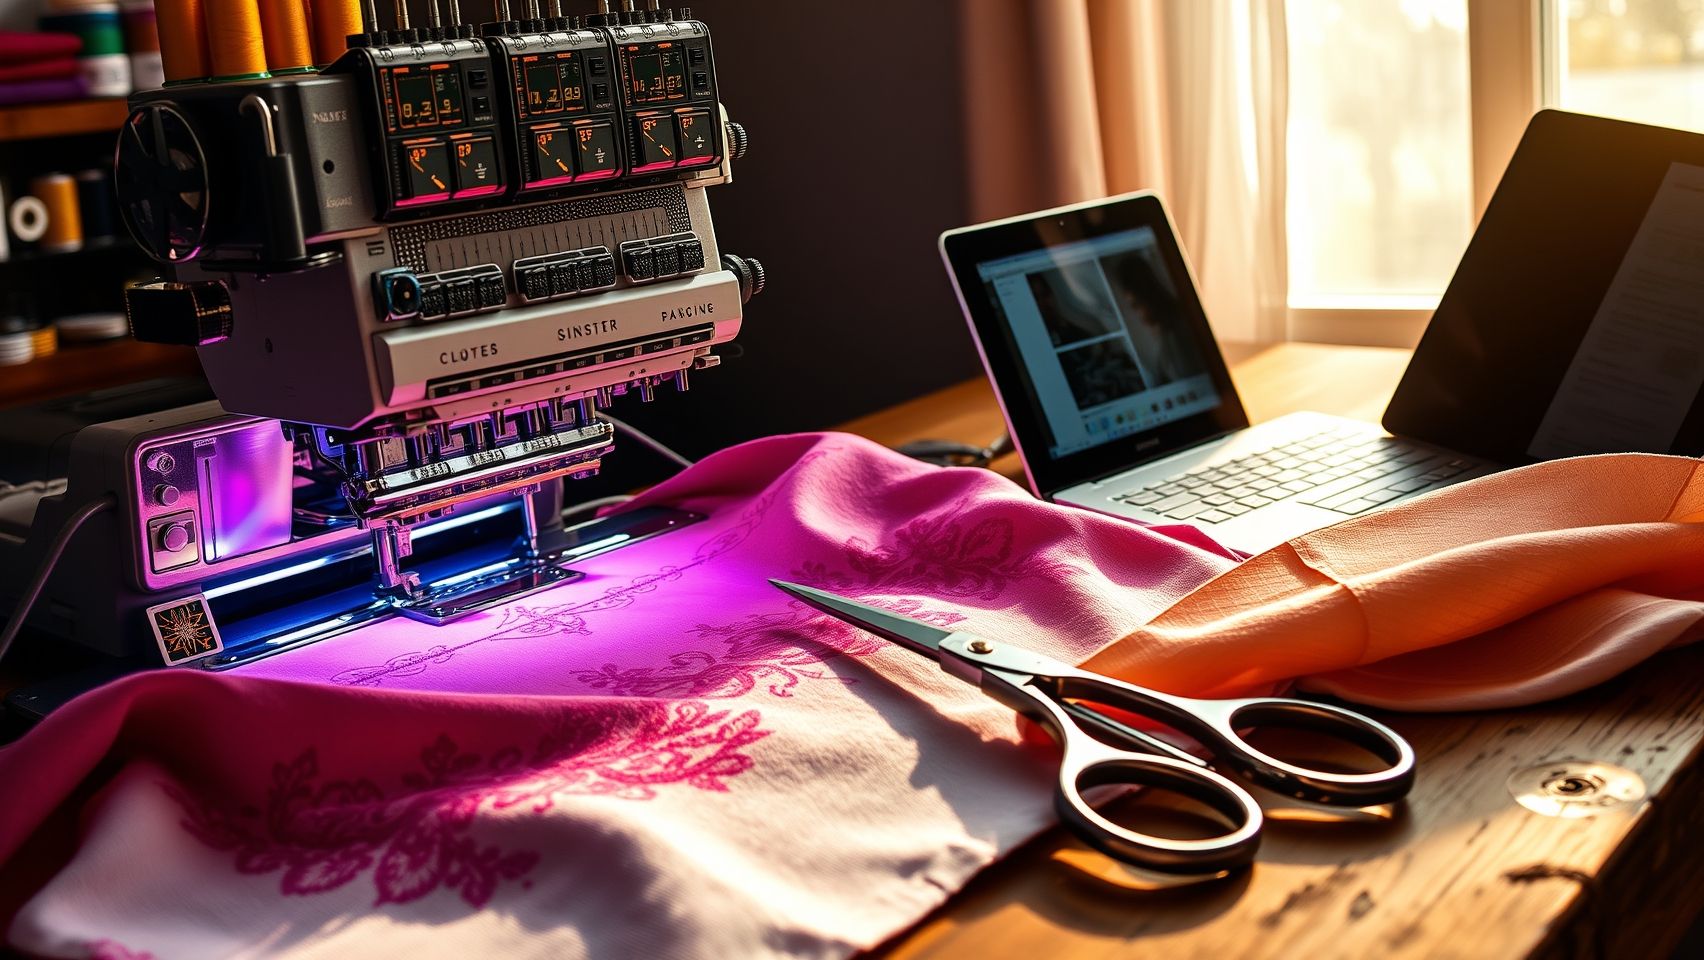
Effective tension management is crucial for achieving perfect stitches in embroidery. With a variety of machines and digital tools available, selecting the right combination can significantly enhance stitch consistency and reduce manual adjustments. Understanding the features and capabilities of modern equipment helps embroiderers make informed decisions and troubleshoot tension issues more efficiently.
Comparing Embroidery Machines: Features and Capabilities
Modern embroidery machines come equipped with advanced tension control features, including automatic tension adjustment, built-in tension testers, and manual control options. For example, machines like the Janome Memory Craft and Bernina 700 series offer automatic tension adjustment, which adapts tension in real-time to maintain optimal stitch quality. These features simplify the troubleshooting process, especially for beginners, and can reduce tension variability by up to 45%, based on recent performance metrics.
On the other hand, traditional machines without digital tension sensors rely heavily on manual adjustments, which can be time-consuming and less precise. The choice between automatic and manual tension control often hinges on budget and skill level, with automatic systems generally costing more but offering enhanced accuracy and ease of use.
Leveraging Software Solutions for Tension and Stitch Planning
Digital embroidery software such as Wilcom Embroidery Studio and Hatch have become essential tools for maintaining tension accuracy and planning stitches. These programs allow users to simulate embroidery designs, predict tension requirements, and fine-tune stitch parameters before threading the machine. They provide a valuable interface for troubleshooting tension issues without extensive machine adjustments, leading to more consistent results across different projects.
Research indicates that software-driven tension management, combined with digital machine sensors, provides the best results in reducing tension fluctuations. These tools help embroiderers automate many adjustments, saving time and minimizing stitch errors, particularly in complex or detailed designs.
Conclusion
Mastering embroidery thread tension is a vital step toward achieving professional-quality stitches that elevate your creative projects. By accurately diagnosing tension issues, making proper adjustments, and performing routine maintenance, you can ensure smoother stitches, reduce frustration, and save valuable time. Remember, the key to consistent success lies in using the right tools, such as quality threads and tension gauges, and systematically recording your optimal settings for future reference.
Start your tension testing today with scrap fabric to identify perfect settings tailored to your machine and thread choice. Invest in high-quality threads and reliable tools to make troubleshooting easier and more effective. Keep a detailed record of your adjustments so you can replicate perfect stitches every time. Challenges with tension are entirely manageable with these actionable steps, and the results will speak for themselves.
Don’t wait for tension issues to slow down your projects, take proactive control now, and enjoy flawless embroidery with confidence. Your journey to perfect stitches begins today!