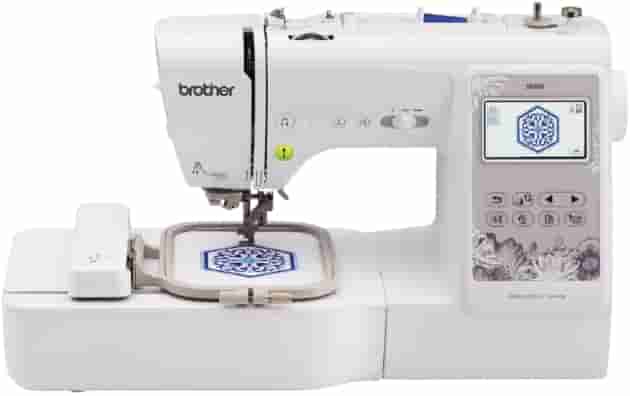
Brother SE600 Review – The Best Embroidery Machine?
This post contains affiliate links. As an Amazon Associate, Latest Embroidery earns from qualifying purchases, at no extra cost to you. Learn more.
How We Research
Every machine, thread, and accessory we cover is researched in depth, not reprinted from a spec sheet. Here is what goes into a Latest Embroidery review:
- Specs, cross-checked. We verify manufacturer specifications against multiple retailers and official manuals, so the numbers you read are accurate and current.
- What owners actually report. We read through verified buyer reviews, warranty complaints, and community threads to surface the real-world issues, threading, hooping, bobbin changes, noise, and jams, that owners run into after the first few weeks.
- Value, not hype. We weigh each pick against its closest alternatives and tell you who a product is, and isn’t, for.
- Kept current. Prices and models move fast, so every review carries a last-updated date.
- Independence. We earn affiliate commissions if you buy through our links, but that never decides our recommendation. Read our disclosure.
Compiled by the Latest Embroidery editorial team · Last updated July 2026
Brother SE600 is a remarkable embroidery machine. It provides both embroidery and sewing features and many other exclusive features that you can’t expect in a 400$ device. So, let’s get started with the review of this legendary machine!
Our Brother SE600 Review
Quick take: Brother SE600
Our full review is below — if you just want current pricing and availability:
Check price on Amazon →Brother has since released the SE700 (our review), the SE600’s successor.
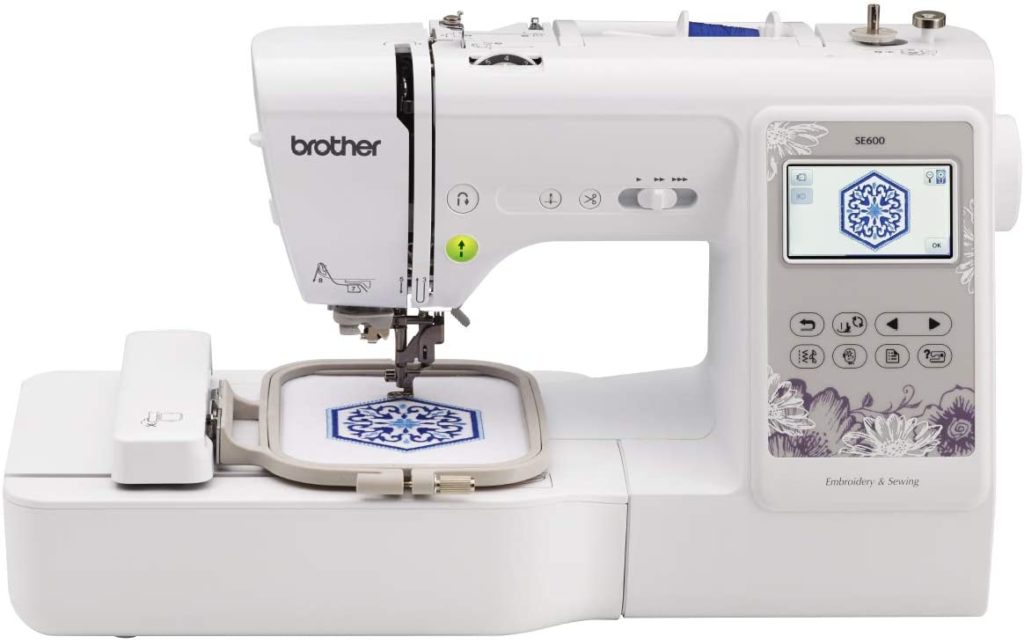
Features
Related reading: Brother Skitch PP1 review
Related reading: Brother SE625 review
Related reading: practical SE600 setup and stitching tips
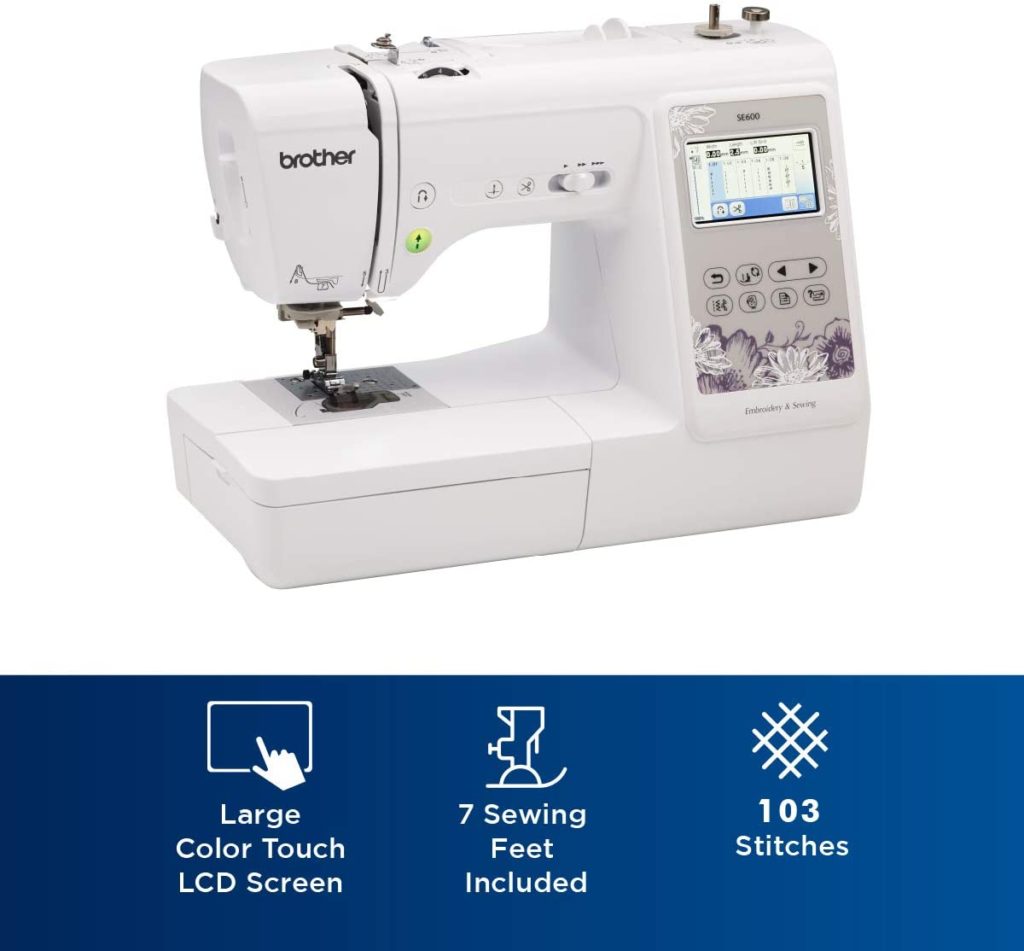
Brother SE600 is a fascinating device.
It provides up-to 80 built-in designs, 6 embroidery lettering fonts, an automatic needle threader, 103 Built-In Sewing Stitches & 3.2″ LCD Color Touchscreen. You can import embroidery design files through the built-in USB port. You can download over thousands of embroidery designs from iBroidery.com (It may require additional purchases though)
Sewing & Embroidering
You can both sew and embroider in the extraordinary Brother SE600. Means you can make your cloth functional using the sewing feature (103 built-in stitches) and also design your clothes using the embroidery (80 built-in designs) features. This feature makes this device exclusive. Under the price rate, this feature is amazing. I must admit that this one is one of the best overall embroidery machines of all time!
80 built-in designs
Brother SE600 has 80 built-in designs that you can choose from, and that’s not all! If you need more designs you can upload your very own designs to the machine through a pen drive or directly connect your machine to the computer. Those embroidery designs help to design on your clothes. You’ve 80 designs to choose from which is a lot.
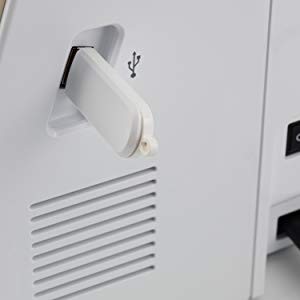
USB Port
There’s a USB port where you can put on your Pendrive and upload your designs. This incredible feature allows you to increase your creativity. You can upload your very own designs or you can download or buy designs from Brother’s official site. This device works with designs that are .pes format. So, you might keep it in mind before creating or purchasing a design from the internet.
Note: Please be careful while inserting the USB, if you mistakenly try to insert it wrongly the USB slot may get damaged. So, please put it some concentration.
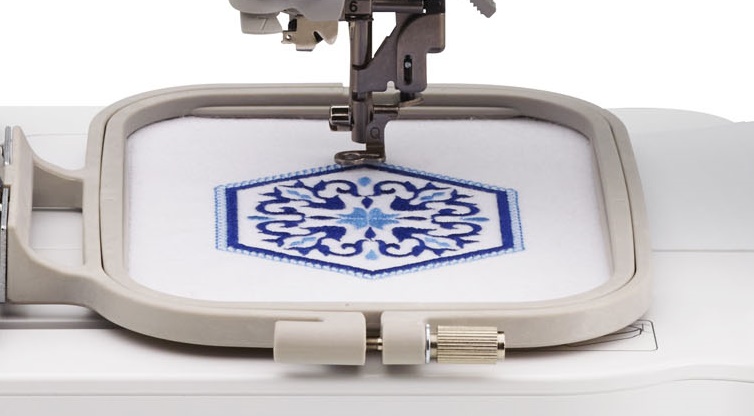
Big 4×4 Embroidery Area
Brother SE600 provides a large 4×4 embroidery area. So you can use the full creativity you have and bring your greatest imagination to life with this great machine! This feature also saves your time because you don’t have to adjust the clothes as you sew as frequently as you had to with other devices.
Also, most the the embroidery designs are 4×4 in size, so if you buy or create a design, most of them will work in this machine!
103 Built-in Stitches
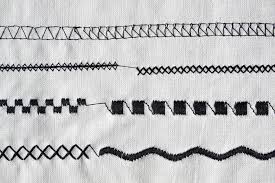
This device provides 103 stitches, which is amazing. You can always try new stitch types in a blank cloth to check what fits your project because there are 103 stitches to choose from! This is perfect for both work and hobby! You can make your clothes functional with style now with the 103 stitches!
Note: Stitches are used for making the cloth functional but many people uses it for design purposes too. So if you count stitches as designs, you’ve so many designs to choose from!!
6 Embroidery lettering fonts
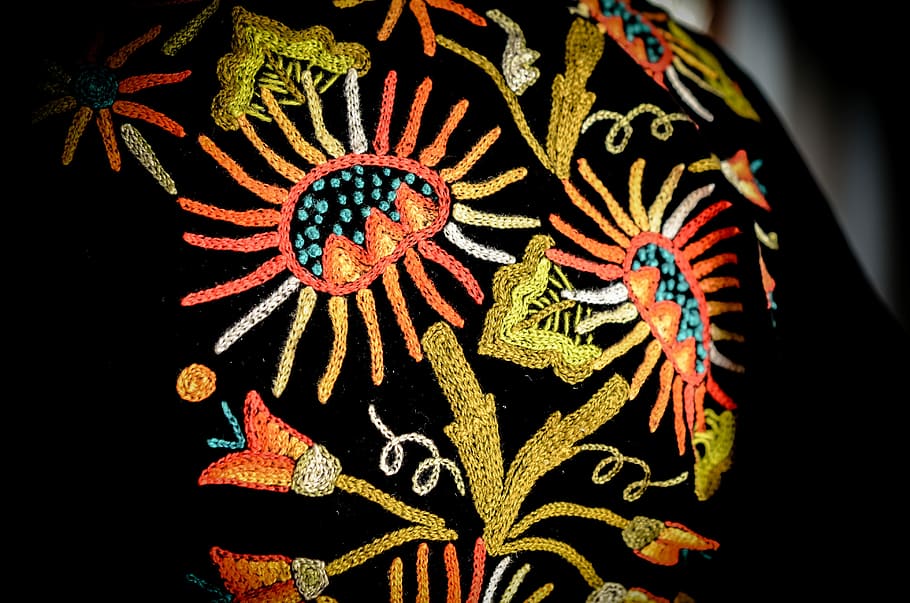
It provides 6 different types of fonts, which are given down below. So if you’re using the machine for work purposes, you can! Like, you can sew someone’s name or a company logo&name, just show your full creativity with this machine, it provides you all the features you need to bring your creativity from imagination to reality!
This is definitely a great feature if you’re buying this device for work. Monograms or brand logo naming in clothes will be fast and easy with this one!

Jam- resistant Quick-set drop-in bobbin
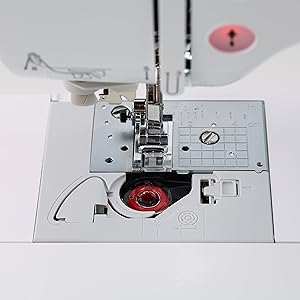
Those bobbins are easy to install and jam-resistant. So, you can save your valuable time and won’t face any jam while working with the machine! All you have to do is, open the case below the machine head and put the bobbin inside as the machine and manual told, and you’re all done.
Note: Before you put in the bobbin make sure you’ve inserted thread in it. You don’t need to insert thread manually, you can insert it using the machine easily, you can tell if you’ve used Brother machines before. You can find it in the manual that how to insert the thread in bobbin using the machine.
Compatibility with Beginners
It’s the best device for beginners, easy to use, cheap, elegant & classy. We can’t think of a better product for beginners other than Brother SE600.
You can create beautiful simple designs to complex&professional designs eventually. You don’t ever have to worry about operating the device as you get a manual, Brother technical support with the product. So, you can tell that it’s definitely a great one for beginners as well as professionals!
Free arm for cuffs and sleeves
Brother SE600 provides free arm for cuffs and sleeves which makes it easy to work and time-saving!
Brother Product Support
You’ll receive support from the Brothers company whenever you have a question. They try their best to solve your problems, so whenever you face any trouble while using this machine you can contact them. Brother brand is very popular for its services and their machines! So, you can buy any of their machines without worrying about quality.
3.2” Large LCD Screen
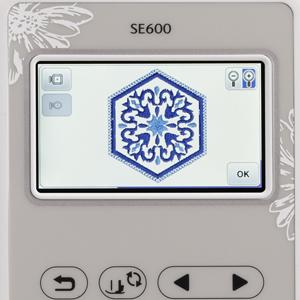
The large LCD color screen makes it easy to work for your projects. It’s able to view the whole project! You can also easily change the thread colors using the built-in color palette! You can get a preview of the design you’ve chosen in the LCD with the colors too!
Note: Use the color palette to change colors of the design you choose.
Automatic needle threader
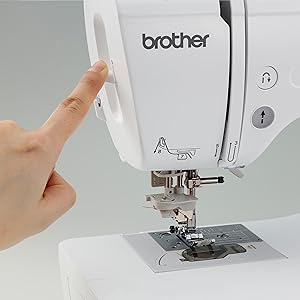
This machine automatically threads using its auto needle threader with just a touch of a lever! It’s fast to operate. You can sew and embroider easily with the automatic needle threader. All you have to do is choose the design or stitch and sewing speed. Then press the start button and it will do all the work for you!
Bright LED-lit work area
The bright LED light allows you to use the machine in any circumstances! It’s a small but great feature. You can’t disagree with that when you start using this machine. It also helps you to clearly check the design getting created by the machine. Whether it’s night or day yet, it won’t affect you nor the machine due to the bright LED light feature it holds!
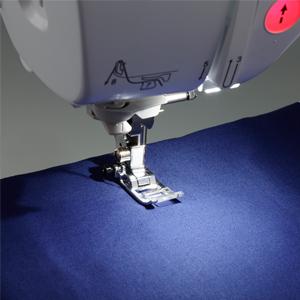
6.4″(W) x 4.1″(H) needle-to-arm workspace
This feature allows you more room for folding quilts and bulkier projects to the right of the needle for easier sewing. Amazing, right? It saves your precious time and helps to progress in your work faster! You can quilt over 3 fabrics together or more depending on the remaining space and capability of the needle.
Note: Be careful that you don’t sew with a bent needle. Also, when you quilt, slower the speed of sewing because when you sew 2-3 fabric together the needle gets more pressure so faster sewing might cause the needle to bend or break. Always use slow speed while sewing on any thick fabric.
7 quick-change sewing feet
7 quickly changeable sewing feet! So you can change the feet according to the material you’re sewing. Sewing feet provides flexibility as the workpiece moves beneath it. 7 sewing feet will make it easier and time-saving for you to embroider and sew on different materials. You can choose any of the sewing feet for each project which gets along well with the material.
Note: Don’t hesitate to experiment with the feet, if one goes well with a material it doesn’t mean that it’ll be the same with other materials.
The feet are,
- Button fitting,
- Overcasting,
- Buttonhole,
- Monogramming,
- Zigzag,
- Zipper,
- Blind stitch.
25-year limited warranty
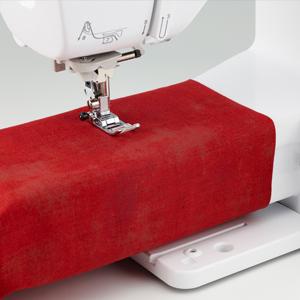
This machine provides you with a 25 years limited warranty! What do you need more!? Whenever you face any trouble Brother company shall fix the machine for you for 25 years!
P.S: This feature is only for US citizens. But you’ll receive a 5 years warranty for the machine head. And some more warranty for different parts of the machine. Visit Amazon to learn more.
Free technical phone support
Whenever you face any difficulty using the product just give the brothers support a call and they shall solve it for you! You can call them if you’re having trouble using the product or if you think the device you bought has some problems. We’d recommend you to call them right away if you’re just getting started with embroidery and never used an embroidery machine before.
Pros
- Quiet&works smoothly
- Excellent Value
- Easier to use than SE400
- Great stitch quality
- Surprisingly powerful (can go through over 10 layers of heavy quilting cotton and interfaces with minimal fuss)
Cons
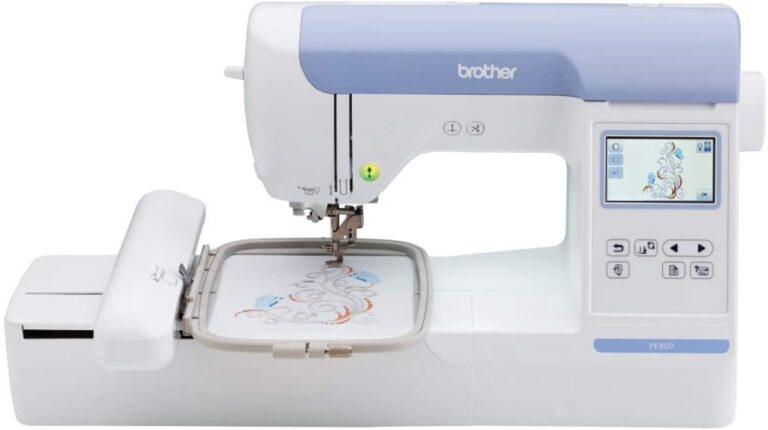
- Embroidery area is only 4×4, if you’re looking for a larger work area, check out our Brother PE800 review.
- Included designs are mediocre
- No included software for embroidery
Note: Those are some complains we received from very few customers, those cons are not verified. In our opinion Brother SE600 is a great choice.
Helpful Tips
Here’s some tips that may be useful to you if you own a Brother SE600.
- If you quilt, buy a 1/4 foot at the same time as the machine doesn’t come with one.
- Use USB Pendrive to upload your very own designs into the machine using the USB slot.
- Use the manual at first to operate the device correctly.
Frequently Asked Questions
Why Brother Brand?
Brother aka Yasui Sewing Machine Co. is one of the most trusted brands over the world. It has started its journey over 112 years ago in Japan. Many of the machines of this brand has received Women’s Choice Award including the one I’m reviewing which is called “Brother SE600”.
This brand is the most liked and famous brand for embroidery and sewing machines. They create the best quality products and the products are also very durable.
For whom is this device suited for?
This device is suited for both beginners and experts as they provide manual, technical support. And Brother machines are usually easy to operate due to their simple controls.
Not only that, this device also provides many embroidery designs (80) and also many stitches (103) which makes it suitable for experts.
How fast is Brother SE600?
Brother SE600 is a pretty fast device. When you’re stitching on sewing the speed is 710 stitches per minute and when you’re embroidering the speed is 400 stitches per minute! That’s a decent and more than enough speed! You can save your valuable time and effort with this precious device.
Is the device adjustable?
Yes, using the foot controller you can decide how fast the machine will sew (when you fully depress the foot controller). You can also adjust the height and width of the embroidery design. Also, if you wanna adjust the thread tension you can do so by using the thread tension dial on the upper part of the machine.
What are the suitable materials for this device?
Brother SE600 can sew both thick and thin materials. From cotton to leather, you can sew everything which is sewable. But for thick materials sew at a slower speed than usual.
The manual has the instruction that what size of needle you need to use for each type of fabric so you don’t need to make a guess!
Can you change stitches size?
Yes, you can. But this may not work for all the stitches but you can change the length and width of most stitches if you want to keep the changes, save the settings, or else you may lose the modified size of the stitches the next time.
Is the LED light bright?
Yeah, it is enough bright to most of the customers but some might still not find it bright enough, it can be due to eyesight problems. If anyone gets this problem, you should use an external bright light such as a lamp.
Is the thread tension adjustable?
Yes, it is adjustable for both sewing and embroidery. To adjust the thread tension you need to use the thread tension dial.
What should be the format of the embroidery designs?
The formats of the embroidery designs should be .pes. Please give it a check before you download or purchase any embroidery designs or else it may not be compatible with the device.
Can I use Mac/Windows/Linux to upload the embroidery designs?
Yes, you can use Windows, Linux, or Mac. Any devices will work as long as the format is .pes. So, mac or Linux users don’t be worried! This device is Mac & Linux friendly too as well as Windows!
Does it have a foot control panel?
Yeah, this device comes with a standard foot pedal that works in conjunction with the speed controller when you sew to fix the fastest speed!
Is it loud?
Not really, this device works quietly and doesn’t usually makes much noise unless you use it in the fastest speed.
Will I receive a cover with it?
Yes, but the cover won’t be a hard, plastic, protective one. It’ll be a simple dust-protective cover. Considering the price you can’t really expect a hard protective cover with this machine.
Why should I get the Brother SE600 instead of SE400?
Because this one is more upgraded, this one has a color LCD screen, more stitches, and embroidery designs than the previous one. So, we’d definitely recommend this one. The Brother SE400 has 67 stitches but this one has 103, for built-in embroidery designs Brother SE400 has 70, this one has 80!
Brother SE400 vs. Brother SE600 comparison?
We’ll show the differences between both two products side by side now, if any features are not included down below, that means they are the same in both of the machines.
Brother SE400
- Built-in Designs 70
- USB Port: No
- LCD Screen
- Monogramming Font: 5
Brother SE600
- Built-in Designs 80
- USB Port: Yes
- LCD Touch Screen
- Monogramming Font: 6
Short FAQ:
Q: Can you make custom patches with Brother SE600?
Answer: Yes, you can make custom patches with SE600.
Q: Is Brother SE600 good for beginners?
Answer: Yes, Its easy to learn, elegant & classy in size. SE600 is totally a perfect machine for beginners to use.
Q: What are the side products I get with Brother SE600?
Answer: You’ll receive those following products down below with the Brother SE600:
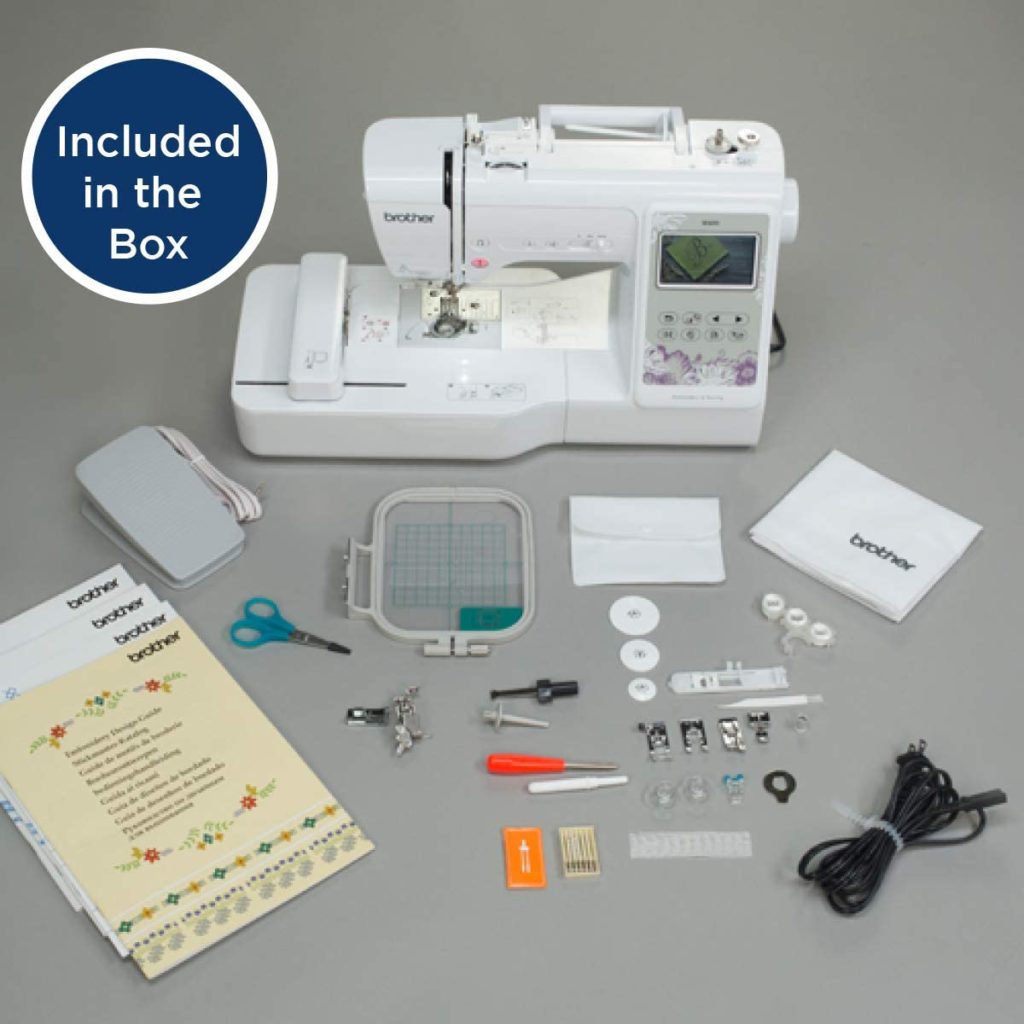
- Embroidery arm.
- 4″x4″ embroidery hoop.
- Embroidery foot.
- 3 bobbins pre-wound.
- 7 Sewing feet: Spring-action zigzag (on the machine), buttonhole, zipper, button sewing, blind stitch, overcasting, monogramming feet.
- Twin needle, darning plate.
- Bobbins (2), bobbin clips (3), 6-piece needle set, disk-shaped screwdriver, 4 spool caps, spool net, scissors, cleaning brush, power cord.
- Foot controller.
- Machine dust cover.
- English/Spanish operation manual and quick start guide.
Q: Can you import other fonts?
Answer: No but you can download fonts and transfer the individual letters to the machine.
Q: Can I increase the embroidery area?
Answer: No, the maximum embroidery area of the machine is 4 x 4 and you cannot increase it more.
Compatible Threads&Bobbins
Bobbins
144 Pre-wound White Bobbins, 25pcs Assorted Colors Size A Class,
Threads
Conclusion
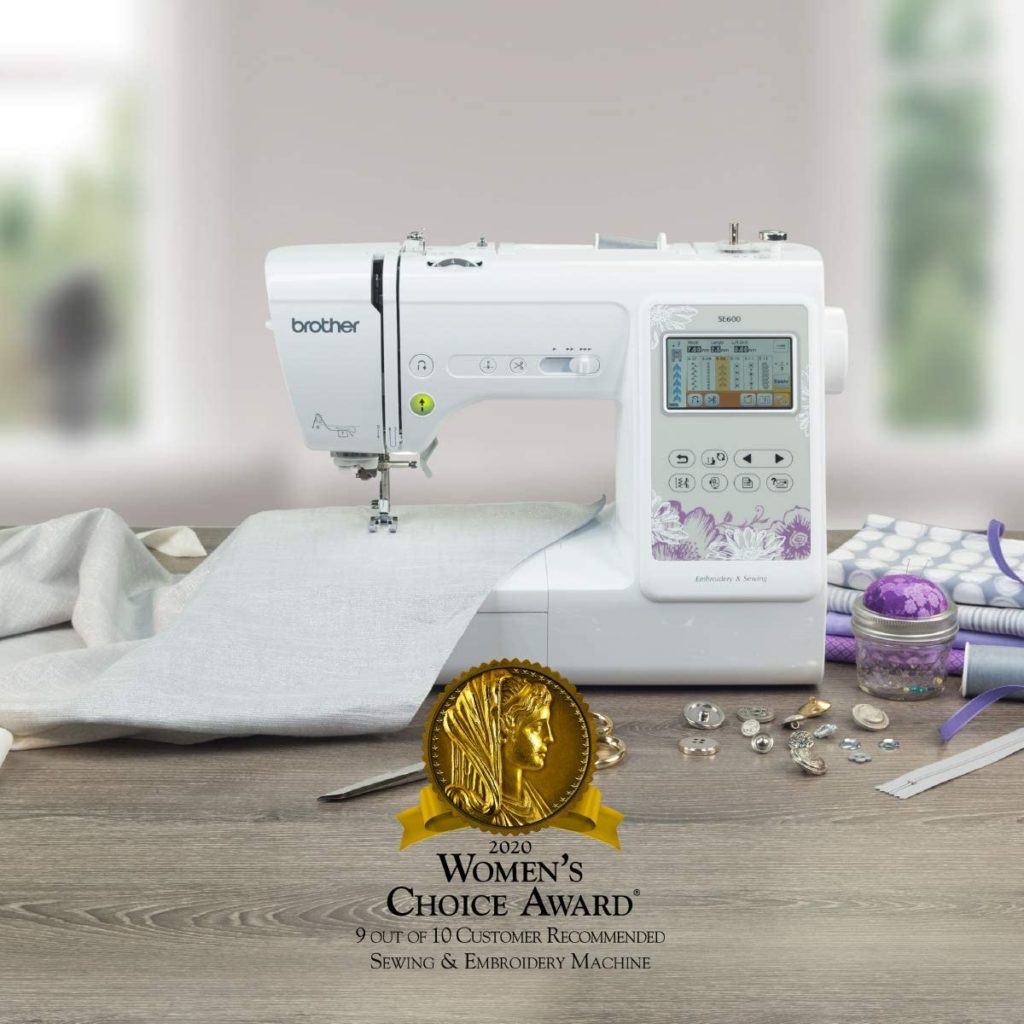
So, what do you think? Is Brother SE600 a worth it machine? If you’re a beginner the answer is yes, it’s an amazing product for beginners, it’s very easy to use, quiet & works smoothly and just about perfect. If you’re an expert or using it for working purposes the answer is also yes! It offers many great features such as jam-resistant drop-in top bobbins, 103 stitches, touch screen display, etc. And how about the price? The price is totally suitable (315$) both for working purposes and hobby purposes.
One Comment