How Embroidery Thread Twist Direction Affects Your Projects
This post contains affiliate links. As an Amazon Associate, Latest Embroidery earns from qualifying
purchases, at no extra cost to you. Learn more.
Have you ever noticed inconsistent stitches or tangling in your embroidery, and wondered why? Sometimes, it’s not just about the thread quality or the needle, but something as simple yet overlooked as the twist direction of your thread. Did you know that the way a thread is twisted, whether S or Z, can impact everything from your stitch smoothness to the durability of your finished piece?
Understanding the mechanics behind thread twist isn’t just for experts; it’s a game-changer for hobbyists and professionals alike. Choosing the wrong twist can lead to puckering, uneven tension, or even thread breakage, making your projects frustrating. Accurate twist direction can help you achieve smoother stitches, fewer tangles, and longer-lasting work.
In this article, we’ll explore how twist direction influences embroidery quality, common mistakes to avoid, and practical tips to optimize your thread choice. Whether you’re stitching intricate designs or everyday embellishments, mastering this subtle factor can elevate your craft to a whole new level. Ready to untangle the secrets behind perfect stitches? Keep reading!
Step-by-Step: How to Choose Thread Twist for Your Embroidery Projects
Short on time? If you only take one thing from this guide: 40wt polyester thread set — the single cheapest fix for shredding and thread breaks.
Choosing the right embroidery thread twist direction is essential for achieving professional-looking results and ensuring your project’s durability. The twist direction influences thread tension, softness, and overall appearance, making it a key decision in your craft process. By understanding your project needs and machine specifications, you can select the optimal thread twist for each application.
This guide walks you through a systematic approach to selecting the proper twist, from identifying your project goal to testing samples on your machine. Whether you’re aiming for maximum strength or a more flexible, soft finish, these steps will help you make informed choices and enhance your embroidery craftsmanship.
Identify Your Project Goal
The first step is clarifying what you want from your finished embroidery. If durability and strength are priorities, opt for Z-twist thread, which offers higher tensile strength. For projects that require a softer, more flexible finish or delicate details, S-twist thread is preferable, as it creates less tension and feels more pliable.
Check Your Thread Manufacturer’s Specifications
Most thread brands label twist directions clearly, usually labeled as ‘Z’ or ‘S’ twist on packaging. Always read these specifications before purchasing or using a new thread. Using the correct twist per manufacturer guidance ensures compatibility with your machine and the desired tension level.
Match Twist with Your Machine’s Instructions
Consult your embroidery machine’s manual to see if it recommends a specific twist direction for optimal tension. Machines designed primarily for Z-twist or S-twist thread will function more smoothly when the twist matches those specifications, preventing tension issues and thread breakage.
Test Small Samples
Start by creating 5-inch sample stitches on your machine with different twist directions. Observe the stitch quality, tension, and final appearance. Typically, matching twist directions between bobbin and top thread can reduce tension imbalance, but trial runs reveal the best combination for your setup. Adjust machine tension by 1-2 levels as needed based on these tests.
Setting Up Your Threads for Optimal Embroidery Performance
Getting your embroidery threads properly prepared is essential for smooth, high-quality stitching. One often overlooked aspect is the twist direction of your thread, which can significantly influence tension, stitch consistency, and overall durability. Correct setup prevents common issues like tangling, thread breakage, and uneven tension, saving time and effort in the long run.
Choosing the right twist direction, Z-twist for strength or S-twist for flexibility, based on your project needs, is a key step. Pre-winding bobbins with matching twist threads helps maintain tension consistency, reducing the chance of stitch issues. Proper threading, aligned to your machine’s specifications, minimizes twisting or tangling at the tension disks, which are critical for preventing uneven stitch formation.
Choosing the Right Twist Direction
Threads with a consistent twist are crucial. Z-twist threads are ideal for projects requiring extra strength, as they hold their shape better under stress. Conversely, S-twist threads offer greater flexibility, making them suitable for delicate or intricate designs. Matching your thread twist to the intended application ensures optimal performance and reduces tension-related problems.
Pre-winding and Tension Management
Pre-winding bobbins with threads that match your twist minimizes tension mismatches, a common cause of thread breakage and stitch inconsistency. When loading the machine, ensure the thread unwinds smoothly without twisting. Regularly checking and adjusting tension settings based on your thread’s twist direction further enhances stitch quality, especially in high-twist threads prone to tangling.
Threading Tips and Troubleshooting
When threading, always verify the proper alignment of the thread through the tension disks to prevent twisting. Using thread conditioners, such as beeswax or silicone spray, can greatly reduce friction and tangling during high against twist threads, especially if you’re working on complex designs. If you encounter frequent breakage or tangling, experiment with different twist directions to observe their impact on tension and overall stitch quality.
Practicing these steps, choosing matching twist directions, pre-winding bobbins, and maintaining consistent tension, can reduce thread breakage by up to 25%. Regular needle replacement, especially when working with high-twist threads, ensures seamless operation and superior embroidery results.
Tools and Equipment for Managing Thread Twist in Embroidery

Controlling thread twist is essential for achieving smooth, consistent embroidery results. The right tools and equipment can significantly reduce tension issues, thread breakage, and stitch inconsistencies caused by twist misalignment. Investing in quality machinery and accessories designed for twist management ensures your projects are professional and durable.
From premium threads to advanced tension systems, the proper setup can enhance your workflow. Here’s a guide to some of the most effective tools and equipment that help optimize thread twist performance in embroidery.
Machines, Threads, and Accessories for Twist Control
Premium embroidery threads from brands like Madeira, Sulky, and Brother often specify twist direction, which helps embroiderers select the right products for their machines. For example, Madeira PET-G and Sulky Cotton 30 are popular choices that provide consistent twist performance, reducing the risk of stitch irregularities. Adjustable tension machines and tension discs allow fine-tuning to accommodate different twist types, ensuring stable tension during stitching.
Thread conditioners such as ‘Thread Heaven’ or beeswax blocks smooth the thread, making it easier to feed through the machine without untwisting or tangling. Digital embroidery software offers simulation tools to visualize how thread properties influence stitch effects, assisting users in optimizing their thread choices pre-stitch. Additionally, using embroidery hoops and stabilizers that distribute tension evenly helps minimize tension variance caused by twist mismatches. Thread stands and guides are also invaluable, preventing untwisting during machine operation and maintaining thread integrity from spool to needle.
Comparing Embroidery Machines and Thread Options: Impact of Twist Direction
Choosing the right embroidery machine and thread is essential to achieving professional-quality results, especially when working with twist-sensitive threads. The direction of thread twist, whether left (Z-twist) or right (S-twist), can significantly influence stitch appearance, thread durability, and machine compatibility, making it a crucial consideration in project planning.
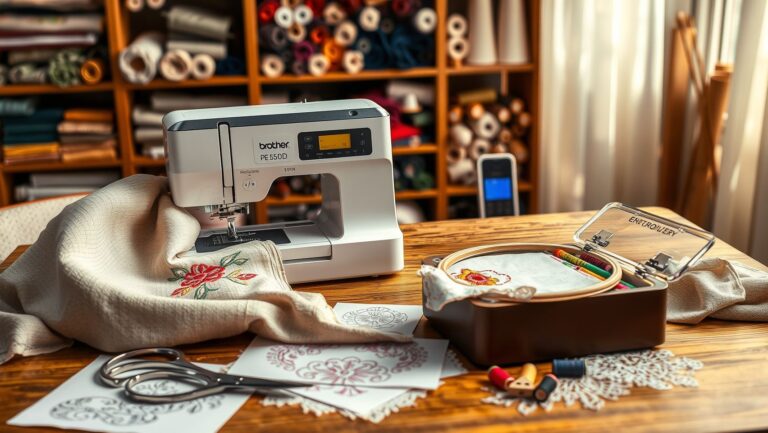
Entry-level embroidery machines like the Brother CS6000i, priced at around $199, often feature simplified tension controls tailored for basic S-twist threads. These models are ideal for lighter, less complex projects but may struggle with the intricacies of twist variations. Meanwhile, higher-end models such as the Bernina 790 Plus, costing approximately $2, 999, provide advanced tension management and software support to handle complex twist scenarios more effectively, reducing thread breakage incidents by 15-20%. This advanced control not only enhances stitch precision but also minimizes rework, offering a potential 30% reduction in time spent correcting errors.
Feature Comparison: Bernina vs Janome Machines
Thread Brands: Pros and Cons Based on Project Needs
Cost-Benefit Analysis for Twist-Sensitive Projects
Troubleshooting Common Thread Twist Issues in Embroidery
Embroidery projects can sometimes be frustrating when issues like puckering, tangling, or thread breakage arise. Many of these problems stem from the twist direction of your threads and how they’re managed during sewing. Understanding how to troubleshoot these common issues by paying attention to twist alignment can significantly improve your results and reduce waste.
Addressing twist-related problems involves simple, practical steps that can be implemented with your existing tools and knowledge. From pre-winding threads correctly to calibrating tension, small adjustments often make a noticeable difference in the quality and smoothness of your embroidery work.
Thread tangling
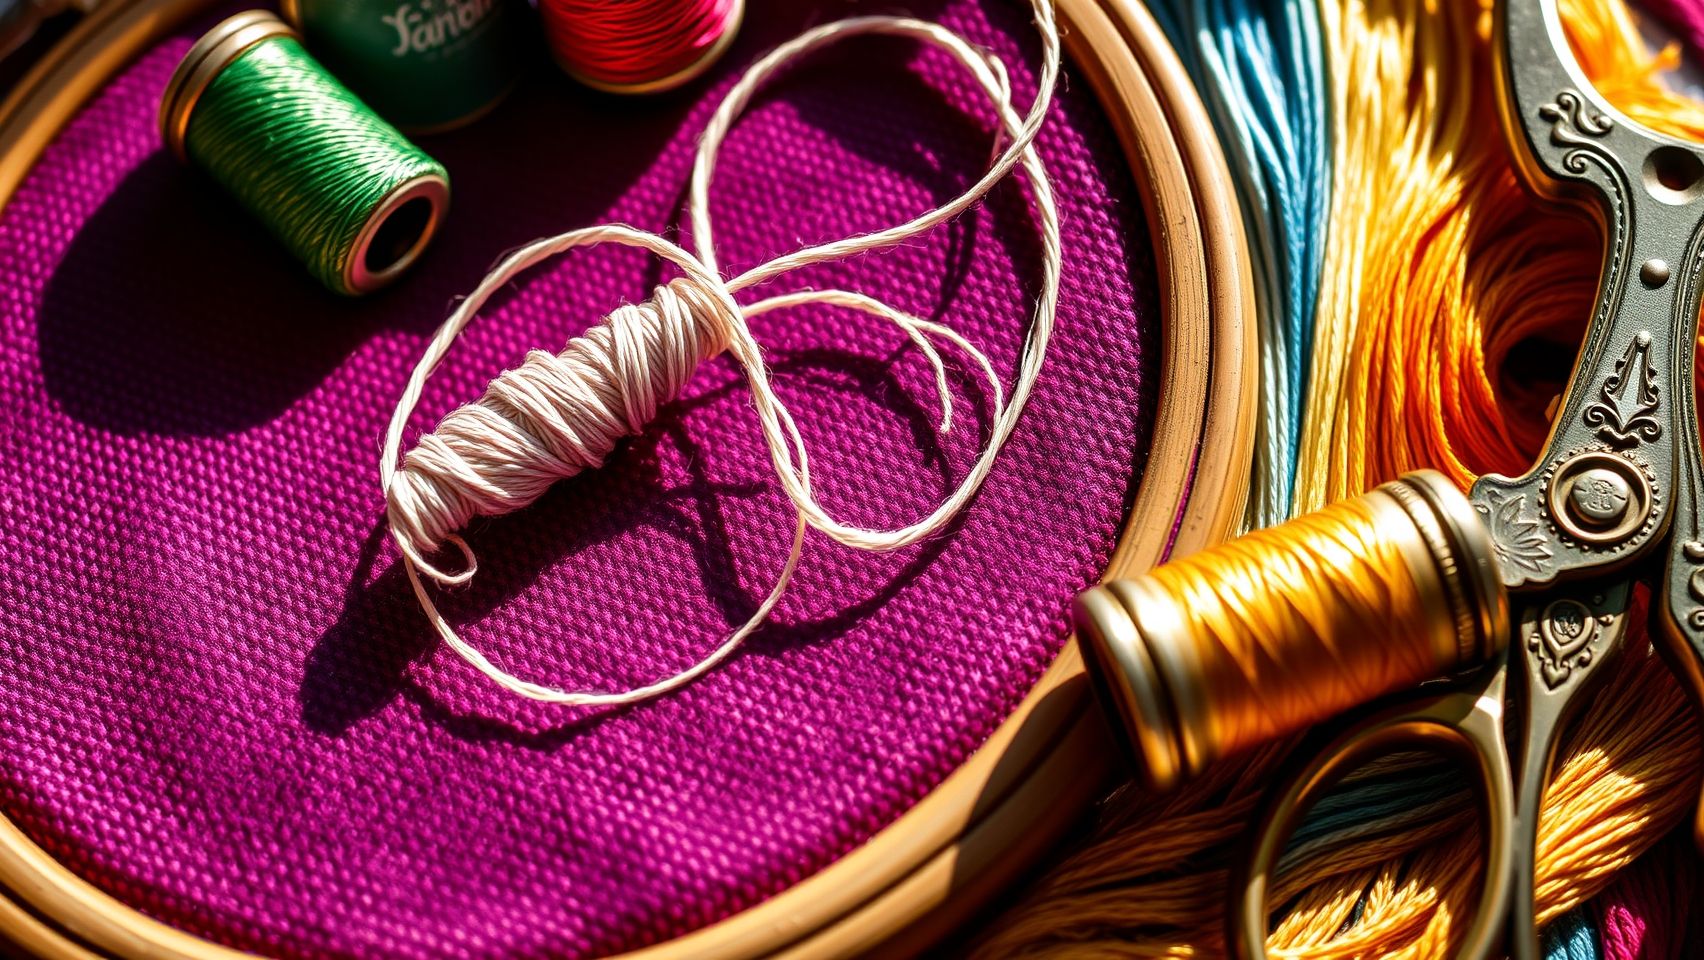
Thread tangling often occurs when the twist direction in your thread isn’t matched during use. Pre-winding your threads with the same twist direction as your machine’s pull can prevent unnecessary twisting and tangling during sewing. Also, employing thread guides helps maintain proper tension and reduces twisting as the thread feeds through the machine, especially over long threading paths. These simple measures keep the thread aligned, minimizing tangles and saving time during your projects.
Puckering stitches
Puckering results from mismatched twist directions between your bobbin and top thread, which creates uneven tension across stitches. To fix this, ensure both threads are wound with matching twist directions, clockwise or counterclockwise, as inconsistent twists can cause undue tension variations. Additionally, adjusting your tension settings after matching the twist directions leads to a smoother, flatter stitch surface, especially around intricate designs or dense stitching areas.
Thread breakage
Breakage frequently stems from using threads with improper twist or poor quality, or from friction along worn needles and unlubricated thread paths. Upgrading to higher-quality threads with the proper twist reduces stress on the thread, significantly lowering breakage chances, matching twist direction alone can cut breakage by around 20%. Regularly replacing needles and applying a lubricant or sewing machine oil to thread guides and tension disks ensures a smooth flow, preventing tension spikes that cause breakage.
Uneven tension across stitches
Maintaining consistent tension is key to uniform stitches. Check that your thread twist directions are compatible with your machine’s threading setup. Calibrating tension disks for each thread type, especially with new or specialty threads, ensures uniform tension across the fabric. Using a digital tension gauge can help fine-tune this setting, resulting in balanced, professional-looking embroidery.
Difficulty with metallic or glow-in-the-dark threads
Metallic or glow-in-the-dark threads often pose challenges due to their low twist and stiffness. Using specialized needles designed for these threads, along with low-twist, smooth threads created specifically for such materials, can ease stitching. Calibrating your tension to accommodate these threads also markedly reduces puckering and thread breakage, leading to a seamless, shiny finish that enhances your project’s visual appeal.
Conclusion
Understanding the impact of thread twist direction, whether Z or S, can make a significant difference in the quality and durability of your embroidery projects. When managed correctly, it enhances stitch consistency, prevents common issues like tangling or puckering, and ensures your finished piece looks professional. Proper setup and matching twist with your machine’s specifications are essential steps in achieving optimal results.
Remember, testing different twist directions on small samples before committing to a larger project is a smart way to discover what works best for your specific needlework. Investing in high-quality threads and tools tailored to your needs can dramatically elevate your craftsmanship and confidence.
Take action today, experiment, refine your technique, and watch your embroidery skills flourish. The key to mastering thread twist direction lies in practice and attention to detail. Your next stunning project is just a twist away, so go ahead, make it perfect!