How to Reduce Embroidery Machine Noise for Home Use in 5 Steps
If you embroider after the kids are in bed, share walls with light sleepers, or simply want a quieter home embroidery setup, you already know the problem: that steady hum, the needle-bar clatter, and the low vibration that travels through the floor can feel impossibly loud at 11 p.m. This 2026 guide is written specifically for night stitchers and anyone in a shared space who needs quiet embroidery without giving up their machine or their evenings. You do not need a sound studio. You need a handful of practical fixes, the right inexpensive gear, and a little planning around when and how fast you run.
Below you’ll find five actionable steps to make your embroidery quieter, a scannable decibel-and-cost comparison table of every noise-reduction method, a dedicated section on embroidering at night without waking the house, and a quick FAQ answering the questions most light sleepers ask. From a simple anti-vibration mat to smart speed settings and time-of-day scheduling, you can meaningfully cut noise this week. Ready to turn a noisy hobby into a peaceful, neighbor-friendly one? Let’s dive in.
Quiet Embroidery for Light Sleepers: Start Here
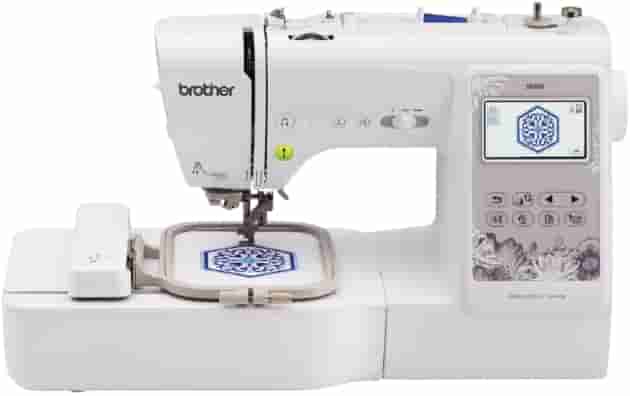
Short on time? If you only take one thing from this guide: Brother SE700 — the machine we point most beginners to — touchscreen, wireless transfer, and it sews as well as embroiders.
The single most common reason people search for quieter embroidery is simple: someone in the house is a light sleeper, and the machine runs at exactly the wrong hours. If that’s you, the good news is that the biggest wins come from the cheapest changes. Before you build an enclosure or shop for a new machine, do these three things first.
Decouple the machine from the surface it sits on. Most of the noise that travels to other rooms isn’t airborne hum, it’s structure-borne vibration moving through your table, into the floor, and along shared walls. An anti-vibration mat or a set of rubber feet between the machine and the table breaks that path and is the highest-impact, lowest-cost fix available to a home embroiderer.
Move the machine away from shared walls and bedrooms. A few feet of distance and a solid interior wall do a surprising amount of work. Placing your setup in a corner away from the wall you share with a sleeping family member (or a neighbor) keeps both the airborne sound and the transmitted vibration from reaching them.
Slow the machine down at night. Lowering your stitch speed is the one adjustment that costs nothing, requires no gear, and audibly reduces noise immediately. We cover the speed-versus-noise tradeoff in detail below, but if you only change one habit for late-night stitching, make it this one. These three moves, isolate, relocate, slow down, solve the light-sleeper problem for most home setups before you spend a dollar on soundproofing.
What the Research Says About Embroidery Machine Noise Levels
Related reading: best home embroidery machines under $300

Understanding how loud your machine actually is helps you set realistic expectations for a quiet, neighbor-friendly home setup. Domestic sewing and embroidery machines typically run in the range of roughly 60 to 75 dB during normal operation, comparable to a conversation at the louder end, or a vacuum cleaner heard from across a room. The exact figure depends on the machine, the speed setting, what it’s sitting on, and the density of the design being stitched.
Commercial and industrial embroidery machines are a different story. They commonly measure higher, often in the ~67 to 85+ dB range, and workplace assessments have recorded multi-head industrial embroidery operations around 76–80 dB. That matters for more than annoyance: prolonged exposure above roughly 85 dB can risk hearing damage over time, which is why commercial embroidery shops often use hearing protection. For a single home machine you’re nowhere near that territory, but it’s a useful reference point: your domestic machine is firmly in the “annoying to a sleeper next door” band, not the “harmful” band.
Key Factors Influencing Noise Levels
Several things determine where your specific machine lands in that 60–75 dB window. Speed is the big one, a machine running at 1, 000 stitches per minute is meaningfully louder than the same machine at 400. Build quality matters too: heavier machines with metal frames tend to transmit less rattle than light, plastic-bodied models. Stitch density plays a role, since dense fills and frequent jumps drive the needle bar and hoop harder. And finally, the surface the machine sits on can add or subtract several decibels all on its own.
You don’t need lab equipment to track any of this. A free smartphone sound-meter app gives you a rough, consistent baseline so you can measure before and after each change. The number won’t be perfectly accurate, but the direction, quieter or louder, is reliable, and that’s all you need to know whether a fix is working. For the most useful reading, measure from the spot that matters, the doorway, the shared wall, or the hallway outside, rather than right next to the machine. What you care about isn’t how loud it is at the needle; it’s how loud it is where the sleeper is.
It also helps to understand that decibels are logarithmic, not linear. A drop of around 10 dB is roughly perceived as “half as loud, ” and even a 3 dB reduction is a clearly noticeable change. That’s why stacking several small fixes, each shaving off a few decibels, adds up to a result that feels dramatically quieter, even though no single change is large on its own. Don’t dismiss a method just because its individual reduction looks modest on paper; the combined effect is what reaches the bedroom door.
Noise-Reduction Gear Compared
Not every fix is worth the same effort, and a few cost almost nothing. The table below compares the practical noise-reduction methods for a home embroidery machine, what each one does, a realistic ballpark for how much quieter it can make things, the rough cost, and how much effort it takes to set up. Decibel reductions are given as approximate ranges because real-world results depend heavily on your machine, your floor, and what you stack the methods with; treat them as guidance, not guarantees.
The pattern is clear: the cheapest methods, isolating the machine, slowing it down, and scheduling smartly, deliver most of the practical benefit. The bigger investments (a dedicated dense table, a built enclosure, or a quieter machine) are worth it only once you’ve exhausted the easy wins. Stack two or three methods together and the improvement compounds well beyond what any single fix delivers on its own.
If you’re not sure where to start, work down the table from the top. Begin with the anti-vibration mat, because vibration is the noise that travels furthest and bothers sleepers most. Add rubber feet next if any rattle remains. Then, if you still need more, address the surface and the schedule before you ever consider spending real money on an enclosure or a new machine. Most home embroiderers find their setup is “quiet enough” somewhere in the first two or three rows, the lower rows exist for apartments, thin walls, and the most committed night owls.
Step-by-Step: How to Soundproof Your Embroidery Workspace

Embroidery machines can be surprisingly noisy in home environments where sound control is limited. The following steps work from the most effective and affordable fixes upward, so you can stop as soon as your space is quiet enough. Most home stitchers never need to go past step three.
Step 1: Place the Machine on an Anti-Vibration Mat
This is the highest-value first move. Position your embroidery machine on a dedicated anti-vibration mat or a thick, high-density rubber pad. This dampens the vibrations that are the main source of transmitted noise, the low rumble that travels through your table into the floor and walls. A good mat noticeably reduces both the sound that reaches other rooms and the wear-and-tear vibration places on the machine itself. If you do nothing else, do this.
Step 2: Add Rubber Feet or Isolation Pads
For machines that still rattle, small rubber isolation pads or feet under each corner add a second layer of decoupling. They’re inexpensive, take seconds to fit, and target the high-frequency clatter a flat mat sometimes misses. Combined with the mat in step one, you’ve now broken the main vibration path for just a few dollars.
Step 3: Use a Heavy, Dense Work Surface
A flimsy folding table acts like a sounding board, amplifying everything. Swapping to a heavy MDF or solid-wood surface, or even slipping an MDF board between the machine and a light table, lowers the resonant noise floor measurably. Mass is your friend here: the denser and heavier the surface, the less it sings along with the machine.
Step 4: Treat Reflections and Leaks (Optional)
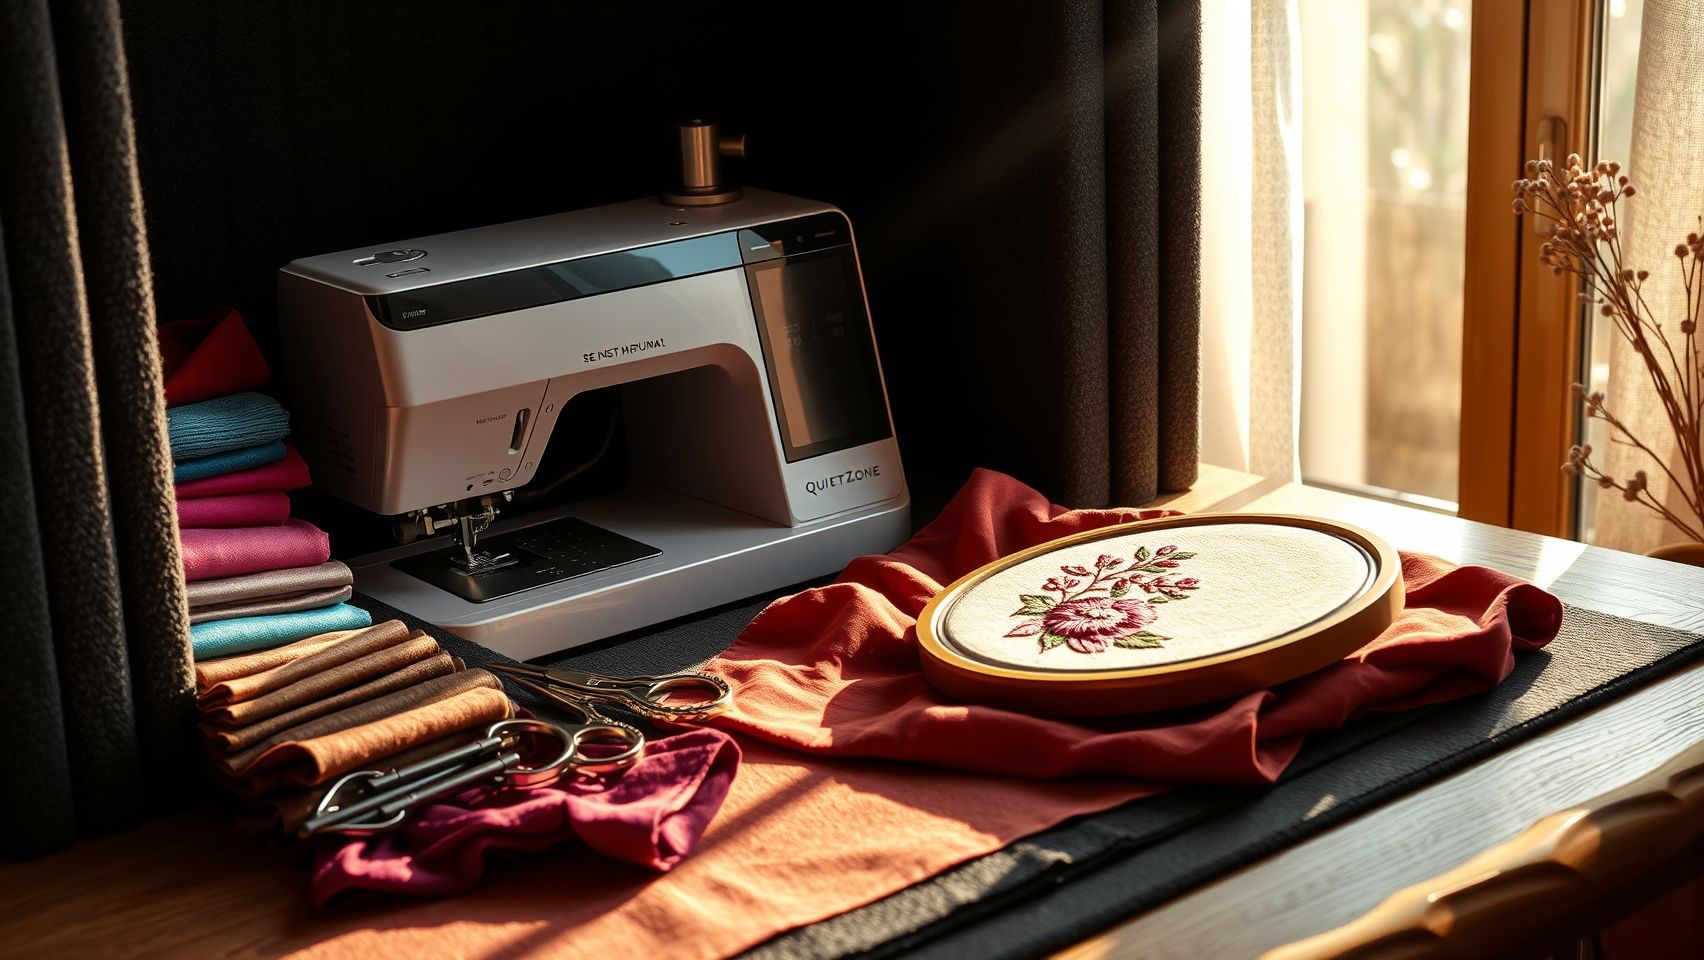
If airborne noise is still escaping, soft furnishings help. Acoustic foam panels, a thick rug or carpet underfoot, heavy curtains, or even a folded moving blanket around the workspace absorb sound reflections and stop them bouncing into the hallway. Soft flooring under the whole setup is especially effective for night work. These are diminishing-returns measures, useful, but only after the vibration fixes above.
Step 5: Build or Buy an Enclosure (Advanced)
For the quietest possible result, a partial enclosure lined with sound-dampening foam contains a meaningful amount of airborne noise. A simple three-sided box of MDF or plywood, lined with foam and left open at the front for access, is a popular DIY route. This is the most effort for the most reduction, and it’s genuinely useful in apartments or shared walls, but it’s overkill for many homes that are already quiet after steps one through three.
Apply these collectively and measure before and after with a free decibel app. The combination of an anti-vibration mat, isolation pads, and a dense surface alone gets most home machines from “wakes the house” to “barely noticeable from another room.”
Embroidering at Night Without Waking the House
This is the heart of the matter for light sleepers and night stitchers. Soundproofing gear matters, but how and when you run the machine matters just as much. The goal at night isn’t to eliminate every sound, it’s to keep the noise below the threshold that pulls a sleeping person back toward waking, which is far lower than the threshold that annoys someone who’s already awake. A sleeper is most sensitive to sudden changes and to low rumbling that travels through the structure, so the night strategy is all about steadiness, isolation, and timing. Here’s how to embroider at night without disturbing anyone.
Position the Machine Away from Shared Walls and Bedrooms
Distance and barriers are free. Set up as far as you can from any wall you share with a sleeping family member or neighbor, and keep the machine off floors directly above or below a bedroom where possible. A solid interior wall between your workspace and the sleeper blocks a surprising amount of both airborne and transmitted sound.
Run Slower at Night
During quiet hours, drop your stitch speed. A machine at a reduced speed setting is audibly gentler, less needle-bar impact, less hoop movement, less rumble. You trade some throughput for peace, which is exactly the right trade after dark. This single habit does more for nighttime quiet than most gear purchases.
Schedule Long, Dense Runs for Daytime
Dense fills, large designs, and jump-heavy files are the loudest jobs you’ll run. Batch those for daylight hours when no one’s asleep, and save the quiet, lighter work, outlines, small monograms, finishing, for evenings. A little planning around your queue eliminates the worst noise from your night sessions entirely.
Use Soft Flooring and Headphones
A thick rug or carpet under the machine and table absorbs vibration that hard floors transmit straight through the house. And for your own comfort, so you can run a little later without straining to hear, a pair of headphones or earbuds lets you monitor audiobooks or music while keeping the room’s sound contained. Combined with the placement and speed tips above, you can comfortably stitch into the evening without a single complaint from the rest of the house.
Keep the Machine Maintained
A neglected machine gets louder over time. A dry, dusty, or under-oiled machine develops squeaks, grinds, and rattles that a well-kept one simply doesn’t have. Staying on top of routine care, covered in our daily, weekly and monthly maintenance checklist, keeps your machine at its quietest baseline and is the first thing to check if it suddenly gets louder.
Speed vs Noise Tradeoff
It’s worth understanding why slowing down works so you can dial it in deliberately. Noise from an embroidery machine rises with stitch speed: more stitches per minute means more needle penetrations, more hoop reversals, and more mechanical impact per second, all of which add up to a louder, busier sound. Lowering the speed setting reduces every one of those events, which is why the drop is immediate and audible.
The tradeoff, of course, is time, a slower run takes longer to finish. The sweet spot for night work is a speed low enough to keep the noise unobtrusive but high enough that small projects still finish in a reasonable window. The right setting also protects stitch quality on tricky fabrics. For a full breakdown of choosing the optimal speed for clean results, see our guide on how to set embroidery machine speed for perfect stitch quality. Vibration and speed are closely linked, too, if your machine shakes the table at higher speeds, our guide on reducing embroidery machine vibration tackles the stability side of the same problem.
Recommended Quiet-Embroidery Supplies
These are the inexpensive items that deliver the most quiet per dollar, plus a quieter-machine upsell for anyone ready to solve the problem at the source. As an Amazon Associate, we earn from qualifying purchases, at no extra cost to you.
Choosing a Quieter Embroidery Machine
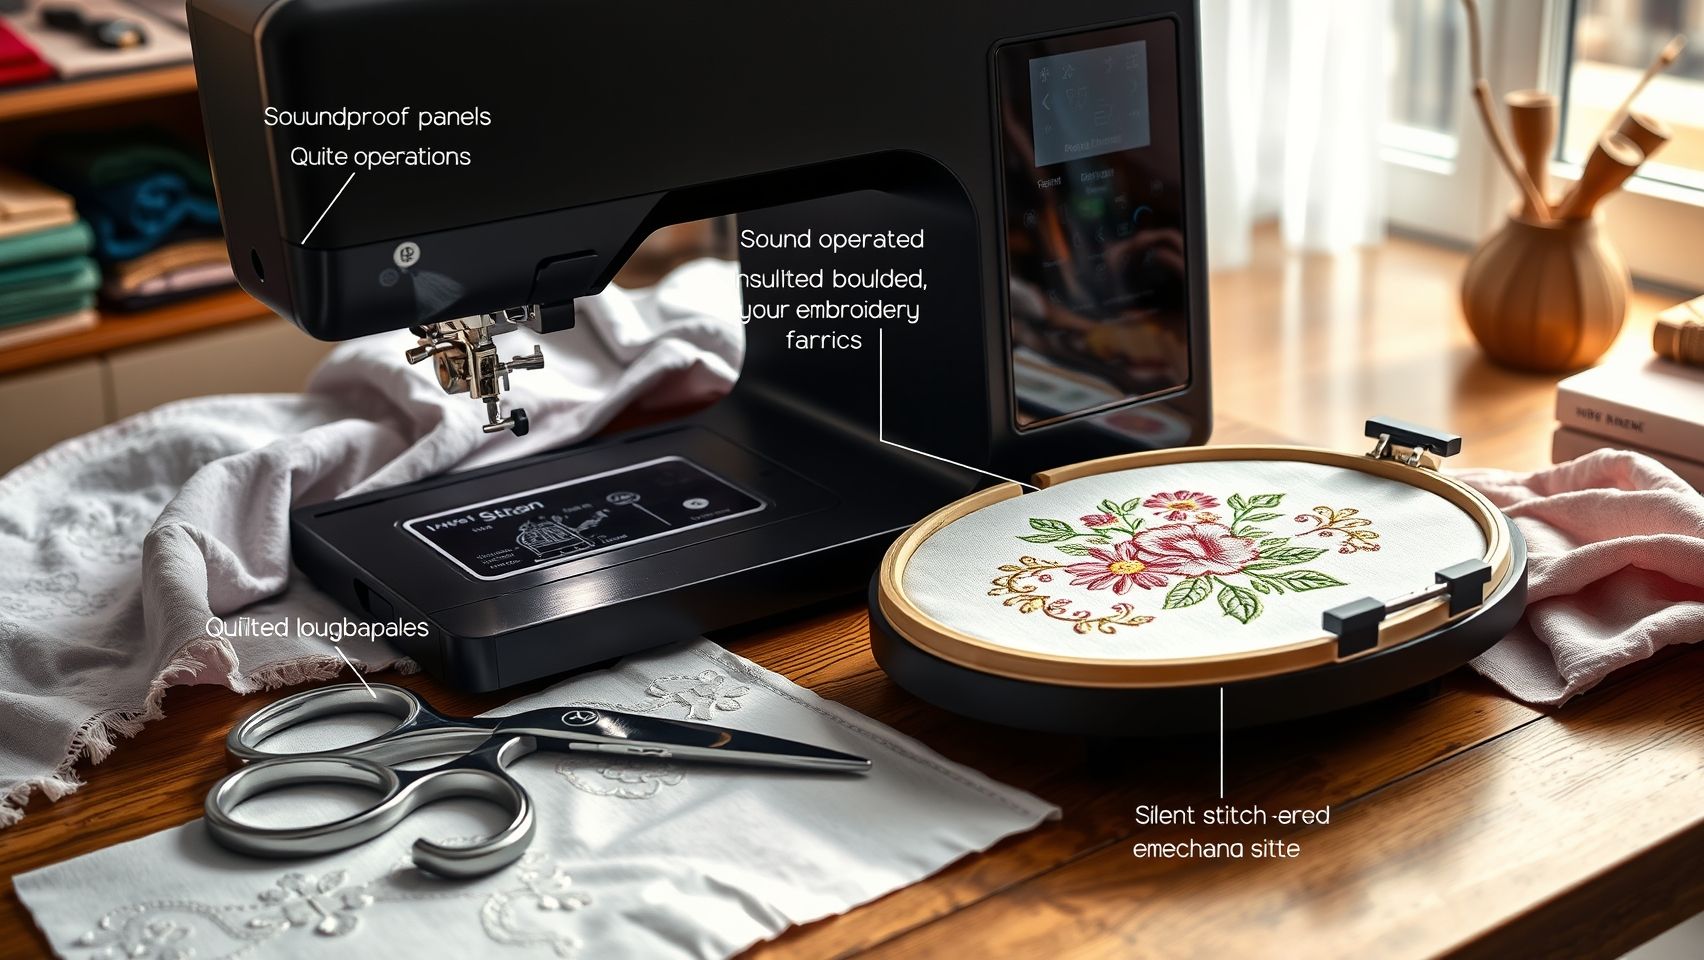
If you’ve isolated, slowed, and scheduled and the machine itself is still the bottleneck, the hardware is worth examining. Quieter operation generally comes down to a few characteristics rather than any single magic model.
Look for a heavier machine with a metal internal frame, which resonates and rattles far less than a light plastic body. Mid-range and higher-end home machines from established brands tend to run toward the quieter end of the domestic 60–75 dB range, particularly at moderate speeds. Many newer models also let you cap the maximum speed, which doubles as a built-in night-mode for noise. Premium machines add refined drive systems and better-isolated motors, but you pay a steep premium for the last few decibels, for most home stitchers, a solid mid-range machine plus the cheap isolation gear above lands in the same quiet place for far less money.
Whatever you run, keeping the motor and drive in good health is part of staying quiet. If your machine has developed an unfamiliar growl or grind, our guide on maintaining and troubleshooting your embroidery machine motor walks through diagnosing it before you assume you need a replacement.
Final Tips to Keep Your Embroidery Sound Levels in Check

Quiet embroidery in 2026 is a matter of layering simple habits, not buying your way out of the problem. Consistent maintenance, smart placement, the right speed, and a little inexpensive isolation gear together keep noise comfortably below the threshold that bothers light sleepers.
Maintain Regular Machine Upkeep
A well-oiled, clean, properly adjusted machine is a quiet machine. Routine maintenance prevents the squeaks, grinds, and extra vibration that creep in over time, and it’s the first thing to revisit if your machine suddenly gets louder.
Combine Methods for Compounding Results
No single fix wins alone. An anti-vibration mat plus isolation pads plus a dense surface plus a lower speed setting compounds into a far quieter result than any one of them, and most of that stack costs very little.
Mind the Placement and the Clock
Keep the machine away from shared walls and bedrooms, on soft flooring where you can, and schedule the loud, dense jobs for daytime. Free, simple, and remarkably effective for night stitchers.
Measure So You Know It’s Working
Use a free decibel app to check before and after each change. The exact number doesn’t matter, the trend does. Watching the level fall tells you which fixes earned their place in your setup.
Frequently Asked Questions
How loud is an embroidery machine in decibels?
Domestic sewing and embroidery machines typically run in the range of roughly 60 to 75 dB during normal use, loud enough to disturb a light sleeper in the next room, but not harmful. Commercial and industrial embroidery machines are louder, commonly around ~75 to 85+ dB, with workplace assessments recording figures near 76–80 dB on industrial embroidery; sustained exposure above about 85 dB is where hearing protection becomes important. Your actual level depends on the machine, the speed, the surface it sits on, and the design density.
What is the best anti-vibration mat for a sewing or embroidery machine?
The best mat is a thick, high-density rubber or composite anti-vibration pad sized to sit fully under your machine’s footprint. Density and thickness matter more than brand, a dense mat absorbs the low-frequency vibration that travels into your table and floor, which is the main source of transmitted noise. Pairing the mat with small rubber isolation feet under each corner improves results further. You can compare anti-vibration sewing mats here.
Does slowing the machine down reduce noise?
Yes. Lowering your stitch speed reduces the number of needle penetrations and mechanical impacts per second, which audibly lowers the noise the machine produces. It’s the only fix that’s completely free, instant, and requires no extra equipment, the trade is simply that the job takes a little longer to finish. For night work it’s the single best habit to adopt. See our embroidery machine speed guide for choosing a setting that stays quiet without hurting stitch quality.
Can I embroider at night without disturbing others?
Absolutely, most people can stitch into the evening without complaints by combining a few free habits with cheap gear. Place the machine away from shared walls and bedrooms, run it at a reduced speed during quiet hours, put it on an anti-vibration mat and soft flooring, schedule long dense designs for daytime, and use headphones for your own monitoring. Together these keep noise well below the level that wakes a light sleeper.
Why is my embroidery machine suddenly louder?
A sudden increase in noise almost always points to maintenance. The usual culprits are a dry or under-oiled mechanism, lint and dust buildup, a loose part or screw, or a worn component creating new vibration. Start with a clean and oil following our maintenance checklist; if the noise is a growl or grind rather than a squeak, work through our motor troubleshooting guide before assuming the machine needs replacing.
Conclusion
Quieter embroidery is well within reach, even for night stitchers sharing a home with light sleepers. The biggest wins are also the cheapest: isolate the machine on an anti-vibration mat, add rubber feet, slow the speed during quiet hours, keep it maintained, and schedule loud jobs for daylight. Layer those, and most home machines drop from “wakes the house” to “barely noticeable from the next room.”
Start tonight: measure your current level with a free decibel app, slip a mat under the machine, and dial the speed down for your evening session. From there, add isolation pads, a denser surface, or soft flooring as needed, and revisit your maintenance routine if the machine has gotten louder than it used to be. A few small changes turn a noisy late-night hobby into a calm, neighbor-friendly one you can enjoy whenever inspiration strikes.