How to Achieve Perfect Embroidery Color Separation
Struggling with color mismatches, color bleed, or registration errors in your embroidery projects? You’re not alone. Many embroiderers face frustration when their needlework doesn’t match their vision, often due to outdated or inefficient color-separation techniques. Getting the colors just right is crucial to vibrant, professional-looking embroidery, yet it’s one of the trickiest parts of the craft. The good news: advances in software and hardware make it easier than ever to refine the process. This guide walks you through the latest research, a step-by-step digital separation workflow, file-prep tips, the tools and machines worth buying, and how to troubleshoot the issues that crop up, so you can turn muddy shades into crisp, eye-catching designs in 2025. See these color separation software options to get started.
Step-by-Step Digital Color Separation
Choose the Right Software
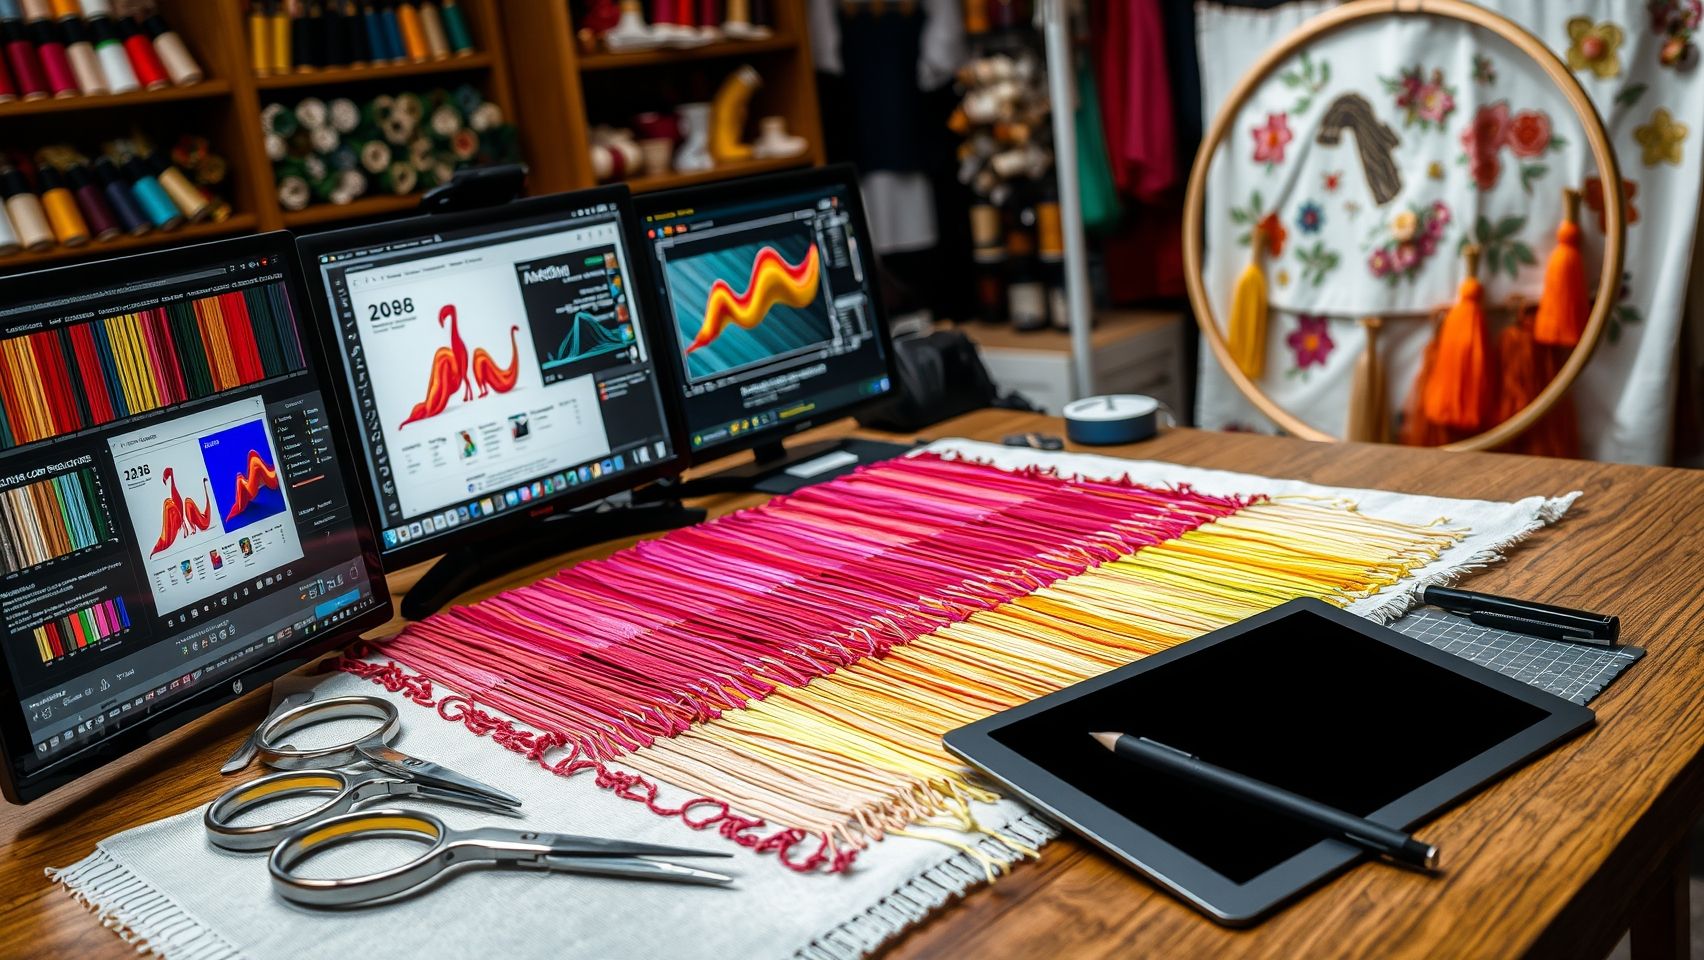
Pick software that supports multi-layer separation: Stitch Era (up to 16 layers), Wilcom Decorator (with its Auto Color Reduction tool), or Stitch Delight. Confirm it exports machine-compatible formats like PES or DST.
Import and Prepare the Design
Import the design and convert it to vector if needed, this lets you manipulate individual color areas accurately, which matters most on detailed patterns.
Assign Layers and Manage Overlaps
Use palette tools to identify overlapping or similar colors and assign each to its own layer. Break complex textures into base, shading, and highlight layers (e.g., split metallic accents into their own layer to control stitch density and prevent puckering). Where colors meet, overlap minimal regions to keep transitions seamless, and apply masking/splitting features to isolate each layer so it stitches in the correct sequence. For eco-conscious projects, nudge thread shades by 10–15% to retain brightness with sustainable threads.
Match Threads, Mock Up, and Export
Match separated colors to available thread shades using built-in color libraries. Generate a multi-color mock-up to verify registration and thread compatibility before stitching, adjusting stitch type, density, and tension (more underlay or satin stitches help with textured or metallic threads). For ITH projects, keep registration marks on separate layers with exact pixel counts. When satisfied, export in PES or DST with layered color data intact.
Preparing Files for Seamless Separation
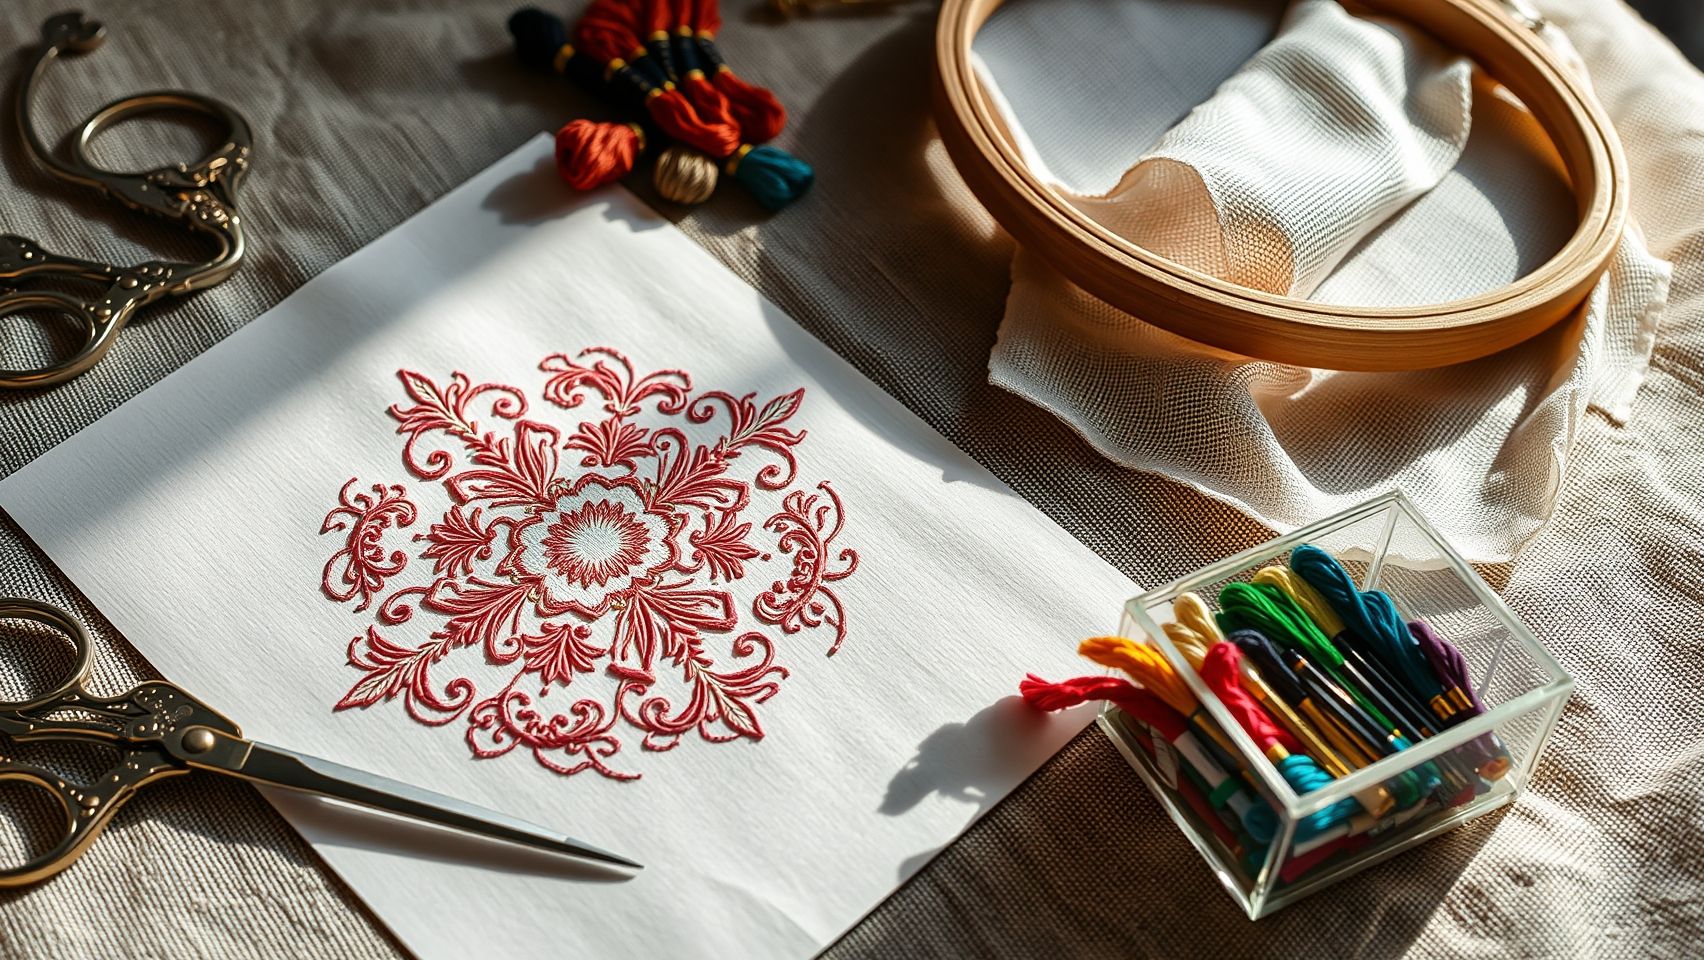
Designs with more than 8 colors tend to cause registration errors; simplifying to 5–7 can reduce those issues by over 50%.
- Simplify the palette to 5–8 essential colors using CorelDRAW or Adobe Illustrator, assigning a distinct layer per color.
- Use high-resolution images (at least 300 dpi) so vectorized layers stay clean and precise.
- Name layers clearly, “Main Color, ” “Accent, ” “Background, ” or “Color 1/2/3”, to simplify machine programming.
- Match palettes to thread charts from brands like Sulky or Madeira to avoid dye-lot mismatches.
- Use masking layers on overlapping areas to prevent color bleed and misregistration.
- Run test stitches on scrap fabric to check registration and tension before full production.
Tools and Equipment
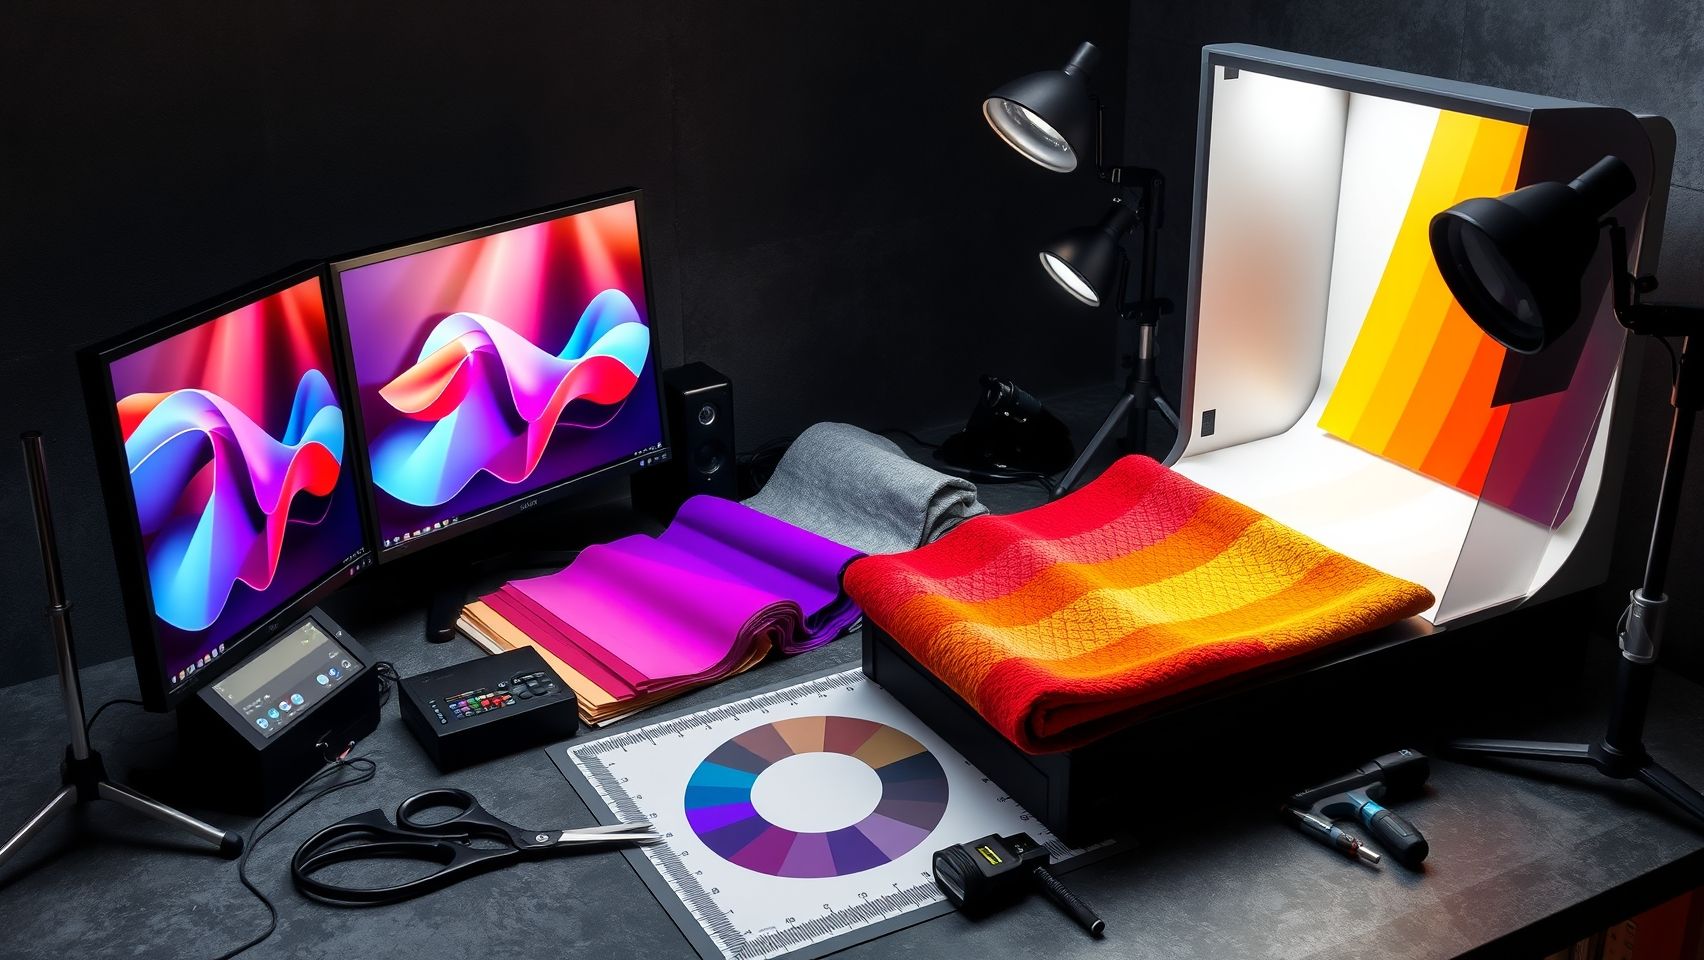
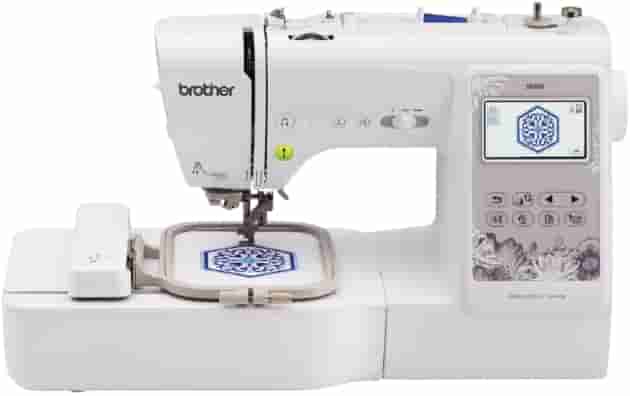
Machines: Multi-color models like the Brother PR670E (3, 000+ designs, automatic multi-color thread changes) and Janome MB-7 (automatic thread cutter, modular design) streamline multi-layer work. For accessible options, the Brother SE1900 and Janome 9850 (see chart above) offer strong multi-color support and tension control.
Software: Wilcom (its Color Set feature supports up to 16 layers with real-time simulation), Hatch Embroidery, Bernina Artistic Digitizer, and Stitch Delight all provide layer-based separation and live previews. Pair with digital color charts (Pantone or DMC) for accurate matching.
Accessories: Magnetic and multi-needle hoops keep registration stable during multi-layer stitching, essential for textured or metallic threads. Choose stabilizers by thread type: a heavy cutaway supports textured designs, while a smooth tear-away minimizes abrasion on delicate metallics.
Troubleshooting and Quality Control
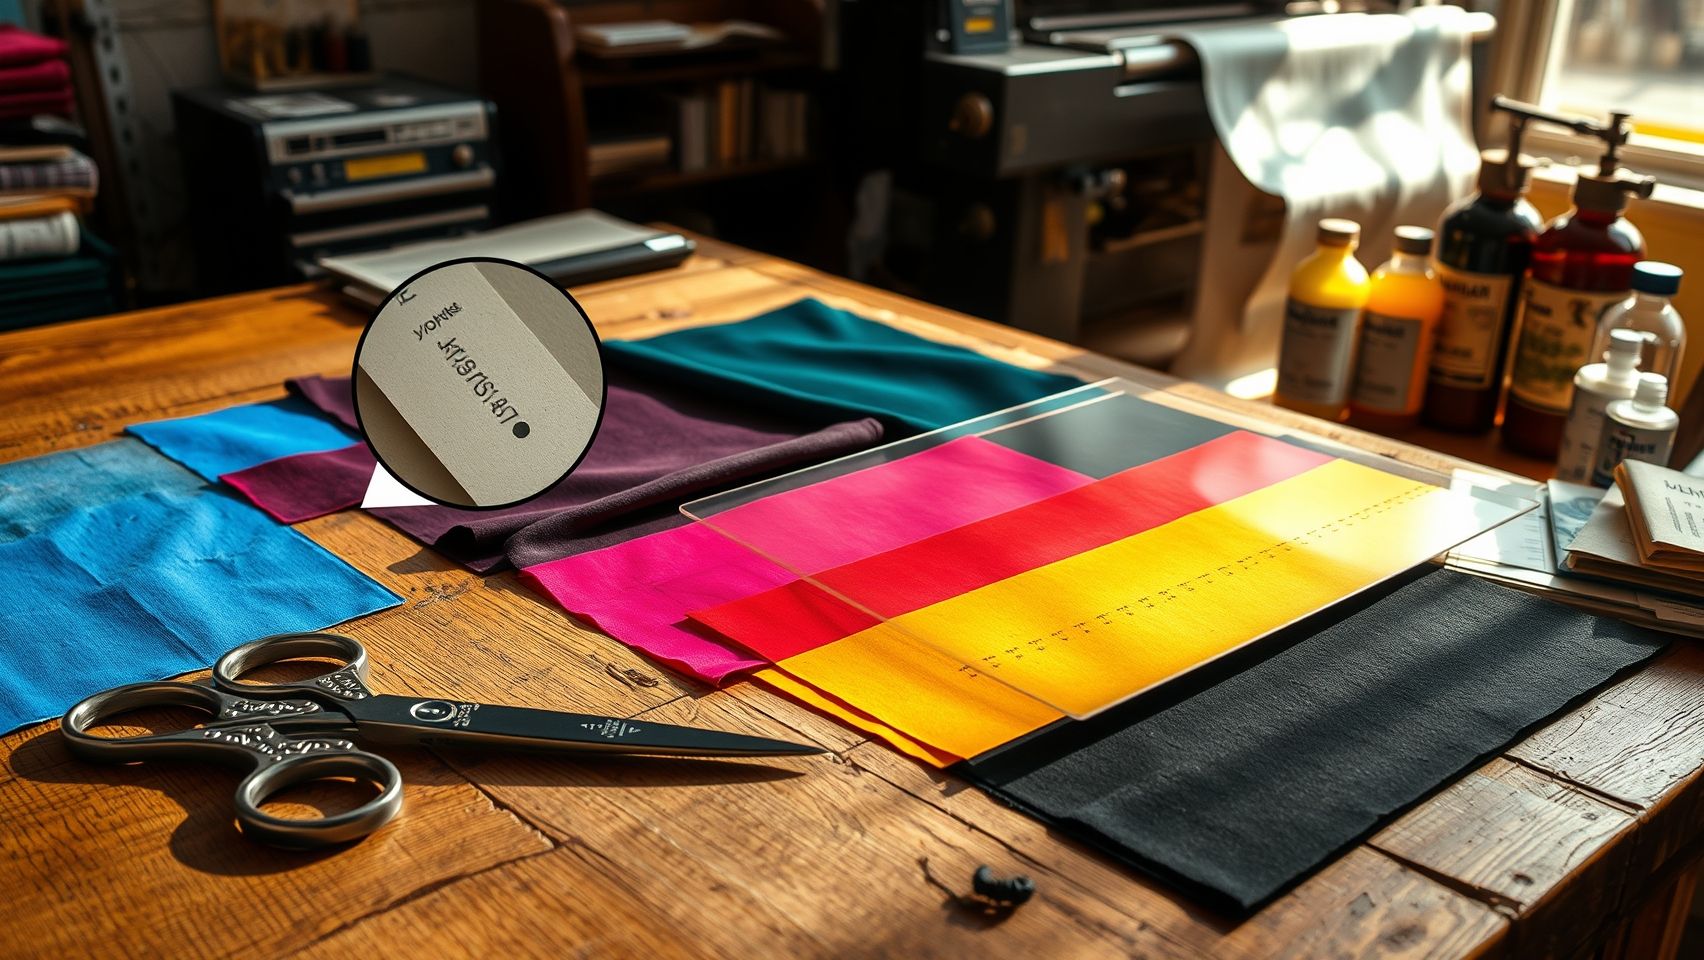
Color Bleed
Often caused by excessive tension. Reduce tension by about 10% and use a stabilizer suited to the fabric to prevent dye transfer and puckering. Test on scrap with the production thread brand first.
Misregistration
Use registration marks and precise hooping. Pull the hoop taut but not overstressed, mark or notch the fabric to keep it centered, and align complex layers with software guides or tools like Magic-Eye or laser alignment.
Color Mismatch
Calibrate your monitor color profile and match thread dye lots before starting. Run test samples per color layer to fine-tune matching and avoid costly rework.
Thread Breakage and Specialty Threads
Store thread in cool, dry conditions and thread correctly to avoid weak points. For metallic or specialty threads, slow the machine to 600–800 RPM and increase stitch density toward 0.8 mm for even coverage.
Build a QC Routine
Keep a dedicated test swatch with layered color blocks to catch misalignment or bleed early. Log machine settings, tension, and color configurations so results stay consistent when switching threads, and recalibrate the machine after every thread-brand change. These records double as a fast reference for future projects.
FAQ
How many colors should an embroidery design have? Aim for 5–7. Designs over 8 colors are far more prone to registration errors; simplifying can cut those issues by over 50%.
What software is best for color separation? Wilcom and Stitch Era support up to 16 layers; Stitch Delight adds AI-assisted recognition for about a 40% efficiency gain. Hatch and Bernina Artistic Digitizer are strong alternatives.
How do I stop colors from bleeding into each other? Reduce tension by ~10%, use masking layers on overlaps, choose the right stabilizer, and run a test stitch on scrap first.
Why do my metallic threads break or look uneven? Slow to 600–800 RPM, raise stitch density toward 0.8 mm, and use a smooth tear-away stabilizer to reduce abrasion.
How do I keep colors true to my screen? Calibrate your monitor’s color profile and match physical thread dye lots before stitching, then verify with a multi-color mock-up.
Conclusion
Mastering embroidery color separation in 2025 is more achievable than ever. Select capable multi-layer software, simplify and prep your files, invest in the right machines and stabilizers, mock up before you stitch, and build a quality-control routine to catch issues early. These steps sharpen registration and color accuracy while streamlining your workflow, start applying them today and turn your designs into standout, professional pieces.