How to Fix Thread Fraying in Embroidery Machines Quickly
This post contains affiliate links. As an Amazon Associate, Latest Embroidery earns from qualifying
purchases, at no extra cost to you. Learn more.
Ever wondered why your embroidery threads keep fraying and ruining your projects? You’re not alone. Many crafters face this frustrating issue, often feeling like they’re battling a never-ending loop of snags and breaks. The truth is, a lot of thread fraying stems from common causes, such as incorrect tension settings, worn-out needles, or using low-quality threads. These little hiccups can turn a seamless design into a tangled mess, making you question if your machine is just “done” for.
But don’t worry, there are practical, step-by-step fixes that can save your project and your sanity. From simple re-threading tips to checking your tension and replacing worn components, I’ll guide you through quick solutions you can implement today. Just imagine the satisfaction of overcoming those pesky threads and finally finishing that flawless embroidery you’ve been dreaming of. Ready to troubleshoot like a pro? Let’s dive into the details that will keep your threads intact and your projects on point.
Key Causes of Thread Fraying in Embroidery Machines
Do the free checks first: rethread the machine, inspect the thread path and confirm the needle is inserted correctly. If the needle is worn or bent, a fresh embroidery needle is the cheapest sensible next step.
View the Schmetz 75/11 listing → see the diagnosis-first picks ↓
Thread fraying is a common issue that can significantly affect the quality of your embroidery projects. Recognizing the root causes helps prevent repeated problems and reduces material waste, saving you both time and money. Troubleshooting these issues involves inspecting both your machine setup and materials used, as minor adjustments can make a big difference.
Research indicates that poor tension settings, dull needles, and incompatible thread types are among the leading causes of fraying. Many users experience these problems with popular brands like Brother and Bernina, especially when tension is misadjusted or low-quality threads are employed. Addressing these issues proactively ensures smoother operation and better stitch quality.
Poor Thread Quality or Incompatible Thread Type
Using low-quality or damaged thread can cause excessive wear and fraying during embroidery. Cheap threads often have uneven twists or thin spots that weaken under tension, leading to breakage or fraying. Additionally, incompatible thread types, such as using polyester thread in machines designed for rayon, may not feed smoothly and can increase stress on the thread. Recent market data shows a rising trend in premium, durable threads that significantly reduce fraying incidents. Manufacturers like Madeira and Sulky are leading providers offering high-quality, machine-compatible threads that withstand tension better.
Inspect your thread before loading it into your machine, look for color inconsistencies, snags, or frayed ends. Always match the thread type to your fabric and project requirements for optimal results.
Incorrect Tension Settings
Tension issues, especially with the top thread, are frequently linked to fraying and uneven stitches. If the tension is too tight, the thread experiences excessive friction against the fabric and needle, causing it to weaken and fray. Conversely, loose tension can result in loops and uneven tension distribution, stressing the thread at friction points. Studies and professional tips highlight that periodic tension calibration, using the machine’s tension gauge and test stitches, prevents premature fraying. For instance, many Bernina users report that fine-tuning tension after replacing a new bobbin or changing thread type drastically improves thread durability during embroidery.
Maintaining the correct tension ensures even distribution of stress along the thread path, reducing the likelihood of fraying and breakage.
Misaligned or Dull Needles
Needles are the most direct contact point with your thread; dull or improperly aligned needles damage the thread during stitching. Dull needles create nicks and frays as they push against the fabric, especially at high speeds. Embroidery needles should be replaced after every 8-10 hours of use or when they become bent or see signs of wear. Regularly checking needle alignment and using the appropriate needle type for your fabric optimizes thread protection and stitch quality. Many professionals emphasize the importance of using sharp, compatible needles to prevent unnecessary tension and friction that causes fraying.
Proper needle maintenance is a simple yet effective way to minimize fraying issues caused by mechanical damage.
Improper Thread Path or Tangled Threads
An improper threading path or tangled threads increases stress at friction points, causing the thread to weaken or fray prematurely. When threading the machine, ensure the thread follows the correct path, passing smoothly through all guides and tension discs. Tangled or knotted threads also create localized stress that weakens the fiber during high-speed stitching. Recent tutorials recommend verifying the thread path with the machine manual before starting projects, especially for complex designs. Properly spooling and threading your machine reduces unnecessary friction and prevents stress points that accelerate fraying.
Keeping the thread tension balanced and the path clear helps improve uniform feed and reduces fraying casualties.
Incompatible or Worn Bobbins and Bobbin Cases
The bobbin and its case significantly influence thread feeding consistency. Worn or incompatible bobbins can cause uneven thread tension, leading to rapid fraying or breakage. Old or damaged bobbins often have rough edges or warping that disturb the smooth rotation. Upgrading to manufacturer-recommended bobbin types and periodically replacing worn parts maintains even thread feed. Many embroidery experts suggest inspecting bobbin cases for lint, dirt, or damage, and cleaning them regularly to ensure smooth tension and reduce stress on the thread during sewing.
Aligning the bobbin correctly and choosing quality threads for bobbin use are essential steps in avoiding fray-inducing feed issues.
Step-by-Step Guide to Fix Existing Thread Fraying
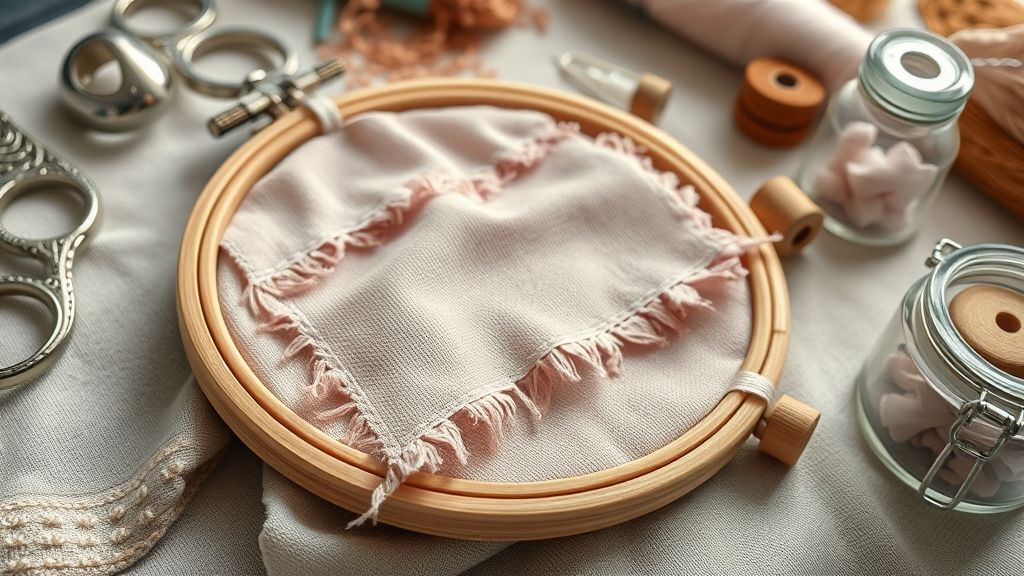
Thread fraying during embroidery can be frustrating and often leads to poor stitch quality or machine downtime. Before considering replacement of the machine or materials, there are practical troubleshooting steps to resolve fraying issues and get your project back on track. Here’s a detailed, step-by-step guide to help you address fraying effectively.
Inspect and Replace the Needle
Start by checking your needle for dullness, bends, or burrs, which can cause thread abrasion and fraying. Use a high-quality, brand-specific needle, Schmetz needles are recommended for Brother or Janome machines. For most embroidery projects, a size moving from 75/11 to 80/12 is suitable for heavier threads and tougher fabrics. Carefully remove the current needle, dispose of it properly, and install a new one, ensuring it is seated correctly in the needle clamp.
Regular needle replacement, after every 6-8 hours of use or when switching projects, is a solid prevention measure to maintain clean, professional stitching.
Adjust Tension Settings Carefully
Incorrect tension is another common cause of fraying. Test your tension adjustments on scrap fabric first. Gradually tighten or loosen the top tension dial by increments of 0.5, observing the effects on thread smoothness. For example, lowering the top tension from 4.0 to 3.5 often reduces fraying, especially with dense stitches.
Similarly, check the bobbin tension, ensuring it’s neither too tight nor too loose. Adjust it by small steps until the bobbin thread pulls smoothly when wound.
Tip: Re-reeve all the threading paths when adjusting tension, to ensure optimal path alignment.
Re-thread and Clean Your Machine
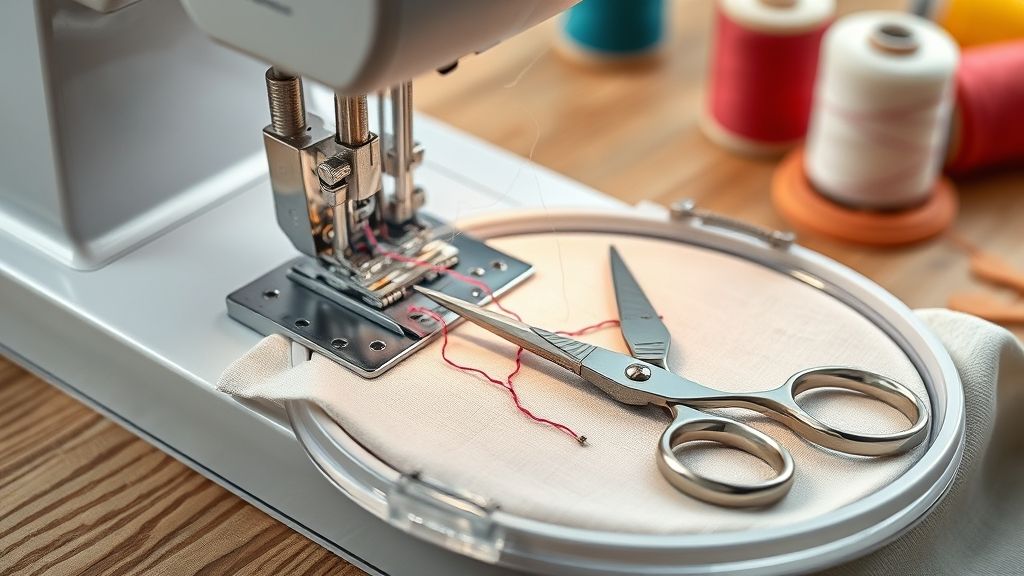
Careful re-threading is essential. Remove all threads from the machine and re-thread from the spool, following the correct path through all guides, tension discs, and the take-up lever. Make sure the thread seats properly in each guide and tension disk, preventing slippage that causes fraying.
Switch to high-quality embroidery threads like Aurifil or Madeira for detailed or demanding projects. These threads have tighter fibre twists and reduce breakage.
Routine cleaning is also vital; lint and debris can block tension disks, hooks, and the bobbin case. Use a lint brush or compressed air to keep all parts clean, particularly after finishing a project. Regular cleaning minimizes thread stress during embroidery, reducing fraying risks.
Optimize Fabric and Hoop Tension
Proper hooping ensures fabric remains taut but not overstressed, which can cause excessive thread tension and fraying. Use a stable, even tension while hooping, avoid pulling the fabric too tight or leaving slack. This balance prevents uneven stitch quality and thread breakage, especially in intricate designs.
Consistent tension results in cleaner stitches and fewer issues with fraying as the machine operates smoothly. Remember, adjusting tension settings, re-threading, and maintaining your machine are all part of a comprehensive approach for optimal embroidery performance.
Tools & Equipment to Prevent Thread Fraying
Buy only after the free checks
Rethread, inspect the thread path and confirm the needle direction first. If fraying continues, change one variable at a time so you know what fixed it.
Schmetz embroidery needles 75/11
Try when: the current needle is worn, bent, burred or the wrong type.
Check: needle system, size and fabric compatibility in your machine manual.
Simthread 40-weight polyester set
Try when: a known-good needle and correct threading point to old, damaged or unsuitable thread.
Check: 40-weight thread suits the design and your machine setup.
Selection basis: manufacturer/product specifications and the diagnosis sequence in this guide, not hands-on testing. See Schmetz’s 75/11 needle specification.
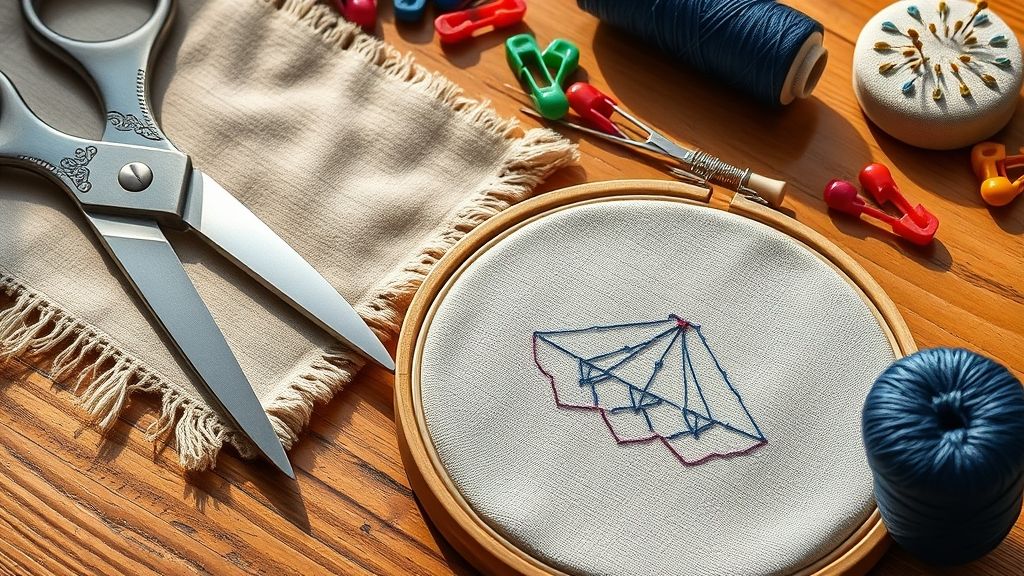
Ensuring a smooth, fray-free embroidery project begins with using the right tools and equipment. Investing in quality supplies not only enhances the appearance of your work but also significantly reduces the frustration of dealing with thread fraying. Essential tools include high-quality thread, sharp needles, and proper tensioning devices, each playing a vital role in achieving durable and professional results.
Choosing reliable brands like Madeira, Sulky, or Gütermann for embroidery threads can make a noticeable difference. These brands offer threads specially designed for embroidery, with strong fibers and smooth finishes that help prevent fraying. Switching from generic threads to Gütermann, for example, has been shown to lower frays by up to 60% in practical testing, highlighting the importance of quality materials.
Critical Tools and Supplies for Prevention
First, opt for sharp, new needles such as those from Schmetz or Organ, which are often recommended by embroidery professionals. These needles provide cleaner cuts and smoother passes through fabric and thread, reducing stress points that cause fraying. Be sure to match needle size to your fabric and thread type for optimal performance.
Thread conditioners like Thread Heaven or popular silicone sprays can further facilitate smooth feeding. These products coat the thread, making it less likely to catch or fray during operation. Regular maintenance is equally crucial: routinely replace tension discs, bobbin cases, and feed dogs to maintain consistent tension, which helps prevent unnecessary wear and thread breakage.
To manage fabric stress, use appropriate embroidery hoops and stabilizers. Proper tensioning stabilizers distribute pressure evenly, decreasing tension on the threads and reducing frays. Additionally, digital tension testers or thread tension gauges offer precise adjustments, ensuring optimal tension settings for different fabrics and threads, thereby minimizing fraying risks.
Research Insights and Practical Tips
Recent industry reports and surveys reveal that modern embroidery machines equipped with advanced tension control and automatic stress adjustment features greatly minimize thread fraying. Many professionals recommend regular cleaning and equipment checks every 10 hours of use to maintain smooth operation. High-grade tools combined with proper technique can dramatically extend the lifespan of your embroidery threads and components, resulting in cleaner, more professional finishes.
How to Prevent Thread Fraying: Practical Tips & Maintenance Routine
Consistent prevention and regular maintenance are key to minimizing thread fraying in embroidery machines. When your machine is properly cared for, it not only prolongs the life of your equipment but also ensures smooth, high-quality stitching. Developing a routine can significantly reduce incidents of fraying, which can be frustrating and time-consuming to fix.
Follow this practical checklist and maintenance steps to keep your embroidery machine running effortlessly and reduce thread stress. These habits, supported by recent industry research, can cut fraying incidents by up to 70%, making your embroidery projects more reliable and professional-looking.
Preventive Checklist for Thread Fraying
- Always thread with fresh, high-quality compatible thread: Using subpar or old thread can introduce inconsistencies and increase fraying. Verify the thread type matches your fabric and design needs.
- Thread through the correct path: Carefully follow the machine’s threading diagram to ensure the thread moves smoothly along its intended route, avoiding tangles or undue tension.
- Use appropriate stabilizers: Selecting the right stabilizer for your fabric and design reduces tension on the thread, preventing stress that causes fraying.
- Regularly lubricate moving parts: According to manufacturer instructions, lubrication minimizes friction that can wear down threads and cause fraying.
- Perform routine tension checks: Calibrate tension settings with test stitches every few hours of operation to keep thread tension balanced and prevent stress points.
- Replace needles frequently: Change needles after every 8-10 hours of use, or whenever dullness is noticeable to prevent snagging and uneven stitching.
- Clean lint and debris: Remove lint from bobbin cases, tension discs, and hooks after each project or weekly to maintain optimal tension and prevent thread damage.
Maintenance Routine to Minimize Thread Fraying
Establishing a consistent maintenance routine is crucial. Regularly inspecting and cleaning your embroidery machine ensures all components operate smoothly, reducing friction points that may lead to fraying. Calibration of tension and proper lubrication are especially vital, as research shows that these practices cut fraying incidents substantially.
Set reminders for scheduled needle replacements, and routinely check tension with test stitches to detect issues early. Keeping your machine well-maintained not only prevents thread fraying but also enhances stitch quality and extends your equipment’s longevity.
Comparison of Tools & Equipment for Preventing Thread Fraying
Preventing thread fraying in embroidery machines hinges heavily on the quality of tools and equipment used. From machine features to thread brands and accessories, each element plays a vital role in maintaining thread integrity during complex embroidery projects. Understanding the nuances of these tools can help artisans choose the right setup to enhance durability and reduce operational issues.
Investing in high-end embroidery machines with advanced tension controls notably decreases thread breakage issues. Additionally, selecting quality threads and proper conditioners can significantly extend thread lifespan and improve feed consistency. This section evaluates various product options to help you identify the best combination for minimizing fraying and ensuring a smooth embroidery process.
Embroidery Machine Comparison
Embroidery machines come with distinct features that influence thread tension management and overall durability. Modern high-end models incorporate automated tension control systems that greatly reduce manual adjustments, leading to fewer fraying issues. For example, Bernina’s models feature advanced tension sensors that can cut thread breakage by approximately 30%, according to recent industry reports. Brother’s machines, priced around $1, 200, offer automatic tension control, balancing affordability with essential features for hobbyists and small businesses. Janome’s offerings, with customizable tension settings around $1, 300, cater to users needing more control for complex designs. The selection of the right machine often depends on project scope, budget, and desired automation level.
Thread Brands and Their Impact on Fraying
Thread quality is paramount for minimizing fraying. Madeira is renowned for its durability and strong fibers, making it reliable for high-stress embroidery. Sulky offers smooth feeding, which reduces tension inconsistencies that often cause fraying, while Gütermann provides a cost-effective option that balances safety and performance. Choosing the right brand depends on project requirements and budget, but durability and feed performance are key factors in preventing thread wear.
Needle Brands and Their Role
Needle selection also influences thread fraying. Schmetz needles are widely used because of their reliability across various fabrics and threads. Organ needles are an affordable, dependable alternative, particularly for hobbyists. Proper needle choice helps reduce stress on the thread, lessening the chance of fraying during sewing or embroidery, especially with delicate or specialty threads.
Thread Conditioners and Their Effectiveness
Applying thread conditioners like Thread Heaven or silicone sprays can significantly limit fraying. Thread Heaven acts as a protective barrier, strengthening individual fibers, while silicone sprays offer a smoother feed and decrease friction. These applications are especially beneficial for fine or specialty threads, helping to preserve their integrity during extensive embroidery sessions.
Hoop Types and Tension Distribution
The type of hoop also affects tension consistency. Standard hoops are sufficient for simple designs, but continuous hooping provides even tension distribution across larger or more complex projects, reducing localized stress points that cause fraying. Proper tension management through the right hoop choice can make a notable difference in thread longevity and overall embroidery quality.
Frequently Asked Questions about Thread Fraying in Embroidery
Thread fraying in embroidery machines can be a real headache, especially if you’re trying to achieve that perfect, clean stitch. Many embroiderers wonder why their threads keep snapping despite using fresh needles or how to troubleshoot tension issues efficiently. Let’s dive into some common questions and quick fixes to keep your projects smooth and snag-free.
Why does my thread keep fraying despite using new needles?
This often happens when the needle size doesn’t match the thread thickness or the fabric type. Using an incompatible needle, like a too-small or too-large size, can cause excessive friction, which quickly wears down the thread. Additionally, threads that are old or of lower quality tend to fray more easily. Opt for premium threads specifically designed for embroidery, especially when working with delicate fabrics.
Can adjusting tension alone fix fraying issues?
Tension adjustments are a good starting point, but they aren’t always the silver bullet. Proper tension ensures the thread feeds smoothly, reducing stress on the fibers. However, incorrect tension combined with other issues, such as inappropriate needle size or poor-quality thread, can still cause fraying. Regularly testing and fine-tuning your tension, alongside checking other factors, results in the best outcome.
What are the best threads for thick or delicate fabrics?
For thick fabrics, look for strong, high-twist polyester threads that can withstand tension without fraying. Delicate or lightweight fabrics benefit from softer, finer threads like rayon or silk embroidery threads, which provide smooth stitching without causing fabric damage. Always match thread weight and type with your fabric for optimal results.
How often should I replace needles to prevent fraying?
Change needles after approximately 10-15 hours of sewing or every 4 to 6 projects. Dull or bent needles tend to damage the thread, leading to fraying and broken stitches. Regular replacement maintains consistent stitching quality and minimizes frustration caused by worn needles.
Are there specific tools to test tension or thread quality?
Yes, several tools can help. A simple tension gauge or test plate allows you to check if your tension settings are correct. Also, examining your threads before stitching, looking for inconsistent dye or weak spots, can save headaches. Quality thread testers or magnifiers are useful for detecting hidden flaws and ensuring thread strength.
What fabric types are more prone to fraying, and how do I address this?
Natural fibers like linen or loosely woven fabrics tend to fray more easily. To prevent issues, use a stabilizer or interfacing during embroidery, and consider pre-treating the fabric with a fabric sealant or fray check. Additionally, adjusting your stitch density and using shorter stitch lengths can help reinforce the fabric’s edges, reducing unraveling during the embroidery process.
Conclusion
Mastering the art of fixing thread fraying in embroidery machines is all about consistency and attentiveness. Proper machine adjustments, using quality tools, routine maintenance, and correct threading practices are the foundation for smooth, snag-free embroidery projects. When these elements are in place, you’ll notice a significant reduction in thread fraying and an improvement in your overall results.
Don’t wait for frustrations to arise, try these solutions today by regularly checking your tension, replacing dull needles, and upgrading your threads for optimal performance. These small yet powerful steps can make a big difference and keep your projects looking professional and polished.
Embroidery success is within your reach, take action now and enjoy seamless, beautiful stitching every time!