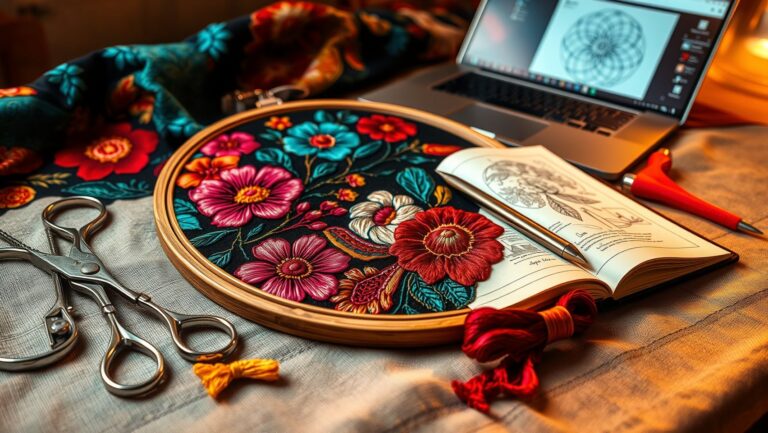
How to Connect Your Embroidery Machine via USB or Wireless in 10 Minutes
Are you frustrated with slow or unreliable embroidery machine connections? You’re not alone. Many DIYers and small business crafters struggle with tricky setups, USB drives that won’t read, or wireless pairing that simply refuses to cooperate. The good news: modern embroidery technology offers quick, straightforward solutions once you know your machine’s quirks. Whether you prefer a simple USB stick, a direct USB-to-PC cable, or a fully wireless app workflow, this guide is your go-to resource for getting designs onto your machine in about 10 minutes. Updated for 2026, we’ll walk you through a per-brand connection matrix, fix the most common “won’t be recognized” errors, and show you exactly how wireless apps like Brother Artspira and mySewnet move a design from your phone to your hoop. Ready to stitch instead of troubleshoot? Let’s get your machine connected.
Understanding Embroidery Machine Connectivity Options
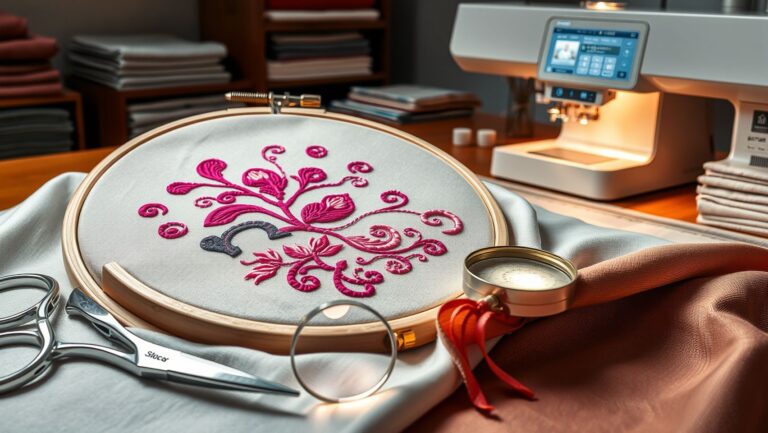
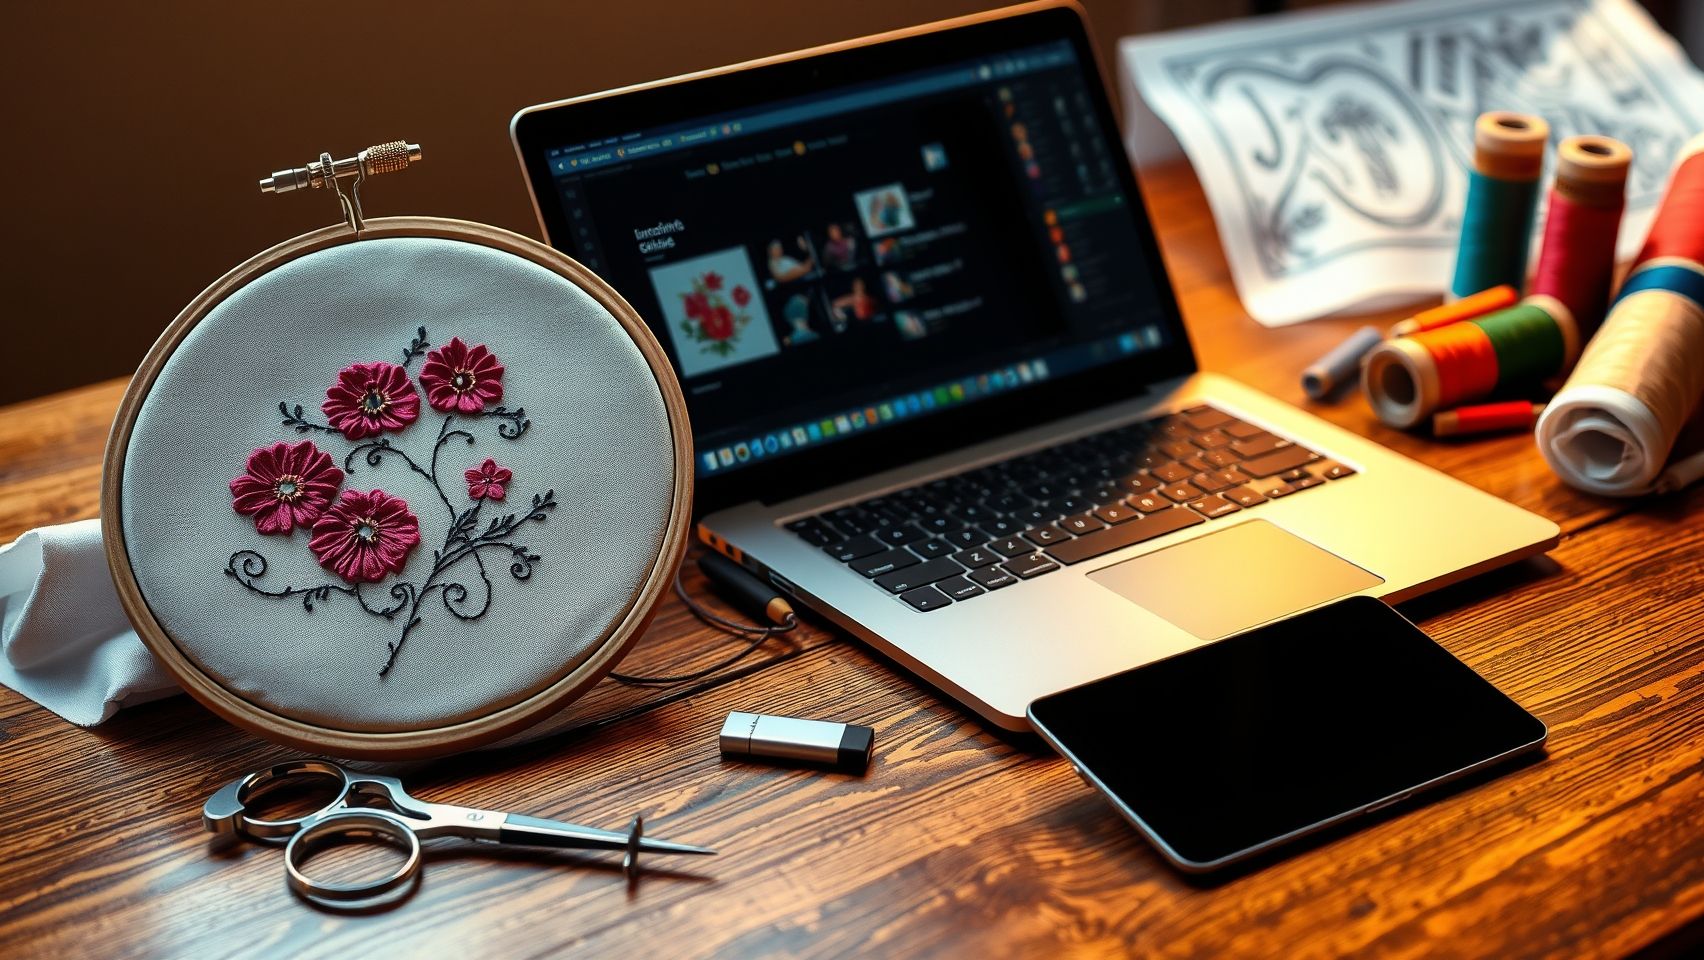
Connecting your embroidery machine efficiently is essential for seamless design transfers, whether you’re working on a single monogram or a full custom run. There are really only a handful of transfer paths, and most machines support two or three of them. Knowing which ones your machine accepts saves a huge amount of guesswork before you ever buy a cable or a flash drive.
USB Stick (the most common path)
The everyday method for hobby and mid-range machines is the USB stick (USB flash drive). You save your finished design onto the drive from your computer, plug the drive into the machine’s USB port, and load the design from the machine’s screen. It’s reliable, cheap, and works offline. The two things that trip people up are drive format (most machines want FAT32, not exFAT or NTFS) and file format (the design has to be in a format your brand reads). We cover both in detail below.
Direct USB-to-PC Cable
Some machines connect straight to a computer with a USB cable and appear as a drive or talk to the manufacturer’s software (for example Brother’s PE-Design or Bernina’s Toolbox). This is handy for sending a design directly from your editing software without shuffling a stick back and forth, and for firmware updates.
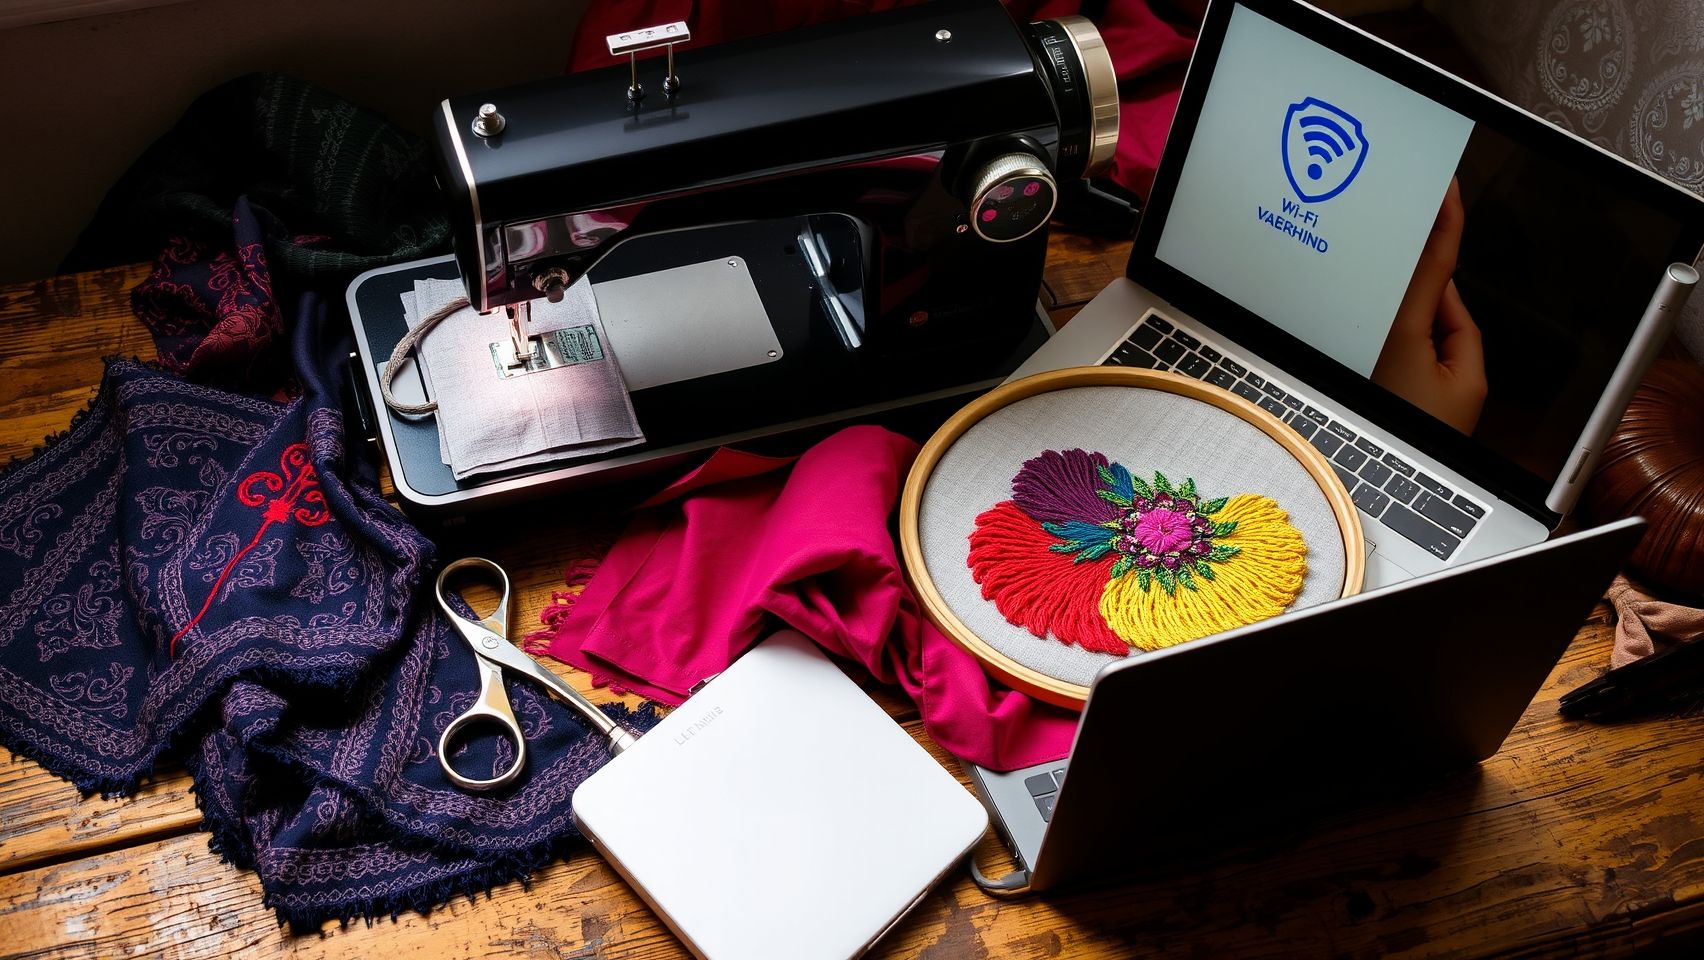
Wireless / App Transfer
Newer machines add Wi-Fi or Bluetooth so you can send designs from a phone or computer with no stick at all. Brother and Baby Lock use the free Artspira app; Husqvarna Viking and Pfaff use mySewnet. The convenience is real, but wireless adds its own failure modes (network mismatch, firmware, 2.4GHz vs 5GHz) that we troubleshoot later in this guide.
SD Card
Older and some commercial machines use SD cards instead of (or alongside) USB. The same format-and-file-type rules apply, the card usually needs to be FAT32 and the design in a supported format. If your machine has an SD slot rather than a USB port, a cheap card reader lets you write designs from any modern computer that no longer has a built-in slot.
Which Method Should You Use?
If your machine supports more than one path, pick based on how you work. For a quick one-off design, the USB stick is hard to beat, it’s offline, dead simple, and works on virtually every machine ever made. If you regularly edit designs on a computer next to the machine, a direct USB-to-PC cable removes the constant plug-and-unplug shuffle. And if you design on your phone or tablet, or you simply hate dealing with drives, wireless transfer through Artspira or mySewnet is genuinely the fastest workflow once it’s set up. Many embroiderers keep a FAT32 stick as a reliable backup even on a wireless machine, because Wi-Fi hiccups happen and a stick never depends on your network being healthy.
Connection Method by Brand (Matrix Table)
Connectivity is one of the most scattered topics in machine embroidery, every brand documents it differently, and the answer often genuinely depends on which model in the lineup you own. The matrix below gives you an honest cross-brand starting point. Where a feature truly varies between an entry-level and a flagship model, we say “varies by model” rather than pretend there’s one answer. Always confirm against your specific model’s manual.
Key takeaway: USB stick + FAT32 + the correct file format is the lowest-common-denominator path that works on nearly everything. Wireless is a convenience layer on top, available on a growing but model-specific subset of machines. If you’re not sure which file format your brand reads, jump to the file-format section below, getting that wrong is the single most common reason a transfer “fails” when the hardware was actually fine.
Step-by-Step Guide to Connecting Your Embroidery Machine via USB
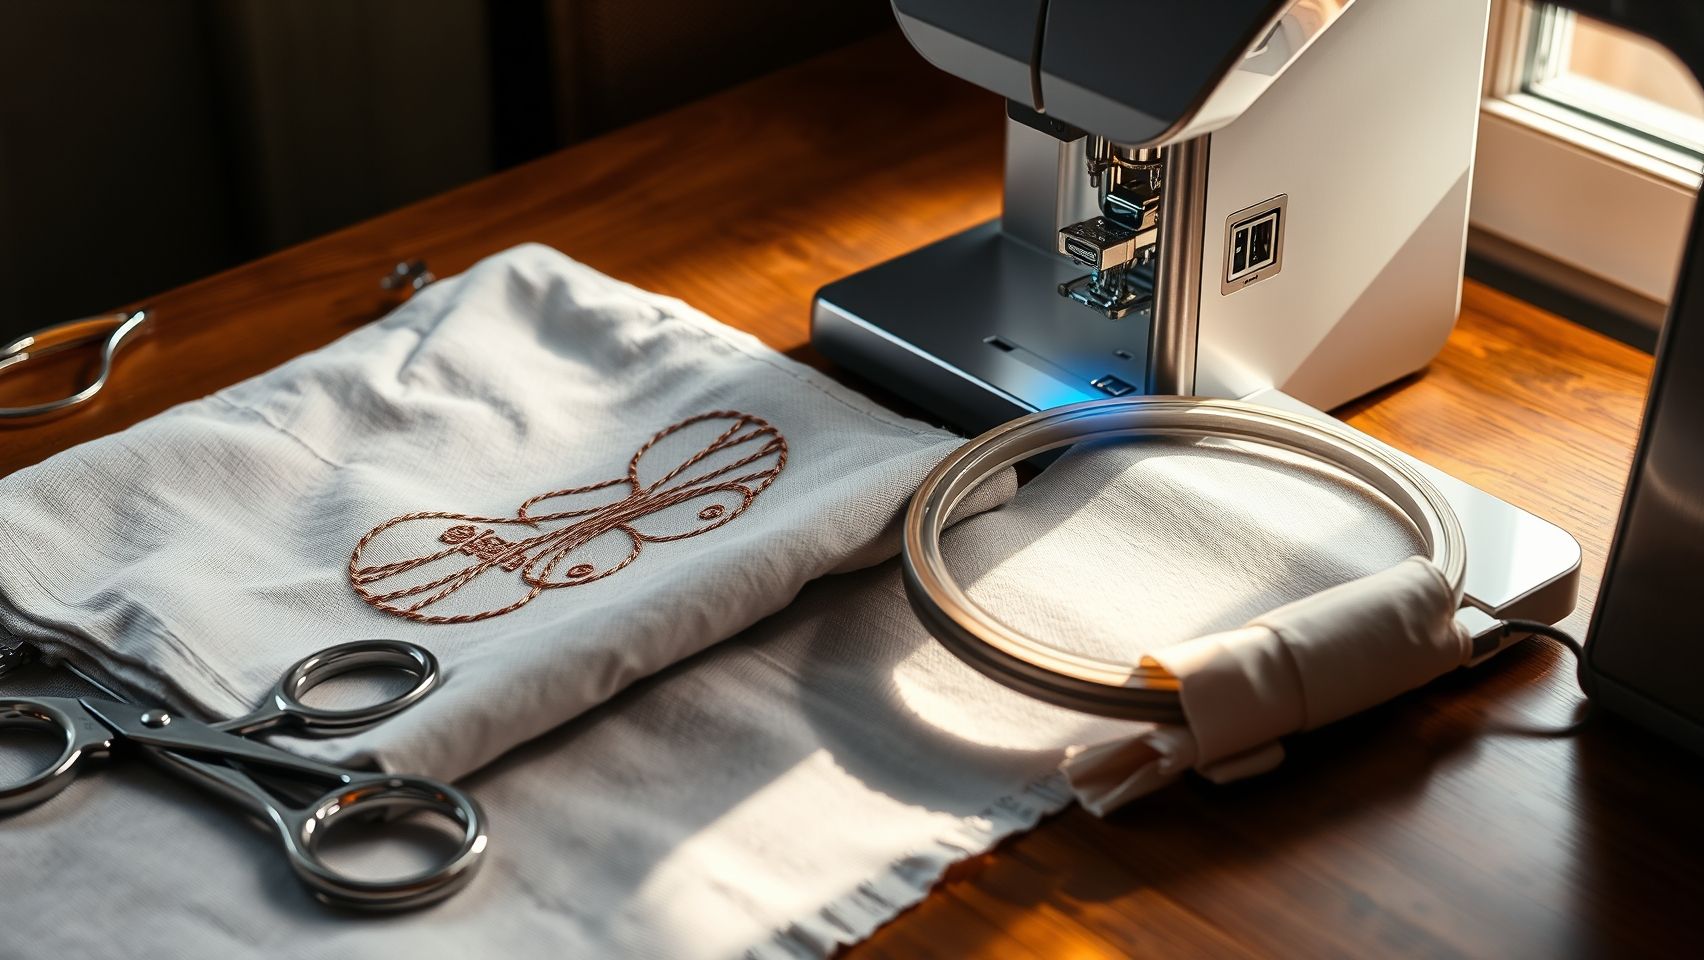
There are two USB workflows people mix up: the USB stick (save design to a drive, plug drive into machine) and the direct USB-to-PC cable (machine talks to your computer). The stick method is the most universal, so we’ll cover it first, then the cable method.
USB Stick: From Computer to Machine
- Format a USB flash drive as FAT32 (see the troubleshooting section if you’re unsure how).
- On your computer, export or save your design in the format your machine reads (Brother = PES, Janome = JEF, and so on).
- Copy the design file to the drive. Place it in the root of the drive (or the machine’s required folder), not buried in nested subfolders.
- Safely eject the drive from your computer so the file isn’t left mid-write.
- Plug the drive into the machine’s USB port and power on the machine.
- From the machine’s screen, open the USB/import menu and select your design.
- Load it to the hoop, confirm the size and colors, and stitch a test.
Direct USB-to-PC Cable Setup
- Install the manufacturer’s software or drivers (Brother PE-Design, Bernina Toolbox, etc.).
- Connect the USB cable from the machine to your computer.
- Power on the machine and let the computer recognize it.
- In your software, select the machine as the output device and send the design.
- Confirm the design appears on the machine’s screen before stitching.
Quick Troubleshooting
- Machine doesn’t see the drive? It’s almost always format (exFAT/NTFS instead of FAT32) or file type, see the next section.
- For cable setups, switch to a USB port directly on the computer (not a hub) and update drivers from the manufacturer’s site.
- Don’t unplug or move the drive mid-transfer; an interrupted write produces a corrupt design.
USB Stick Won’t Be Recognized, Fixes
This is the number-one real-world headache, and the cause is almost never a broken machine. Work through these in order, most people are fixed by the first two.
1. FAT32 vs exFAT (the usual culprit)
Most embroidery machines read drives formatted FAT32 and cannot read exFAT or NTFS. Newer and larger flash drives often ship pre-formatted as exFAT, so a brand-new drive can fail out of the box. The fix is to reformat to FAT32.
- Windows: right-click the drive in File Explorer, choose Format, set File system to FAT32, and format. (If FAT32 isn’t offered on a very large drive, use a smaller drive or a free FAT32 formatting tool.)
- Mac: open Disk Utility, select the drive, choose Erase, and pick MS-DOS (FAT), that’s FAT32.
Formatting erases the drive, so copy your designs off first. This is exactly why a small-capacity drive (8–32GB) dedicated to embroidery is ideal, small drives format cleanly to FAT32 and stay uncluttered.
2. Designs in the Wrong Place
Some machines only scan the root of the drive; others look in a specific folder. If your machine shows an empty USB menu, move the design files to the top level of the drive (out of nested folders) and try again. Check your manual for the exact folder rule for your model.
3. File / Design-Count Limits
Many machines cap the number of designs they’ll display per folder, or limit how many total files they index on a drive. If a packed drive shows only some of your designs (or none), thin it out, keep just the designs you need for the current session. We avoid quoting a specific number because the cap genuinely varies by model; check your manual for your machine’s limit.
4. File-Format Mismatch
The drive can be perfect and the machine still won’t load a design that’s in the wrong format. A Brother machine wants PES; a Janome wants JEF. A PNG or JPG image is not a stitch file and will never load, it has to be digitized/converted first. See the file-format section below for how to convert.
5. Corrupt Transfer / Safely Eject
If a single design refuses to open while others work, the file may have copied incompletely. Re-copy it from your computer and safely eject the drive before pulling it out, so the write fully completes. Yanking a drive mid-write is the classic cause of a corrupt design that loads on the PC but errors on the machine.
6. Try a Different Drive
Not every USB stick plays nicely with every machine. Some very large, very new, or USB-3.x drives draw more power or use controllers that older machine firmware doesn’t fully recognize, even after a clean FAT32 format. If you’ve reformatted, placed designs correctly, confirmed the format, and the machine still won’t see it, borrow or buy an inexpensive small-capacity drive and test with that. A basic 8–16GB FAT32 stick is the most universally compatible option and is worth keeping dedicated to your machine. This single swap resolves a surprising number of “won’t recognize” cases that no amount of reformatting fixes, because the issue was the drive itself rather than its contents.
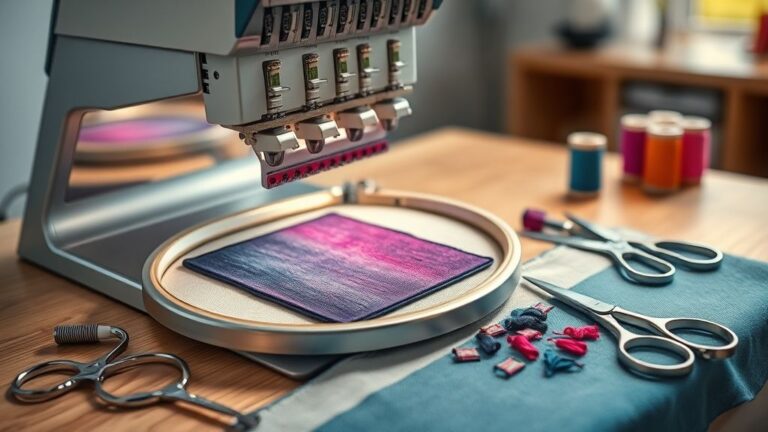
Wireless / App Transfer (Artspira, mySewnet, etc.)
Wireless transfer skips the stick entirely: you send a design from your phone or computer straight to the machine. The two big ecosystems are Brother/Baby Lock’s Artspira and Husqvarna Viking/Pfaff’s mySewnet.
Brother Artspira, What It Is
Brother Artspira is a free cloud/mobile app for iOS and Android that wirelessly transfers designs to compatible Brother and Baby Lock wireless machines, no USB stick needed. For embroidery, Artspira accepts PES, PHC, PHX, and DST uploads. The catch is connectivity: your machine and your phone must share a wireless/Bluetooth/data connection so the app and machine can talk. mySewnet works on a similar cloud principle for Husqvarna Viking and Pfaff machines.
Pairing Steps (general flow)
- Connect the machine to your Wi-Fi network from its settings/network menu.
- Install the app (Artspira or mySewnet) on your phone and create/sign in to a free account.
- In the app, follow the prompt to pair or register your machine, confirm the machine is on and on the same network.
- Allow Bluetooth and local-network permissions when the phone asks; many apps use Bluetooth for the initial handshake.
Sending a Design Wirelessly
- Open or upload your design in the app (Artspira accepts PES, PHC, PHX, DST for embroidery).
- Select your paired machine as the destination and send.
- The design arrives on the machine’s screen; load it to the hoop, check size and colors, and stitch.
Common WiFi Pairing Failures
- 2.4GHz vs 5GHz: many embroidery machines connect only to a 2.4GHz Wi-Fi band. If your phone is on the 5GHz band of the same router, the machine and phone can end up on technically different networks. Connect your phone to the 2.4GHz band, or split your router’s bands, so both sit on 2.4GHz.
- Not the same network: the machine and phone must be on the same Wi-Fi network, guest networks and mesh “client isolation” settings block device-to-device traffic. Turn off guest/isolation modes during pairing.
- Outdated firmware: wireless features lean heavily on machine firmware. Update the machine’s firmware (often via USB or the app), then retry pairing.
- App permissions: if pairing stalls, confirm the app has Bluetooth and local-network permissions enabled in your phone’s settings.
- Weak signal at the machine: embroidery machines often sit in a back room far from the router. If pairing succeeds but transfers stall or drop, move the machine closer during setup or add a Wi-Fi extender so the machine has a solid 2.4GHz signal.
- Cloud account mismatch: both Artspira and mySewnet route designs through a cloud account. Make sure the machine and the app are signed in to the same account, and that your designs have finished uploading before you try to send them to the machine.
Wireless vs USB, Honest Expectations
Wireless is wonderful when it works, but it’s worth being realistic. It depends on your home network, your machine’s firmware, and the app’s servers all cooperating. For a high-stakes job on a deadline, many experienced embroiderers still drop the design onto a FAT32 stick as insurance, it sidesteps every network variable. Treat wireless as the convenient everyday path and the USB stick as the reliable fallback, and you’ll rarely be stuck either way. Once your machine, phone, and account are paired correctly the first time, day-to-day wireless sending becomes a two-tap operation that genuinely lives up to the “10 minutes” promise.
What File Format Does My Machine Need?
This is the question that quietly causes most “failed” transfers. The drive and the connection can be flawless, but if the design isn’t in a format your brand reads, nothing loads. Quick reference: Brother/Baby Lock = PES, Janome = JEF, Bernina = EXP/ART, Husqvarna Viking = VP3/VIP, and DST is the broadly importable commercial standard most machines accept.
Crucially, an image file is not a stitch file. A PNG or JPG has to be digitized/converted into a real embroidery format before any machine can stitch it. If that’s where you’re stuck, these step-by-step guides walk you through it:
- Convert PNG to DST for free (step by step)
- Convert JPG to PES for embroidery (free methods)
- Decoding embroidery files: PES, DST, and beyond
Once your designs are in the right format, keep them safe and findable: learn how to back up your designs securely and how to organize your design library for a faster workflow so the next transfer takes seconds.
Stuck on file formats? If converting and digitizing isn’t your thing, our done-for-you digitizing service can turn your logo or artwork into a clean, machine-ready stitch file in the exact format your machine needs, so you can skip straight to stitching.
Recommended Supplies for Fast, Reliable Transfers
You don’t need much to make USB and wireless transfers painless, just the right small, FAT32-friendly hardware. These Amazon search links land on current options.
As an Amazon Associate we earn from qualifying purchases. Links above are affiliate links (tag latestembro01-20) at no extra cost to you.
Practical Tips for Using Embroidery Software with Connectivity
Maximizing your machine’s connectivity options improves both workflow speed and design quality. Whether you’re moving a single design or a batch, a few habits prevent most transfer headaches before they start.
Confirm Format Compatibility First
Before transferring, make sure your design is exported in a format your machine reads, PES, JEF, DST, EXP, or VP3 depending on your brand. Most embroidery software (Hatch, Wilcom, PE-Design, Bernina software) can export to several formats; pick the one your machine wants rather than hoping it auto-converts.
A Clean Transfer Routine
Export the design in the correct format, copy it to the root of a FAT32 drive (or upload it in your wireless app), safely eject, then load it on the machine and verify size and color order before stitching. For wireless, keep the machine and phone on the same 2.4GHz network during the send.
Back Up and Organize
Corrupt files and lost designs cause more downtime than any cable. Keep a backed-up master copy of every design on your computer or cloud, and organize your library so the right file is one click away. A dedicated, well-labeled USB drive for “ready to stitch” designs keeps machine-side clutter (and design-count limits) from ever becoming a problem.
Keep Firmware and Software Current
Both your machine’s firmware and your design software get periodic updates that fix connectivity bugs, add file-format support, and improve wireless reliability. On a wireless machine especially, an out-of-date firmware version is one of the most common reasons pairing fails or designs won’t send. Check your manufacturer’s site or app every few months. Updating firmware usually means downloading a file to a FAT32 USB stick and loading it from the machine’s settings menu, the same skill you use for transferring designs, so once you’re comfortable with USB transfers, firmware updates are no extra learning curve.
Name and Size Designs Before You Transfer
Give files short, clear names (machines often truncate long file names on their small screens) and confirm the design’s dimensions fit your hoop before you send it. Resizing on the computer, where you have full editing tools, is far easier than discovering on the machine that a design is too large for the hoop you have loaded. A minute of prep on the PC side prevents a stalled session at the machine.
Troubleshooting Common Connection Issues in Embroidery Machines
Connecting via USB or wireless should be seamless, but when it isn’t, the fix is usually quick once you know where to look. Here’s a fast diagnostic pass for the most common problems.
Quick Diagnostic Checklist
- “USB not recognized”: reformat the drive to FAT32, move designs to the root, and confirm the file is in a format your machine reads.
- Design loads on PC but errors on the machine: likely a corrupt/incomplete copy, re-copy and safely eject.
- Some designs missing from the menu: you’ve hit a per-folder/per-drive file limit, thin out the drive (check your manual for the cap).
- Wireless won’t pair: get the phone onto the same 2.4GHz network, disable guest/isolation mode, update firmware, and confirm app permissions.
- Direct-cable machine not detected: use a port directly on the computer (not a hub), update drivers from the manufacturer, and restart both devices.
When to Contact Support
If you’ve ruled out format, file type, drive placement, and network and the machine still won’t connect, it’s time to contact the manufacturer. Persistent hardware faults, a failing USB port or wireless module, need a technician, not another reformat.
Frequently Asked Questions
What format should I format my USB stick to for an embroidery machine?
FAT32. Most embroidery machines read FAT32 drives and cannot read exFAT or NTFS. New or large flash drives often ship as exFAT, so reformat to FAT32 first (Windows: right-click → Format → FAT32; Mac: Disk Utility → Erase → MS-DOS/FAT). A small 8–32GB drive formats to FAT32 most reliably.
Why won’t my embroidery machine read the USB drive?
Usually one of four things: the drive is exFAT/NTFS instead of FAT32; the designs are buried in subfolders instead of the root; you’ve exceeded the machine’s file/design-count limit; or the design is in the wrong format (or it’s an image, not a stitch file). Work through those in order and the drive almost always reads.
Can I send designs to my machine over WiFi?
Yes, if your machine is wireless-capable. Brother and Baby Lock use the free Artspira app; Husqvarna Viking and Pfaff use mySewnet. Connect the machine to Wi-Fi, pair it in the app, and send the design from your phone, no USB stick needed. The machine and phone must share the same network (ideally 2.4GHz).
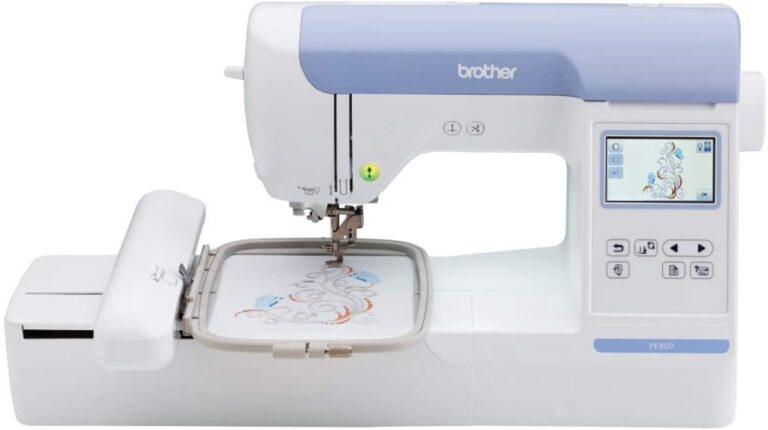
How do I transfer designs from my computer to a Brother machine?
Two ways. USB stick: save the design as PES, copy it to the root of a FAT32 drive, safely eject, plug it into the machine, and load it from the screen. Wireless: on a Wi-Fi-capable Brother, upload the design (PES, PHC, PHX, or DST) in the Artspira app and send it directly, no stick required.
What is the Brother Artspira app and do I need it?
Artspira is Brother’s free iOS/Android app that wirelessly transfers designs to compatible Brother and Baby Lock wireless machines, accepting PES, PHC, PHX, and DST uploads for embroidery. You need it only if you want to skip the USB stick and send designs from your phone, your machine and phone just have to share a wireless/Bluetooth/data connection. If you’re happy with USB, you don’t need it at all.
Conclusion
Connecting your embroidery machine via USB or wireless comes down to three things: a FAT32 drive (or a paired app), the correct file format for your brand, and designs in the right place. Get those right and transfers take seconds, not a frustrating afternoon.
Use the brand matrix to confirm what your machine supports, keep a small dedicated FAT32 drive on hand, and lean on Artspira or mySewnet if your machine is wireless. If a design won’t load, it’s almost always format, not a broken machine. And if file formats are your sticking point, our done-for-you digitizing service can hand you a ready-to-stitch file in exactly the format you need.
Start today: check your model’s manual, format a drive to FAT32, and run a test design. Your next masterpiece is one clean transfer away.