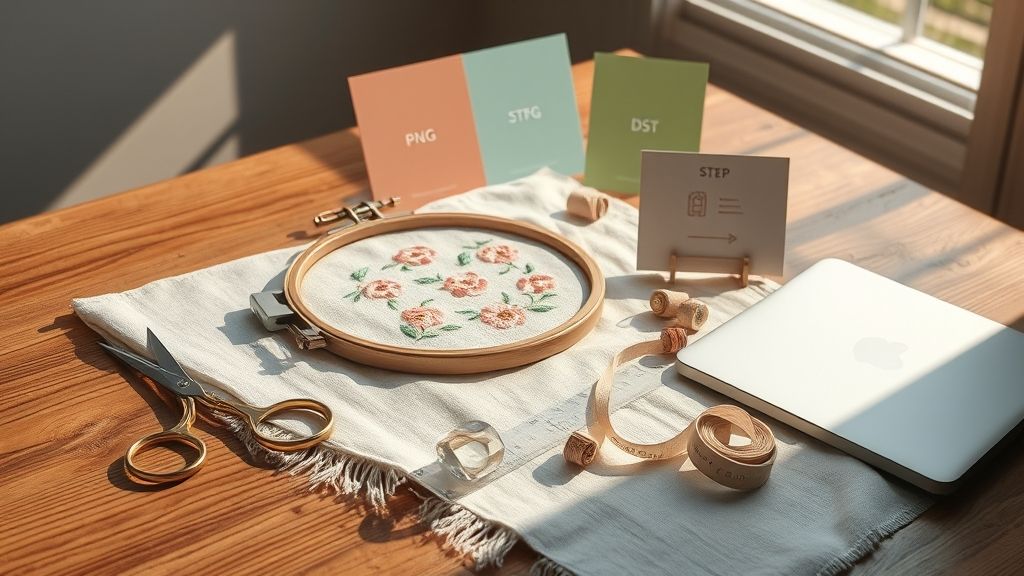
Convert PNG to DST for Free: Step-by-Step
This post contains affiliate links. As an Amazon Associate, Latest Embroidery earns from qualifying
purchases, at no extra cost to you. Learn more.
Turn a simple PNG into a production-ready DST file without extra software costs or complex workflows. If you’re a home entrepreneur or a small shop scaling embroidery, digitizing is often the bottleneck. Free tools like Ink/Stitch help you start from PNG and export DST without a license.
The core challenge is converting PNG to DST without paying for digitizing software. Online converters and open‑source options can bridge the gap, with our own free PNG-to-DST converter fitting into budgets and timelines. Market data from Fortune Business Insights show steady growth in embroidery, making low‑cost workflows more valuable for small shops.
Preview the path: machine versatility, 7 software options (free and paid), formats such as DST, PES, and EXP, plus how magnetic hoops and stabilizers cut defect rates. For a practical starter, check Maggie Frames’ guide to free tools: Maggie Frames’ guide.
Promise concrete steps: prep the PNG, pick a tool, export DST, and run a test stitch on your machine. Fine-tune density and underlay in a single test before production. Ready for a proven path? Continue reading for a step‑by‑step plan and a quick test run.
Ready to test on real fabrics with quality threads:
Shop embroidery thread on Amazon →
Step-by-step: Set up a no-cost workflow to convert PNG to DST
Free PNG / JPG → DST Converter
Turn your image into a machine-ready embroidery file right in your browser. Instant stitched preview, thread colors, and a free .DST download.
Try the free converter →In a hurry? Jump to our recommended digitizing picks ↓
This practical guide outlines a no-cost workflow to convert a PNG image into a DST embroidery file using entry‑level hardware and a suite of seven digitizing options. The embroidery market is expanding, with analysts projecting growth from about $2.6B in 2021 to around $3.7B by 2025, underscoring the value of affordable, capable software paths. The path emphasizes DST export, and supports transfer to machines via USB or Wi‑Fi, so you can work with readily available machines without purchases.
Whether you’re starting with an entry‑level model like a Brother PE800/SE600 or planning to scale to a mid‑range multi‑needle later, this workflow keeps costs down while delivering professional results. The seven software options span basic editing to auto‑digitizing, all capable of exporting DST for your embroidery hardware.
Choose a machine path
Start by selecting an entry‑level model (e.g., Brother PE800 or SE600) for immediate workflow benefits, or a mid‑range multi‑needle if you anticipate larger runs. Both paths support DST export through compatible software and offer reliable USB/Wi‑Fi transfer to your machine. This choice affects how you approach digitizing speed, density control, and color stops, so align the machine with your current needs and future growth.
Verify DST support
Confirm that the software route you pick can export DST, and also PES or EXP if you ever switch machines. Free tools and commercial packages alike increasingly support DST as a standard export format, and many offer straightforward USB/Wi‑Fi transfer options. Verifying export formats upfront avoids later rework.
Prepare PNG
Resize the image to your target hoop size (e.g., 5×7 or larger as needed), clean the background, and simplify colors to ease digitizing. A clean, color‑reduced PNG reduces stitch complexity and helps your chosen software generate smoother outlines and fills.
Software options to consider
Below are seven widely discussed paths that cover editing to auto‑digitizing. Each can import PNG and export DST, giving you flexible, no‑cost or low‑cost entry points:
- Ink/Stitch (free, open source), good for SVG/PNG to DST workflows when used with Inkscape
<li SewArt, image‑to‑stitch capability with a wizard for faster results
<li Embrilliance Essentials, beginner‑friendly platform with reliable DST export
<li Hatch Embroidery, professional suite with strong DST output options
<li Wilcom Embroidery Studio, industry‑standard, advanced digitizing and DST export
<li PE‑DESIGN, Brother ecosystem staple with solid machine‑format exports
<li Embird, modular suite with DST export across core modules
Import PNG into software and digitize
Open the PNG in your chosen option and start with basic editing or auto‑digitizing where available. Set up underlay, density, and color stops while adjusting stitch types to balance speed and fabric behavior. Review the design at the intended size to catch any misalignments before finalizing.
Export DST and transfer to the machine
Export the design as DST (and PES/EXP if needed) from the software, then transfer via USB or Wi‑Fi to your embroidery machine. Before stitching, run a test on scrap fabric to verify density and color stops, making final tweaks as needed for clean, professional embroidery results.
Two free PNG-to-DST workflows: auto-digitizing vs. manual tracing
Related reading: PES vs DST: which format your machine needs
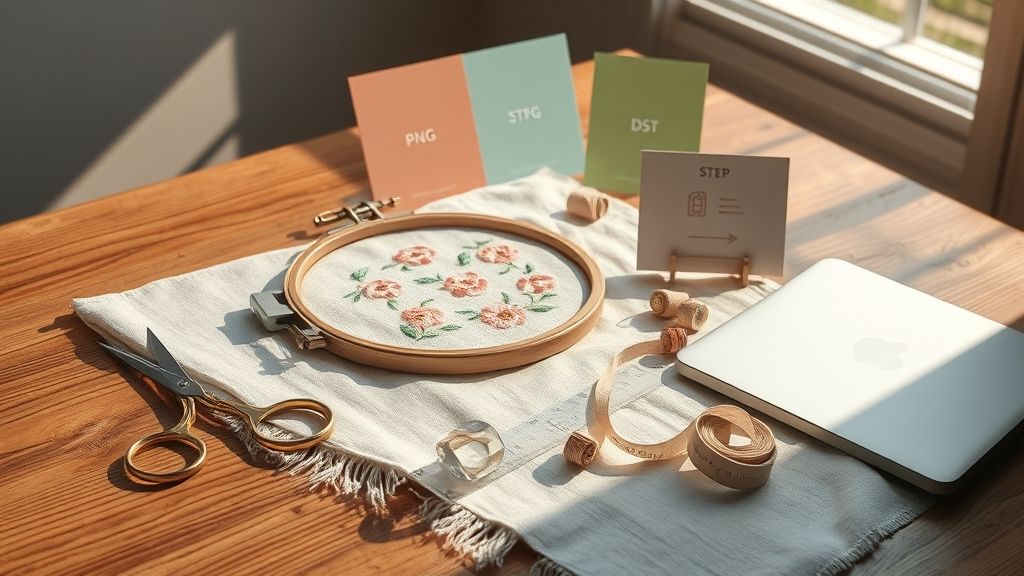
The embroidery software market is expanding as shops seek faster turnaround and more accurate color management. Industry data suggests the market reached around USD 1.2–1.5B in recent years, with CAGR in the mid-single to high single digits, driven by AI-assisted digitizing and cloud-enabled workflows. Seven software options now span basic editing to auto-digitizing and offer DST, PES, EXP support with USB or Wi‑Fi connectivity. Use Path A when speed matters; switch to Path B when precision is critical. This section shows a two-path, checkpoint-rich approach you can apply to a PNG-to-DST workflow.
Path A, Auto-digitizing: speed-first workflow
Follow an automated path to turn a PNG into a stitch file, then review and tune key details. AI-assisted digitizing is enabled in supported software, run auto-digitizing, and inspect auto-stitches for alignment and fill types. Then adjust color stops and fill types to tighten color separation and satin areas. Evaluate color-match on the design, and decide whether you need a quick refinement or move to Path B for hallmark accuracy.
- Load PNG in the software and choose auto-digitizing.
- Enable AI-assisted digitizing and run auto-stitching.
- Review stitches; adjust color stops and fill types as needed.
- Verify color-match and overall density; if close, proceed to export to DST, otherwise switch paths.
- Export DST and prepare USB/Wi‑Fi transfer for testing.
Path B, Manual refinement: precision-driven workflow
If exactitude is required, convert PNG to basic stitch outlines, then layer in satin outlines and controlled density. Manually set each outline, choose a precise stitch density, and adjust underlay depending on fabric type. Check color stops and density for consistency, verify stitch length and pull compensation, and trim jump stitches to reduce puckering. This path emphasizes consistent results on complex fills or delicate fabrics.
- Import PNG and generate basic stitch-outlines.
- Add satin outlines and define stitch density per area.
- Choose underlay patterns suitable for fabric type; adjust for fabric stretch.
- Fine-tune color stops and ensure minimal trim jumps.
- Test density and pull compensation; correct as needed.
- Export DST and prepare transfer for testing.
Export, test, and validate
Export DST and transfer via USB or Wi‑Fi to the embroidery machine for a test run on a scrap with the same stabilizer and hoop. Validate color match, stitch length, pull compensation, and trim jumps. If defects appear, tweak Path A or Path B settings, then re-test on the same scrap to confirm improvements.
Tools, equipment, and methods to speed up PNG to DST conversion
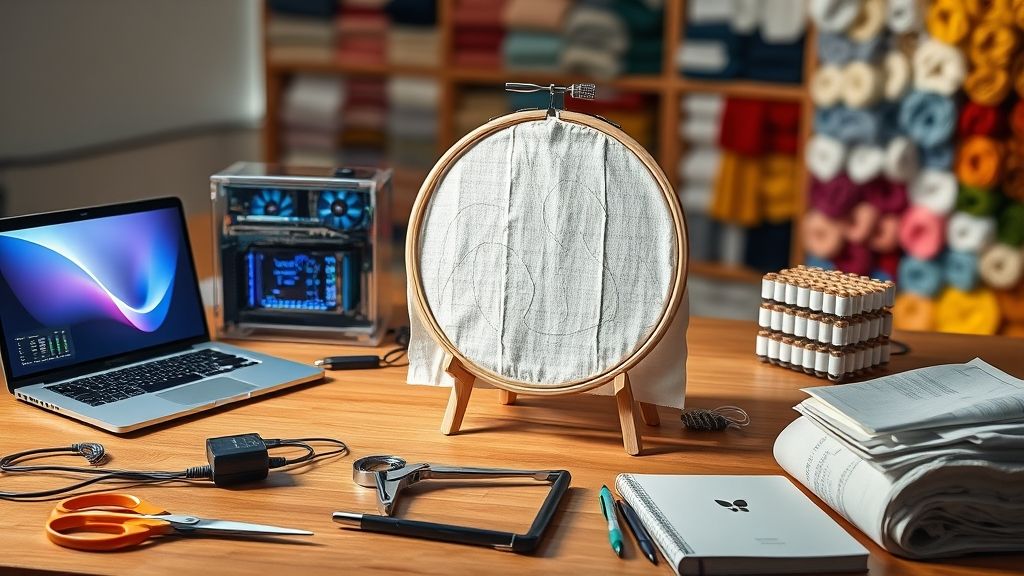
In a production workflow, fast and reliable PNG-to-DST conversion hinges on stable machines, smart hooping, and efficient data transfer. This section highlights the specific hardware and setups that shave minutes off each hooping cycle while maintaining stitch accuracy, backed by market context and real-world usage trends.
Entry-level 5×7 field devices set the foundation, then upgrades across commercial and multi-needle platforms accelerate throughput. Look for USB/Wi‑Fi transfer, auto-thread management, and alignment aids like built-in projectors to reduce setup time and human error. Recent market insights show steady growth in the craft embroidery sector, with 2024 valuations ranging from roughly USD 1.5B to over USD 5B depending on segment, underscoring the demand for faster, more capable equipment.
Machines, accessories, and methods to speed up PNG to DST conversion
At the heart of rapid PNG to DST conversion are both entry devices and flexible upgrade platforms. Entry-level 5×7 options such as Brother PE800 and SE600 establish quick wins for small shops, while upgrades like Janome MB-7, Tajima TMAR-V1512C, Ricoma CHT2 Series, Happy HCR3-1512, Meistergram Pro1508, EMT16X, Brother PR1050X, and Baby Lock Solaris provide higher speed, more needles, and advanced workflow features. Solaris, in particular, pairs an IQ Visionary Projector with embroidery positioning to streamline alignment.
Accessories to speed hooping and alignment
Magnetic hoops, stabilizers, and appropriate embroidery hoops for 5×7 and larger fields reduce fabric distortion and rehooping retries. Magnetic hoops offer steadier fabric control, with industry observations noting defect reductions around 15% and hooping speed improvements up to 90%, depending on fabric and design complexity. Combine magnets with stabilizers for high-precision borders and dense fills.
Connectivity, workflow accelerants, and setup best practices
USB and Wi‑Fi transfers enable wireless file management, while entry-level machines with auto-thread management cut threading time and downtime between designs. The Baby Lock Solaris adds an integrated projector for alignment, reducing starting-point misplacements. In parallel, auto-digitizing options on newer entry-to-midrange machines streamline the initial design-to-stitch process, shaving minutes per job.
Market context and practical takeaways
Industry data for 2024 place embroidery market estimates in a broad range, reflecting segmentation by consumer craft, small shops, and industrial embroidery. Real-world practice supports the recommendations above: pairing entry devices with projectors and magnetic hoops consistently reduces setup time and defect rates, helping shops scale from PNG-to-DST workflows to full production runs. For readers planning upgrades, starting with Brother PE800/SE600 and moving through Janome MB-7, Tajima TMAR-V1512C, Ricoma CHT2, Happy HCR3-1512, Meistergram Pro1508, EMT16X, Brother PR1050X, and Baby Lock Solaris provides a clear path from quick wins to high-throughput stability, all while leveraging USB/Wi‑Fi transfers and auto-digitizing options.
Troubleshooting common PNG-to-DST conversion problems
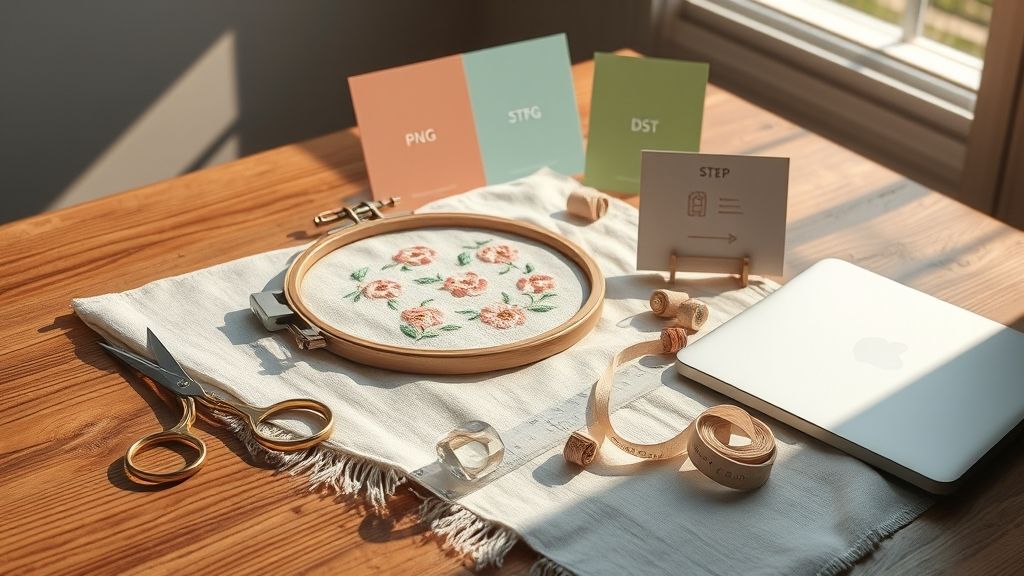
When converting PNG to DST for free, practical fixes matter as you stitch, especially to prevent defects, misalignment, and wasted fabric. Industry data shows the embroidery market remains robust, with 2024 machine market sizes around USD 5.7B and broader software and craft segments contributing to strong adoption of DIY digitizing workflows. A steady workflow helps maintain quality across projects, from simple logos to complex fills.
This section offers concrete remedies and checks in a actionable, checklist-driven style. Use the tips here to reduce misregistration, control stitch density, and ensure DST exports from your software are reliable before you run production.
Defects and misalignment
Defects and misalignment often come from hooping errors. Use magnetic hoops and stabilizers to reduce defects, since magnetic hoops can cut defects by about 15% and speed hooping by up to 90%. Always verify hoop alignment and tension to address misregistration and keep the design centered on the fabric. Stabilizers stabilize fabrics during digitizing and stitching, especially on knit or lightweight textiles.
Density and underlay
Density should match fabric type to avoid bulky fills or gaps. Adjust stitch density to the fabric, and add or modify underlay to support smooth fills and even coverage, especially on dense or open fabrics. Use lighter underlays for delicate fabrics and stronger underlays for knit textures to prevent thread buildup.
Color changes
Color changes can shift when stopping the machine. Ensure color stops correspond to your fabric palette; if the design looks off, recompute the color order and re-sequence stops in the software before exporting to DST. This helps maintain clean transitions and reduces unnecessary thread changes.
Color conversion
Simplify PNG colors before digitizing to reduce unexpected thread usage. Fewer colors mean fewer thread changes and more predictable satin and fill results, which saves time and material costs on small runs.
Test stitches
Run small tests on scraps with the same stabilizer and fabric to confirm before a full run. Test stitches verify density, underlay, color order, and DST export behavior, catching issues early and minimizing waste.
File compatibility
Confirm the design exports to DST from your software options. If DST export is flaky, try re-exporting with a simple color map or update to the latest software version; compatibility gaps are a frequent source of misreads or thread waste. Always test on fabric scraps before production.
Best free and paid software to convert PNG to DST
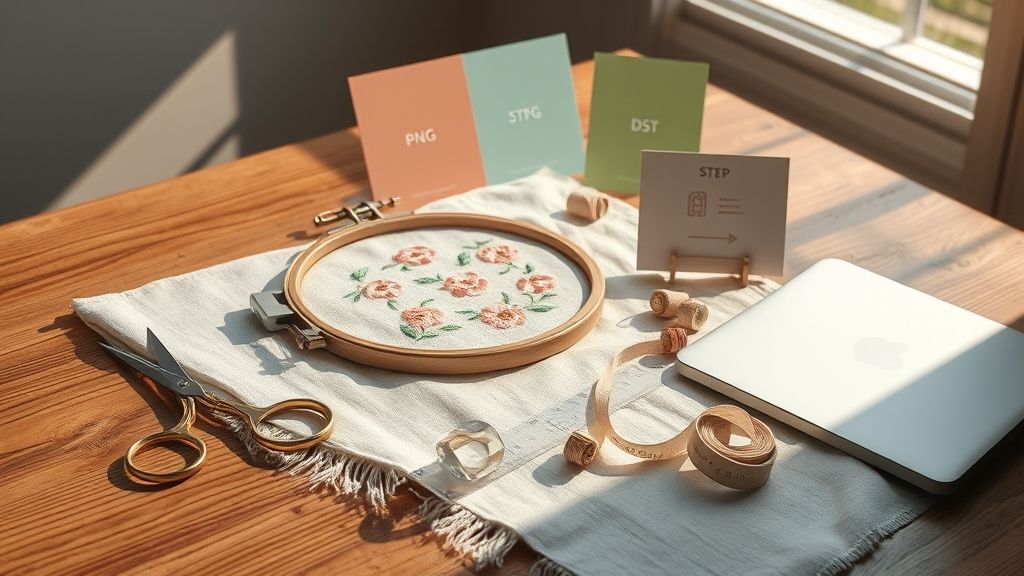
Embroidery workflows increasingly rely on converting raster PNG designs into stitch-ready DST files. Selecting software that supports DST export, offers reliable PNG import paths, and fits your production tempo is essential for smooth results. This section surveys seven options, from free/open-source to feature-rich suites, focusing on export formats, connectivity, and digitizing depth to map a PNG-to-DST workflow.
Across the market, demand for auto-digitizing capabilities and wireless transfers is rising, while foundational manual editing remains valuable for fine-tuning stitches. The choices below reflect that spectrum, with ROI and training needs in mind for shops of all sizes.
Ink/Stitch (free, open-source)
Ink/Stitch accepts PNG inputs via Inkscape and emphasizes manual digitizing rather than full auto-digitizing. It exports common formats including DST and PES, and you can generate DST output for USB transfer to your machine. It lacks built‑in Wi‑Fi transfer but pairs well with low-cost, on‑demand workflows for small runs.
SewArt
SewArt converts raster images to embroidery stitches and offers basic auto-digitizing alongside manual edits. DST, EXP, and PES exports are available, with designs saved to your computer for later USB transfer. Wireless transfer is not built into the software, making USB export the primary path.
PE‑DESIGN 11
PE‑DESIGN supports PNG import through image tracing and provides robust DST and EXP/PES exports. It includes USB export to drives and direct USB machine transfer in many Brother workflows, plus auto-digitizing options in its suite. This makes it a strong fit for Brother‑machine users with moderate volumes.
Hatch Embroidery
Hatch offers bitmap-to-stitch workflow with auto-digitizing and image editing. DST/PES/EXP exports are supported, and wireless transfer options exist in its ecosystem, enabling smoother production lines. It’s well-suited for semi‑automation and quicker turnarounds.
Wilcom Embroidery Studio
Wilcom combines high‑end auto‑digitizing with extensive editing controls. DST/PES/EXP exports are standard, and wireless transfer capabilities complement a professional workflow. It suits shops needing consistent automation and precise control at scale.
StitchArtist (Embrilliance)
StitchArtist emphasizes intuitive manual editing and straightforward exports, including DST. It focuses less on auto-digitizing, making it a solid choice for hands‑on digitizing with reliable DST output, though USB/Wi‑Fi transfers depend on your hardware setup.
Embird
Embird provides DST/PES/EXP export options and modular plugins for editing and conversion. It lacks full auto-digitizing, but its export versatility and USB transfer paths make it a practical option for shop owners who value format flexibility without a steep learning curve.
Practical decision tips
For high-volume production, prioritize auto-digitizing with robust export options and Wi‑Fi transfer to minimize handling steps. For hobbyists or training budgets, start with Ink/Stitch or SewArt to build fundamentals before expanding to a workflows that include automatic digitizing.
ROI, cost setup, and next steps for a scalable PNG-to-DST workflow
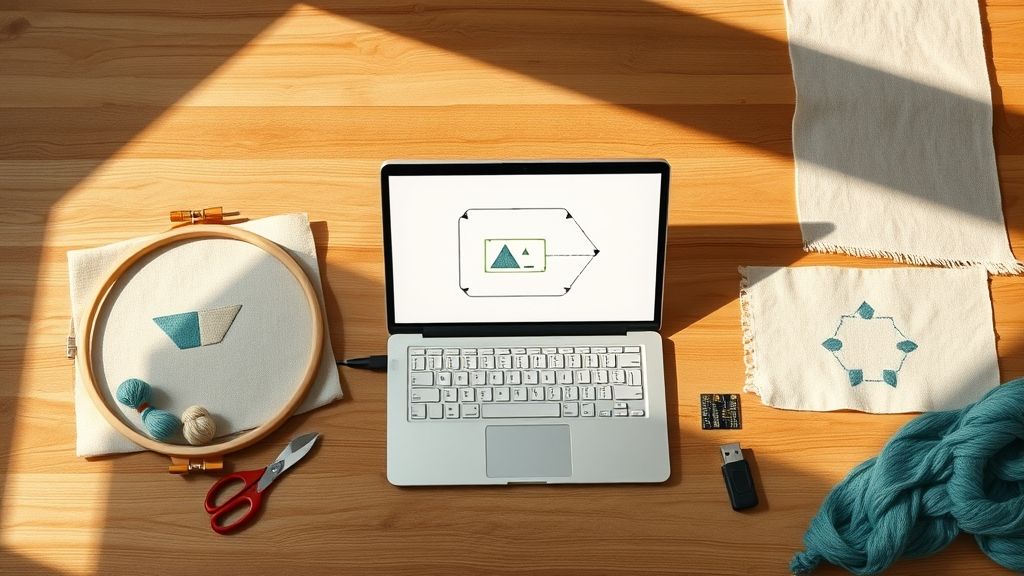
As PNG-to-DST conversion becomes more accessible, ROI planning must consider training, space, and long-term equipment investments. The embroidery market is expanding: the embroidery machine market reached USD 5.71B in 2024 and is projected to surpass USD 7.88B by 2034, signaling rising demand and pricing potential. This context supports a scalable path from home projects to a small shop, with AI-assisted digitizing and evolving 3D embroidery trends shaping future capabilities.
ROI calculators and home-business benchmarks are gaps in current data. Budgeting for ongoing training, dedicated workspace, and reliable systems is essential when scaling from home to a shop and syncing PNG-to-DST workflows with Etsy/POD timelines.
ROI planning: training, space, and long-term investments
Define initial outlay for software, a DST-capable upgrade, stabilizers, and storage. Include amortization over 2–3 years and potential revenue uplift from faster turnarounds and reduced defects. Set milestones at 3, 6, and 12 months to scale capacity as demand grows.
Training and maintenance
Budget for ongoing education on PNG-to-DST workflows, color management, and routine maintenance. Schedule quarterly refreshers and proactive calibrations to maximize uptime and product quality.
Space planning
Design a compact layout around a stable workstation and magnetic hoop storage to minimize clutter. Clear zones for stabilizers, threads, and than space reduce setup time and misfeeds.
Workflow integration
Align PNG-to-DST steps with Etsy/POD order streams and supplier timelines to prevent bottlenecks. Establish a lightweight test-stitch protocol before listing to ensure consistent results.
Future-proofing
Monitor AI-assisted digitizing and 3D embroidery trends to inform licensing, software upgrades, and equipment paths that scale with demand.
Baseline metrics
Track throughput, defect rate, setup time, and test-stitch time to measure improvement. Review these metrics quarterly to justify further investments and refine the scalable workflow.
Conclusion
Start with a beginner-friendly machine, choose a software option, complete the PNG prep, digitizing, and DST export steps. Run a test stitch this week and compare results to your current setup.
- Move from PNG to DST without new software by using entry-level machines and practical digitizing.
- Use magnetic hoops and stabilizers to reduce defects.
- Transfer designs via USB or Wi‑Fi for seamless workflow.
- Test on scraps before committing to production.
- Track ROI and build a scalable workflow that fits your space and budget.
In market reality, tools and guidance make this shift practical and rewarding. Seize momentum this week, confident your embroidery setup can grow.
Finish strong: stitch by stitch, you’ll arrive at efficiency and quality you can measure.