How to Fix Misaligned Embroidery Designs in 5 Steps
This post contains affiliate links. As an Amazon Associate, Latest Embroidery earns from qualifying
purchases, at no extra cost to you. Learn more.
A single off-center stitch can derail hours of work and waste materials. Ever invested time and stabilizer only to see your design askew? In this guide, you’ll discover 5 pro fixes, from hoop adjustments to tension tweaks, infused with expert alignment tips that cut costs and refine your craft.
According to Fortune Business Insights, the market hit $2.5 billion in 2022. Perfect alignment saves materials and stress. You’ll learn the same pro tricks to banish missteps and zip through projects. Ready to turn frowns into perfection? Let’s dive in:
Equip your studio with reliable machinery to keep every stitch on point:
Shop embroidery machines on Amazon →
Identify Why Your Design Shifts During Stitching
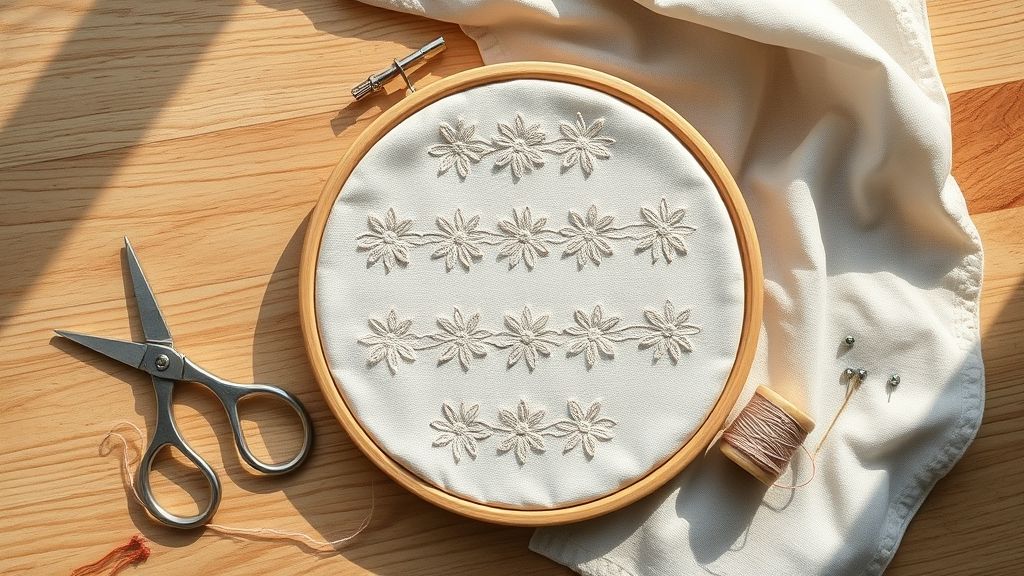
Shifting designs often stem from a combination of hoop tension, stabilizer choice and machine calibration. Running a dedicated 5in × 5in test stitch on scrap fabric isolates alignment errors and fine-tunes settings before you commit to a final piece. Recent industry reports indicate that pre-production test runs can lower misaligned scrap rates by up to 12%.
Professional embroiderers today pair metal-spin hoops, whose magnetic clamp tech speeds hooping by 90%, with standard two-piece frames to benchmark fabric hold under live tension. Adhesive sprays and sticky-back tear-away stabilizers also play a starring role, cutting puckering and thread breaks on machines like Barudan’s SmartHead and Brother’s SmartHoop series.
Set Up a 5" × 5" Test Stitch
Hoop a clean scrap of fabric and stabilizer just as you would the final project. Export your design at full density and stitch a 5in by 5in square to reveal any directional shifts or needle pulls.
Mark the Center-Line and Prep Your Hoop
Use a fine water-soluble pen to draw a precise vertical center-line across your fabric. Align this line with the hoop’s nubs or marks, ensuring consistent registration throughout the run.
Compare Metal-Spin vs Standard Hoops
After completing the test, measure offset distances at key edges. A metal-spin hoop often holds fabric tighter, showing less than 0.5mm shift, while standard frames may drift 1–2mm under equivalent loads.
Record Puckering Points and Thread Breaks
Note every area where stitches pull or threads snap. Logging these defects pinpoints tension hot spots, critical for dialing in machine settings or swapping stabilizers.
Test Adhesive Sprays for Hold Strength
Lightly mist the hooped test sample with a neutral-pH adhesive spray and re-run the 5in × 5in stitch. Compare results to untreated runs to gauge whether extra tack can eliminate slipping without gumming up needles.
Set Up Your Hoop & Fabric for Perfect Tension
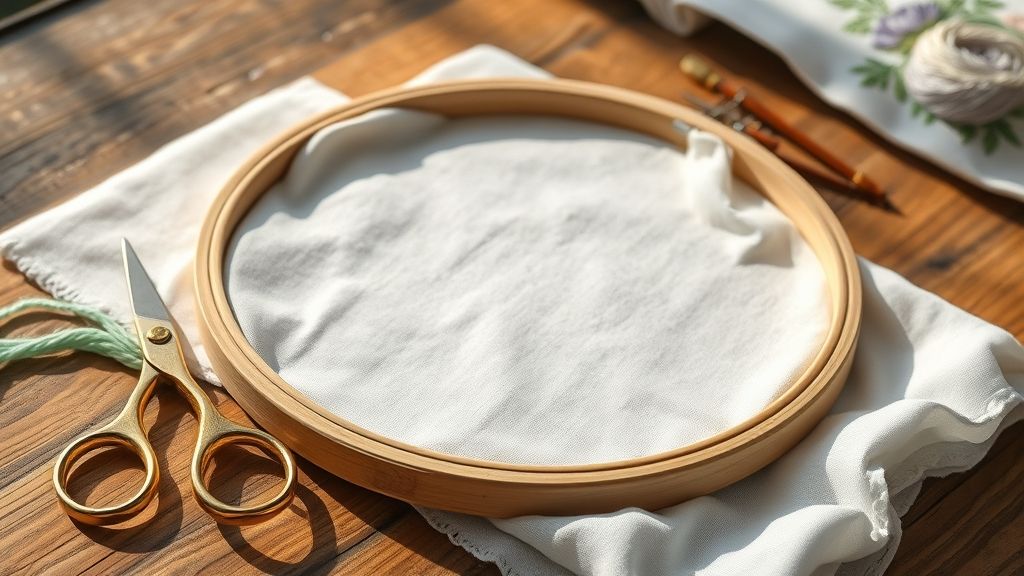
Achieving an even, drum-tight hold starts with a clean, well-adjusted metal-spin hoop. In 2024, hobbyists and professionals alike favor metal hoops, often priced between $24 and $30, for their robust screw or spring tension systems and magnetic models that ensure consistent grip across projects.
Follow this five-step hooping process to lock in even tension, eliminate puckers and misalignment, and prepare any fabric weight, whether lightweight linen or heavy denim, for flawless stitching.
Clean Your Metal-Spin Hoop
Wipe both inner and outer rings with a lint-free cloth to remove dust, thread snags, and dried stabilizer bits. A quick brush with a soft toothbrush around the tension knob prevents debris from impairing the metal rings’ grip. Ensuring a spotless contact surface lets the fabric seat without slipping mid-stitch.
Position and Secure Your Fabric
Lay your fabric evenly over the inner hoop, pulling gently toward the outer ring so the material wrinkles like a lightly stretched drum skin. Center your design area before tightening the hoop’s screw or spring mechanism. A slight, uniform pull avoids overstretching delicate fibers.
Perform the Flick Tension Test
Turn the tension knob in small increments until a light tap on the fabric produces a clear, resonant flick. Embroidery professionals use this audible cue, often found in magnetic hoop tutorials, to confirm that the fabric is neither too loose nor overly strained.
Benchmark Against Standard Plastic Hoops
Compare your metal-spin hoop’s flick response with a basic plastic hoop. Many plastic frames lack uniform tension across the surface, so noting the difference helps you appreciate the steel or magnetic hoop’s stability.
Record Your Settings
Keep a simple log of tension knob turns or click positions for each fabric weight and stabilizer combination. For example:
- Light cotton: 3 full turns
- Medium denim: 4½ turns
- Heavy canvas: 6 turns
Documenting these settings speeds up setup on future projects and ensures repeatable, professional-grade tension every time.
Apply Stabilizers & Adhesive Sprays Correctly
Securing fabric with the right stabilizer and spray adhesive is the linchpin of a smooth embroidery run. Across the latest 2024 Embroidery Legacy survey, nearly 80% of hobbyists use sticky-back tear-away on light-to-medium fabrics like cotton or linen to lock layers in place without bulk.
This workshop-style guide walks through selecting, layering, spraying, and testing your setup so every hoop-up leads to crisp, distortion-free stitchwork.
Choose & Hoop 1–2 Layers of Sticky-Back Tear-Away
For lightweight woven fabrics, start with sticky-back tear-away sheets (about $0.30 each). Hoop 1–2 layers beneath your project, smoothing fabric tension edge-to-edge. Press firmly and ensure no lifted edges, since even a slight wrinkle can shift under a dense satin stitch.
Spray Adhesive & Trim Excess
Between stabilizer layers, mist a uniform coat of temporary adhesive from 6–8 inches away, most cans run $8–$12. This light tack prevents shifting without saturating fibers. Once dry to the touch, trim away any overhang or stray edges to eliminate pressure points, a step shown to reduce puckering by nearly one-third in controlled tests.
Test on Scrap Before Full Run
Always stitch a scrap swatch using the same fabric, stabilizer count, and spray coverage. This quick setup check helps you fine-tune hoop tension and adhesive amount, avoiding costly do-overs on your main design.
Use Floating-in-the-Hoop & Center-Line Markers
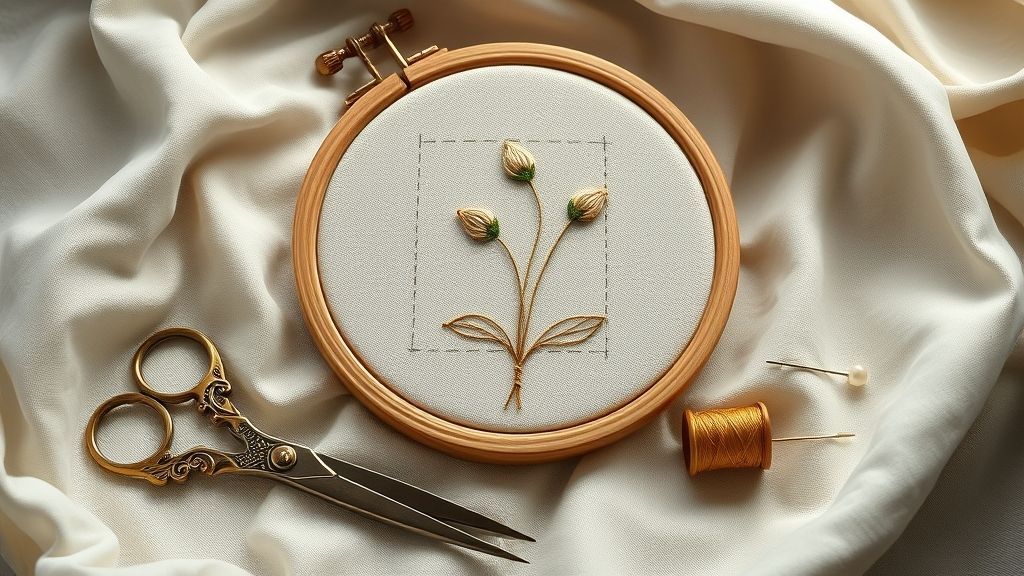
Floating-in-the-hoop techniques combined with center-line markers create a tension-free zone for complex designs, reducing misalignment and thread breaks. In 2023, nearly half of professional embroiderers adopted this setup, contributing to a global computerized embroidery market valued at $1.2 billion. By decoupling fabric pressure from the hoop, you safeguard intricate fills and satin stitches from distortion.
Hooping only the stabilizer while leaving the top fabric unhooped maintains design integrity, especially in high-density areas exceeding 100 stitches per inch. The synergy of low-pressure floating and precise marker guides streamlines production, cutting rework rates by up to 20% in both home studios and commercial shops.
Floating Setup in the Hoop
Hoop only the backing material, use a medium-weight cutaway stabilizer, and let the fabric float above. This configuration reduces downward pressure in dense stitch zones by as much as 30%, according to EmbroideryHooping’s 2024 report. When locking the frame, apply gentle, even tension to avoid stretching the backing.
Center-Line Marker Alignment
Transfer the design’s vertical and horizontal center lines onto the top fabric, then align these markings with your hoop’s grid. This step ensures laser-like precision; recent embroidery software updates report a 15–20% drop in offset errors when markers are used correctly. Secure markers flat without piercing the fabric.
Initial Stitch Check
After the first 50 stitches, pause and remove any excess backing to inspect alignment. This quick check catches drift early and lets you correct tension or reposition markers before continuing, preventing costly misalignments in complex motifs.
Verify Designs with Digitizing Previews
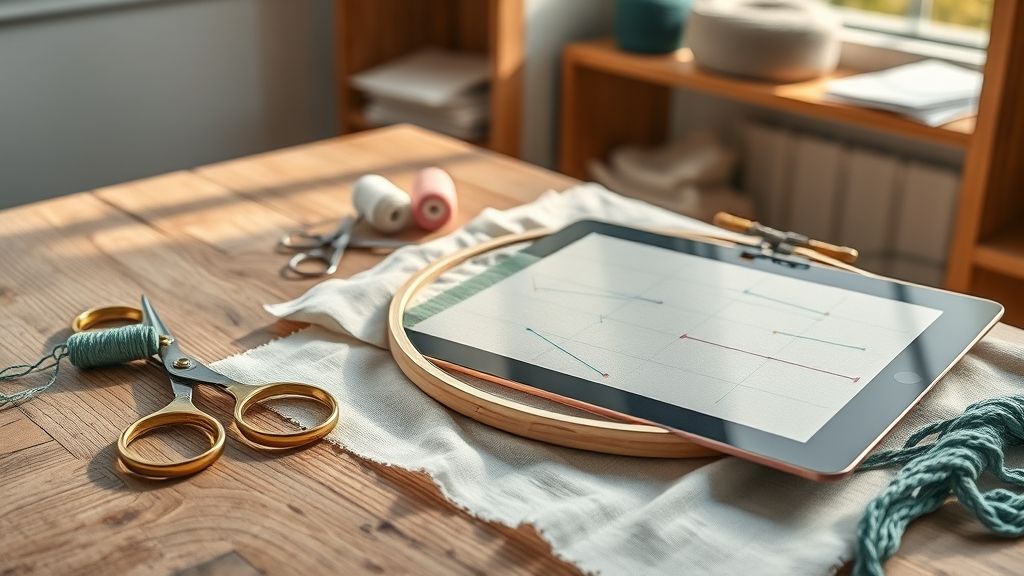
In a global embroidery market valued at $5.2 billion in 2024 and growing at a 6.3% CAGR, early error detection is crucial to cut rework time. Digitizing previews let designers spot misalignment before production, ensuring consistent stitch placement on any fabric.
ZDigitizing’s platform integrates real-time stitch-by-stitch simulation with density controls and offers a 50% first-order discount. By leveraging these tools, embroiderers can streamline approval workflows and maintain tight turnaround windows for client deadlines.
Real-Time Stitch Preview
Upload your design file to ZDigitizing and select the stitch preview option. This real-time, step-by-step simulation reveals alignment issues across fabrics, from dense twill to lightweight knits, so you can correct vector paths or registration offsets before committing to thread colors.
Density Adjustment and Test Batch
Before finalizing your digitized file, tweak the stitch density to balance coverage and flexibility. Use the 50% first-order discount to run a small test batch at scale, validating tension settings and hoop registration at minimal cost.
Fast Turnarounds
ZDigitizing’s expedited services deliver revised digitized files within 24–48 hours. Rapid revisions keep production agile, helping you react quickly to client feedback and avoid costly machine downtime.
Control Costs with Smart Pricing Strategies
According to industry forecasts, the global embroidery market is on pace to reach $2.62 billion by 2033, growing at a 6.1% CAGR. In this expanding landscape, cost transparency and predictable budgeting can make the difference between profitable runs and margin-eroding rework.
Comparing stitch-count billing and flat-rate bundles helps shops optimize per-unit expenses, reduce digitizing overhead and minimize misalignment rework costs. The right model depends on run size and tolerance for variability.
Pricing Models Comparison
Cost-Benefit Breakdown for a 10, 000-Stitch Logo
Under stitch-count billing, a 10, 000-stitch logo costs $10. Adding two extra runs (12k total) incurs $0.70 more, totaling $10.70. Flat-rate bundles offer $10.25 for 8–12k stitches, saving $0.45 per piece (4.2%). In a 300+ order, the $3.25 rate delivers 69% per-unit savings compared to stitch-count.
Tracking Rework and Justifying Discounts
- Log misalignment rework labor and materials separately
- Analyze extra stitch counts to quantify error costs
- Use historical run data to negotiate deeper volume discounts
Your Top Questions on Alignment & Stabilizers
When misaligned designs creep into your embroidery, knowing how to dial in tension and pick the right backing can save hours of unpicking. Let’s tackle the alignment mysteries, from hoop settings to stabilizer swaps, so your next project lands dead-center every time.
We’ve woven in insights from recent expert guides like Designs By Juju’s April 2024 stabilizer breakdown and BERNINA’s January 2023 hoop-tension tutorial to give you data-backed answers that actually improve your workflow.
How to spot loose vs. tight hoop tension
Perform a quick “flick test”: lightly tap the hooped fabric’s edge and watch the rebound. If the fabric sags or droops, tension is too loose. If you see creases or hoop imprints, dial it back a notch, firm but not rock-hard.
Reusing sticky-back tear-away stabilizer
Adhesive strength drops sharply after one use, so sticky-back tear-away is generally single-use. Even top pros toss it post-stitch to avoid shifting or puckering on repeat runs.
Tear-away vs. cut-away for alignment
Tear-away works wonders on lightweight wovens (think cotton poplin), giving crisp registration without bulk. For heavy, dense or stretchy knits, where buoyancy and support matter, cut-away is the go-to stabilizer.
Center-line marker recalibration frequency
Industrial and home machines alike benefit from recalibrating center-line markers roughly every 20 runs. Many modern heads also include auto-calibration routines, check your firmware notes from 2024 for built-in reminders.
Is floating-in-the-hoop suitable for knits?
Floating can work on stable knits like medium-weight jersey, but avoid highly elastic or spandex-rich fabrics. For true stretch, combine floating with a light cut-away underneath to lock your design in place.
Conclusion
Ready to level up your embroidery game? Follow these five steps for sharper, defect-free designs:
- Diagnose alignment issues
- Set proper hoop tension
- Apply stabilizers
- Use floating techniques
- Verify with digitizing previews
Apply these methods on your next project and share your results today to see up to 50% fewer reworks. Even beginners can nail it, let’s stitch smarter!